Resilio Sync is a powerful tool for secure file sharing and synchronization across multiple devices. This guide will walk you through the installation process on an Ubuntu 22.04 server.
Prepare Instance Steps
Before we begin with the installation of Resilio Sync, follow these steps to prepare your instance:
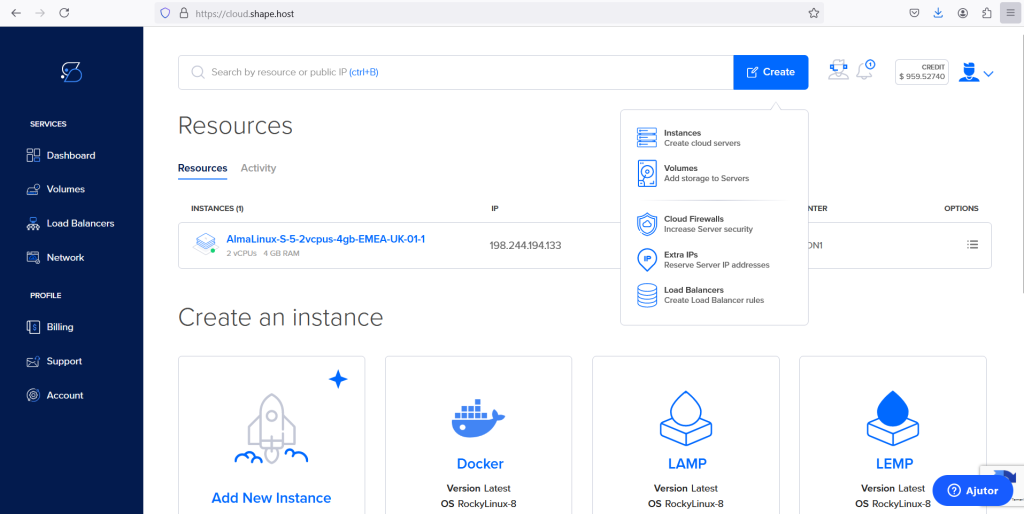
Step 1:Initiate Instance Creation:
Create a new virtual machine instance on your hosting provider’s platform.
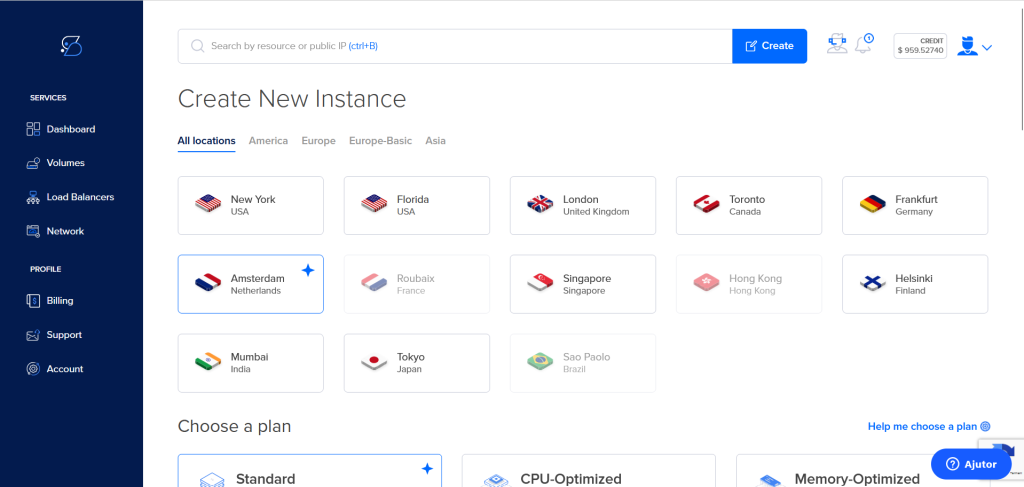
Step 2:Choose a Location:
Select your preferred data center location.
Step 3:Select a Plan:
Choose a hosting plan that meets your needs and select Ubuntu 22.04 as the operating system.

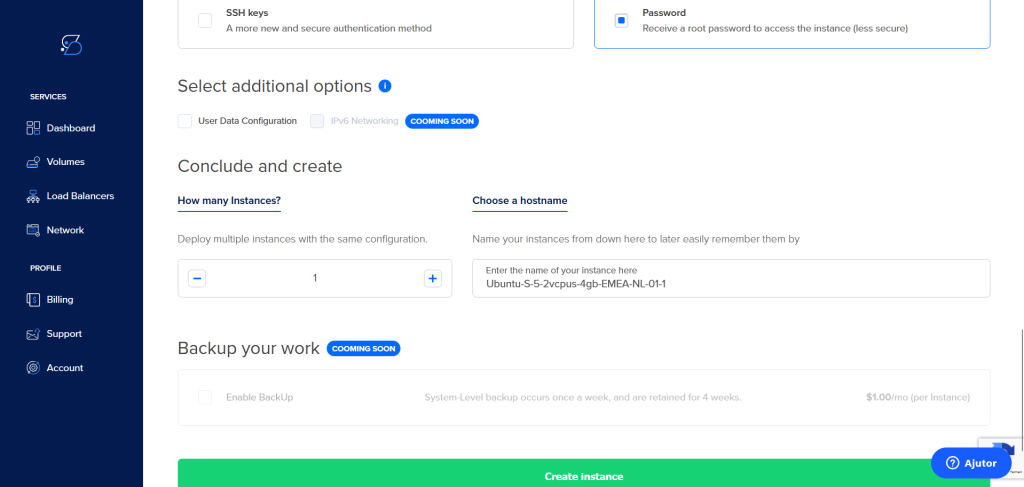
Step 4:Set Up Authentication:
Set up authentication using SSH keys or a password and finalize the instance creation.
Step 5:Connect to Your Instance:
Connect to your server instance via SSH using the provided IP address.
Step 6: Update and Upgrade the System
Begin by updating the package list and upgrading the installed packages:
apt update -y
apt upgrade -y
Step 7: Install Required Dependencies
Install the necessary packages to set up Resilio Sync:
apt-get install gnupg2 curl wget git software-properties-common acl -y
Step 8: Add Resilio Sync Repository
Download the Resilio Sync GPG key and add it to your system:
wget http://linux-packages.resilio.com/resilio-sync/key.asc
apt-key add key.asc
Next, add the Resilio Sync repository to your system:
add-apt-repository "deb http://linux-packages.resilio.com/resilio-sync/deb resilio-sync non-free"
Step 9: Install Resilio Sync
Update the package list again and install Resilio Sync:
apt-get update -y
apt-get install resilio-sync -y

Step 10: Start and Enable Resilio Sync Service
Start the Resilio Sync service and enable it to run on startup:
systemctl start resilio-sync
systemctl enable resilio-sync
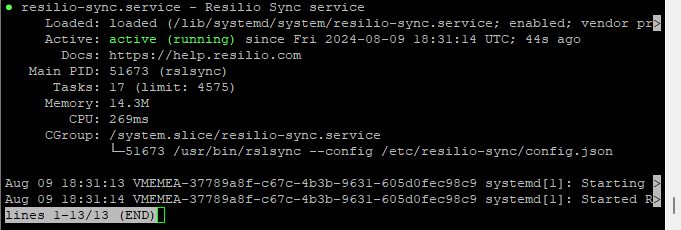
Verify that the service is running correctly:
systemctl status resilio-sync
Step 11: Configure Resilio Sync
Open the Resilio Sync configuration file to customize settings as needed:
nano /etc/resilio-sync/config.json

After making changes, restart the Resilio Sync service:
systemctl restart resilio-sync
Step 12: Set Up File Synchronization
Create a directory for file synchronization:
mkdir /mnt/files/
touch /mnt/files/doc1.txt
touch /mnt/files/doc2.txt
Ensure that the Resilio Sync user has the necessary permissions to manage the files:
setfacl -R -m "u:rslsync:rwx" /mnt/files
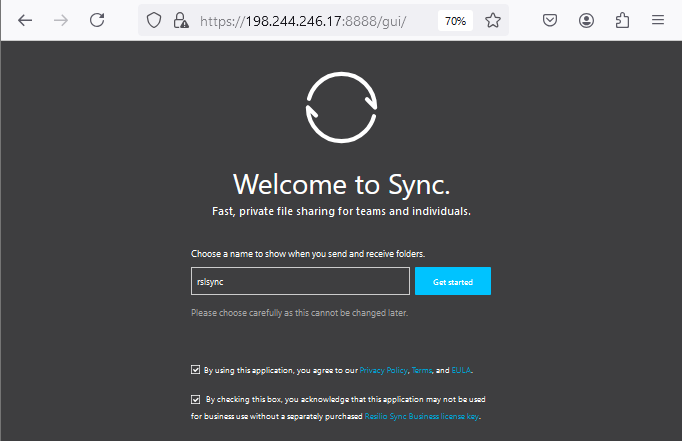
Step 13: Access Resilio Sync Web Interface
To access the Resilio Sync web interface, open a web browser and navigate to the following URL:
http://<your-server-ip>:8888/gui/Replace <your-server-ip> with your server’s IP address. This will bring up the Resilio Sync web interface where you can manage your synchronized folders and configure additional settings.

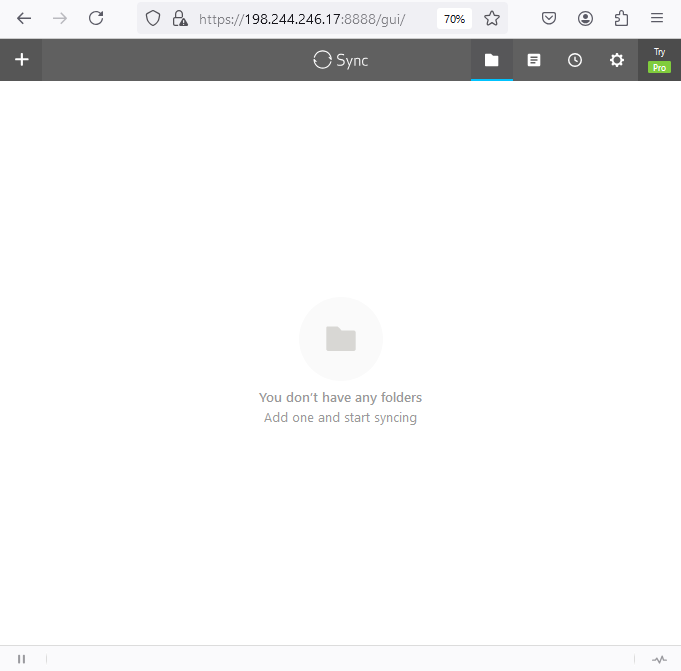
You have successfully installed and configured Resilio Sync on your Ubuntu 22.04 server. This setup allows you to synchronize files across multiple devices securely. You can now access the Resilio Sync web interface via your server’s IP address and start managing your shared folders.
For hosting your own server and exploring various cloud solutions, consider using Shape.host services, offering reliable and scalable Linux SSD VPS to meet all your server needs.