What is Munin?
Munin is an open-source monitoring tool that tracks system performance metrics like CPU usage, memory utilization, and network traffic. It provides detailed visualizations, helping you monitor and troubleshoot issues across multiple nodes from a central server.
Step 1: Prepare Instance Steps
Before proceeding, ensure your virtual machine is set up:
Initiating Instance Creation:
Start a new virtual machine instance on your chosen hosting platform.

Choosing a Location:
Select your preferred data center location.

Selecting a Plan:
Choose an appropriate hosting plan and select Ubuntu 22.04 as the OS.

Authentication Method:
Set up authentication using SSH keys or a password, and complete the instance creation.

Connecting to Your Instance:
Use SSH to connect to your server with the provided IP address.
Step 2: Update and Upgrade Your System
First, update your package list and upgrade installed packages:
apt update -y
apt upgrade -y
Step 3: Install Apache and Required Packages
Install Apache along with necessary utilities and modules:
apt install apache2 apache2-utils libcgi-fast-perl libapache2-mod-fcgid -y
a2enmod fcgid
systemctl restart apache2


Step 4: Install Munin
Now, install Munin and its related packages:
apt install munin munin-node munin-plugins-extra -y
Step 5: Set Up Authentication
Create an admin user for Munin using HTTP basic authentication:
htpasswd -c /etc/munin/munin-htpasswd admin
Step 6: Configure Apache for Munin
Copy the default Munin Apache configuration file and edit it to include authentication settings:
cp -p /etc/munin/apache24.conf /etc/apache2/sites-available/munin.conf
nano /etc/apache2/sites-available/munin.conf

In the configuration file, modify or add the following settings:
ScriptAlias /munin-cgi/munin-cgi-graph /usr/lib/munin/cgi/munin-cgi-graph
Alias /munin/static/ /var/cache/munin/www/static/

<Directory /var/cache/munin/www>
    AuthUserFile /etc/munin/munin-htpasswd
    Authtype Basic
    AuthName "Munin"
    Require valid-user
    Options FollowSymLinks SymLinksIfOwnerMatch
    Options None
</Directory>

<Directory /usr/lib/munin/cgi>
    AuthUserFile /etc/munin/munin-htpasswd
    Authtype Basic
    AuthName "Munin"
    Require valid-user
    Options FollowSymLinks SymLinksIfOwnerMatch

    <IfModule mod_fcgid.c>
        SetHandler fcgid-script
    </IfModule>
    <IfModule !mod_fcgid.c>
        SetHandler cgi-script
    </IfModule>
</Directory>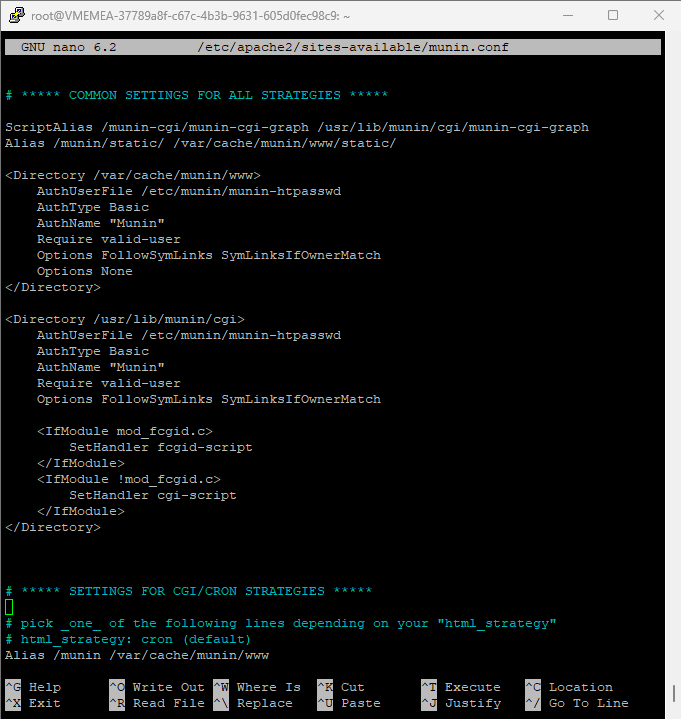
Step 7: Enable Munin Site and Restart Services
Enable the Munin site configuration and restart Apache and Munin services:
a2ensite munin
systemctl restart apache2
systemctl restart munin-node

Step 8: Verify Installation
Finally, check that Munin and Apache are running correctly:
systemctl status munin-node
systemctl status apache2

Step 9: Accessing Munin from the Web
After configuring and restarting the necessary services, you can access the Munin monitoring interface through your web browser.
- Open your web browser.
- Navigate to
http://your-server-ip/munin.
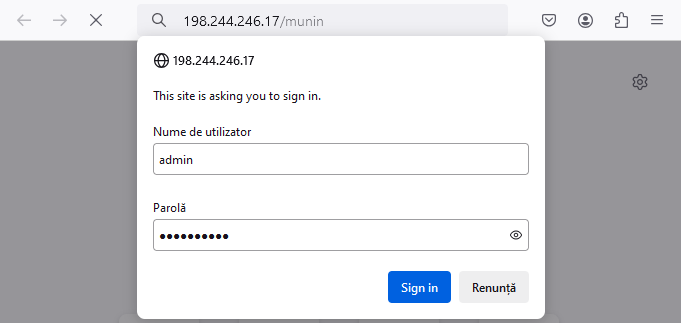
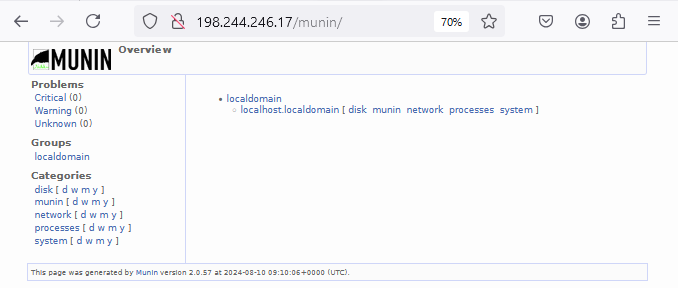
You will be prompted to enter the username and password you set up during the authentication step (admin and the password you created). Once logged in, you will see the Munin dashboard displaying various system metrics and performance graphs.
This interface will help you monitor the health and performance of your server.
By following these steps, you will have successfully installed and configured Munin on your Ubuntu 22.04 server. Munin provides comprehensive system monitoring with easy-to-read graphs, making it an essential tool for managing your infrastructure.
For reliable hosting services, consider using Shape.host’s Cloud VPS services, which offer flexible and scalable solutions perfect for all your projects.