What is WordPress?
WordPress is the world’s most popular content management system (CMS), powering over 40% of websites globally. It is open-source, user-friendly, and highly extensible through thousands of themes and plugins. WordPress is ideal for:
- Blogs and personal sites
- Business and portfolio websites
- E-commerce stores (via WooCommerce)
- News portals and membership platforms
Why Use Ubuntu 24.04 for WordPress?
Ubuntu 24.04 LTS provides an excellent foundation for a stable, secure, and up-to-date WordPress hosting stack:
- Long-term support until 2029
- Access to latest PHP 8.3, improving performance and security
- Native support for MariaDB 10.11+ via official APT repositories
- Seamless integration with Apache 2.4, the most widely used web server
- Strong community support and compatibility with popular tools like Certbot, UFW, and Fail2Ban
Software Stack Components
1. Apache 2.4 (Web Server)
- Handles HTTP requests and serves WordPress files
- Supports
.htaccessrules for permalinks and security - Easily configurable with virtual hosts and SSL
2. MariaDB (Database Server)
- Acts as a drop-in replacement for MySQL
- Stores WordPress data such as posts, users, settings, and comments
- Compatible with WordPress out of the box
3. PHP 8.3 (Server-side scripting language)
- Processes WordPress core and plugin code
- Offers significant performance improvements and native JIT support
- Required for dynamic page rendering, form handling, and admin functionality
Key Benefits of This Setup
- Latest PHP 8.3 compatibility: Faster execution and better plugin/theme support
- MariaDB over MySQL: Improved performance and open-source licensing
- Apache flexibility: Easily supports mod_rewrite, SSL, and multiple sites
- Ubuntu 24.04 LTS: Secure, well-supported base OS for hosting
Common Use Cases
- Personal blogs and professional websites
- Small business or agency portfolio sites
- WooCommerce-based e-commerce platforms
- Community forums and directories
- SEO-optimized news or content sites
Security Best Practices on Ubuntu 24.04
- Use UFW (Uncomplicated Firewall) to restrict traffic
- Secure with HTTPS using Certbot and Let’s Encrypt
- Regularly update PHP, Apache, and WordPress core/plugins
- Enforce strong database passwords and file permissions
- Use Fail2Ban and mod_security for brute-force and injection protection
Deployment Recommendations
- Use PM2 or Systemd to monitor background services if you run background jobs (e.g., with WP-CLI)
- Configure Apache virtual hosts with
ServerName,DocumentRoot, and SSL certificates - Place WordPress in
/var/www/your-siteand point Apache to this path - Use
php.inito optimize memory limits, file upload sizes, and max execution time
WordPress Performance Enhancements
- Enable object caching with Redis or Memcached
- Use OPcache (bundled with PHP 8.3)
- Install a caching plugin (e.g., WP Super Cache or W3 Total Cache)
- Use a CDN (like Cloudflare) to distribute static files
- Optimize database with plugins like WP-Optimize
Running WordPress on Ubuntu 24.04 with Apache, MariaDB, and PHP 8.3 provides a fast, secure, and modern environment for building and maintaining dynamic websites. It’s a perfect match for developers, site owners, and agencies looking for flexibility, long-term support, and full control over their WordPress infrastructure.
Step 1: Create an Instance on ShapeHost
To begin, you need a fresh VPS running Ubuntu 24.04.
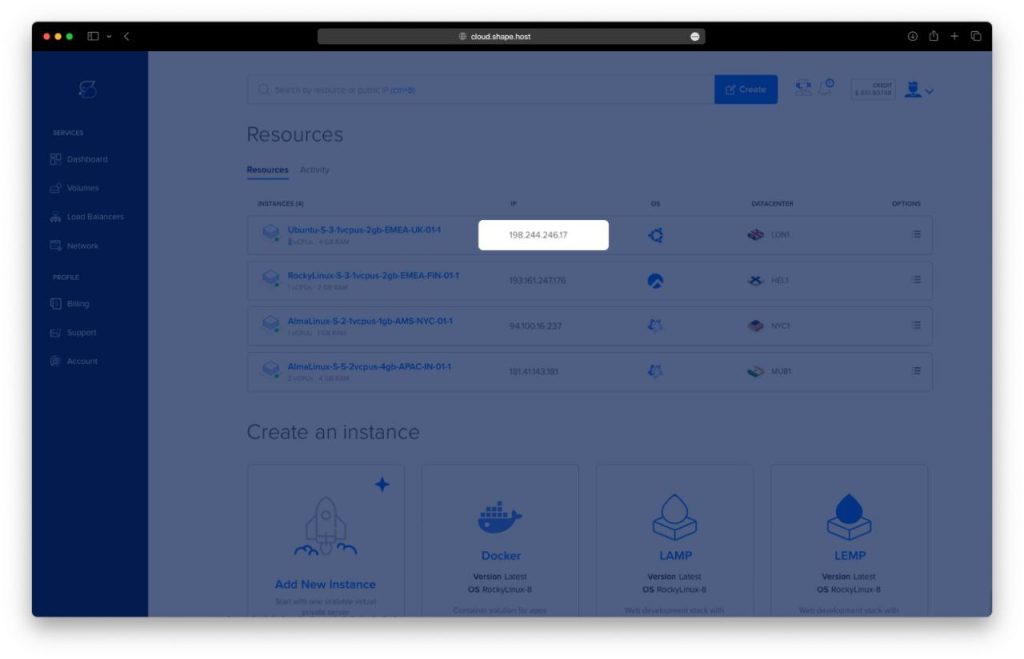
Access the Dashboard
Log in to your Shape.Host account and navigate to your Dashboard.
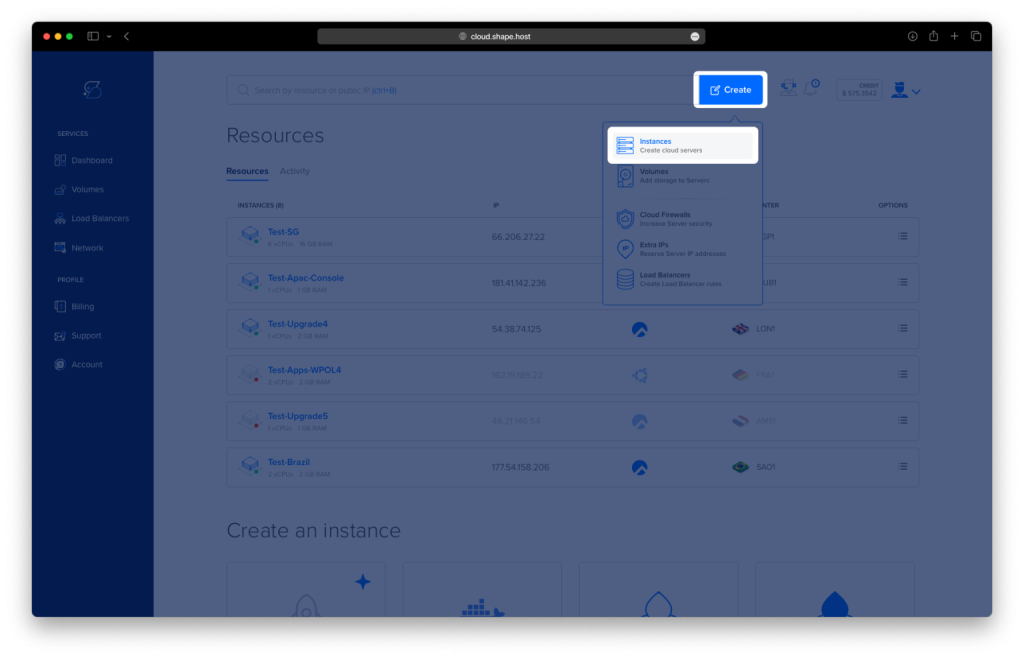
Click “Create”
Click the Create button in the top-right corner.
Select Instances
Choose “Instance” from the options to launch a new server.
Choose Location
Select the server region closest to your visitors for better performance.
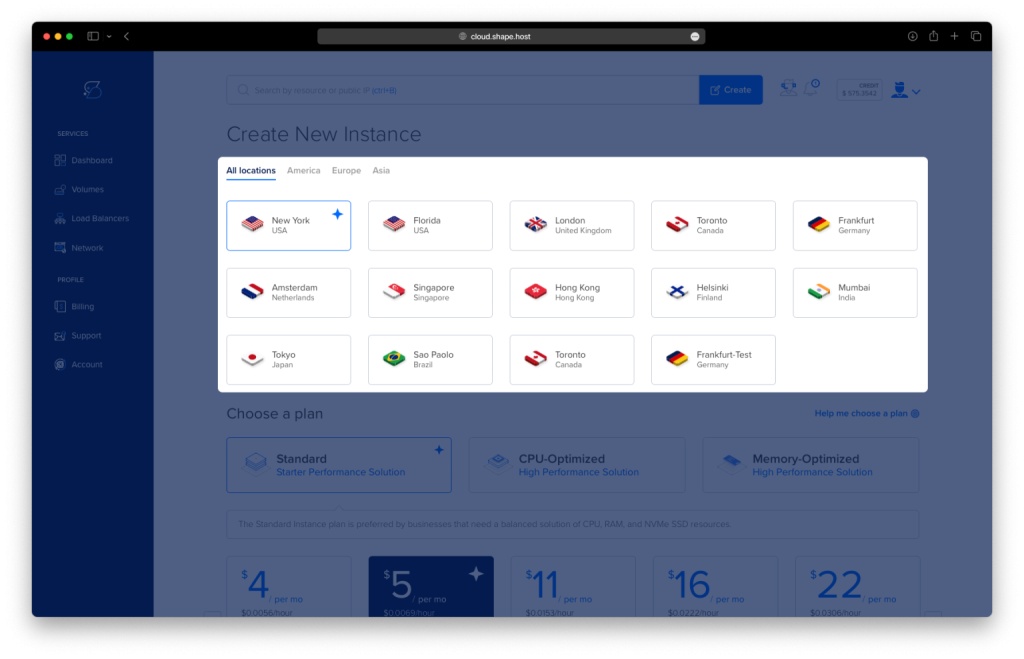
Select a Plan
Pick a plan with at least 1 CPU, 2 GB RAM, and 20 GB SSD — suitable for WordPress.
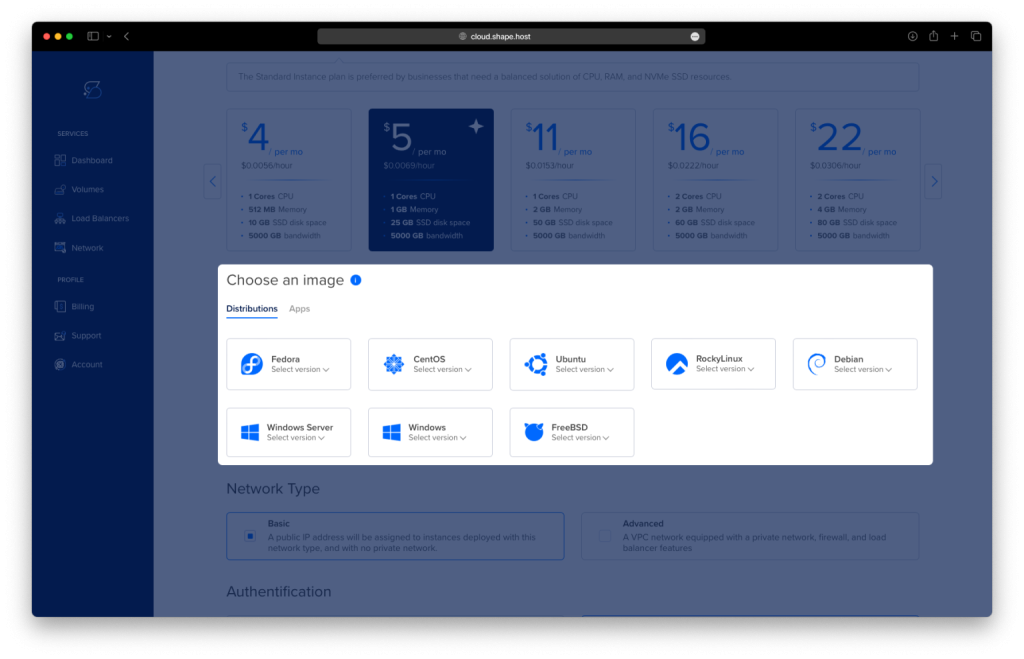
Choose OS Image
Set the operating system to Ubuntu 24.04 (64-bit).
Authentication and Launch
Choose your authentication method (SSH key or password) and click Create Instance.
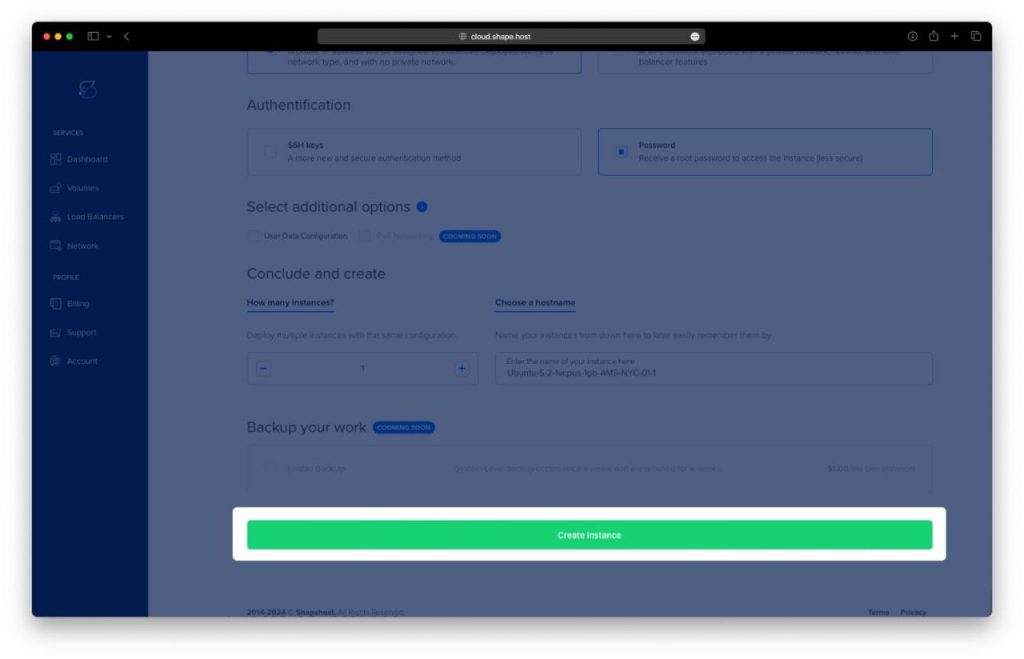
After setup, copy the server’s IP address from the Resources tab.
Once the instance is ready, connect via SSH:
ssh root@your-server-ip
Step 2: Update the System
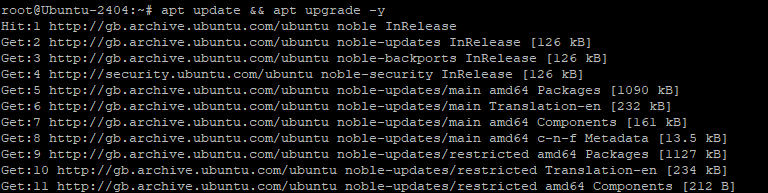
apt update && apt upgrade -y
🔹 This command updates the local package index and upgrades all installed packages to their latest version.
Step 3: Install Apache Web Server
apt install apache2

🔹 Installs Apache, the most popular open-source web server.
systemctl enable apache2
🔹 Ensures Apache starts automatically on boot.
systemctl start apache2
🔹 Starts the Apache service immediately.

Step 4: Install MariaDB (MySQL-compatible database)
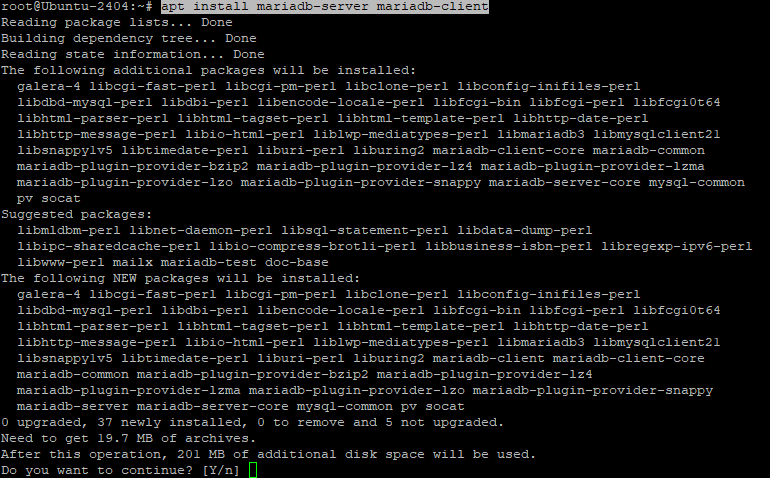
apt install mariadb-server mariadb-client
🔹 Installs MariaDB server and client tools.
systemctl enable mariadb
systemctl start mariadb
🔹 Enables and starts the database server.

Step 5: Secure MariaDB
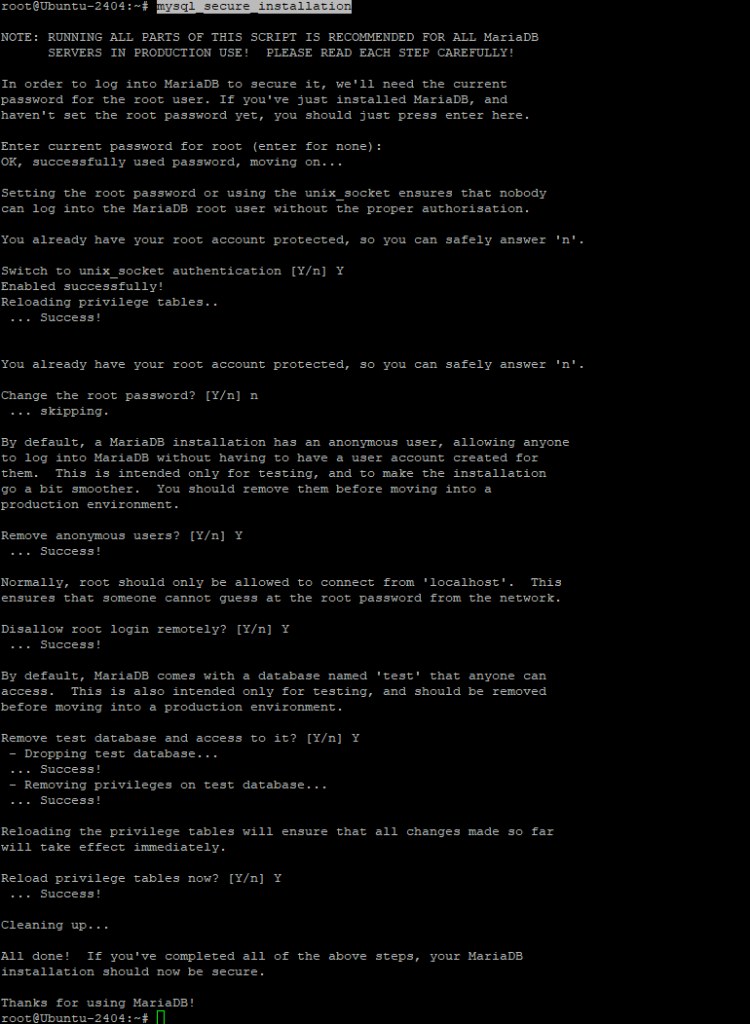
mysql_secure_installation
🔹 A script that helps secure your database by setting root password, disabling remote root login, and removing test databases.
Step 6: Create a Database and User for WordPress
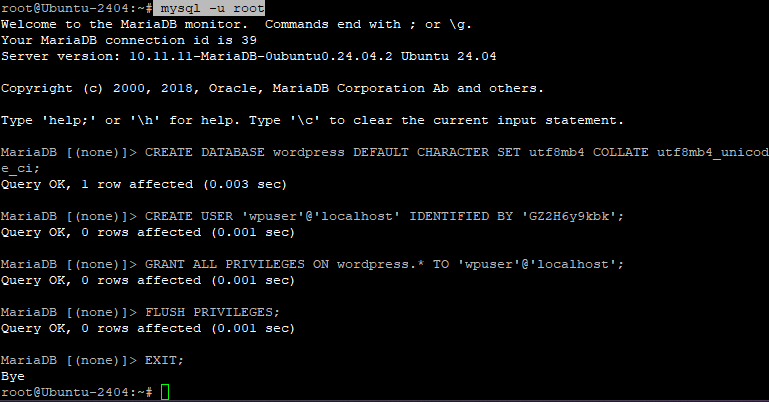
mysql -u root
🔹 Opens the MariaDB shell as root. Run the following SQL commands:
CREATE DATABASE wordpress DEFAULT CHARACTER SET utf8mb4 COLLATE utf8mb4_unicode_ci;
CREATE USER 'wpuser'@'localhost' IDENTIFIED BY 'GZ2H6y9kbk';
GRANT ALL PRIVILEGES ON wordpress.* TO 'wpuser'@'localhost';
FLUSH PRIVILEGES;
EXIT;
🔹 These commands:
- Create a database named
wordpress - Add user
wpuserwith a strong password - Grant all privileges on the new database to that user
Step 7: Install PHP 8.3 and Required Extensions
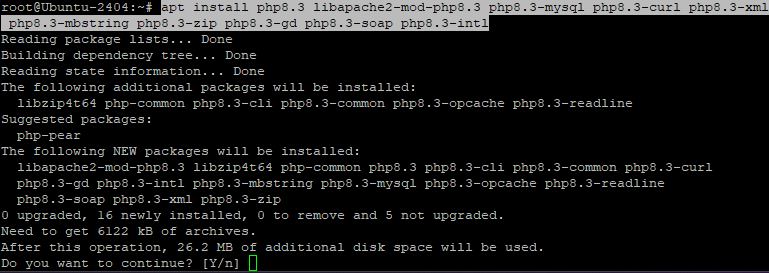
apt install php8.3 libapache2-mod-php8.3 php8.3-mysql php8.3-curl php8.3-xml php8.3-mbstring php8.3-zip php8.3-gd php8.3-soap php8.3-intl
🔹 Installs PHP 8.3 with necessary modules required for WordPress to function properly.
systemctl restart apache2
🔹 Restarts Apache to load PHP support.
Step 8: Download and Configure WordPress
cd /var/www/html
rm index.html

🔹 Navigate to the web root and remove the default placeholder.
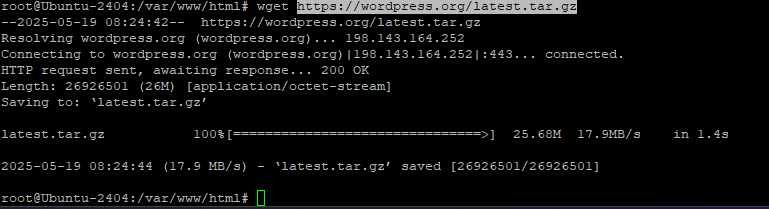
wget https://wordpress.org/latest.tar.gz
tar -xvzf latest.tar.gz
mv wordpress/* .
rm -rf wordpress latest.tar.gz
🔹 Download and extract the latest WordPress release.

Step 9: Set Correct File Permissions
chown -R www-data:www-data /var/www/html
🔹 Gives ownership of all files to the web server user.
find /var/www/html -type d -exec chmod 755 {} \;
find /var/www/html -type f -exec chmod 644 {} \;
🔹 Sets secure directory and file permissions.

Step 10: Configure wp-config.php
cp wp-config-sample.php wp-config.php
nano wp-config.php
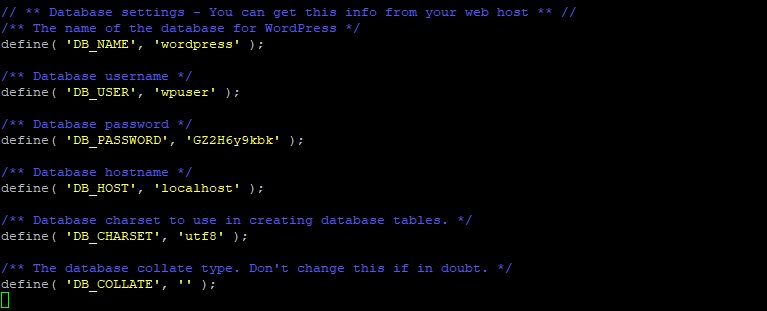
🔹 Copy the sample config file and edit it to add database credentials:

define( 'DB_NAME', 'wordpress' );
define( 'DB_USER', 'wpuser' );
define( 'DB_PASSWORD', 'GZ2H6y9kbk' );
define( 'DB_HOST', 'localhost' );
Save and exit the file (Ctrl + X, then Y, then Enter).
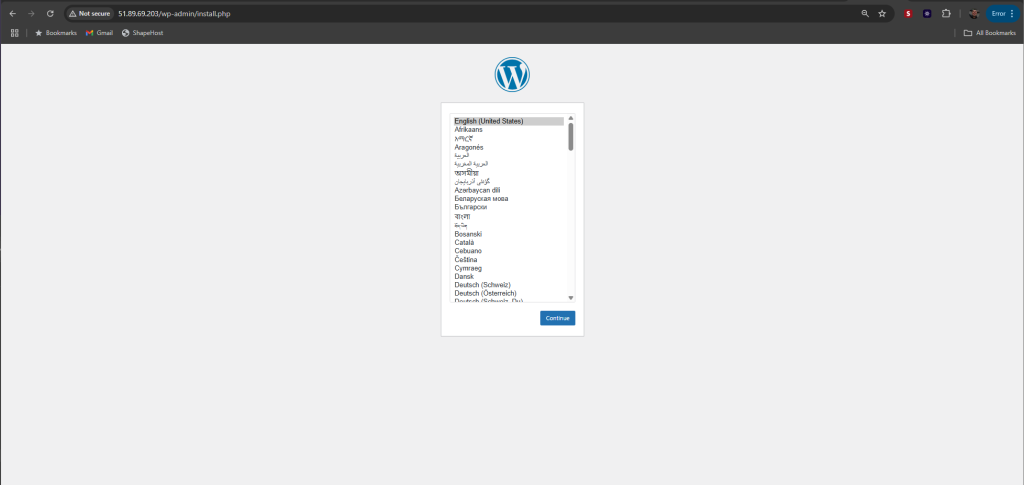
Step 11: Final Setup via Browser
Visit:
http://your-server-ip/
🔹 This opens the WordPress setup page where you’ll choose your site title, admin user, and password.
This tutorial is optimized for use with ShapeHost Cloud VPS, offering blazing-fast SSD storage, global server locations, and flexible resources — perfect for WordPress hosting.
👉 Launch your own server now at https://shape.host