What is the MERN Stack?
The MERN Stack is a popular web development technology stack used to build modern, full-stack applications. It is composed of four main technologies:
- MongoDB: A NoSQL database used for storing application data in a flexible, JSON-like format.
- Express.js: A web framework for Node.js that simplifies server-side application development.
- React.js: A front-end JavaScript library for building user interfaces, maintained by Meta (Facebook).
- Node.js: A JavaScript runtime that allows developers to build scalable server-side applications.
Together, these technologies allow developers to create powerful applications using JavaScript on both the client and server sides.
Why Deploy a MERN Stack Web App on Ubuntu 24.04?
Ubuntu 24.04 LTS (Long-Term Support) is an ideal environment for deploying MERN applications because it offers:
- A stable, secure, and up-to-date platform supported until 2029.
- Native access to the latest versions of Node.js, MongoDB, and other related tools.
- Seamless package management with APT and Snap.
- Full compatibility with cloud services, Docker, and Kubernetes environments.
- Improved performance with updated kernels, security modules, and system libraries.
Ubuntu’s reliability makes it an excellent choice for both development and production environments.
Key Components in a MERN Stack Web App
1. MongoDB
- Stores user data, content, settings, and application logs.
- Enables high scalability and flexible schema designs.
- Supports rich querying, aggregation, and indexing.
2. Express.js
- Handles server-side logic and API routes.
- Manages request and response cycles.
- Simplifies connecting the frontend with the database.
3. React.js
- Creates fast and responsive user interfaces.
- Supports component-based architecture and virtual DOM.
- Enables building single-page applications (SPA) with efficient client-side routing.
4. Node.js
- Executes server-side JavaScript code.
- Provides a lightweight, event-driven environment ideal for I/O-heavy operations.
- Handles backend services such as APIs, authentication, and real-time communication.
Typical Features in a MERN Stack Web Application
- Authentication and Authorization (e.g., JWT, OAuth)
- Real-Time Communication (e.g., WebSocket with Socket.IO)
- RESTful or GraphQL APIs
- CRUD Operations (Create, Read, Update, Delete)
- Responsive Front-End Interfaces
- Dynamic Data Visualization and Dashboards
- Payment Gateway Integrations
- Deployment-ready build pipelines
Advantages of Using the MERN Stack
- Single Language: JavaScript is used across the entire application stack.
- Full-Stack Development: Enables rapid development of both frontend and backend.
- Rich Ecosystem: Large community support and thousands of open-source libraries.
- Scalability: Suitable for small startups and large-scale enterprise applications.
- Flexibility: Easily integrates with third-party APIs, microservices, and serverless architectures.
Deployment and Hosting
On Ubuntu 24.04, you typically deploy a MERN stack web app by:
- Setting up Node.js for backend server execution.
- Setting up MongoDB either locally or using a managed service like Atlas.
- Building the React frontend for production using tools like Vite or Webpack.
- Using Nginx or Apache as a reverse proxy to serve the frontend and forward API requests.
- Managing backend processes with tools like PM2 for reliability.
- Enabling HTTPS with Certbot and Let’s Encrypt.
Deployment can be manual or automated using Docker, CI/CD pipelines, or configuration management tools.
Deploying a MERN Stack Web App on Ubuntu 24.04 provides a robust, scalable, and developer-friendly environment for building high-performance applications. By combining the flexibility of JavaScript across the stack with the stability of Ubuntu 24.04, developers can deliver fast, reliable, and secure web experiences for users.
Would you also like a quick diagram showing how the MERN components interact inside a typical Ubuntu deployment?
It would make the explanation even more complete if you plan to use it for an article or presentation!
Deploy a Clean Server on Shape.Host
To get started, you’ll need a fresh VPS running Ubuntu 24.04. Here’s how to set that up on Shape.Host:
Go to https://shape.host and sign in.
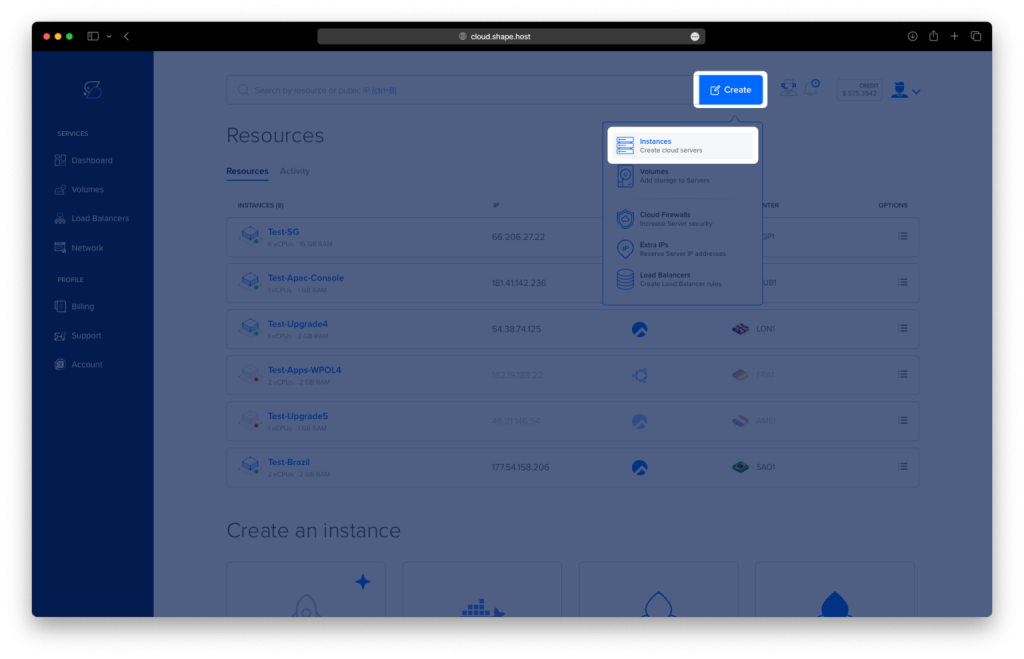
Click on “Create” and choose “Instance”.
Select your preferred server location.
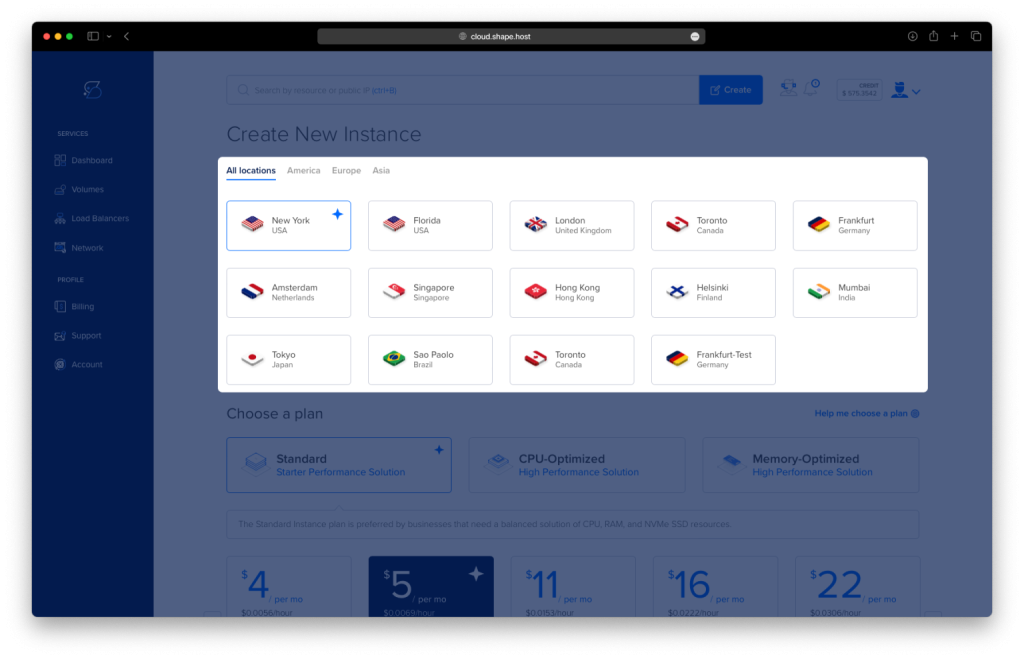
Choose Ubuntu 24.04 (64-bit) as your operating system.
Pick a plan with at least 2 CPUs, 4 GB RAM, and 20 GB SSD.

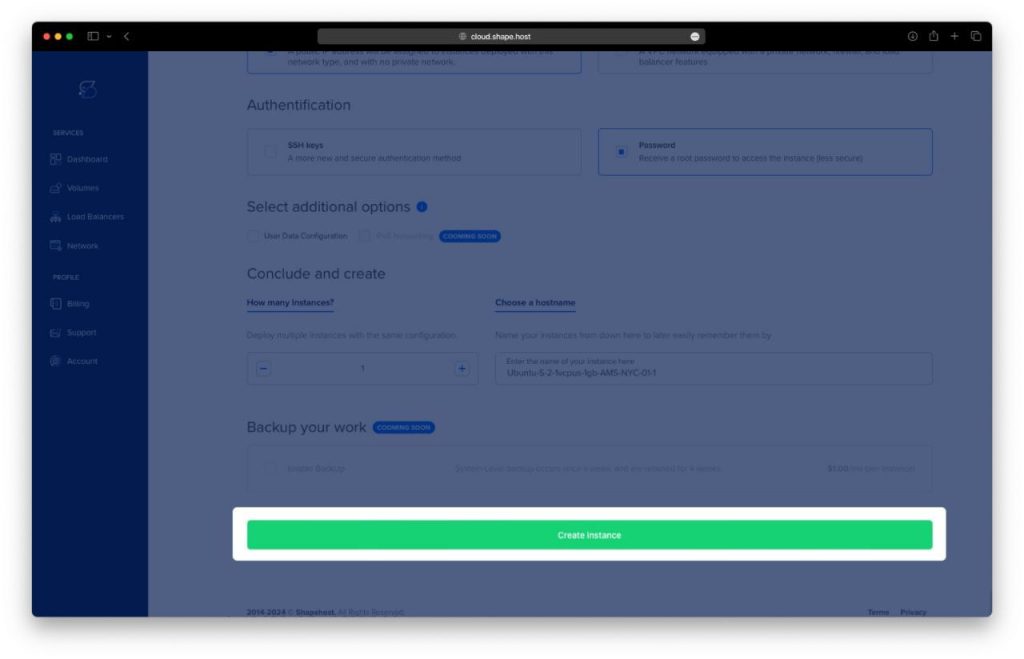
Click “Create Instance”.
After setup, copy the server’s IP address from the Resources tab.
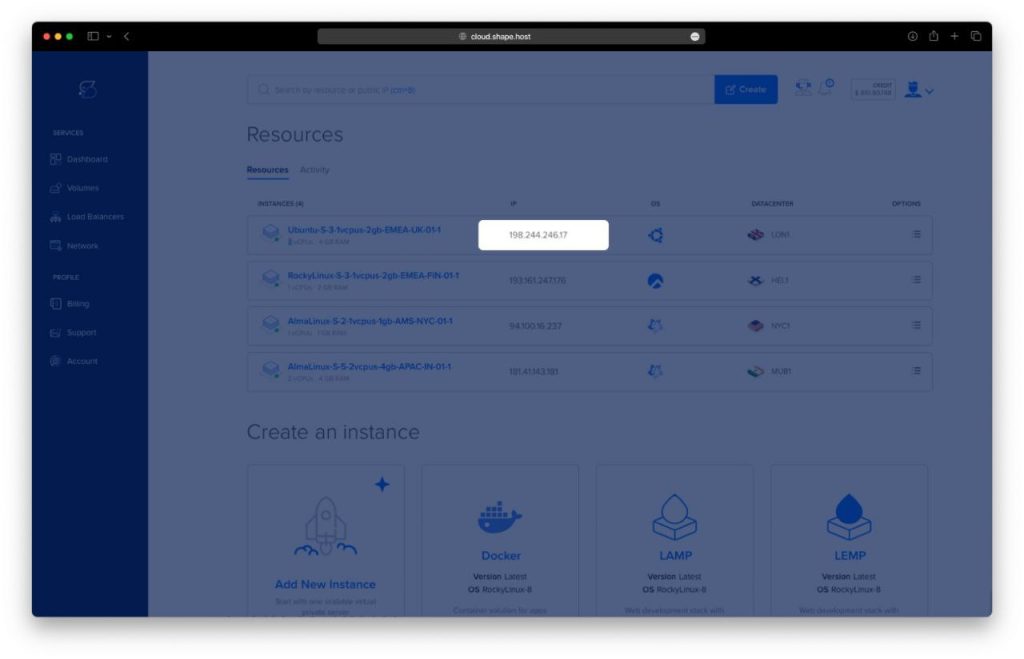
Connect via SSH:
ssh root@your-server-ip
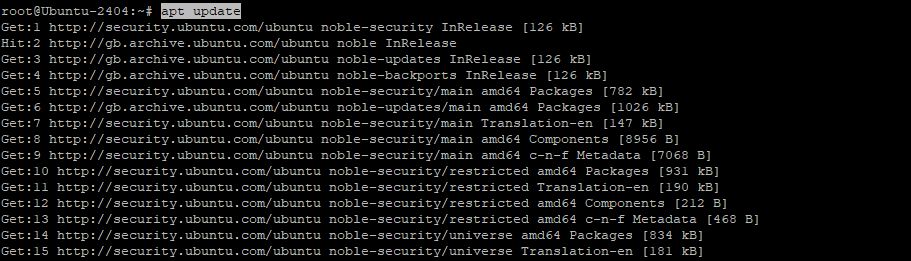
Step 1: Update the system
Update the package list:
apt update
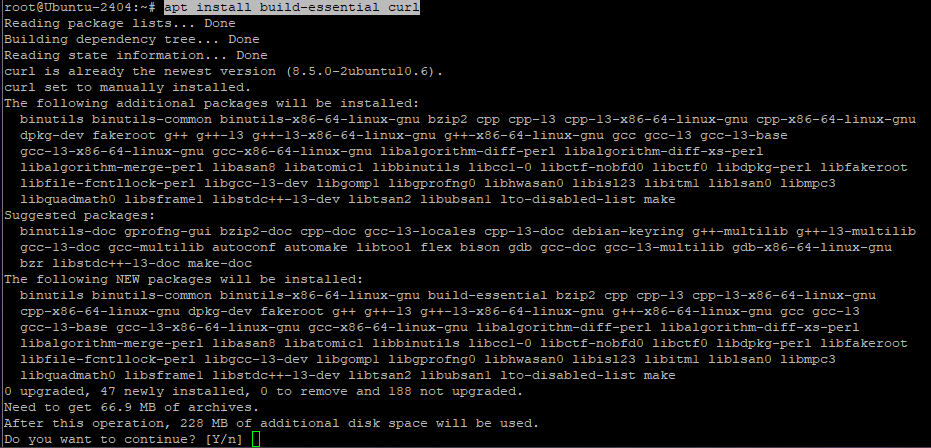
Step 2: Install basic build tools and curl
Install essential system packages:
apt install build-essential curl
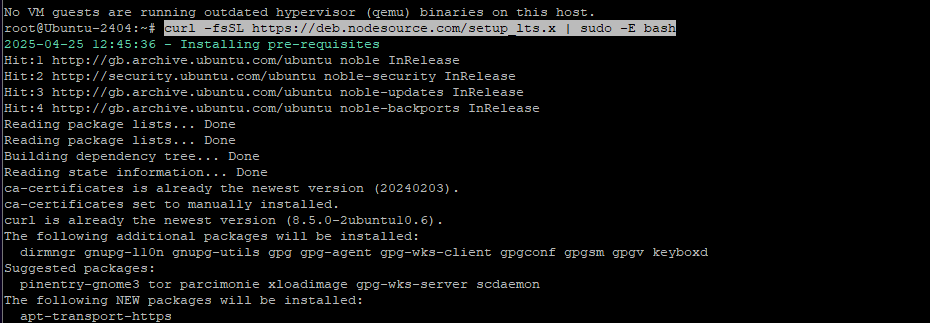
Step 3: Install Node.js (LTS version)
Download and add the Node.js LTS setup script:
curl -fsSL https://deb.nodesource.com/setup_lts.x | sudo -E bash -
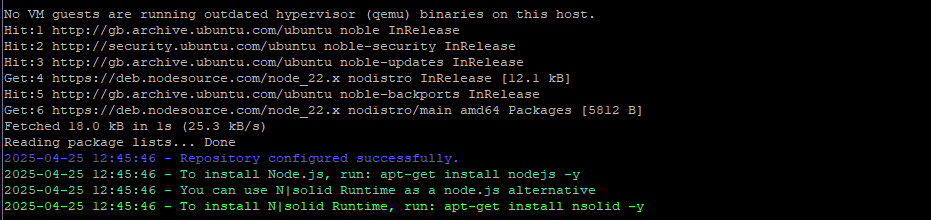
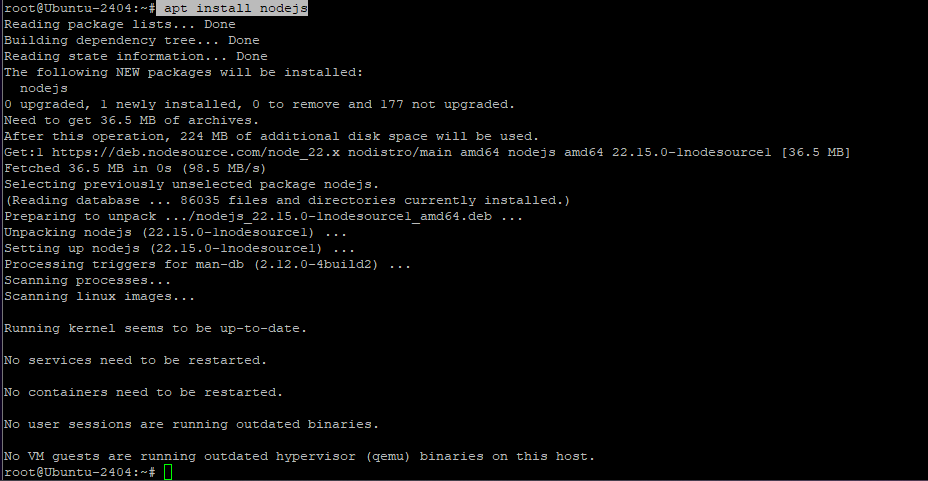
Install Node.js:
apt install nodejs
Check Node.js version:
node -v
Check npm version:
npm -v

Step 4: Install MongoDB 8
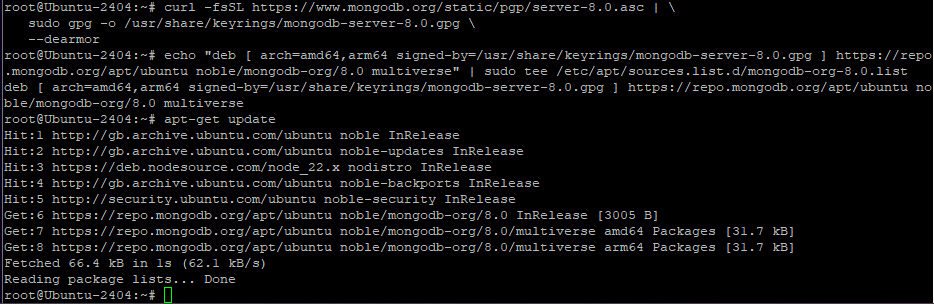
Import MongoDB public GPG key:
curl -fsSL https://www.mongodb.org/static/pgp/server-8.0.asc | sudo gpg -o /usr/share/keyrings/mongodb-server-8.0.gpg --dearmor
Add the MongoDB 8 repository:
echo "deb [ arch=amd64,arm64 signed-by=/usr/share/keyrings/mongodb-server-8.0.gpg ] https://repo.mongodb.org/apt/ubuntu noble/mongodb-org/8.0 multiverse" | sudo tee /etc/apt/sources.list.d/mongodb-org-8.0.list
Update the package list again:
apt-get update
Install MongoDB:
apt-get install mongodb-org

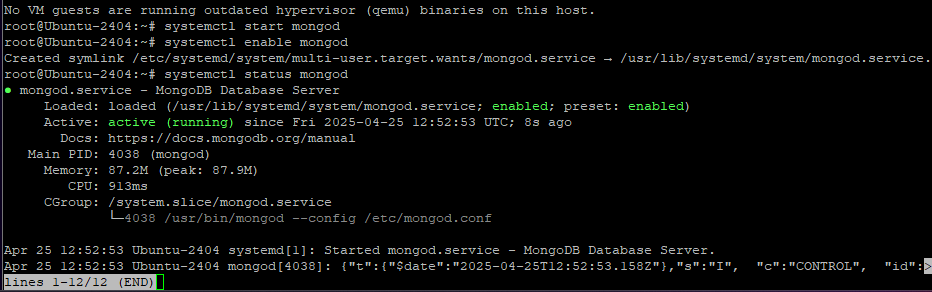
Start MongoDB service:
systemctl start mongod
Enable MongoDB to start at boot:
systemctl enable mongod
Check MongoDB status:
systemctl status mongod
Step 5: Create project structure
Create the project directory:
mkdir mern-realtime-app
cd mern-realtime-app
Inside the project, create backend and frontend folders:
mkdir -p backend frontend
List the folders to verify:
ls

Step 6: Set up the Backend
Navigate to backend:
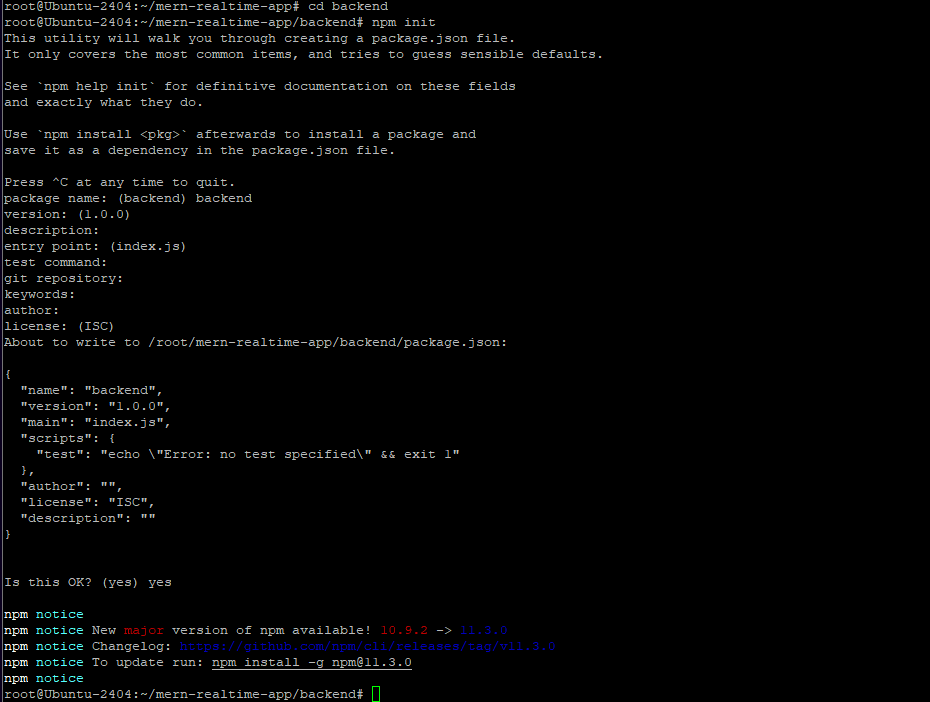
cd backend
Initialize a new Node.js project:
npm init
Install required backend packages:
npm install express socket.io cors mongoose dotenv

Create the server file:
touch server.js
ls
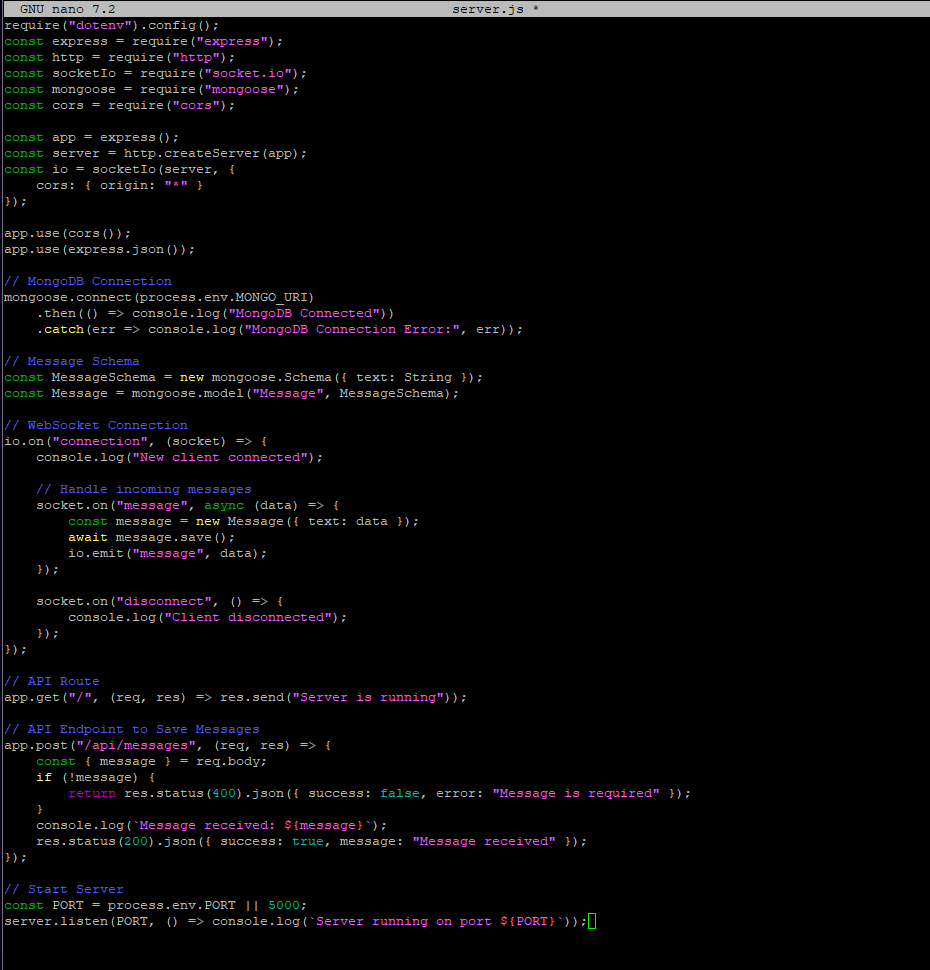
nano server.js
Paste the backend server code you provided.
require("dotenv").config();
const express = require("express");
const http = require("http");
const socketIo = require("socket.io");
const mongoose = require("mongoose");
const cors = require("cors");

const app = express();
const server = http.createServer(app);
const io = socketIo(server, {
    cors: { origin: "*" }
});

app.use(cors());
app.use(express.json());

// MongoDB Connection
mongoose.connect(process.env.MONGO_URI)
    .then(() => console.log("MongoDB Connected"))
    .catch(err => console.log("MongoDB Connection Error:", err));

// Message Schema
const MessageSchema = new mongoose.Schema({ text: String });
const Message = mongoose.model("Message", MessageSchema);

// WebSocket Connection
io.on("connection", (socket) => {
    console.log("New client connected");

    // Handle incoming messages
    socket.on("message", async (data) => {
        const message = new Message({ text: data });
        await message.save();
        io.emit("message", data);
    });

    socket.on("disconnect", () => {
        console.log("Client disconnected");
    });
});

// API Route
app.get("/", (req, res) => res.send("Server is running"));

// API Endpoint to Save Messages
app.post("/api/messages", (req, res) => {
    const { message } = req.body;
    if (!message) {
        return res.status(400).json({ success: false, error: "Message is required" });
    }
    console.log(`Message received: ${message}`);
    res.status(200).json({ success: true, message: "Message received" });
});

// Start Server
const PORT = process.env.PORT || 5000;
server.listen(PORT, () => console.log(`Server running on port ${PORT}`));
Create an environment file:
touch .env
nano .env

Inside .env file, paste:
MONGO_URI=mongodb://localhost:27017/realtime-chat
PORT=5000

Run the backend server:
node server.js

Step 7: Set up the Frontend (React App)
Go back to project root:
cd ..
Create a new Vite React app:
npm create vite@latest frontend -- --template react
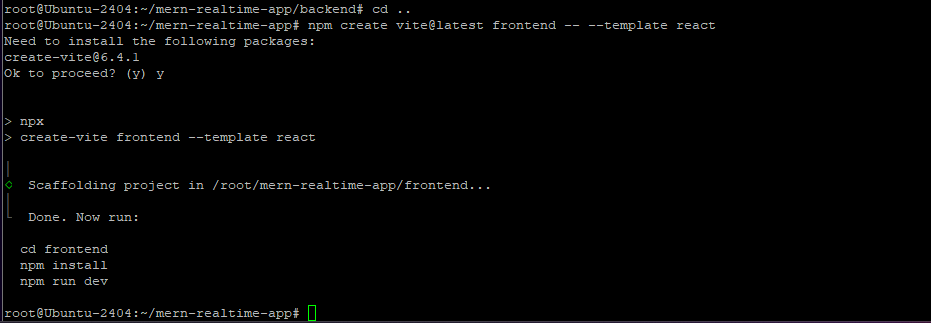
Move into the frontend directory:
cd frontend
Install frontend dependencies:
npm install

Install socket.io client for frontend:
npm install socket.io-client

Edit the React app’s main component:
nano src/App.jsx
Paste the full React Chat code you provided.
import { useEffect, useState } from "react";
import io from "socket.io-client";

const socket = io("ws://your-ec2-public-ip:5000"); // Use Public IP

function Chat() {
  const [messages, setMessages] = useState([]);
  const [input, setInput] = useState("");

  useEffect(() => {
    socket.on("message", (message) => {
      setMessages((prev) => [...prev, message]);
    });

    return () => socket.off("message");
  }, []);

  const sendMessage = () => {
    if (input.trim()) {
      socket.emit("message", input);
      setInput("");
    }
  };

  return (
    <div style={styles.container}>
      <h2 style={styles.title}>💬 Real-Time Chat</h2>

      <div style={styles.chatBox}>
        {messages.map((msg, index) => (
          <p key={index} style={styles.message}>{msg}</p>
        ))}
      </div>

      <div style={styles.inputContainer}>
        <input
          value={input}
          onChange={(e) => setInput(e.target.value)}
          placeholder="Type a message..."
          style={styles.input}
        />
        <button onClick={sendMessage} style={styles.button}>Send</button>
      </div>
    </div>
  );
}

// Styling object
const styles = {
  container: {
    maxWidth: "500px",
    margin: "40px auto",
    padding: "20px",
    border: "1px solid #ddd",
    borderRadius: "8px",
    boxShadow: "0 2px 10px rgba(0,0,0,0.1)",
    backgroundColor: "#fff",
    fontFamily: "Arial, sans-serif",
    textAlign: "center"
  },
  title: {
    color: "#333",
  },
  chatBox: {
    height: "300px",
    overflowY: "auto",
    border: "1px solid #ddd",
    padding: "10px",
    borderRadius: "5px",
    backgroundColor: "#f9f9f9",
    textAlign: "left",
  },
  message: {
    background: "#e3f2fd",
    padding: "10px",
    borderRadius: "5px",
    margin: "5px 0",
    display: "inline-block",
    maxWidth: "80%",
  },
  inputContainer: {
    display: "flex",
    marginTop: "10px",
  },
  input: {
    flex: 1,
    padding: "10px",
    borderRadius: "5px",
    border: "1px solid #ccc",
  },
  button: {
    marginLeft: "10px",
    padding: "10px 15px",
    border: "none",
    borderRadius: "5px",
    backgroundColor: "#007bff",
    color: "white",
    cursor: "pointer",
  }
};

export default Chat;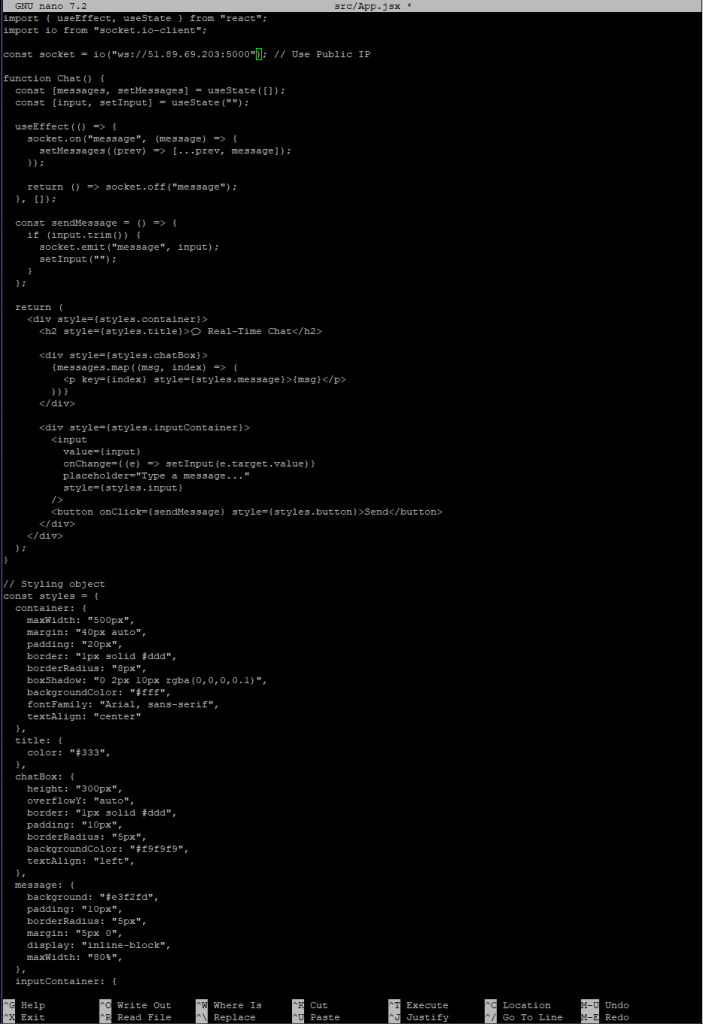
Step 8: Manage Backend Process with PM2
Go back to project root:
cd ..
Install PM2 globally:
npm install -g pm2
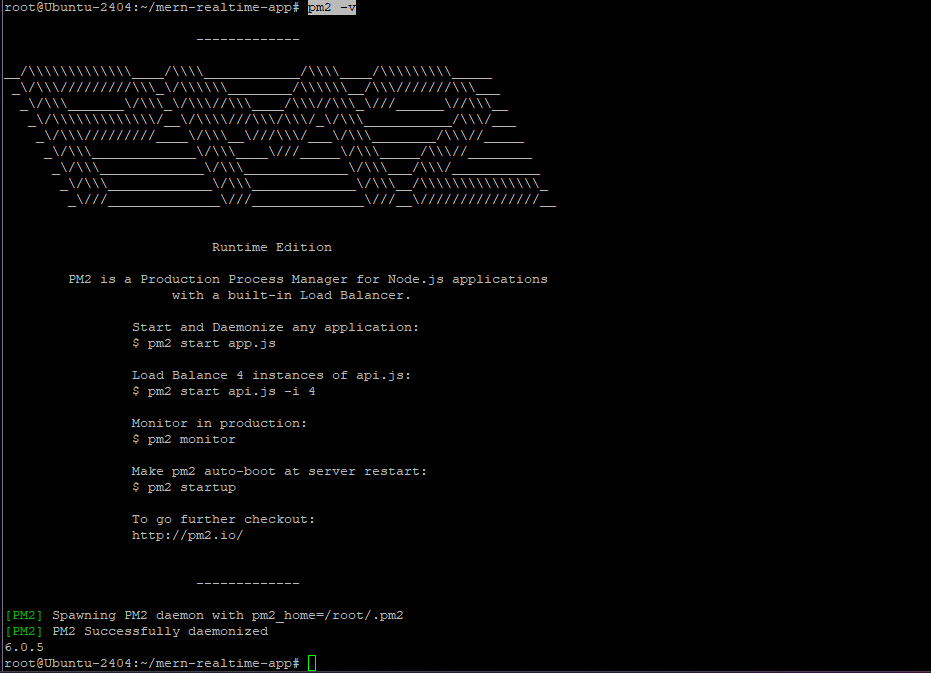
Check PM2 version:

pm2 -v
Move into the backend:
cd backend
Start the backend server with PM2:
pm2 start server.js --name backend

Save the PM2 process list:
pm2 save

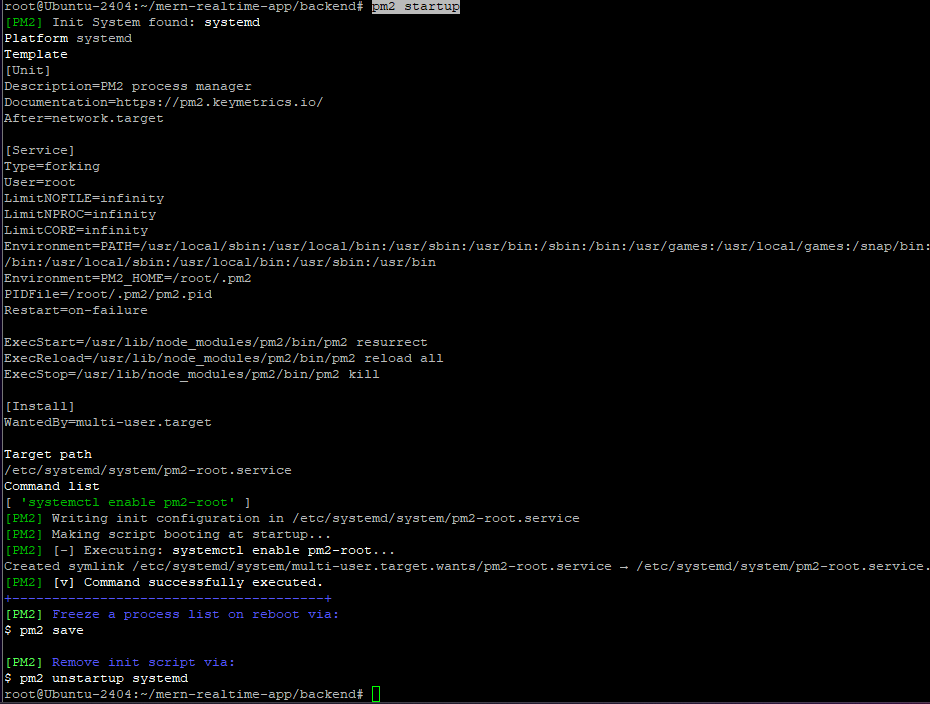
Set PM2 to start automatically on server boot:
pm2 startup
View PM2 logs:
pm2 logs backend

Step 9: Start Frontend Dev Server
Go back to the project root:
cd ..
Move into the frontend folder:
cd frontend
Run the React development server:
npm run dev -- --host
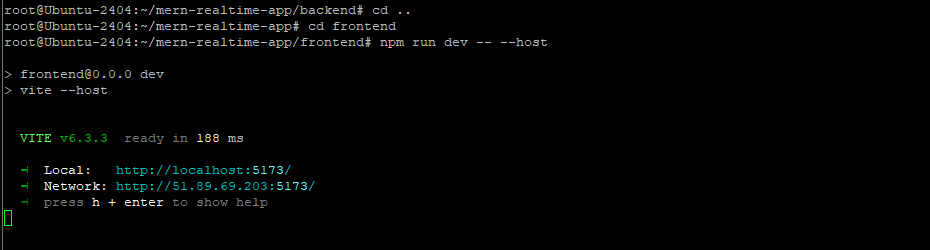
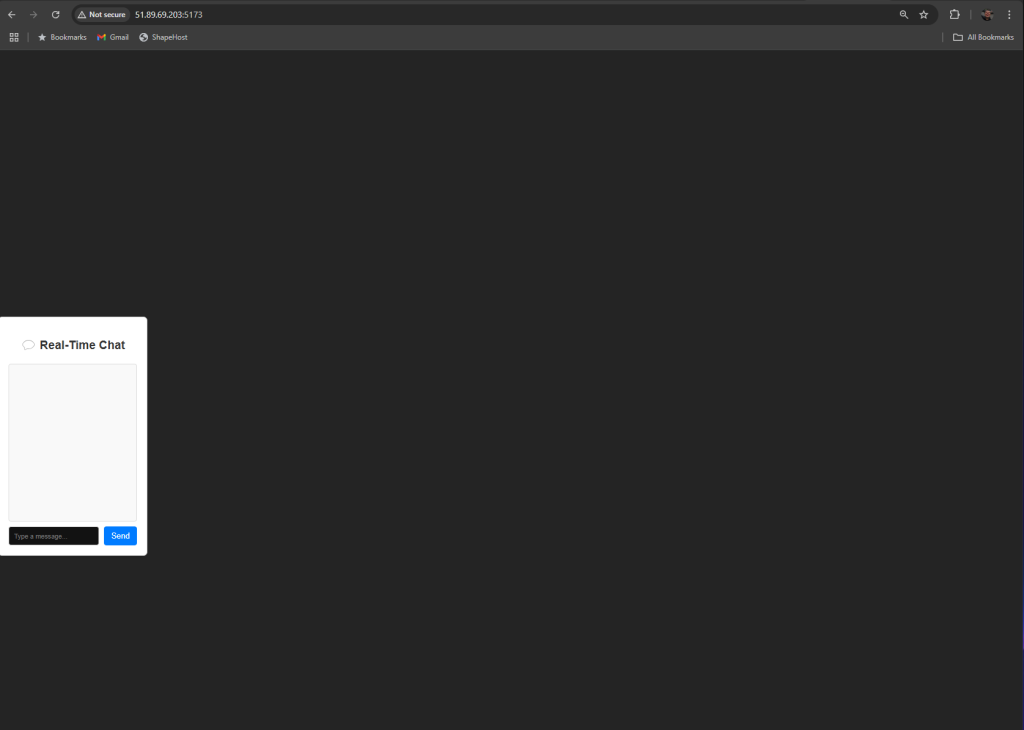
Now open the frontend at:
http://your-server-ip:5173
Open two browser tabs (or devices) to test real-time messaging.
Step 10: Check Messages in MongoDB
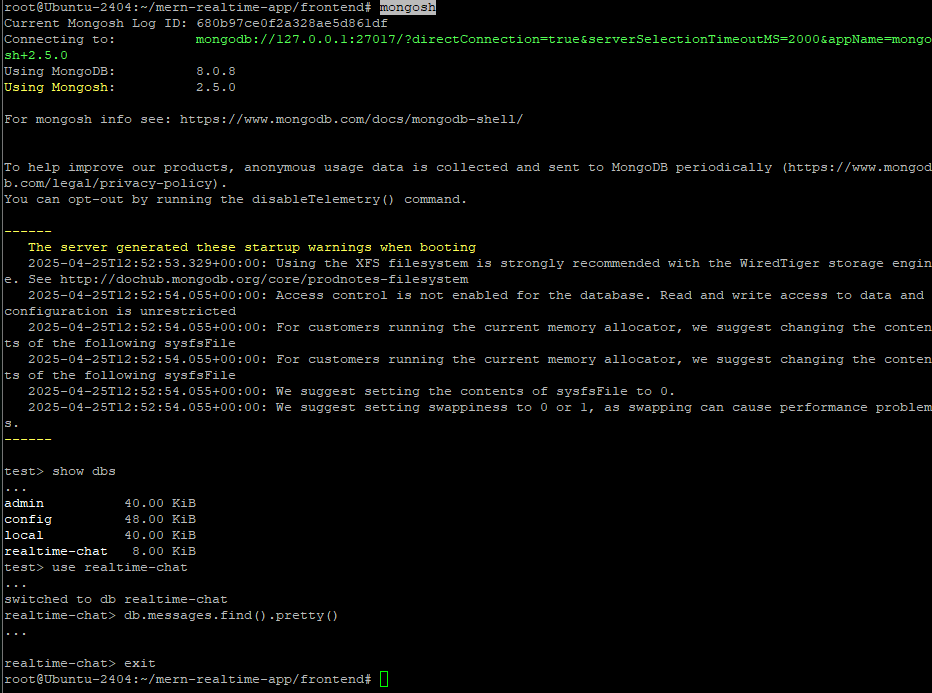
Open MongoDB shell:
mongosh
List all databases:
show dbs
Switch to your app database:
use realtime-chat
Show all saved messages:
db.messages.find().pretty()
Exit MongoDB shell:
exit
Step 11: Configure Nginx for Production
Install Nginx and Certbot for SSL:
apt install certbot python3-certbot-nginx

Create a new Nginx configuration file:
nano /etc/nginx/sites-available/mern
Paste this configuration (replace your-domain.com with your domain):
server {
    listen 80;
    server_name your-domain.com www.your-domain.com;

    root /var/www/mern-client/build;
    index index.html;

    location / {
        try_files $uri /index.html;
    }

    location /api/ {
        proxy_pass http://localhost:5000/;
        proxy_http_version 1.1;
        proxy_set_header Upgrade $http_upgrade;
        proxy_set_header Connection 'upgrade';
        proxy_set_header Host $host;
        proxy_cache_bypass $http_upgrade;
    }

    location /socket.io/ {
        proxy_pass http://localhost:5000;
        proxy_http_version 1.1;
        proxy_set_header Upgrade $http_upgrade;
        proxy_set_header Connection "Upgrade";
        proxy_set_header Host $host;
        proxy_cache_bypass $http_upgrade;
    }

    error_page 404 /index.html;
}

Enable the Nginx configuration:
ln -s /etc/nginx/sites-available/mern /etc/nginx/sites-enabled/
Test Nginx configuration:
nginx -t
Reload Nginx:
systemctl reload nginx

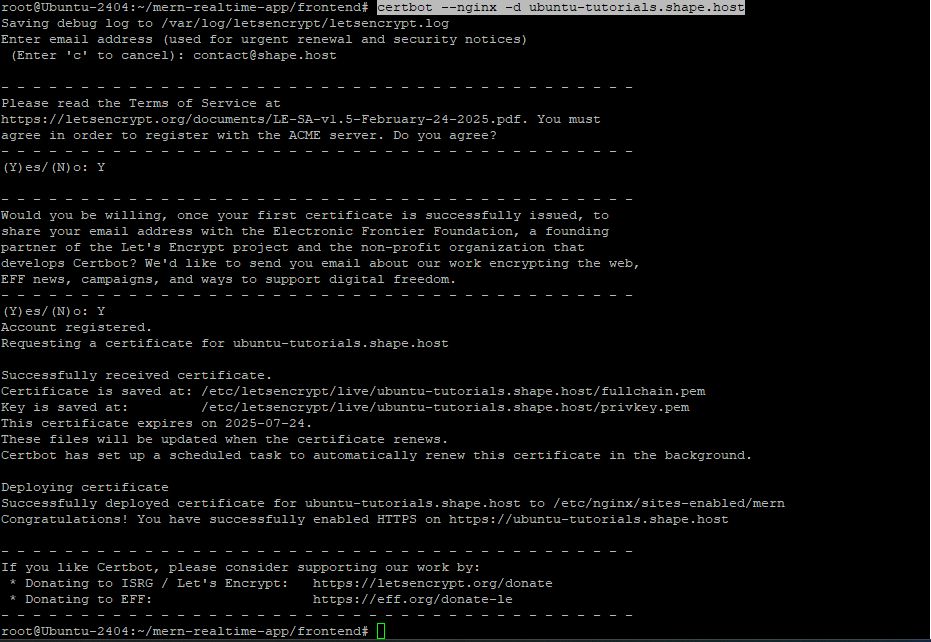
Step 12: Secure the Application with SSL
Request an SSL certificate:
certbot --nginx -d your-domain.com
Now your MERN Stack real-time chat app is fully deployed with:
- Node.js backend
- MongoDB 8 database
- React frontend (via Vite)
- PM2 managing the backend process
- Nginx serving the frontend and proxying backend API
- HTTPS secured with Certbot
Your application is ready for production.
For reliable performance, we recommend using Shape.Host Linux SSD VPS services.
They provide:
- High-performance SSD storage
- Latest Ubuntu 24.04 images
- Flexible plans with full root access
- Excellent support and easy scaling
You can create your own fast Linux instance at Shape.Host and deploy your applications easily.