How to Install OpenClaw on Ubuntu 24.04
OpenClaw is a multi-channel AI gateway with extensible messaging integrations, a local CLI, gateway services, agent tooling, browser automation helpers, and onboarding workflows for turning a server into an automation control point. If you want a fresh Ubuntu 24.04 base for experimenting with OpenClaw, the most important detail is version compatibility: the current release expects a modern Node.js 22 runtime rather than Ubuntu’s older default Node package.
In this guide, we restore a fresh Ubuntu 24.04.1 LTS server on Shape.Host CloudStack, verify the latest OpenClaw release and its published Node requirement, switch the server to Node.js 22, install openclaw@latest globally with npm, and finish with real CLI and doctor checks on the live host.
What Is OpenClaw?
OpenClaw is an open-source CLI and gateway platform for running AI-assisted workflows across channels, local tools, browser sessions, background services, and extensible plugins. The current command surface includes agent execution, gateway management, approvals, browser helpers, cron jobs, docs search, model configuration, sandbox management, plugins, and interactive onboarding.
Versions Used in This Tutorial
| Component | Version Verified | Source |
|---|---|---|
| Ubuntu | 24.04.1 LTS | Fresh Shape.Host restore and /etc/os-release check |
| OpenClaw | 2026.3.13 | Current npm package version at install time |
| OpenClaw Node requirement | >=22.16.0 |
Published npm engine requirement |
| Node.js | 22.22.1 | Installed from the Node 22 upstream repository |
| npm | 10.9.4 | Installed with Node.js 22 |
Why Install OpenClaw on Ubuntu 24.04?
- Ubuntu 24.04.1 LTS gives you a stable long-term support base for OpenClaw experiments and future service setup.
- OpenClaw ships as an npm package, which makes Ubuntu a practical target once the Node runtime is aligned with the upstream requirement.
- The CLI includes built-in setup, onboarding, doctor, docs, gateway, and plugin commands, so a fresh install already gives you a meaningful command surface.
- Starting from a clean VM makes it easier to separate installation issues from later provider, token, or gateway configuration choices.
Prerequisites
- A fresh Ubuntu 24.04 server
- Root or sudo access
- Outbound internet access for package downloads
- At least 2 vCPU, 4 GB RAM, and 50 GB storage for a comfortable test environment
1. Verify the Operating System
Start by confirming that the server is running Ubuntu 24.04.1 LTS.
cat /etc/os-release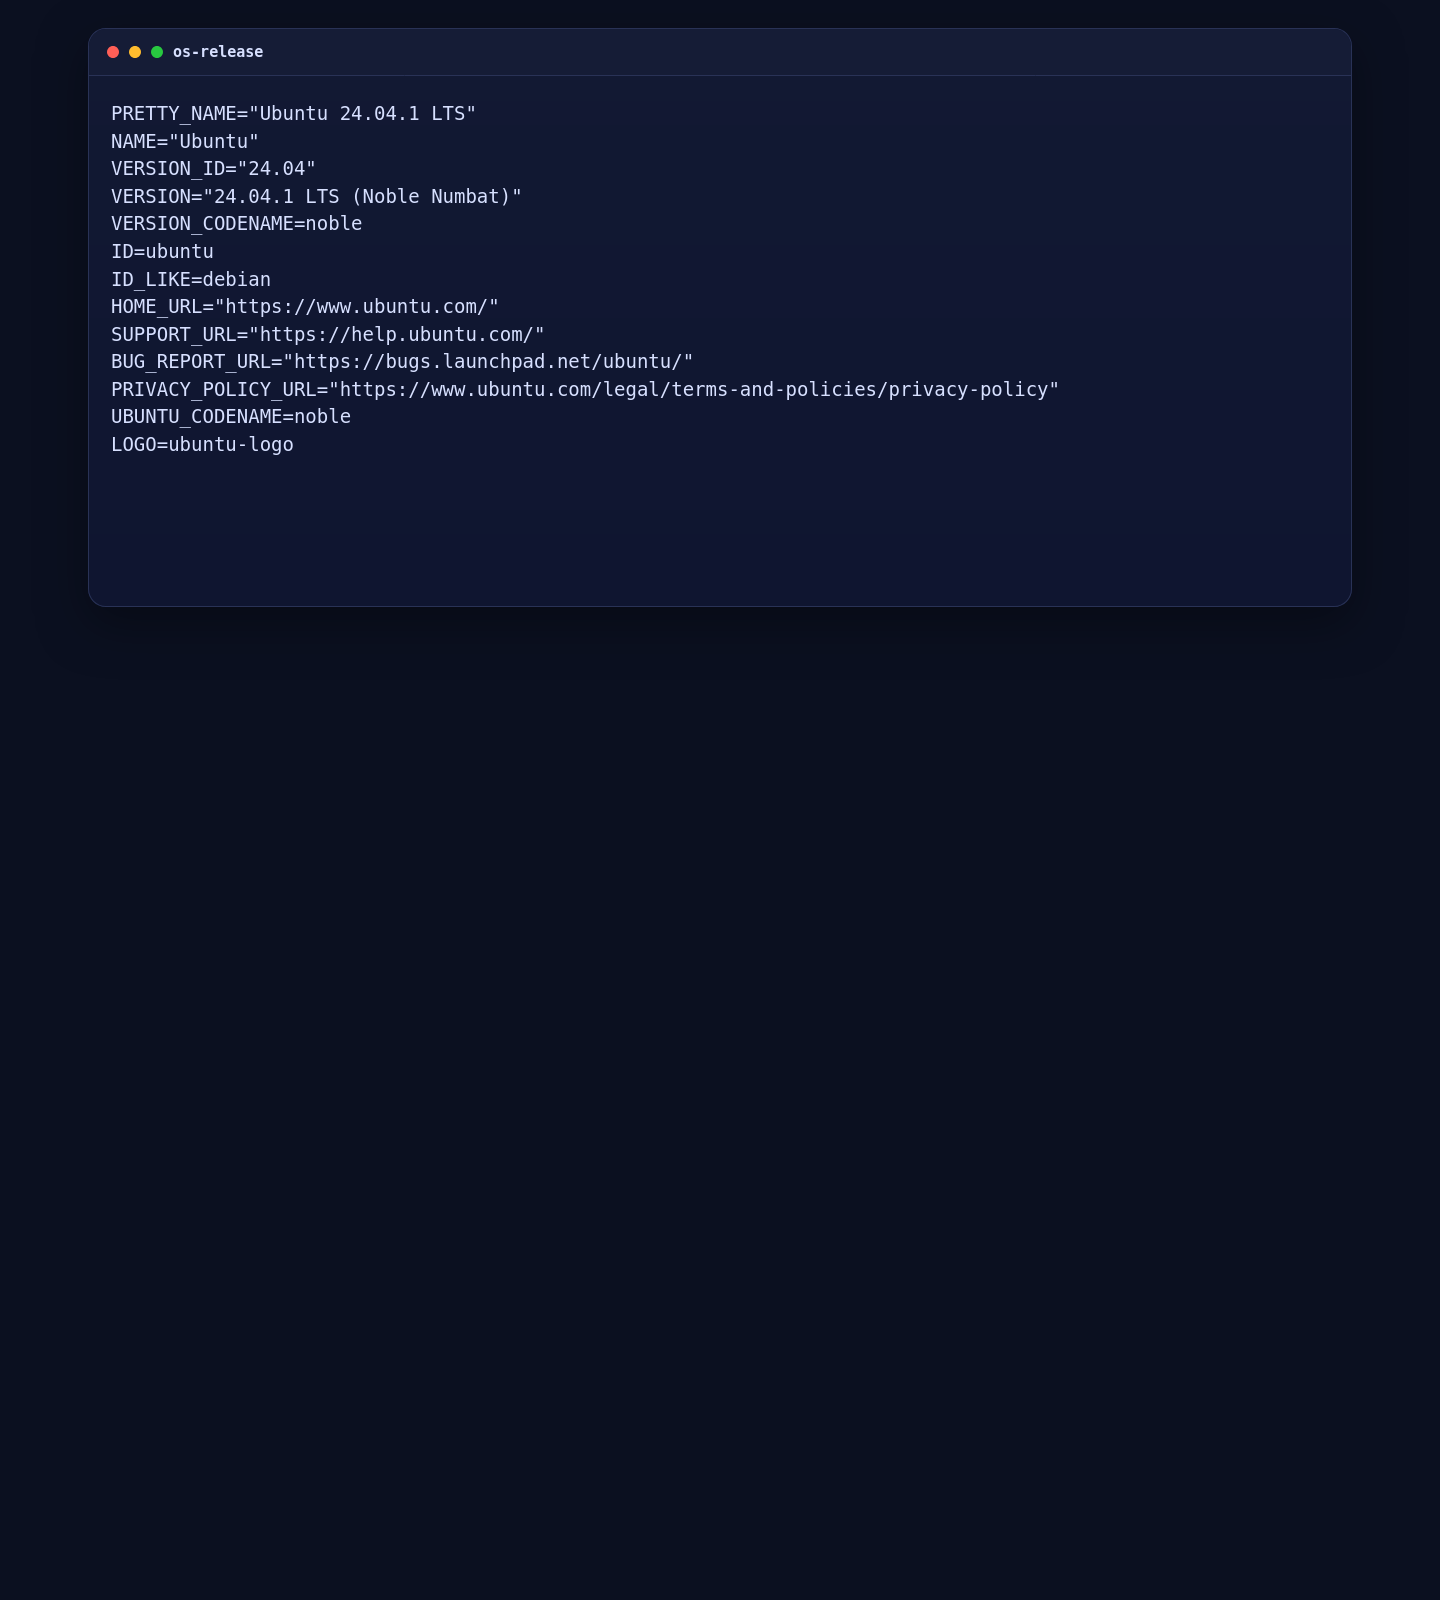
2. Update the Server and Install Base Build Tools
Before touching Node.js or npm, update the machine and install the base packages used for repository setup and native module builds.
apt-get update
DEBIAN_FRONTEND=noninteractive apt-get -y upgrade
DEBIAN_FRONTEND=noninteractive apt-get install -y curl ca-certificates gnupg build-essential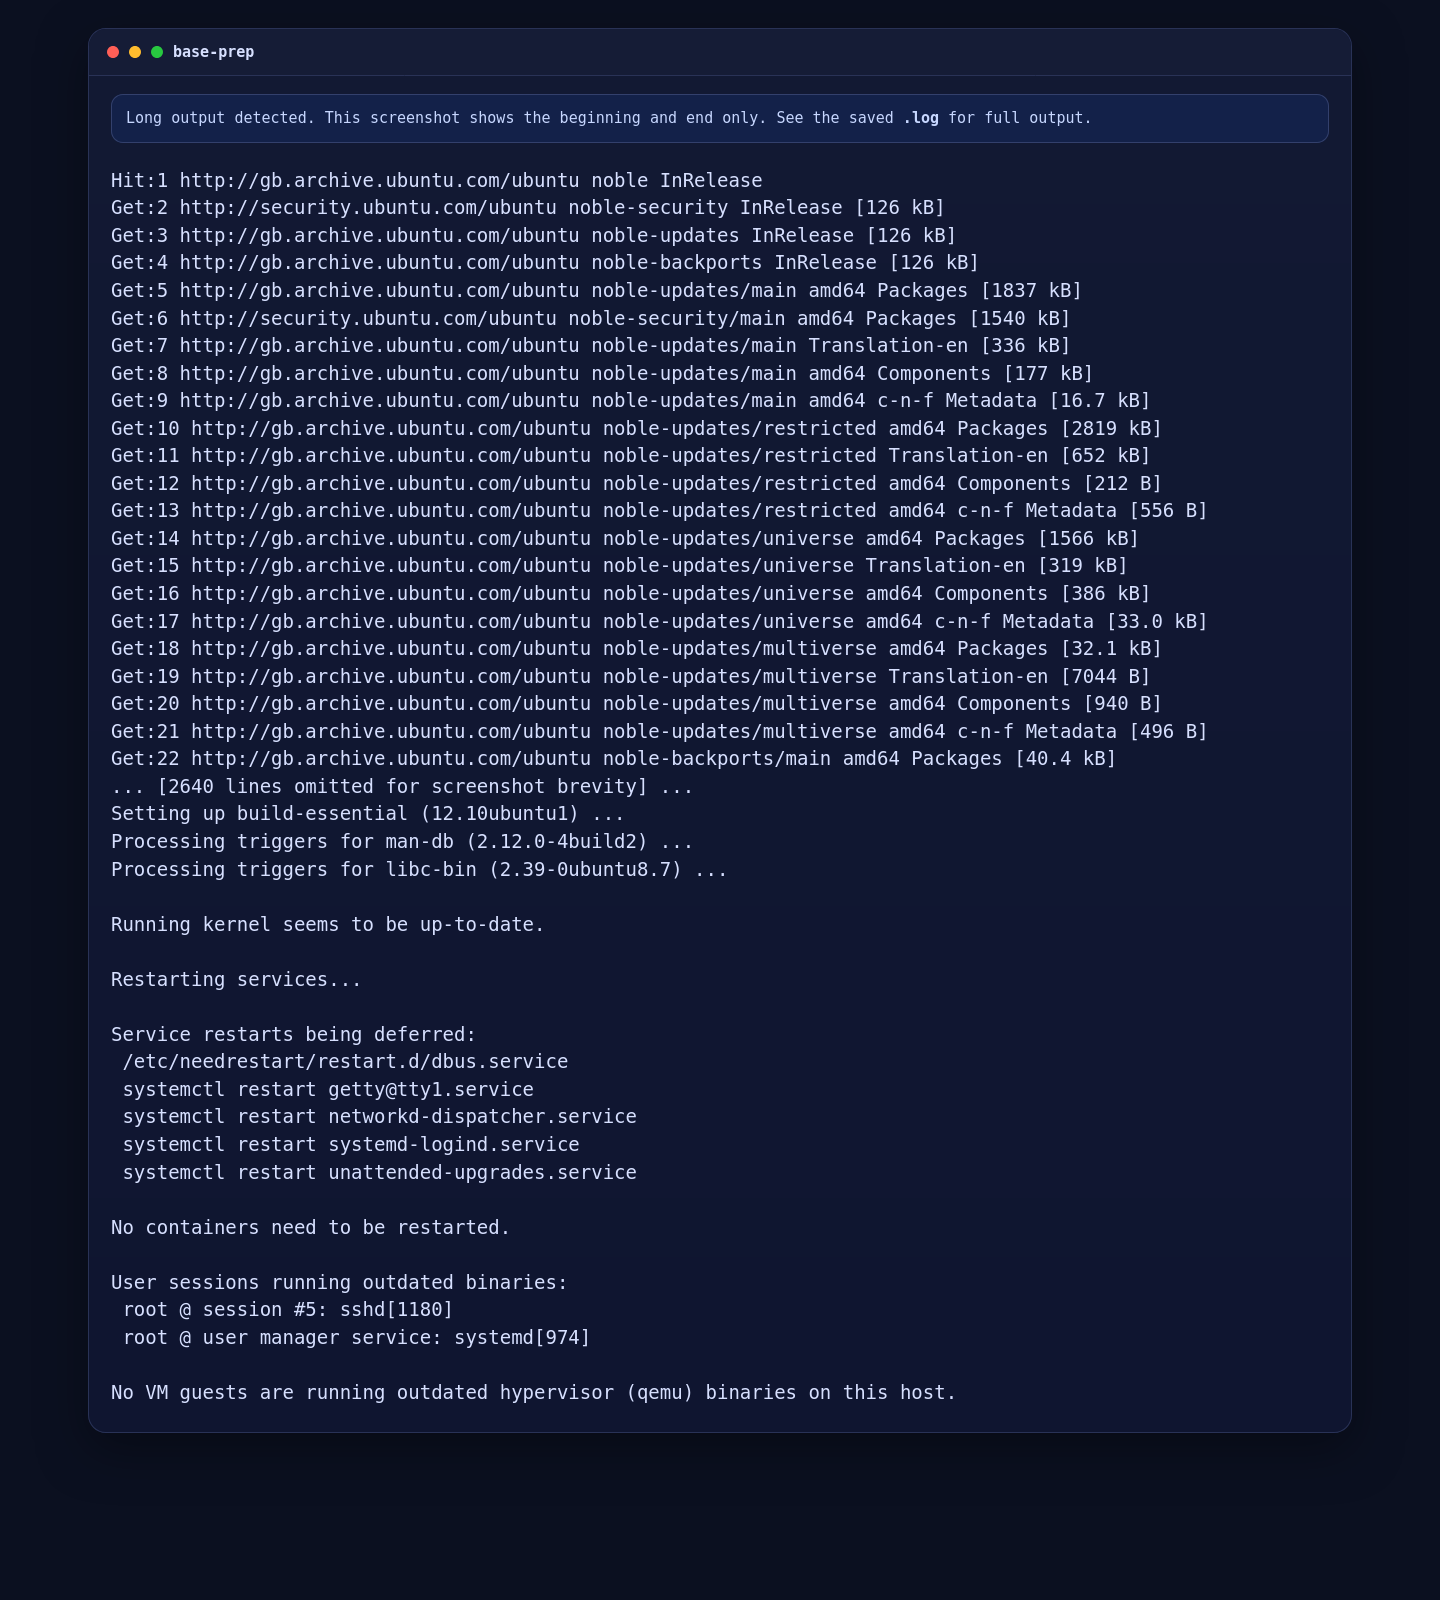
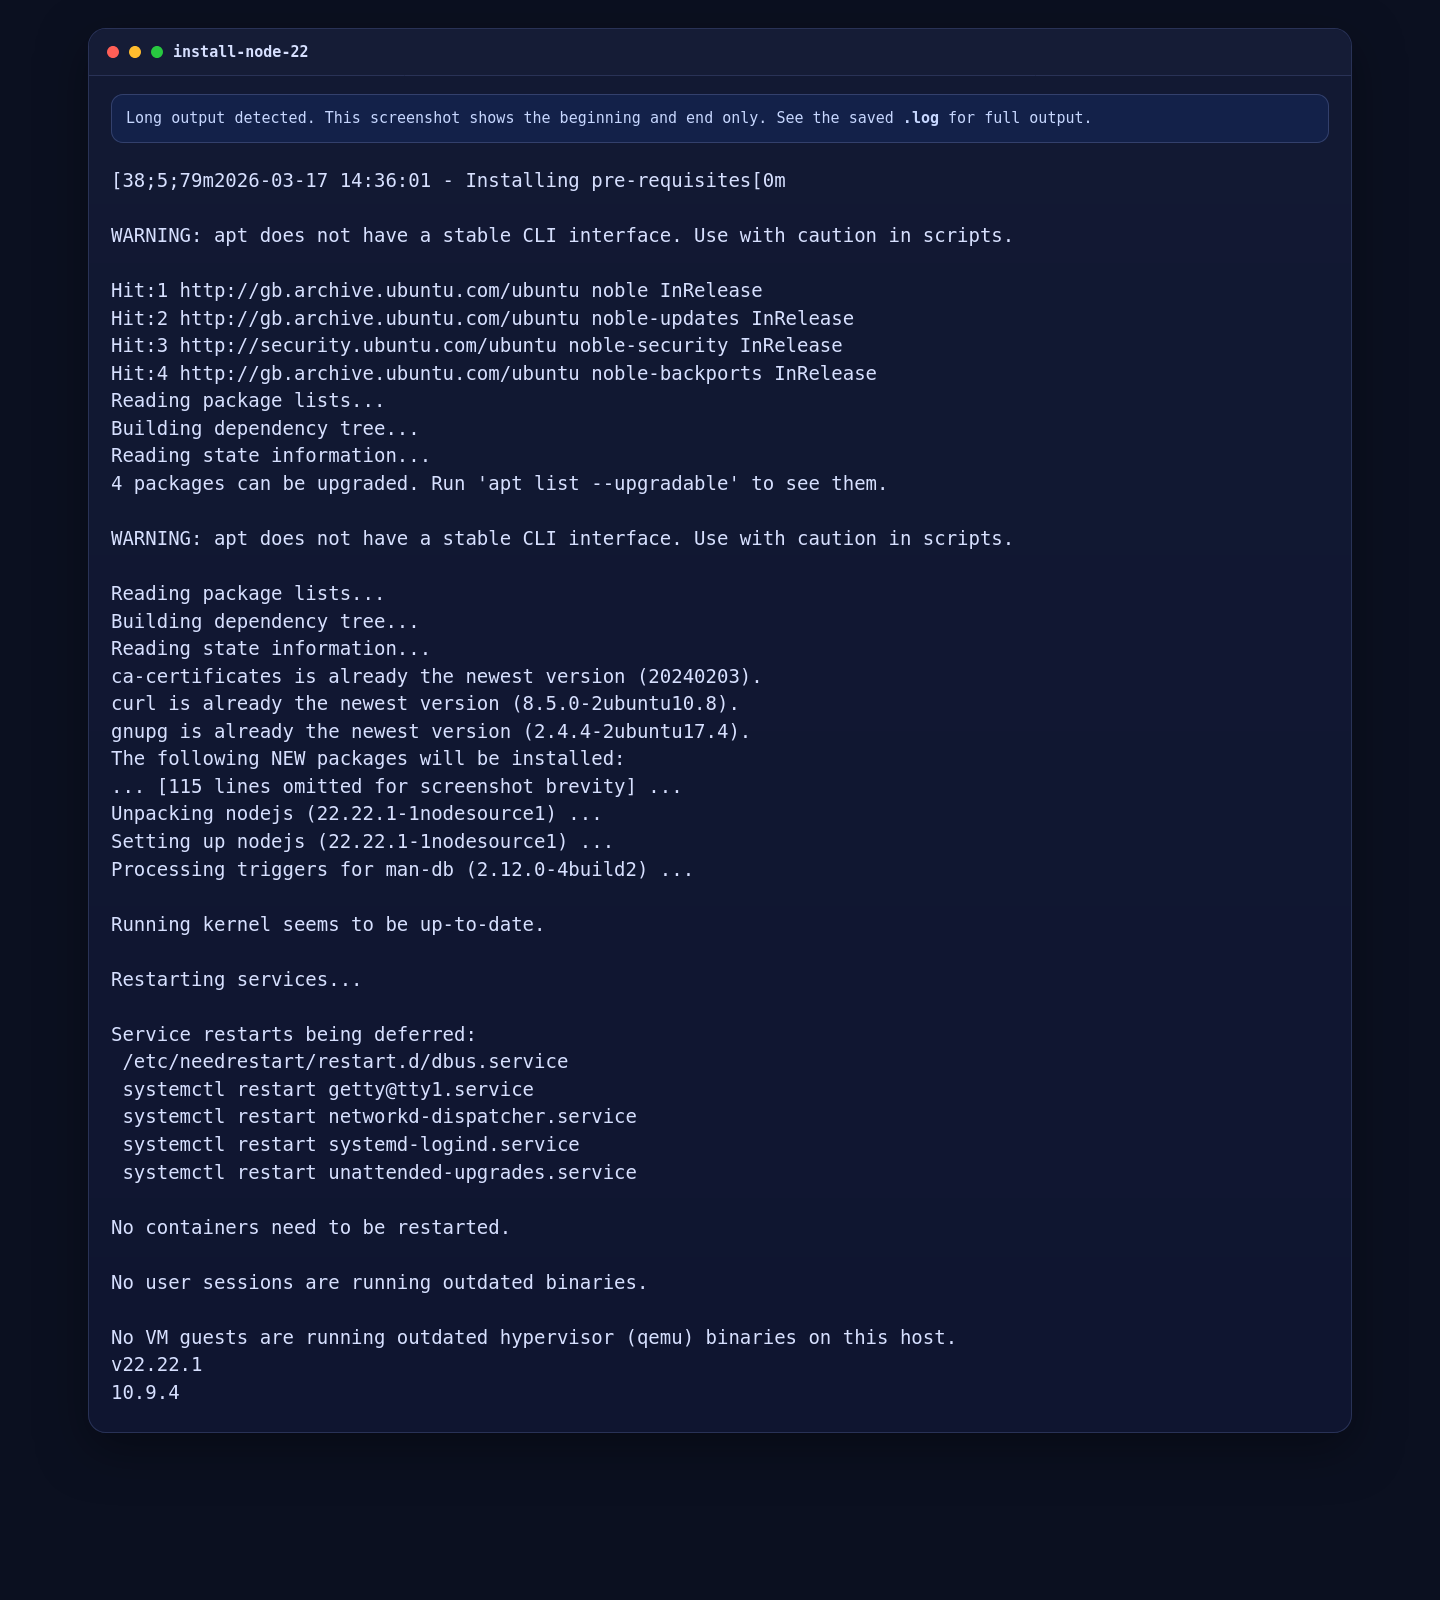
3. Replace Ubuntu’s Default Node Path with Node.js 22
At the time of this install, Ubuntu 24.04 still offered Node 18 from the default package source, while the current OpenClaw release published a Node engine requirement of >=22.16.0. Because of that mismatch, the practical installation path is to add the Node 22 repository first.
curl -fsSL https://deb.nodesource.com/setup_22.x | bash -
DEBIAN_FRONTEND=noninteractive apt-get install -y nodejs
node --version
npm --version
On this live server, that produced:
- Node.js
v22.22.1 - npm
10.9.4
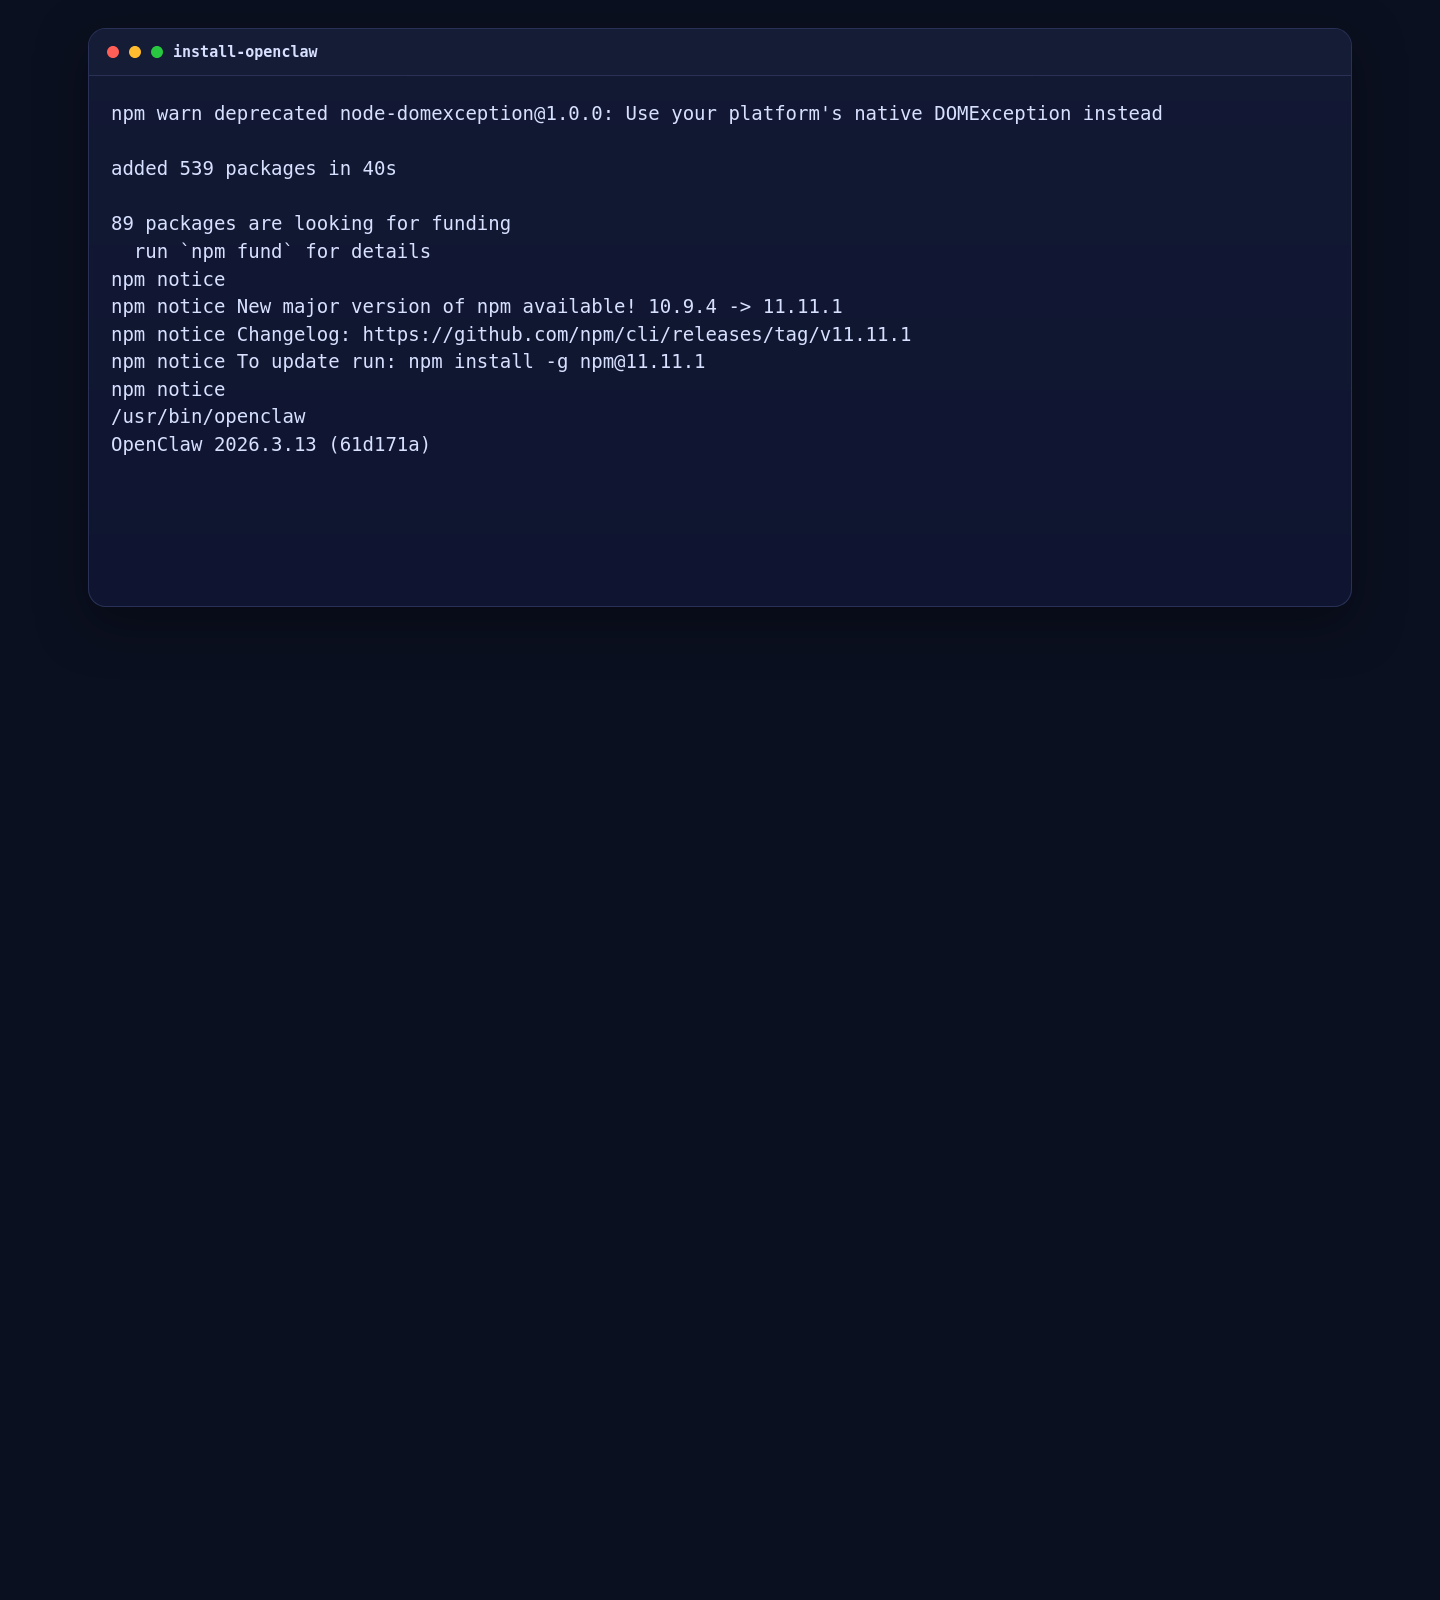
4. Install the Latest OpenClaw Release with npm
Once Node.js 22 is in place, install the latest OpenClaw release globally:
npm install -g openclaw@latest
command -v openclaw
openclaw --version
On the Shape.Host test VM, the installed CLI reported OpenClaw 2026.3.13 (61d171a).
5. Inspect the Available OpenClaw Commands
After installation, confirm that the CLI is responding and inspect the main command groups:
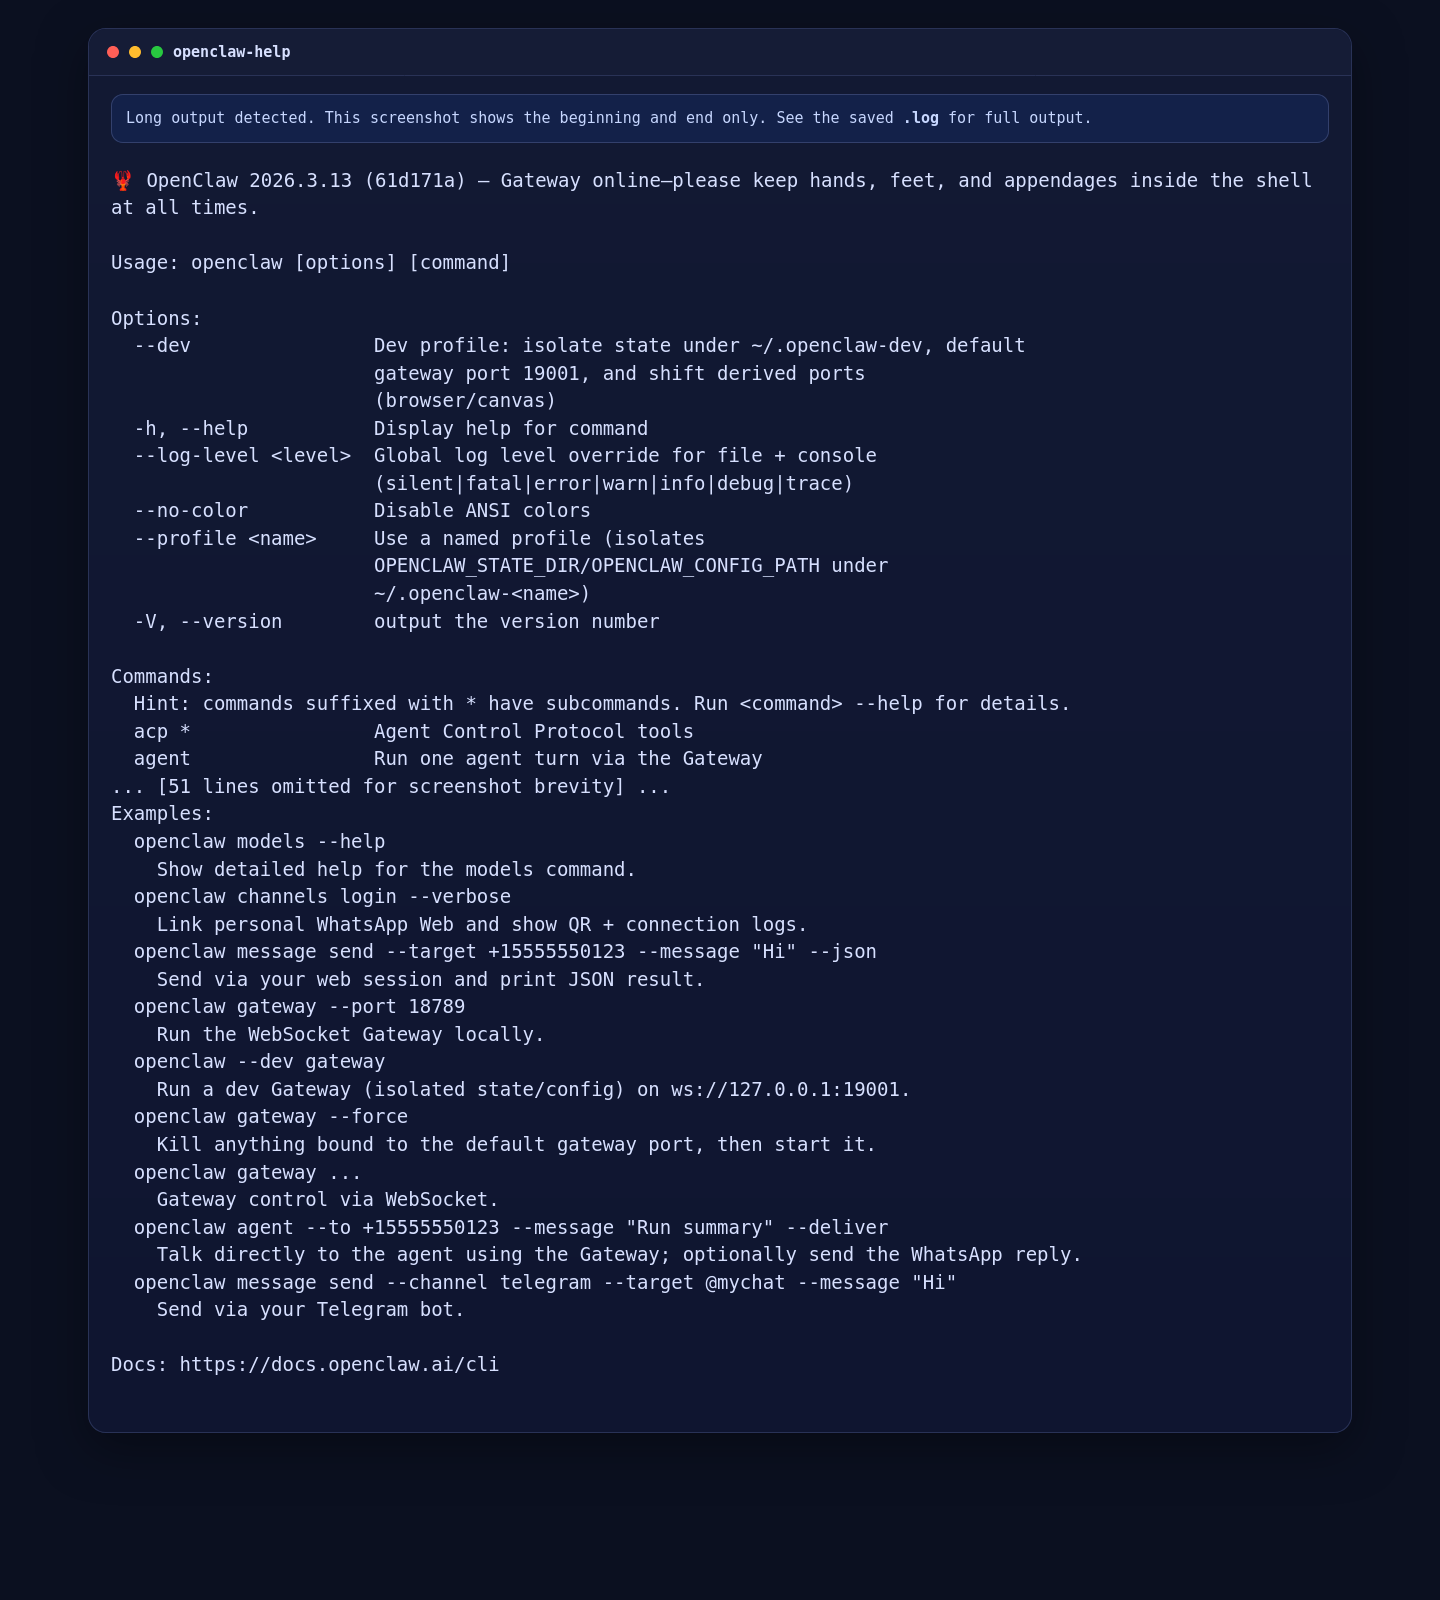
openclaw --helpThe live CLI exposed the expected command families, including gateway, agents, browser, cron, docs, models, plugins, status, security, and onboarding commands.
6. Run a Post-install Health Check
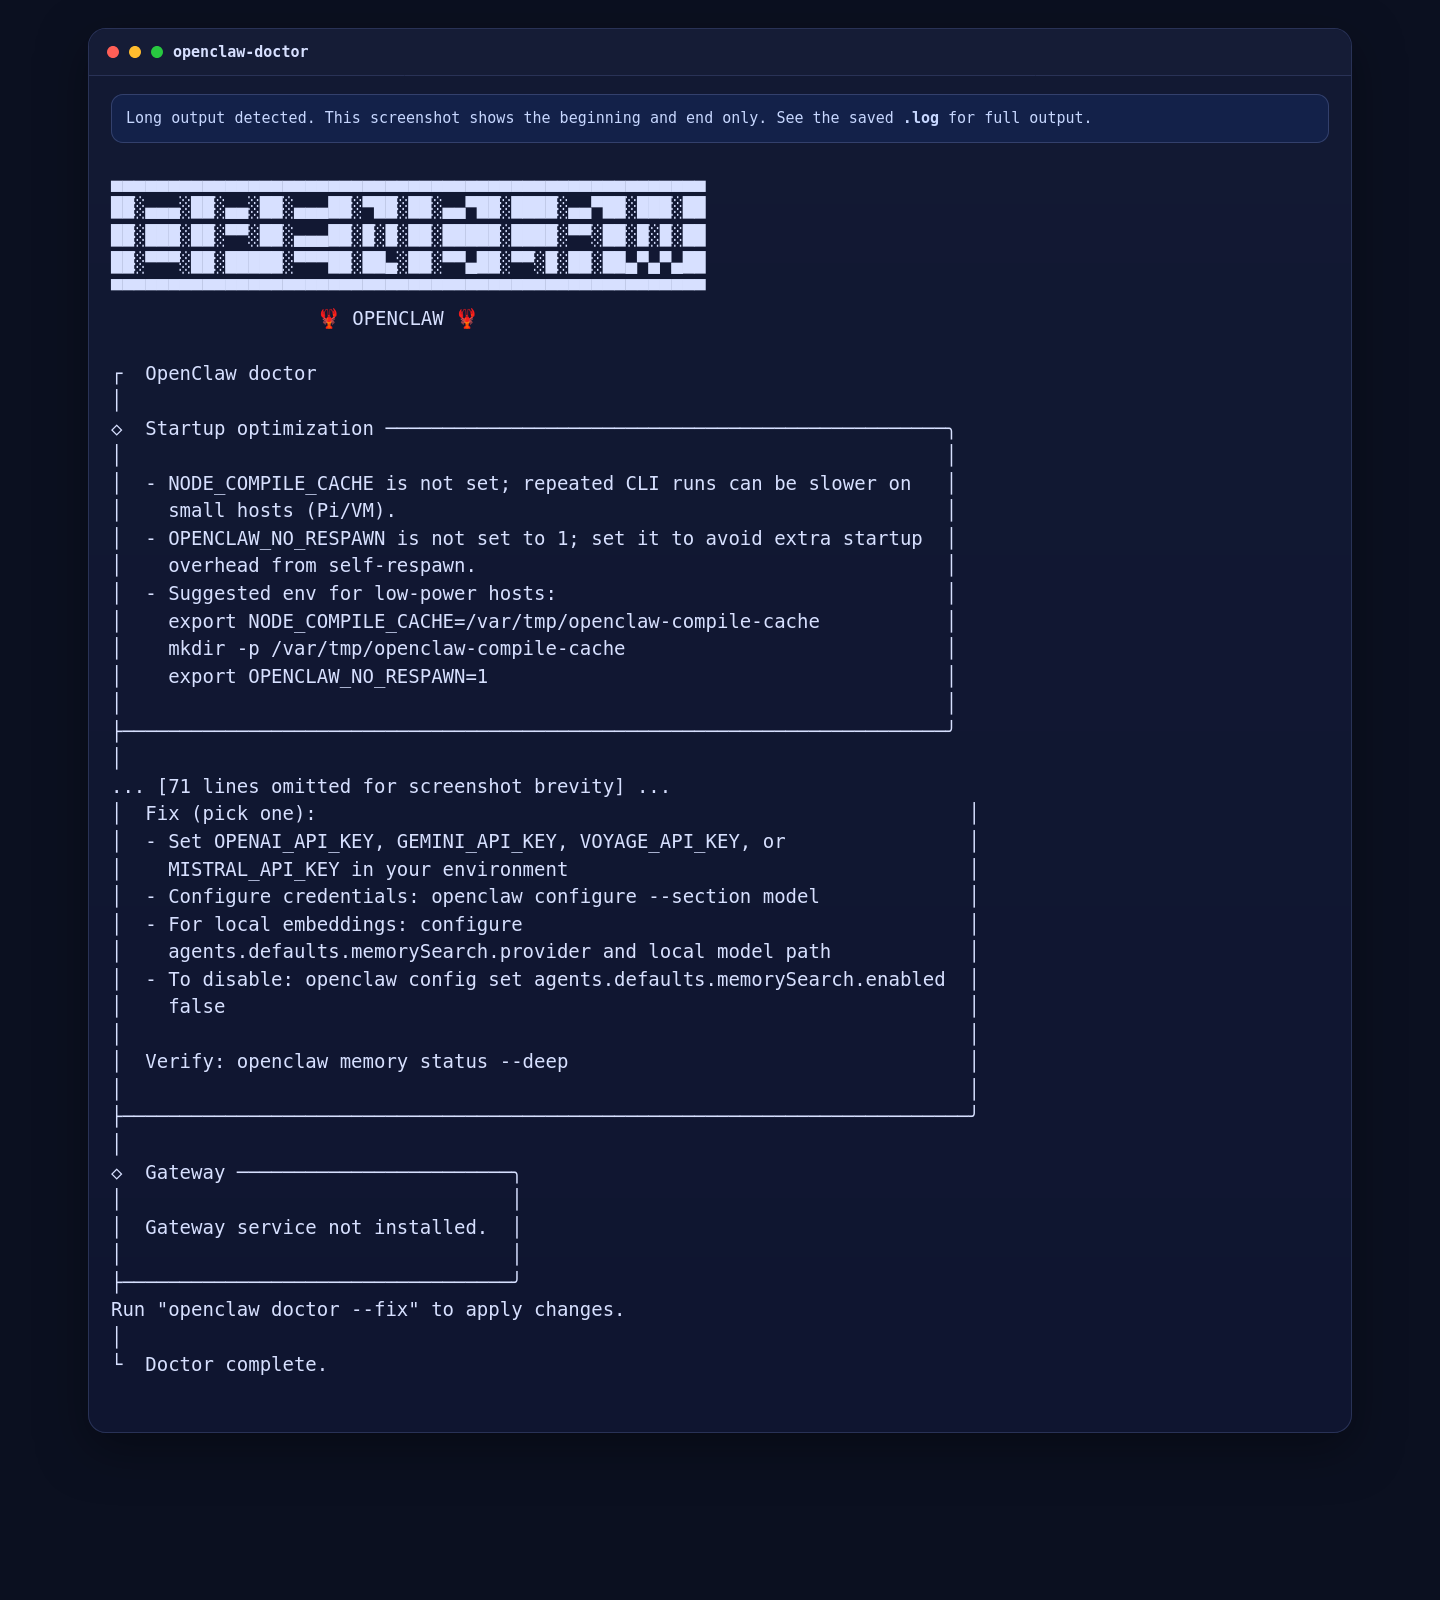
Because this is a fresh install, openclaw doctor is a good final check. It confirms the CLI is present and then tells you which parts still need setup, such as gateway mode, auth, or onboarding state.
openclaw doctorOn a brand-new server, warnings about missing gateway configuration or session directories are expected. They indicate that OpenClaw is installed but not yet onboarded, which is normal at this stage.
Next Steps After Installation
Once the CLI is installed, the next commands to know are:
openclaw configure
openclaw onboard --install-daemon
openclaw doctor --fix
The upstream onboarding flow supports both interactive setup and non-interactive flags, including daemon installation, gateway bind mode, gateway auth mode, workspace path, and API key selection.
Troubleshooting Notes
- If
npm install -g openclaw@latestfails on a clean Ubuntu host, check your Node version first. The current OpenClaw release does not target Ubuntu’s default Node 18 package. - If the CLI is installed but
openclaw doctorreports missing gateway configuration, that is normal on a fresh machine beforeopenclaw configureoropenclaw onboard. - If you want a background service immediately, the upstream onboarding flow supports
openclaw onboard --install-daemon.
Conclusion
You now have the latest OpenClaw release installed on Ubuntu 24.04 with a compatible Node.js 22 runtime. On this live Shape.Host deployment, the final versions were Ubuntu 24.04.1 LTS, Node.js 22.22.1, npm 10.9.4, and OpenClaw 2026.3.13.
From here, the sensible next move is to complete the OpenClaw onboarding flow, choose your gateway mode and auth method, add the provider credentials you actually want to use, and optionally install the daemon service for a more permanent setup.