What is Apache CGI?
CGI (Common Gateway Interface) is an early standard for interfacing external applications with web servers. With Apache HTTP Server, CGI scripts can be written in any language (like Perl, Python, Bash, or C) and executed when a client requests a specific resource. This is useful for dynamic content generation, legacy script support, and lightweight web utilities.
On Ubuntu 24.04 LTS, Apache supports CGI using the mod_cgi or mod_cgid module. While CGI has been largely replaced by more modern technologies (PHP-FPM, FastCGI, application servers), it’s still relevant for scripting tasks, legacy apps, or educational environments.
Key Features of Apache CGI
- Language-agnostic: Write scripts in any language (Bash, Perl, Python, etc.)
- Simple architecture: Each request spawns a new process to handle input/output
- Full Apache integration: Works alongside virtual hosts, authentication, logging, and other modules
- Secure when sandboxed: Ideal for isolated script execution environments
Use Cases
- Running legacy web scripts or educational tools
- Building lightweight command-line interface (CLI) to web bridges
- Testing small utilities or tools via a web interface
- Integrating Perl/Python shell scripts into intranet dashboards
How Apache Handles CGI on Ubuntu
There are two modules:
- mod_cgi: Used for non-threaded MPM (e.g.,
prefork) - mod_cgid: Used for threaded MPMs (e.g.,
event, which is default on Ubuntu)
Ubuntu 24.04 usually uses mod_cgid, since Apache runs with the event MPM by default.
Security Tips
- Avoid running CGI scripts with unnecessary privileges
- Sanitize all user input to prevent command injection
- Disable CGI in directories with public write access
- Use AppArmor or chroot for script sandboxing
- Monitor logs (
/var/log/apache2/error.log) for suspicious activity
CGI vs Other Web Execution Models
| Feature | CGI | FastCGI | PHP-FPM | mod_php |
|---|---|---|---|---|
| Execution Model | New process per request | Persistent processes | Persistent processes | Embedded interpreter |
| Performance | Low (due to process spawn) | High | High | Medium |
| Language Support | Any executable | PHP (mostly) | PHP only | PHP only |
| Use Case | Legacy, scripts | Modern high-performance apps | PHP websites | Simple PHP setups |
Apache CGI on Ubuntu 24.04 is a functional and flexible way to run dynamic scripts for basic web applications, prototypes, or legacy systems. While it’s not suited for high-performance needs, it remains a valuable tool in environments where simplicity, scripting flexibility, or legacy compatibility is required.
Ubuntu 24.04 offers full support for Apache CGI through mod_cgid, with modern security tools and easy package management to make setup and maintenance straightforward.
Step 1: Deploy a Clean VPS on Shape.Host
Go to https://shape.host and sign in.
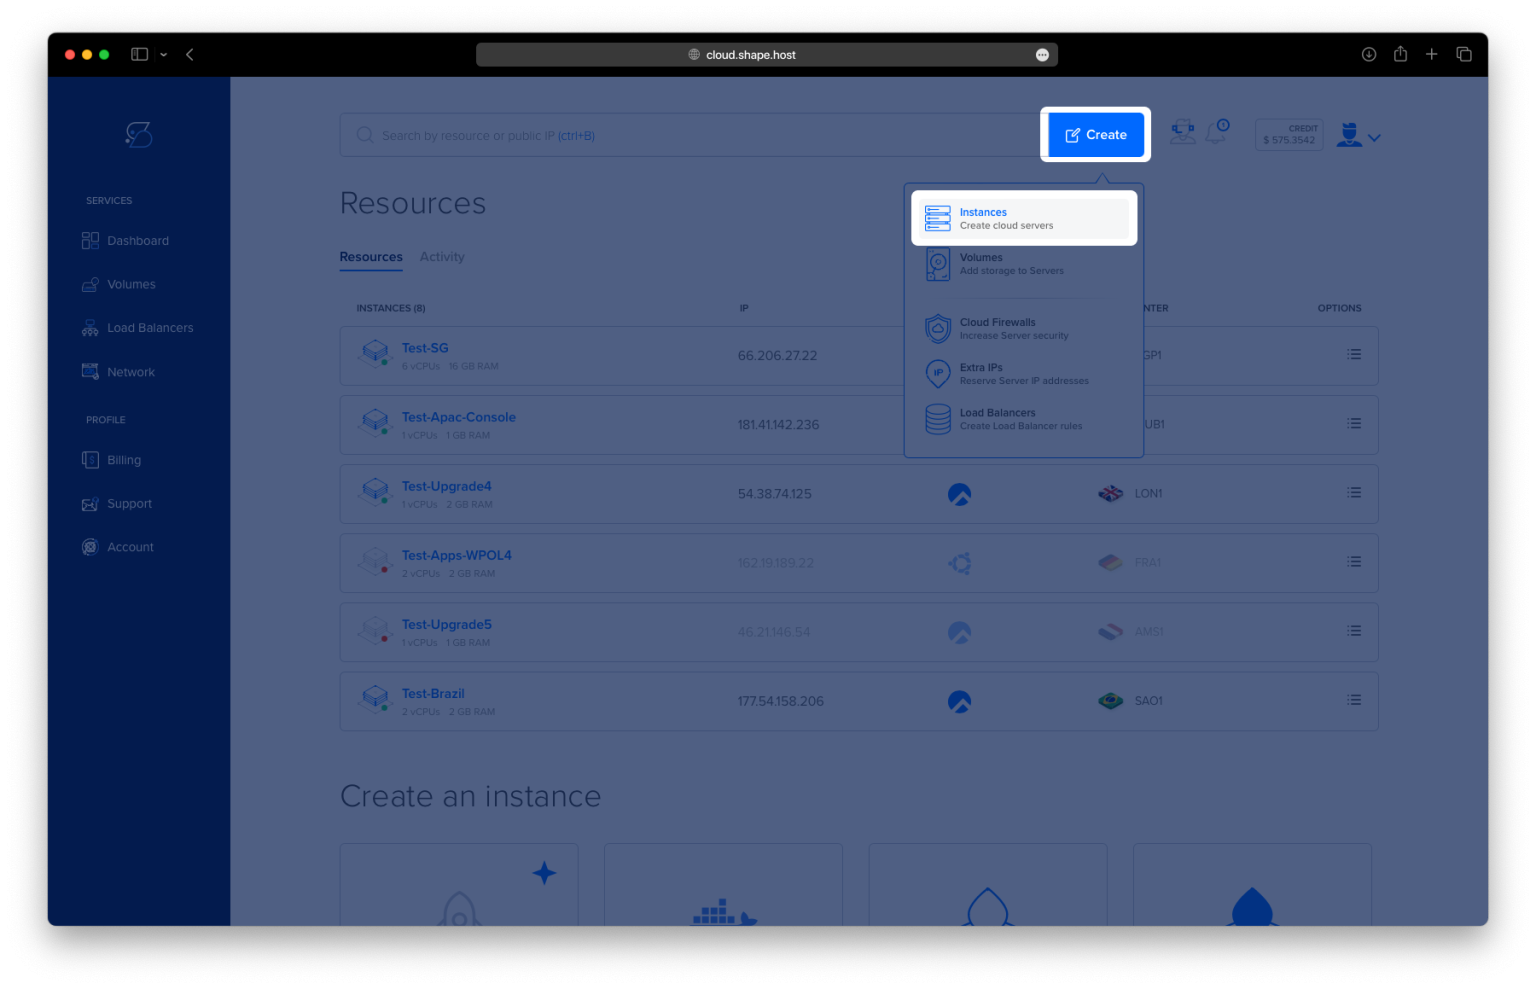
Click Create, then choose Instance.

Pick a server location close to your users.

Select Ubuntu 24.04 (64-bit) as your OS.
Choose a plan with 2 or more CPUs, 4 GB RAM, and at least 20 GB SSD.

Hit Create Instance to launch your VPS.

Find your IP address under the Resources section — you’ll use it to connect via SSH.

Step 2: Connect to Your Server
Linux/macOS:
ssh root@your_server_ip
Windows:
Use PuTTY, enter your IP, and log in as root.
Step 3: Update Your Package List
apt update
Makes sure all packages available for installation are up to date.

Step 4: Install Apache Web Server
apt install apache2
This installs the Apache HTTP server.

Step 5: Allow Web and SSH Traffic Through Firewall
ufw allow 'Apache Full'
ufw allow ssh
ufw enable
Opens ports for Apache and SSH in the system firewall.

Step 6: Enable the CGI Module
a2enmod cgid
systemctl restart apache2
Turns on Apache’s CGI module and restarts the server to apply changes.

Step 7: Create a Directory for Your CGI Scripts
mkdir /var/www/html/custom-cgi
This directory will hold your CGI scripts.
Step 8: Create a Custom CGI Configuration File
nano /etc/apache2/conf-available/custom-cgi.conf
Paste the following:
<Directory "/var/www/html/custom-cgi">
    Options +ExecCGI
    AddHandler cgi-script .cgi .pl .py .rb
</Directory>
This config allows CGI scripts in the /custom-cgi folder.

Step 9: Enable the Custom CGI Config
a2enconf custom-cgi.conf
systemctl reload apache2
Applies the new config without restarting the entire Apache server.

Step 10: Create a Test CGI Script
nano /var/www/html/custom-cgi/index.cgi
Paste this Python script:
#!/usr/bin/python3

print("Content-type: text/html\n")
print("<html>\n<body>")
print("<p style=\"width: 100%; font-weight: bold; font-size: 60px; text-align: center;\">")
print("CGI is Enabled!!!")
print("</p>")
print("</body>\n</html>")

Step 11: Make the Script Executable
chmod 755 /var/www/html/custom-cgi/index.cgi
Grants permission for Apache to execute the CGI script.
Step 12: Open It in Your Browser
Visit:
http://your_server_ip/custom-cgi/index.cgi
You should see: “CGI is Enabled!!!”

Apache is now configured to serve CGI scripts on Ubuntu 24.04, using Python, Perl, or other supported interpreters.
This guide was built and tested on a Shape.Host Cloud VPS — the perfect home for lightweight web apps and custom server setups.
- Full root access
- Fast SSD-powered virtual machines
- Easy scaling for developers
Launch your server today at https://shape.host