ChangeDetection.io on Ubuntu 24.04 (Docker + Nginx + SSL)
ChangeDetection.io is an open-source website change monitoring and alerting platform that allows you to track content changes on any web page. It’s commonly used to monitor price changes, availability updates, text modifications, DOM changes, API responses, or even entire pages — making it a powerful alternative to services like Visualping, Distill.io, or Wachete.
Running ChangeDetection.io on Ubuntu 24.04 LTS (Noble Numbat) provides a modern, secure, and long-term supported environment. Ubuntu 24.04 includes systemd 255, OpenSSL 3, and up-to-date Docker Engine packages, making it ideal for deploying ChangeDetection.io using Docker, secured behind Nginx with HTTPS for a production-ready monitoring stack.
Architecture Overview
| Layer | Component | Role |
|---|---|---|
| OS | Ubuntu 24.04 LTS | Stable, long-term supported Linux base |
| Container Runtime | Docker / Docker Compose | Runs ChangeDetection.io and optional browser services |
| Application | ChangeDetection.io (Python/Flask) | Core change detection and alerting engine |
| Browser Engine (optional) | Playwright / Chromium | Detects JavaScript-rendered content |
| Reverse Proxy | Nginx | HTTPS termination, routing, compression |
| TLS | Let’s Encrypt / PKI | Secure access to the web interface |
Why Use ChangeDetection.io?
- Monitor any website – prices, text, availability, or full HTML changes
- JavaScript-aware monitoring – supports dynamic sites using Playwright
- Flexible notification system – email, Telegram, Discord, Slack, Webhooks, etc.
- Visual and text diffing – see exactly what changed and when
- No vendor lock-in – fully self-hosted and open-source
- Low resource usage – runs efficiently even on small VPS instances
- Powerful filters – CSS selectors, XPath, regex-based change detection
ChangeDetection.io vs Other Monitoring Tools
| Feature / Capability | ChangeDetection.io | Visualping | Distill.io | Wachete |
|---|---|---|---|---|
| Hosting | Self-hosted | Cloud only | Cloud / limited local | Cloud only |
| JavaScript support | ✅ Yes | ✅ Yes | ✅ Yes | ❌ Limited |
| Notifications | Extensive | Limited | Moderate | Moderate |
| Price monitoring | ✅ Yes | ✅ Yes | ✅ Yes | ✅ Yes |
| Privacy | Full control | Cloud-based | Cloud-based | Cloud-based |
| Cost | Free, open-source | Subscription | Subscription | Subscription |
ChangeDetection.io is ideal for users who want maximum flexibility, privacy, and automation without relying on SaaS monitoring services.
Security & Best Practices
- Deploy behind Nginx with HTTPS enabled.
- Bind ChangeDetection.io to localhost and expose only Nginx publicly.
- Store secrets (SMTP credentials, webhook URLs) in environment variables.
- Keep Docker images and Ubuntu packages up to date.
- Enable UFW and allow only ports 80 and 443.
- Use strong authentication for the web interface.
- Automate SSL renewals using Certbot.
- Back up ChangeDetection.io data volumes regularly.
- Restrict Playwright/Chromium usage to trusted targets if enabled.
Typical Use Cases
- Price monitoring for e-commerce products
- Stock availability tracking (limited releases, restocks)
- Legal or policy change detection on government or corporate websites
- Competitor monitoring (content updates, landing pages)
- Job posting or vacancy alerts
- API response change detection
- DevOps & QA monitoring for frontend changes
Deploying ChangeDetection.io on Ubuntu 24.04 with Docker, Nginx, and SSL gives you a powerful, private, and highly flexible website change monitoring platform — capable of tracking everything from simple text updates to complex JavaScript-rendered pages, all under your full control.
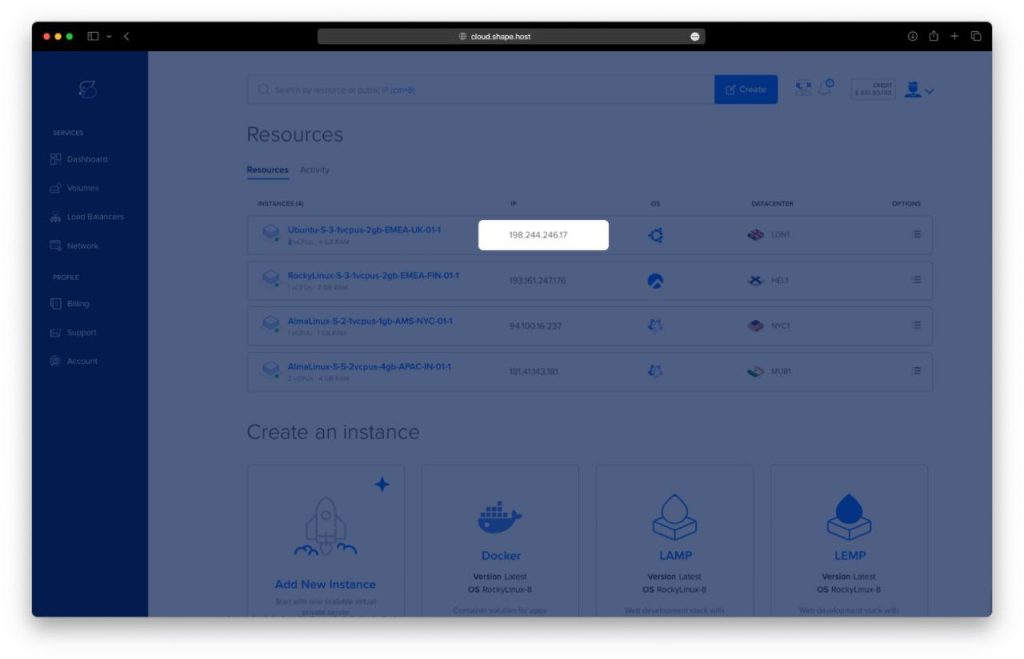
Create a Cloud Server Instance on Shape.Host
Before installing ChangeDetection.io, you need a clean Ubuntu 24.04 VPS.
Go to https://shape.host and log in.
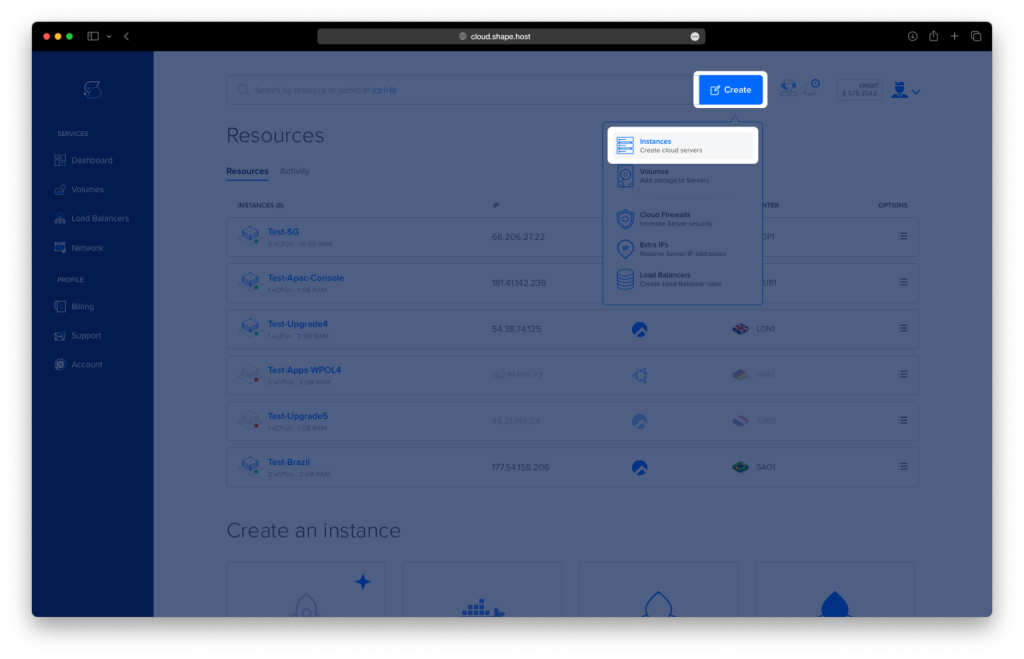
Click Create.
Select Instance.
Choose a data center close to your users.
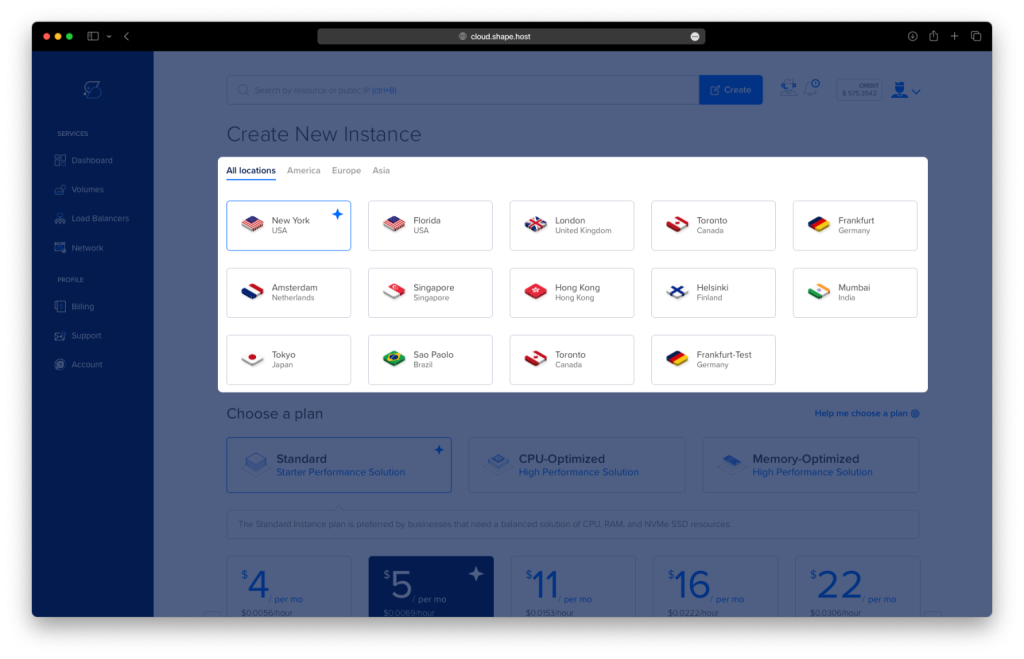
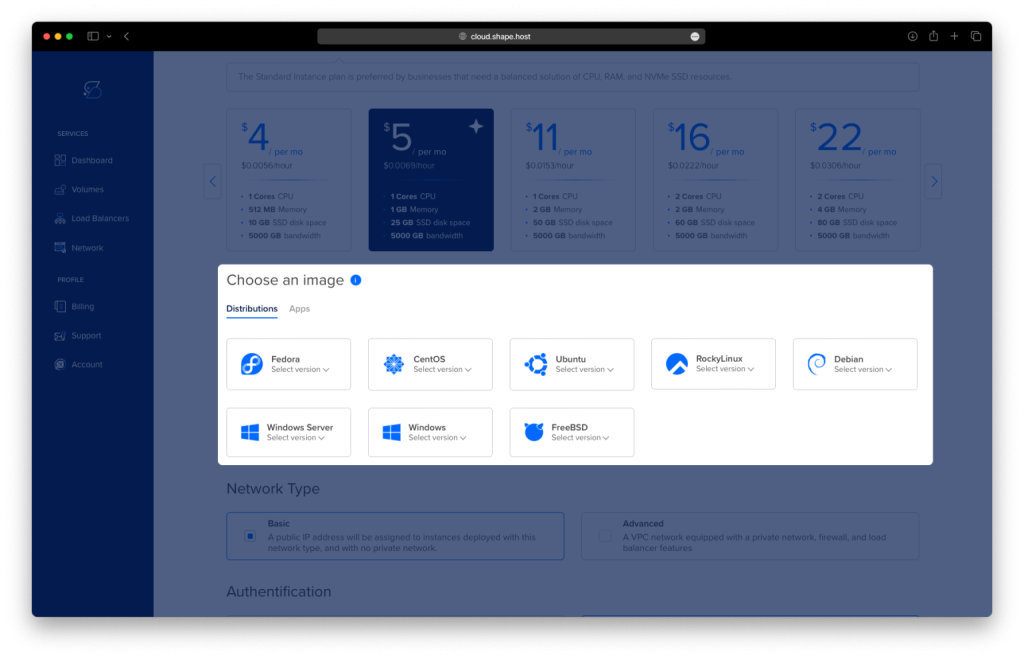
Select Ubuntu 24.04 (64-bit) as the operating system.
Choose a plan (recommended minimum):
2 vCPUs
4 GB RAM
20 GB NVMe SSD
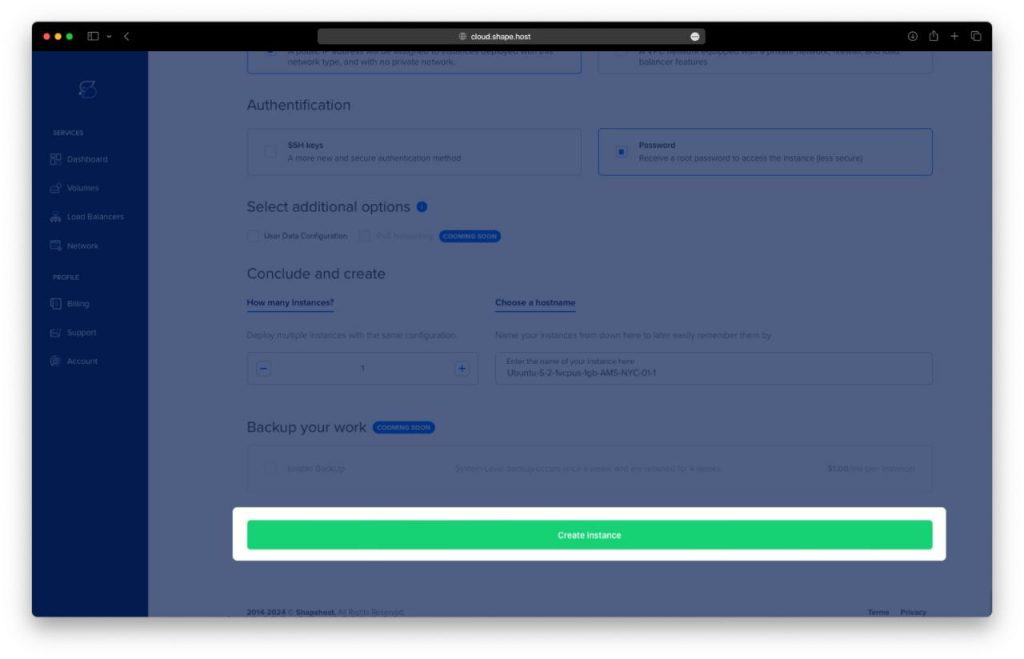
Click Create Instance.
Wait for provisioning to complete (about 30 seconds).
Copy the public IP address of the instance.
Your server is now ready.
Step 1: Connect to the Server via SSH
Linux / macOS
ssh root@YOUR_SERVER_IP
Windows (PowerShell or Windows Terminal)
ssh root@YOUR_SERVER_IP
Accept the SSH fingerprint when prompted. You are now logged in as root.
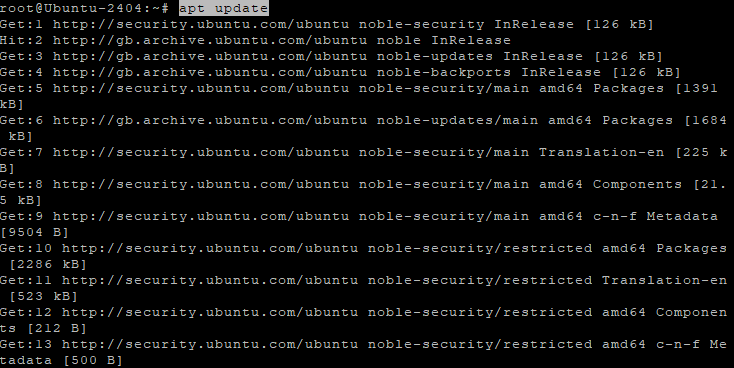
Step 2: Update the System
apt update
apt upgrade -y
These commands refresh the package index and upgrade installed packages to the latest versions.
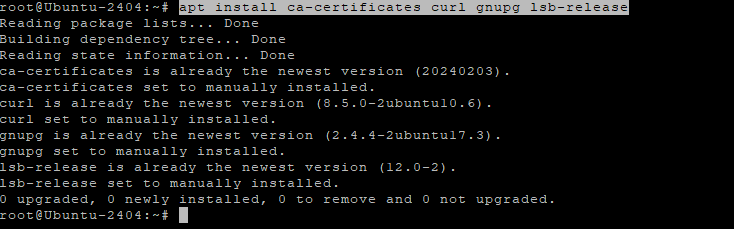
Step 3: Install Required Dependencies
apt install ca-certificates curl gnupg lsb-release
These packages are required to securely add and verify external repositories such as Docker.
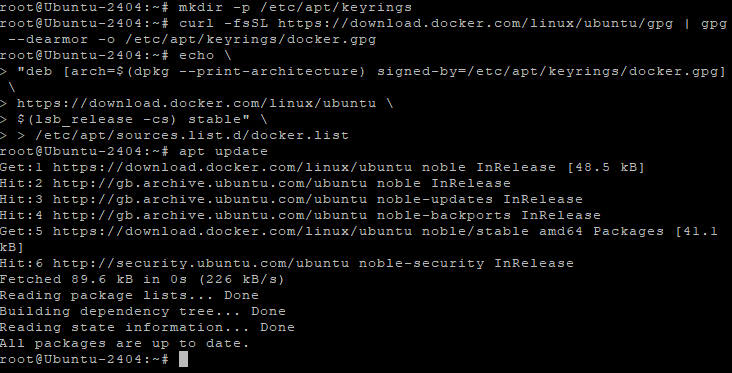
Step 4: Create Docker Keyring Directory
mkdir -p /etc/apt/keyrings
This directory is used to store trusted GPG keys.
Step 5: Add Docker GPG Key
curl -fsSL https://download.docker.com/linux/ubuntu/gpg | gpg --dearmor -o /etc/apt/keyrings/docker.gpg
Adds Docker’s official signing key.
Step 6: Add Docker Repository
echo "deb [arch=$(dpkg --print-architecture) signed-by=/etc/apt/keyrings/docker.gpg] \
https://download.docker.com/linux/ubuntu \
$(lsb_release -cs) stable" > /etc/apt/sources.list.d/docker.list
Enables installation of Docker from the official source.
Step 7: Update Package List Again
apt update
Loads the Docker repository.
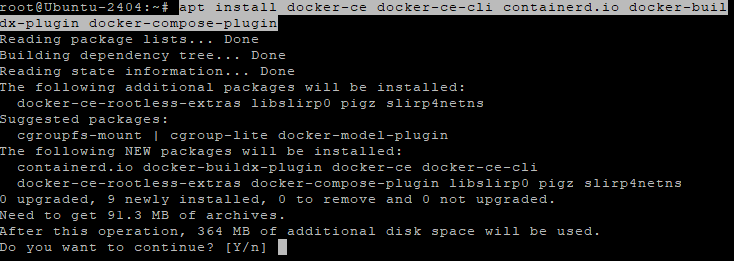
Step 8: Install Docker Engine and Docker Compose
apt install docker-ce docker-ce-cli containerd.io docker-buildx-plugin docker-compose-plugin
Installs Docker and Docker Compose v2.
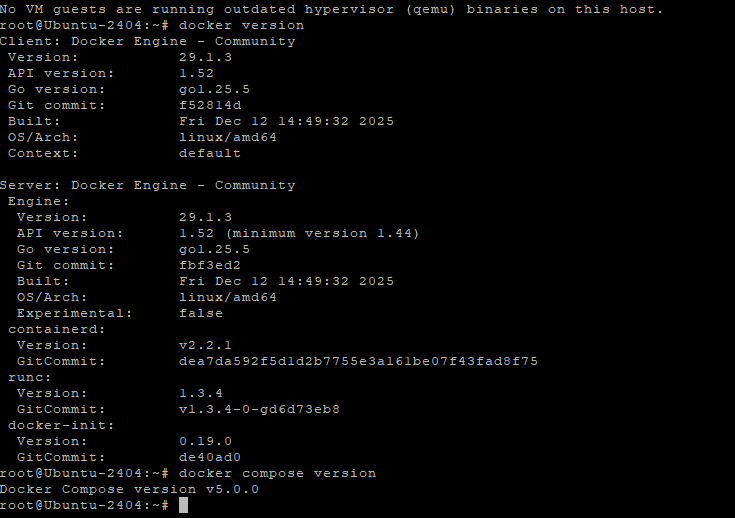
Step 9: Verify Docker Installation
docker version
docker compose version
Confirms Docker and Docker Compose are installed correctly.
Step 10: Create ChangeDetection Directory
mkdir -p /opt/changedetection
Step 11: Enter the Directory
cd /opt/changedetection

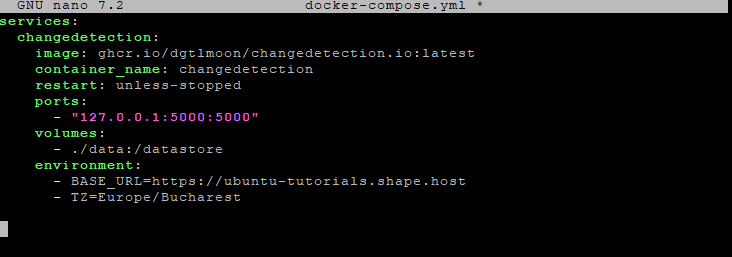
Step 12: Create Docker Compose Configuration
nano docker-compose.yml
Paste the exact configuration from your history:
services:
  changedetection:
    image: ghcr.io/dgtlmoon/changedetection.io:latest
    container_name: changedetection
    restart: unless-stopped
    ports:
      - "127.0.0.1:5000:5000"
    volumes:
      - ./data:/datastore
    environment:
      - BASE_URL=https://watch.example.com
      - TZ=Europe/Bucharest
This configuration:
- Runs ChangeDetection.io in a container
- Binds it only to localhost for security
- Persists data on disk
- Sets the base URL and timezone
Save and exit.
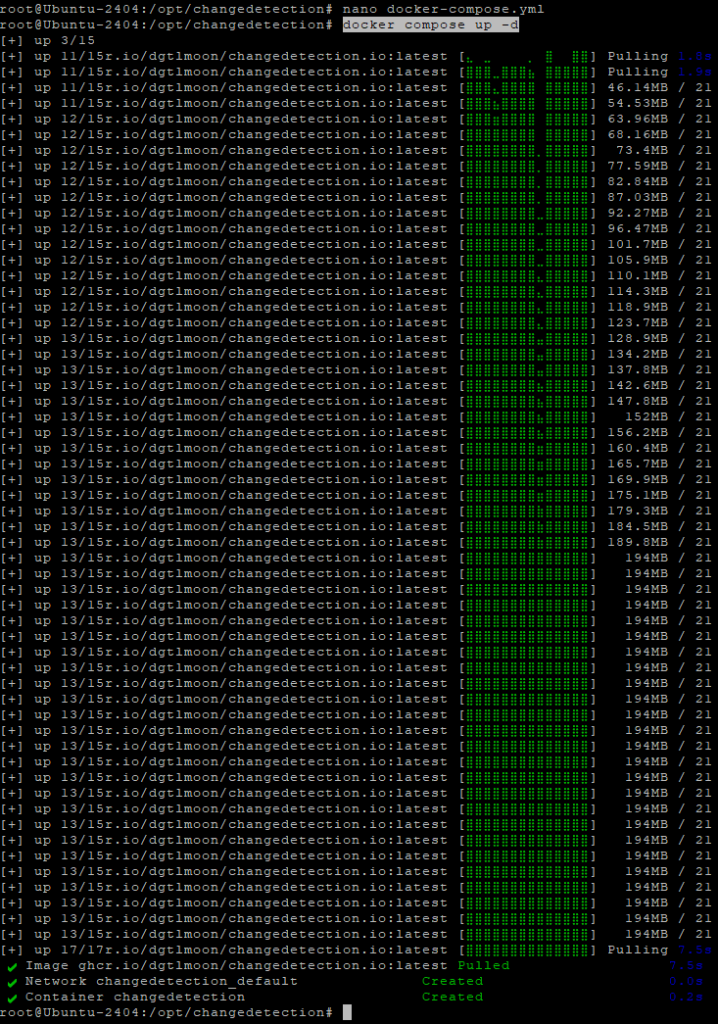
Step 13: Start ChangeDetection.io
docker compose up -d
Starts the service in the background.
Step 14: Verify Container Is Running
docker ps
You should see the changedetection container in the list.

Step 15: Test ChangeDetection Locally
curl http://127.0.0.1:5000
Confirms the service responds locally before exposing it via Nginx.
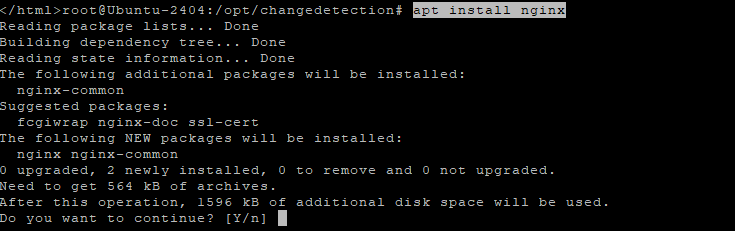
Step 16: Install Nginx
apt install nginx
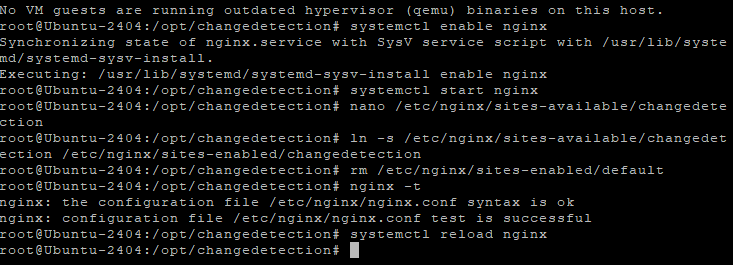
Step 17: Enable and Start Nginx
systemctl enable nginx
systemctl start nginx

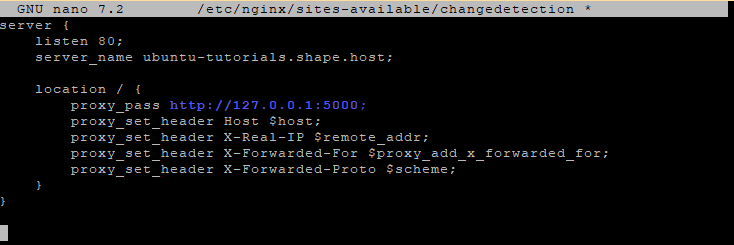
Step 18: Create Nginx Reverse Proxy Configuration
nano /etc/nginx/sites-available/changedetection
Add your server block (example):
server {
    listen 80;
    server_name watch.example.com;

    location / {
        proxy_pass http://127.0.0.1:5000;
        proxy_set_header Host $host;
        proxy_set_header X-Real-IP $remote_addr;
        proxy_set_header X-Forwarded-For $proxy_add_x_forwarded_for;
        proxy_set_header X-Forwarded-Proto $scheme;
    }
}
Step 19: Enable the Nginx Site
ln -s /etc/nginx/sites-available/changedetection /etc/nginx/sites-enabled/changedetection
rm /etc/nginx/sites-enabled/default
Step 20: Test and Reload Nginx
nginx -t
systemctl reload nginx
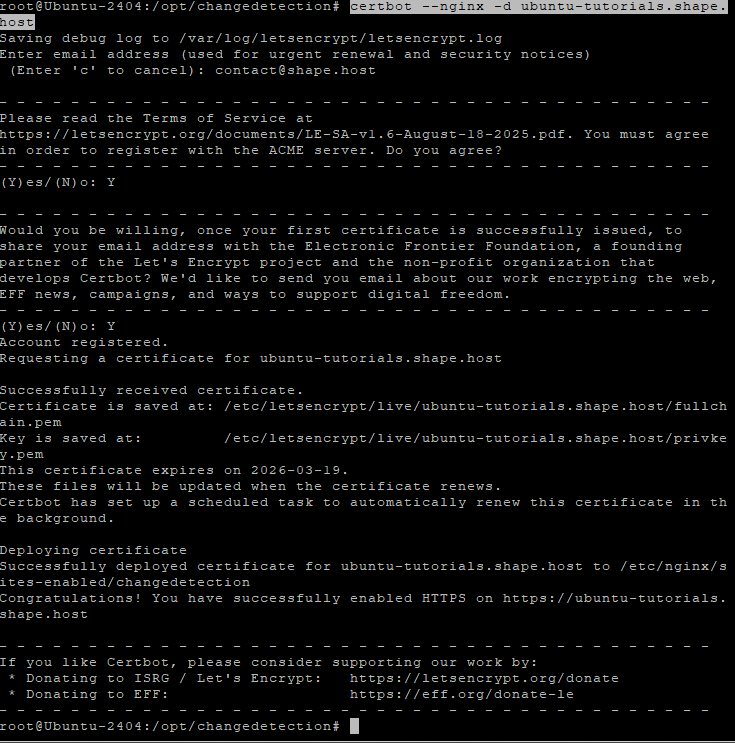
Step 21: Install Certbot and Enable SSL
apt install certbot python3-certbot-nginx
certbot --nginx -d ubuntu-tutorials.shape.host
Certbot automatically installs and configures a free SSL certificate.

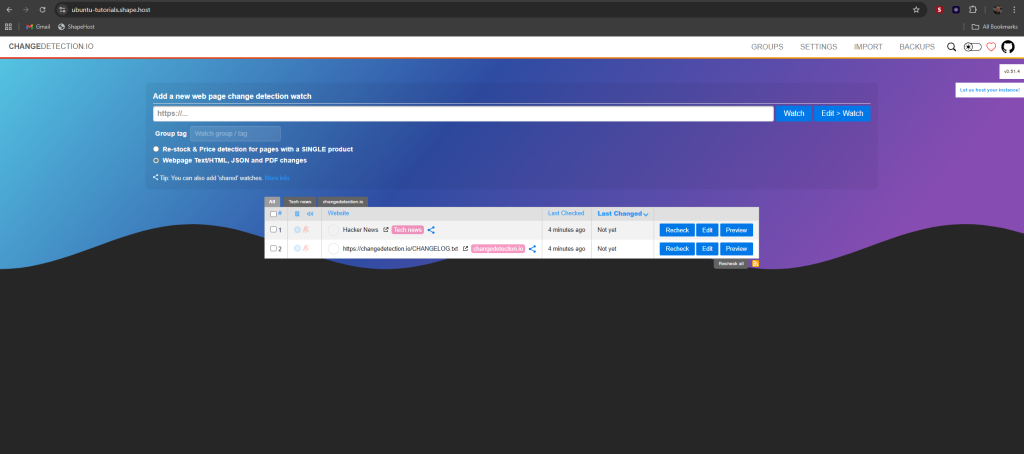
Access ChangeDetection.io Securely
https://your-domain.com
You now have ChangeDetection.io running securely on Ubuntu 24.04.
ChangeDetection.io, Miniflux, Ghostfolio, NocoDB, HedgeDoc, and other self-hosted tools need fast and reliable infrastructure.
Shape.Host provides:
- High-performance NVMe Cloud VPS
- Instant provisioning
- Clean OS templates
- Excellent uptime
- Easy scalability
Visit https://shape.host to host your next self-hosted application with confidence.