DeepSeek is an advanced large language model (LLM) developed by DeepSeek AI, designed for natural language processing (NLP) tasks such as text generation, translation, summarization, and AI-driven content creation. DeepSeek is part of the growing ecosystem of open-source and proprietary AI models, competing with other LLMs like GPT-4, Claude, and LLaMA.
Key Features of DeepSeek
- Large-Scale NLP Capabilities
- Trained on massive datasets to understand and generate human-like text.
- Multilingual Support
- Supports multiple languages, improving global accessibility and AI-driven translations.
- Code Generation and Assistance
- Capable of writing, debugging, and optimizing code in various programming languages.
- AI-Powered Content Generation
- Generates high-quality articles, summaries, chat responses, and reports.
- Context-Aware Responses
- Maintains longer conversation history for more accurate and contextually relevant outputs.
- Fine-Tuning and Customization
- Can be fine-tuned for specific industries like finance, healthcare, and customer support.
- API Integration for Developers
- Provides an API for AI-powered applications, chatbots, and automation tools.
- Efficient and Scalable Deployment
- Designed for cloud-based AI inference, optimizing speed and resource consumption.
Advantages of DeepSeek
- Highly Accurate Responses: Trained on diverse datasets for more precise language understanding.
- Flexible AI Applications: Can be used for content creation, programming, research, and business applications.
- Competitive with Other LLMs: Offers a strong alternative to GPT-4, Claude, and LLaMA.
- Supports Customization: Can be tailored for industry-specific needs.
- Strong AI Research Backing: Developed using cutting-edge deep learning techniques.
Use Cases for DeepSeek
- AI Chatbots & Virtual Assistants
- Powers AI-driven chatbots for customer support and automation.
- Content Generation & Copywriting
- Helps create articles, product descriptions, and social media content.
- Programming and Code Assistance
- Assists in code writing, debugging, and software development.
- Document Summarization & Analysis
- Extracts insights from large volumes of text, ideal for research and enterprise AI.
- Education & Learning Support
- Enhances e-learning platforms with AI-generated explanations and tutoring.
- Scientific Research & Data Processing
- Aids in data interpretation and technical writing for research papers.
DeepSeek vs. Other Large Language Models
| Feature | DeepSeek | GPT-4 | Claude | LLaMA |
|---|---|---|---|---|
| Open-Source | ✅ Yes (Certain Models) | ❌ No | ❌ No | ✅ Yes |
| Multilingual | ✅ Yes | ✅ Yes | ✅ Yes | ⚠️ Limited |
| Fine-Tuning | ✅ Yes | ✅ Yes | ✅ Yes | ✅ Yes |
| Code Generation | ✅ Yes | ✅ Yes | ✅ Yes | ✅ Yes |
| API Access | ✅ Yes | ✅ Yes | ✅ Yes | ❌ No |
DeepSeek is a powerful LLM positioned as an open-source alternative to proprietary AI models, offering advanced text understanding, AI-driven applications, and automation.
Why Choose DeepSeek?
DeepSeek is ideal for developers, researchers, businesses, and AI enthusiasts looking for an advanced language model with strong NLP capabilities, customization options, and API integration. Its focus on efficiency, scalability, and multi-industry applications makes it a strong competitor in the AI ecosystem.
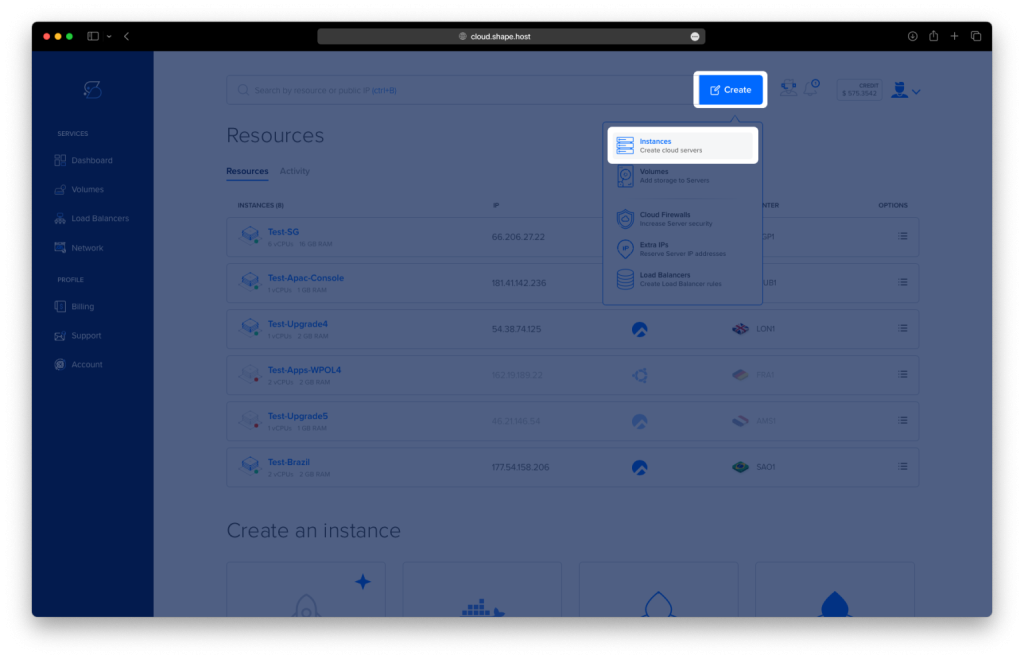
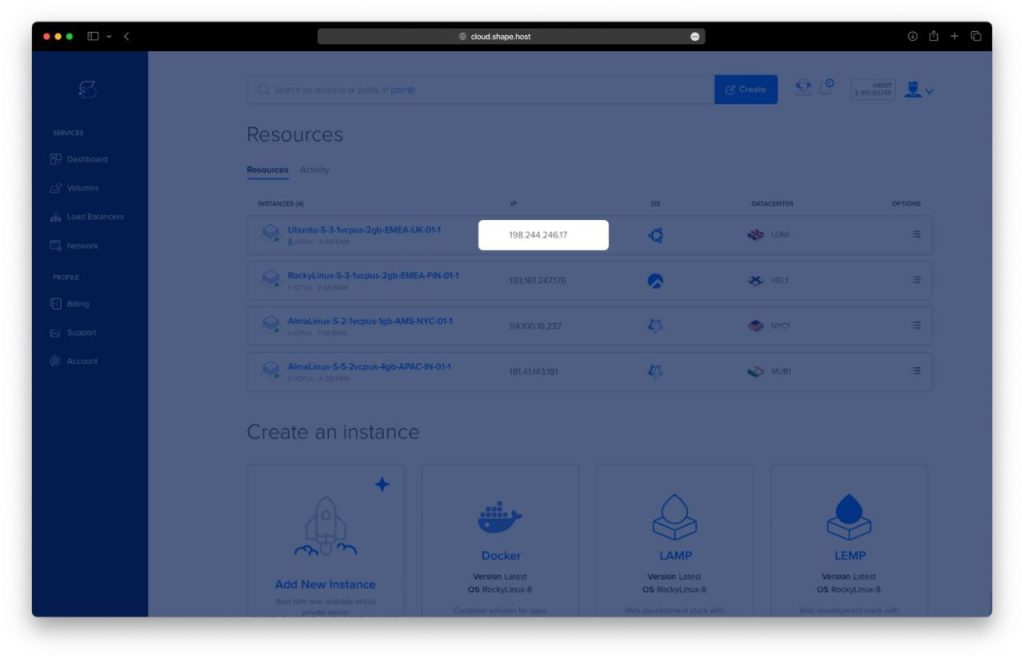
Step 1: Create a Server Instance on Shape.Host
Before installing DeepSeek, you need a server to host your environment. Here’s how to set up a server instance on Shape.Host:
Access Shape.Host: Log in to your Shape.Host account and go to the Cloud VPS section.
Start a New Instance: Click on “Create” and choose the server type that fits your project needs.
Select a Location: Pick a data center near your audience for better performance.
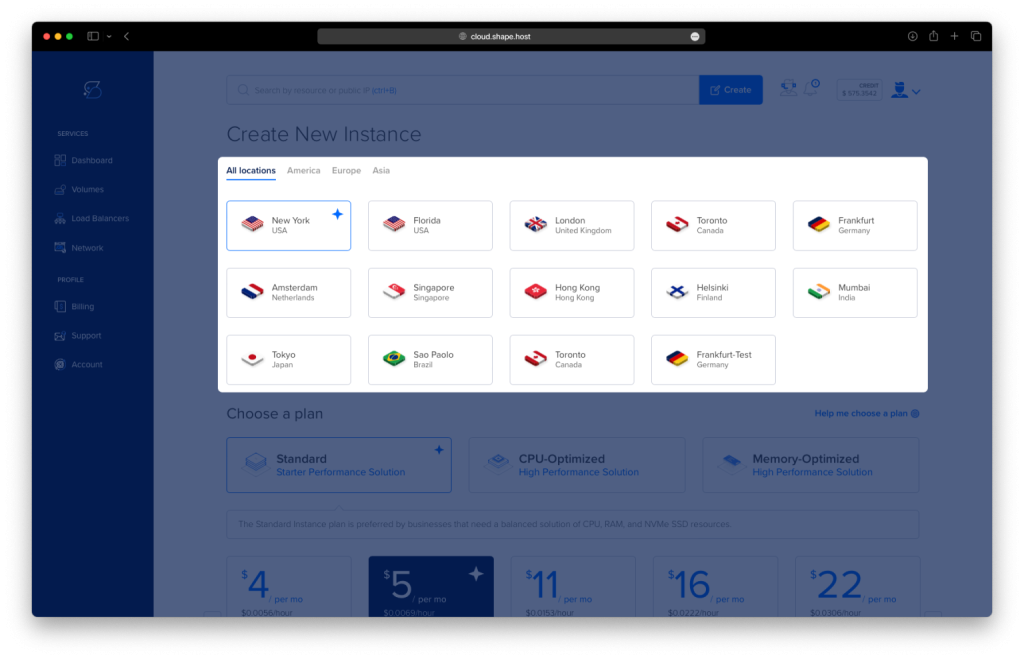
Choose a Plan: Select a hosting plan that matches your resource requirements and budget.
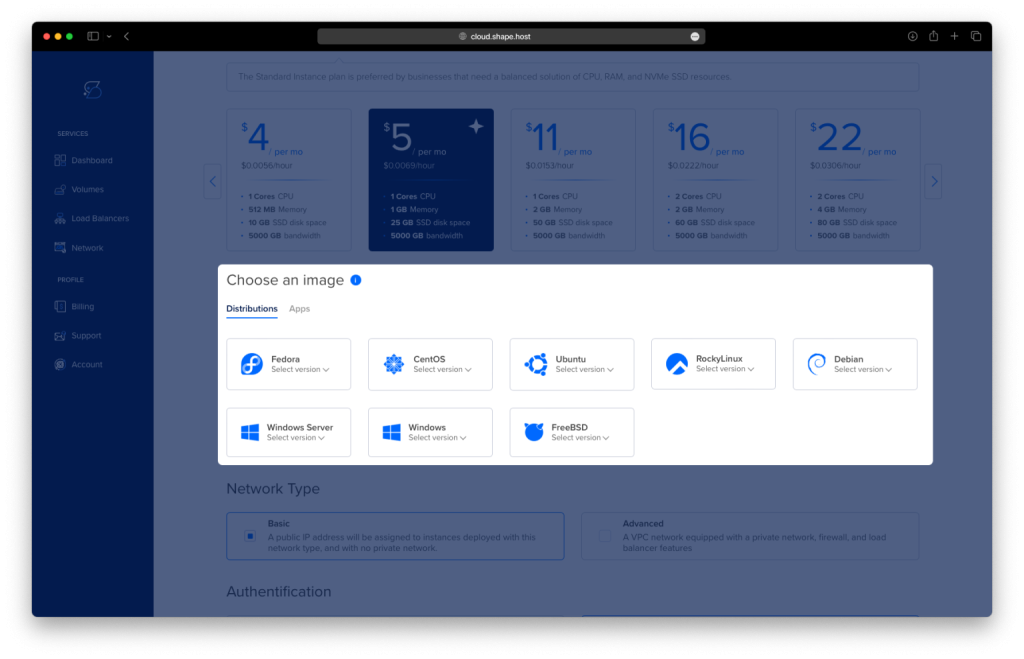
Set the OS: Choose Ubuntu 24.04 as your operating system.
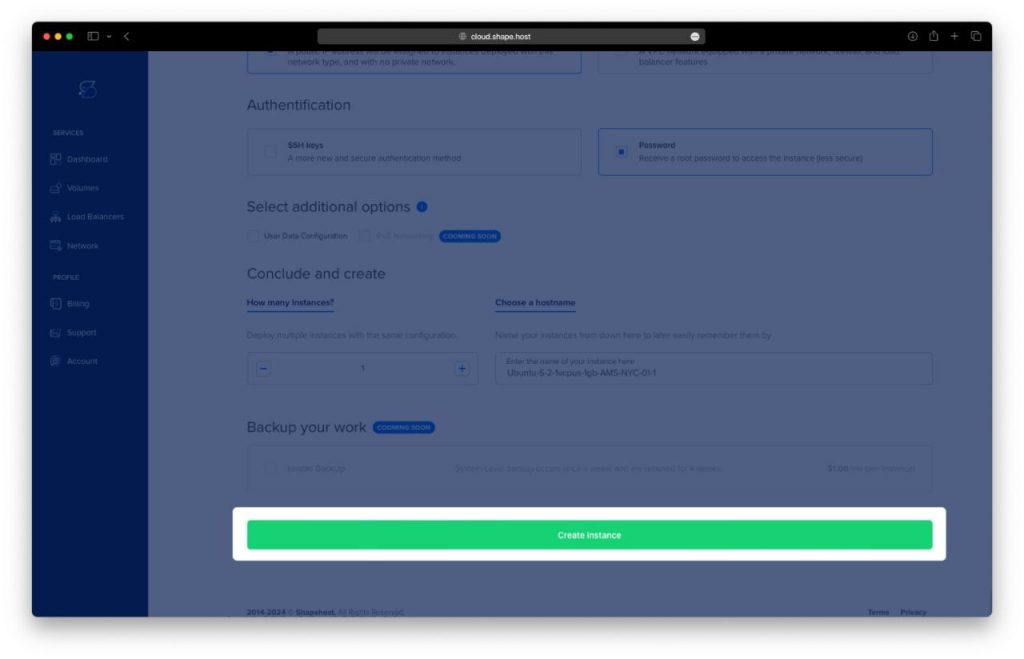
Complete the Setup: Review your settings and click “Create Instance” to launch your instance. It will be ready shortly.
In Dasboard, under Resources, you will find your Instance IP
Step 2: Connect to Your Instance
Once your server is ready, you need to connect to it using SSH. Here’s how to do it:
- Linux/macOS: Open your terminal and use the following command:
ssh root@your_server_ipReplace your_server_ip with the server’s IP address.
- Windows: Use an SSH client like PuTTY. Enter your server’s IP address, specify the port (usually 22), and click “Open.” Log in with your username and password.
Step 3: Update the System
Before installing any software, it’s a good practice to update your system to ensure all packages are up to date. Run the following command:
apt update && apt upgrade -y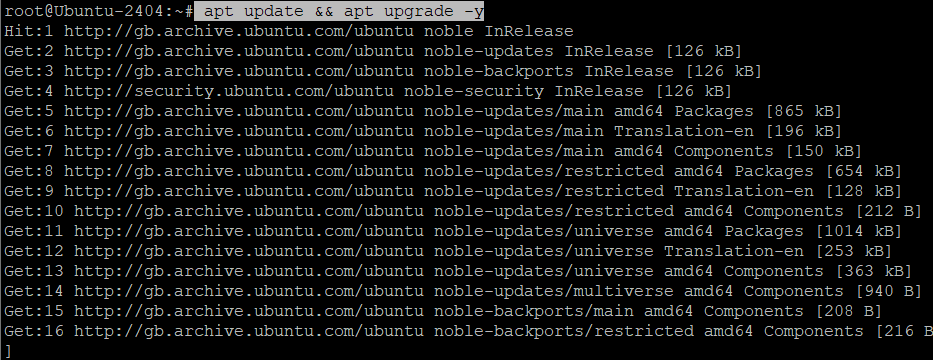
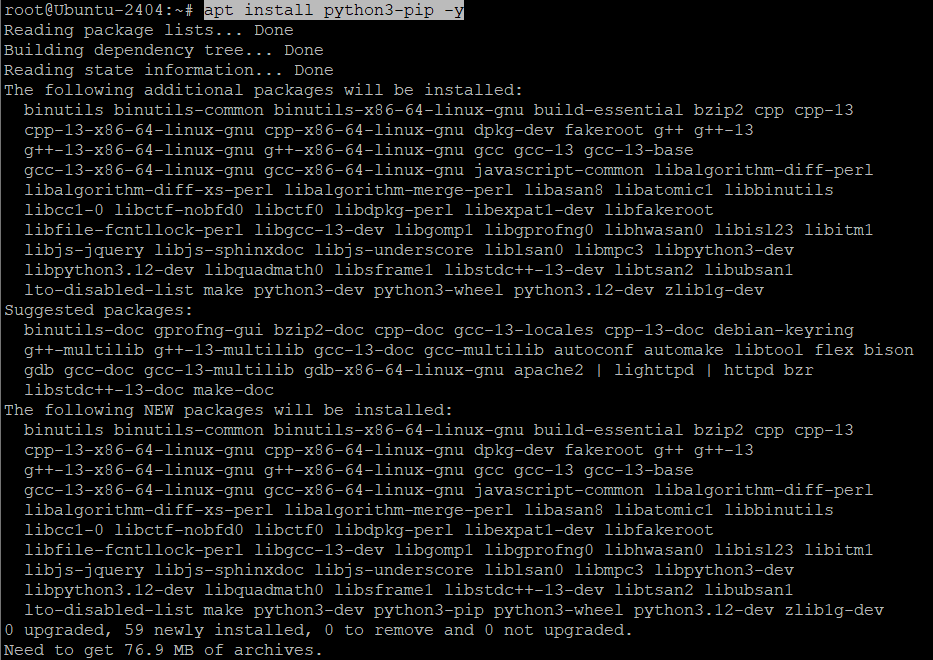
Step 4: Install Required Dependencies
Install the necessary dependencies for DeepSeek:
apt install python3 -y
apt install python3-pip -y
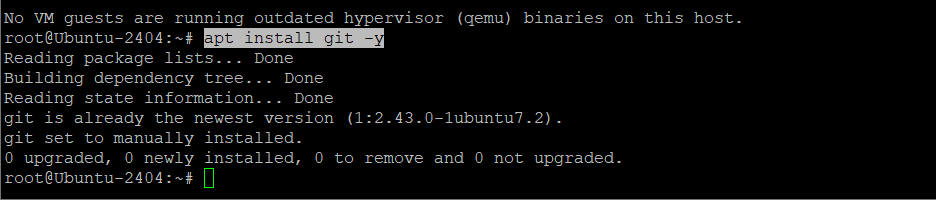
apt install git -y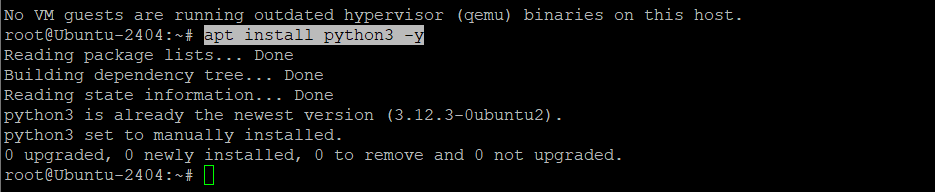
Step 5: Set Up the WebUI Directory
Create a directory for the WebUI and navigate to it:
cd /home/
mkdir webui
cd webui
Step 6: Install Ollama
Ollama is a tool for managing and running AI models. Install Ollama by running the following command:
curl -fsSL https://ollama.com/install.sh | shVerify the installation:
ollama --version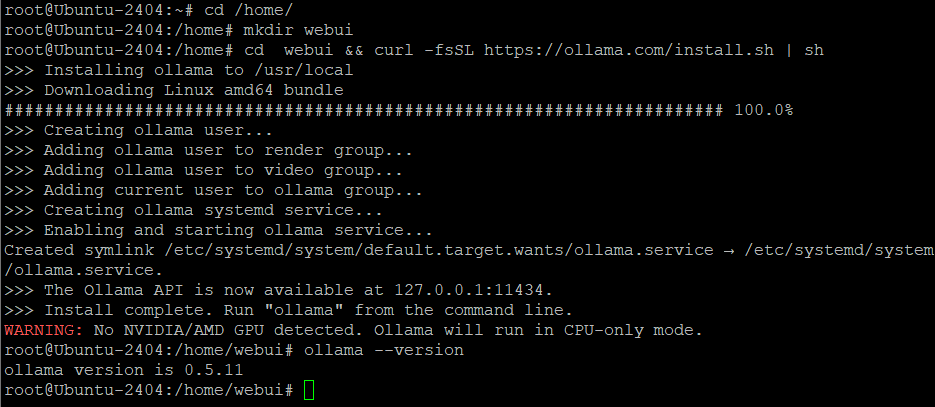
Check the status of the Ollama service:
systemctl status ollama.service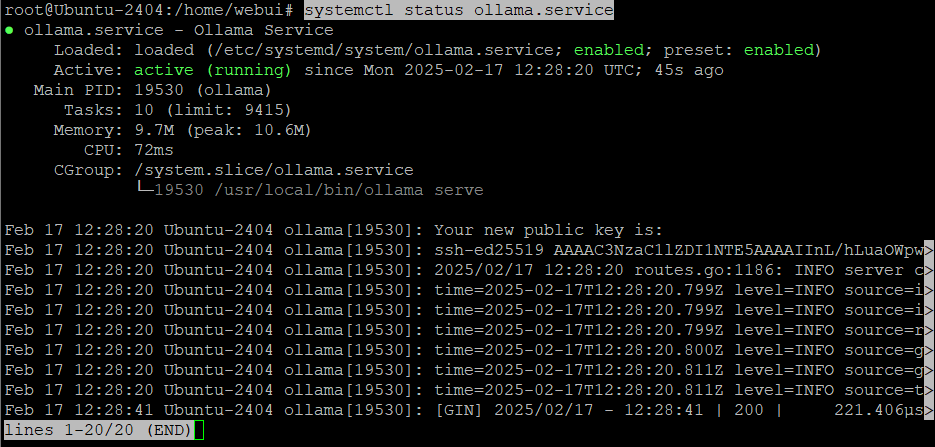
Step 7: Pull the DeepSeek Model
Pull the DeepSeek model using Ollama:
ollama pull deepseek-r1:7bOr any other versions you prefer:
DeepSeek-R1-Distill-Qwen-1.5B
DeepSeek-R1-Distill-Qwen-7B
DeepSeek-R1-Distill-Qwen-14B
DeepSeek-R1-Distill-Qwen-32B
DeepSeek-R1-Distill-Llama-8B
DeepSeek-R1-Distill-Llama-70B
List the available models to verify the download:
ollama list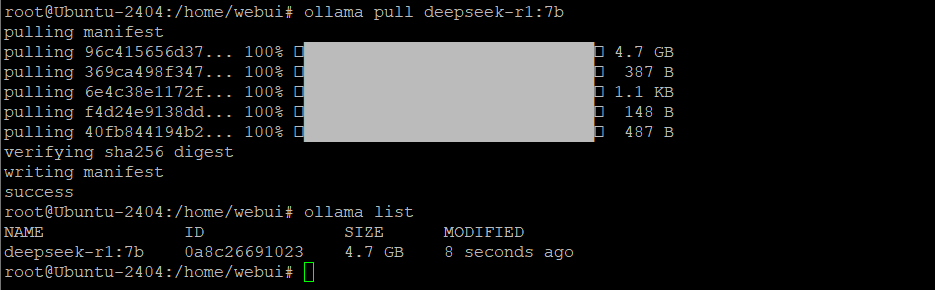
Run the DeepSeek model:
ollama run deepseek-r1:7bStep 8: Set Up Open WebUI
Install Python virtual environment:
apt install python3-venvCreate a virtual environment for Open WebUI:
python3 -m venv /home/webui/open-webui-venv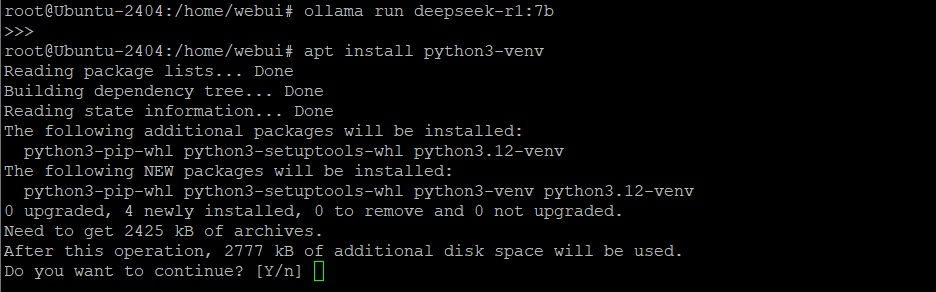
Activate the virtual environment:
source /home/webui/open-webui-venv/bin/activate
Install Open WebUI:
pip install open-webui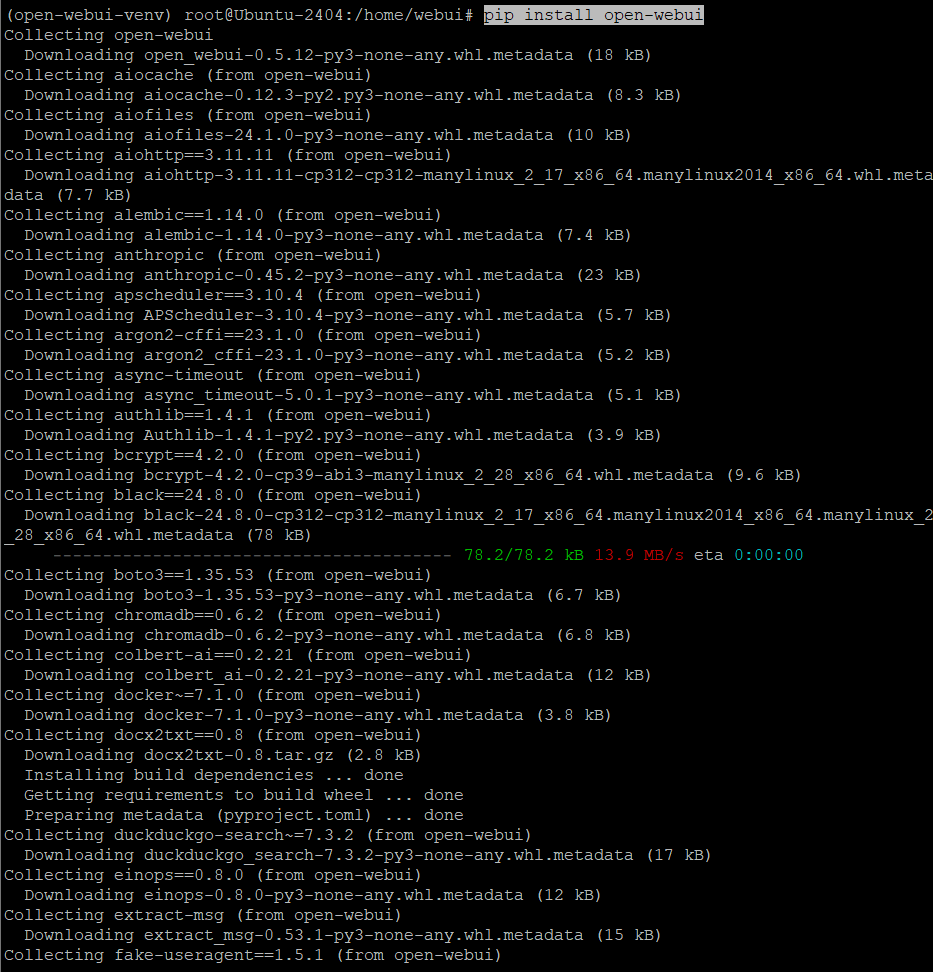
Step 9: Create a Systemd Service for Open WebUI
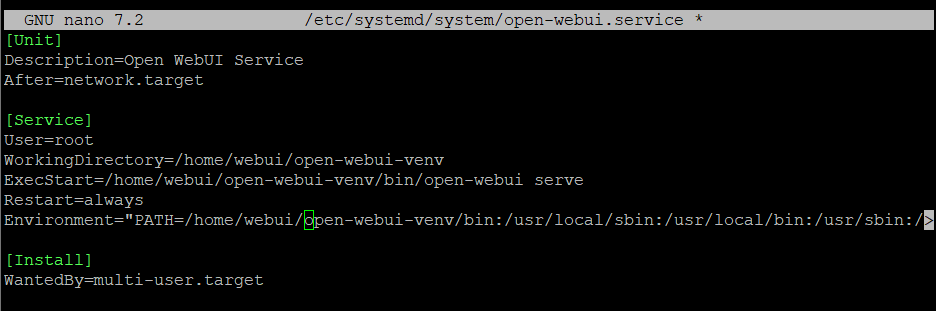
Create a systemd service file to manage Open WebUI:
nano /etc/systemd/system/open-webui.serviceAdd the following content to the file:
[Unit]
Description=Open WebUI Service
After=network.target

[Service]
User=root
WorkingDirectory=/home/webui/open-webui-venv
ExecStart=/home/webui/open-webui-venv/bin/open-webui serve
Restart=always
Environment="PATH=/home/webui/open-webui-venv/bin:/usr/local/sbin:/usr/local/bin:/usr/sbin:/usr/bin:/sbin:/bin"

[Install]
WantedBy=multi-user.target
Save and close the file.
Reload the systemd daemon:
systemctl daemon-reloadEnable and start the Open WebUI service:
systemctl enable open-webui.service
systemctl start open-webui.service
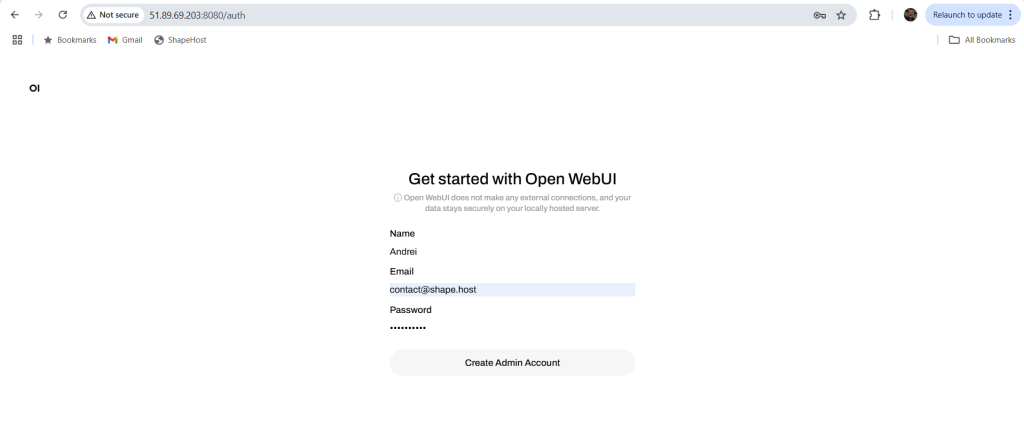
Step 10: Access Open WebUI
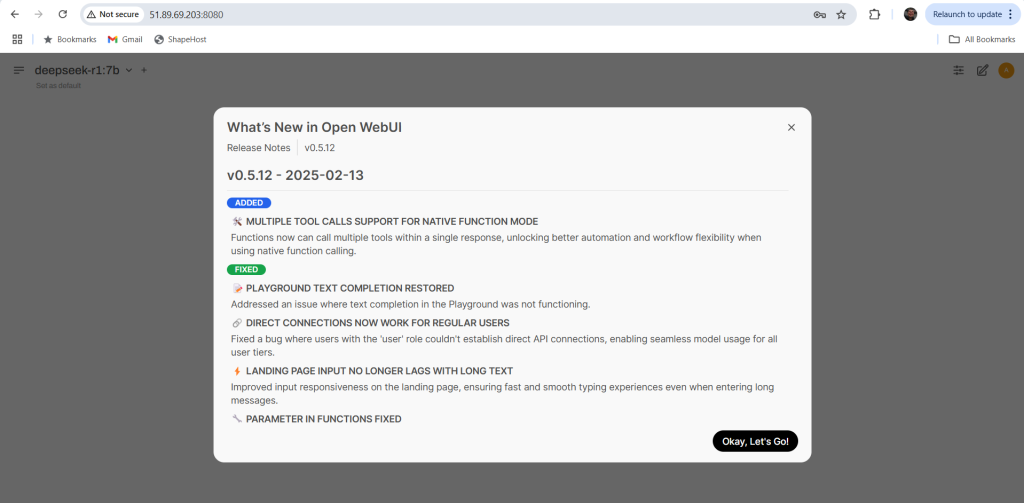
Once the service is running, you can access Open WebUI by navigating to http://<your-server-ip>:8080 in your web browser. You should see the Open WebUI interface, where you can interact with the DeepSeek model.

If you’re looking for a reliable and high-performance hosting solution for your AI projects, consider Shape.Host Cloud VPS services. With fast SSD storage, scalable resources, and excellent support, Shape.Host provides the perfect environment for running DeepSeek and other demanding applications. Visit Shape.Host to learn more and get started today!