Stable Diffusion is an open-source AI-powered text-to-image generation model developed by Stability AI. It uses deep learning and latent diffusion models (LDMs) to generate high-quality images from text prompts. Unlike cloud-based solutions like DALL·E or MidJourney, Stable Diffusion runs locally on consumer hardware, making it a powerful tool for artists, developers, and AI researchers.
Key Features of Stable Diffusion
- Text-to-Image Generation
- Converts text descriptions into highly detailed images.
- Runs Locally or in the Cloud
- Can be installed on personal computers, cloud servers, or even edge devices.
- High-Resolution Image Output
- Capable of generating images up to 1024×1024 pixels or beyond with upscaling.
- Custom Model Fine-Tuning
- Supports training custom models for unique artistic styles.
- Inpainting & Image Editing
- Allows users to modify parts of an image while maintaining consistency.
- Outpainting (Image Expansion)
- Extends existing images beyond their original borders.
- ControlNet & Depth Maps
- Enables structured image generation using edge detection, pose estimation, and depth maps.
- Open-Source & Community-Driven
- Available under a permissive license, allowing modifications and community contributions.
Advantages of Stable Diffusion
- Free & Open-Source: No subscription fees like MidJourney or DALL·E.
- Customizable Models: Train or fine-tune models to match specific art styles.
- Runs on Local Hardware: Requires a GPU with at least 8GB VRAM for smooth performance.
- Offline Capabilities: Generate images without an internet connection.
- Fast Generation: Can produce images in seconds to minutes, depending on hardware.
Use Cases for Stable Diffusion
- AI-Generated Art & Illustrations
- Create unique digital paintings, concept art, and fantasy landscapes.
- Character & Game Asset Design
- Useful for game developers and animators to generate concept characters.
- Marketing & Advertising
- Generates promotional visuals, posters, and social media content.
- Research & AI Model Development
- Used by machine learning engineers and AI researchers to experiment with generative models.
- Personalized Image Editing
- Modify photos using AI-powered inpainting and style transfer.
Stable Diffusion vs. Other AI Image Generators
| Feature | Stable Diffusion | DALL·E 3 | MidJourney | Runway Gen-2 |
|---|---|---|---|---|
| Open-Source | ✅ Yes | ❌ No | ❌ No | ❌ No |
| Runs Locally | ✅ Yes | ❌ No | ❌ No | ❌ No |
| Custom Training | ✅ Yes | ❌ No | ❌ No | ❌ No |
| Image Editing | ✅ Yes | ⚠️ Limited | ❌ No | ✅ Yes |
| Text-to-Image | ✅ Yes | ✅ Yes | ✅ Yes | ✅ Yes |
| Pricing | Free | Paid API | Subscription | Paid API |
Stable Diffusion offers greater control, flexibility, and affordability, making it ideal for developers, artists, and researchers looking for an open and customizable AI art generator.
Why Choose Stable Diffusion?
Stable Diffusion is an accessible, powerful, and customizable AI image generation tool. Whether for art creation, research, or business applications, it provides cutting-edge AI capabilities without vendor lock-in, making it one of the best open-source alternatives to commercial AI models.
Step 1: Create a Server Instance on Shape.Host
Before installing Stable Diffusion, you need a server to host your environment. Here’s how to set up a server instance on Shape.Host:
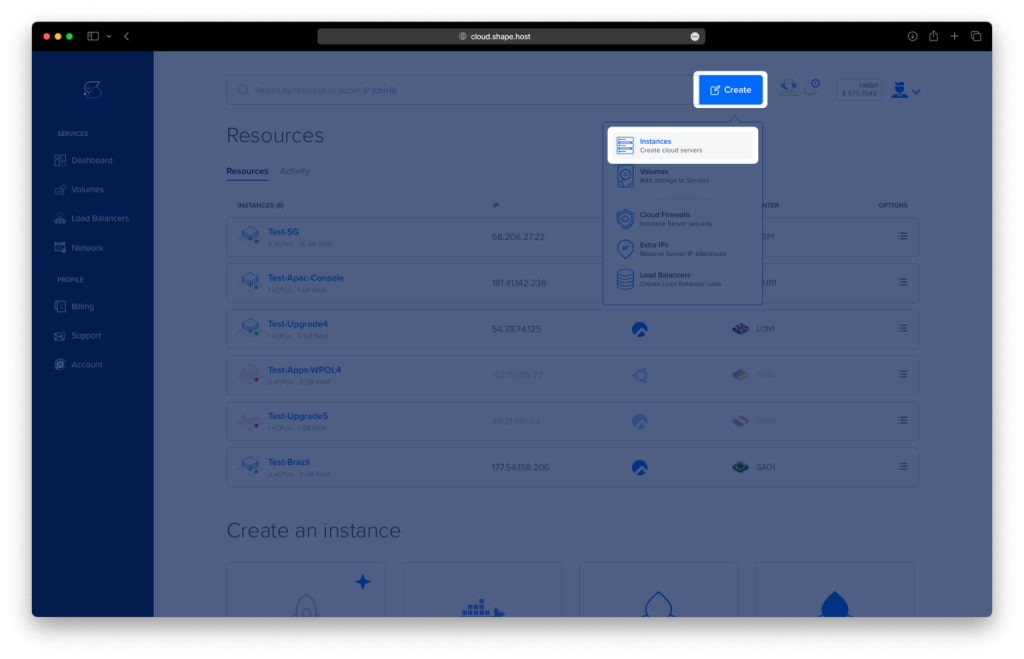
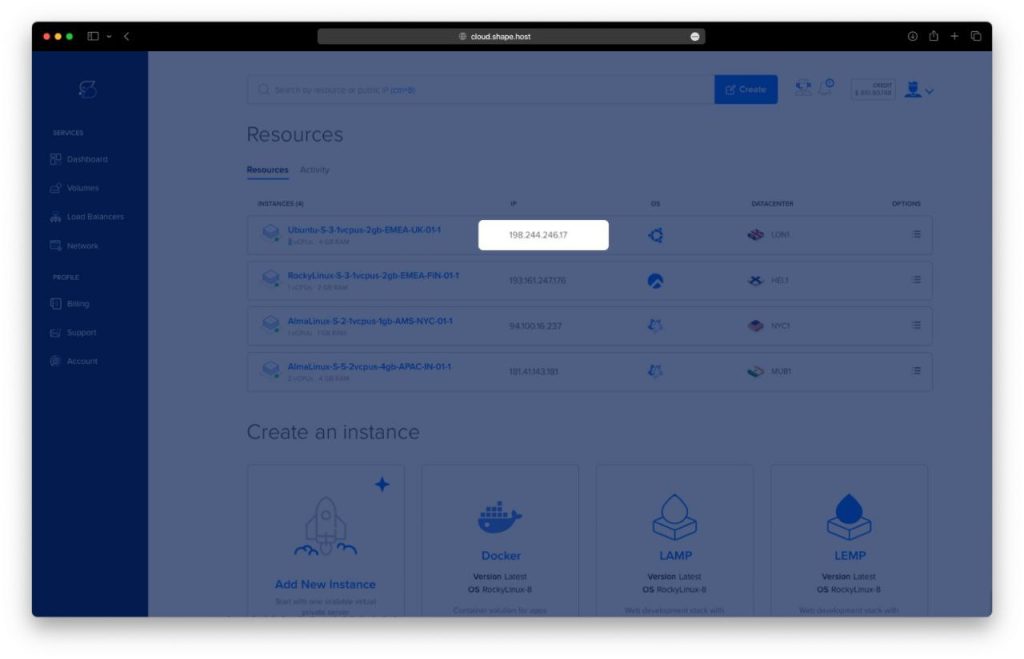
Access Shape.Host: Log in to your Shape.Host account and go to the Cloud VPS section.
Start a New Instance: Click on “Create” and choose the server type that fits your project needs.
Select a Location: Pick a data center near your audience for better performance.
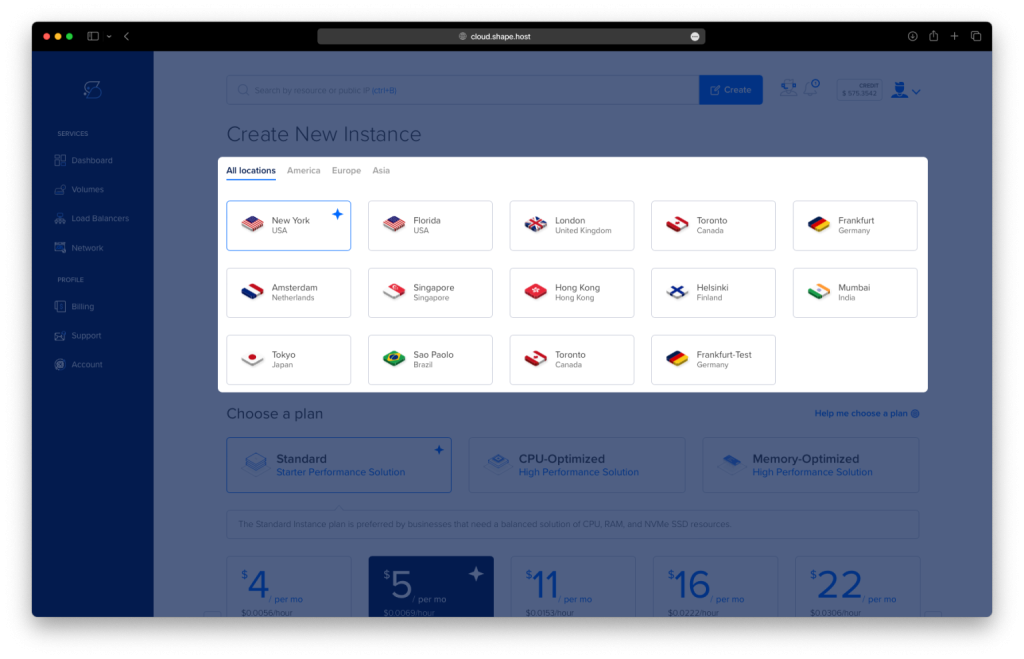
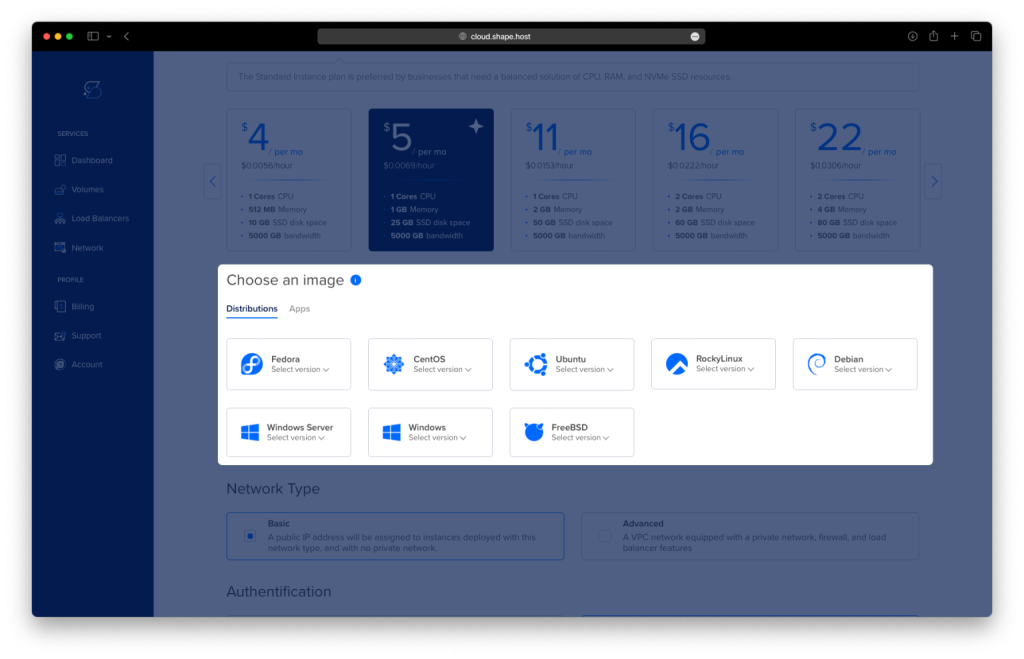
Choose a Plan: Select a hosting plan that matches your resource requirements and budget. Ensure the plan includes an NVIDIA GPU for Stable Diffusion.
Set the OS: Choose Ubuntu 24.04 as your operating system.
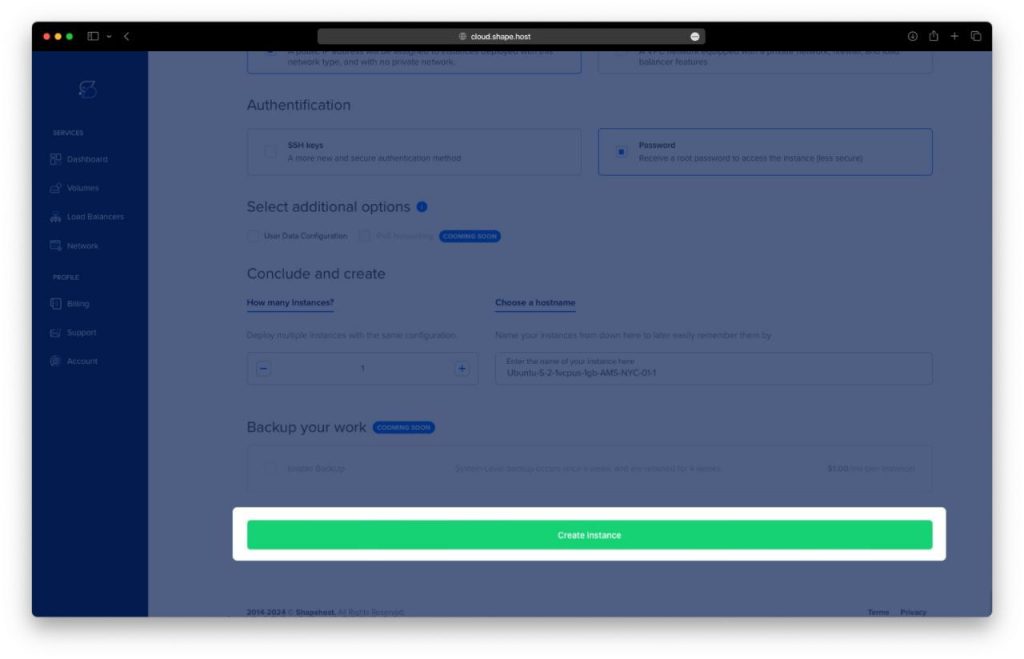
Complete the Setup: Review your settings and click “Create Instance” to launch your instance. It will be ready shortly.
In Dashboard you will find your Instance IP.
Step 2: Connect to Your Instance
Once your server is ready, you need to connect to it using SSH. Here’s how to do it:
- Linux/macOS: Open your terminal and use the following command:
ssh root@your_server_ipReplace your_server_ip with the server’s IP address.
- Windows: Use an SSH client like PuTTY. Enter your server’s IP address, specify the port (usually 22), and click “Open.” Log in with your username and password.
Step 3: Verify NVIDIA Drivers
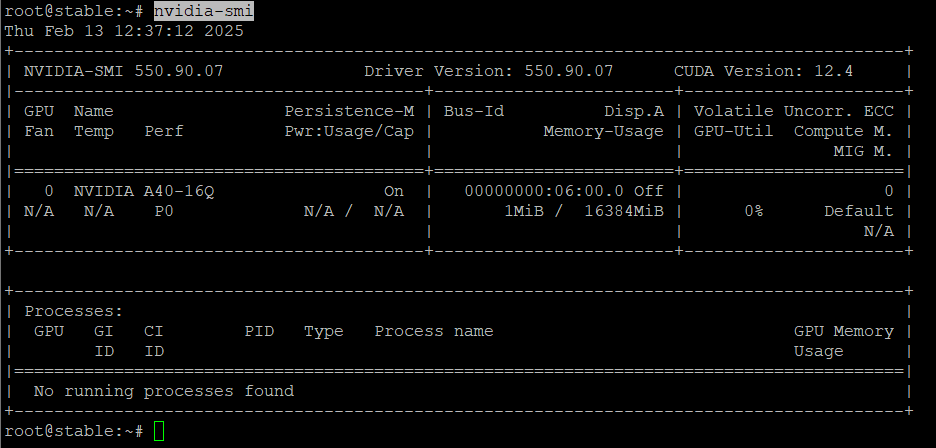
Before proceeding, ensure that the NVIDIA drivers are installed and the GPU is detected. Run the following command to check:
nvidia-smiIf the GPU is detected, you will see details about the GPU, such as its model, driver version, and memory usage. If the GPU is not detected, you will need to install the NVIDIA drivers. Refer to the official NVIDIA documentation for installation instructions.
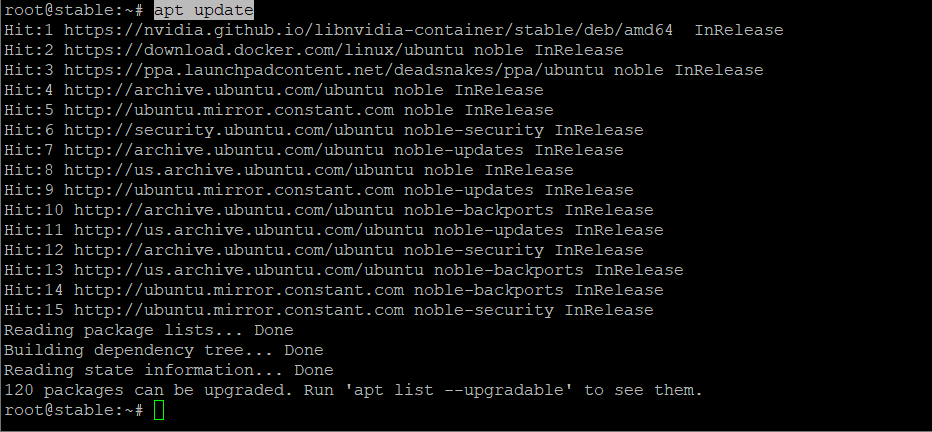
Step 4: Update the System
Before installing any software, it’s a good practice to update your system to ensure all packages are up to date. Run the following command:
apt update
Step 5: Install Required Dependencies
Install the necessary dependencies for Stable Diffusion:
sudo apt install wget git python3 python3-venv libgl1 libglib2.0-0 -y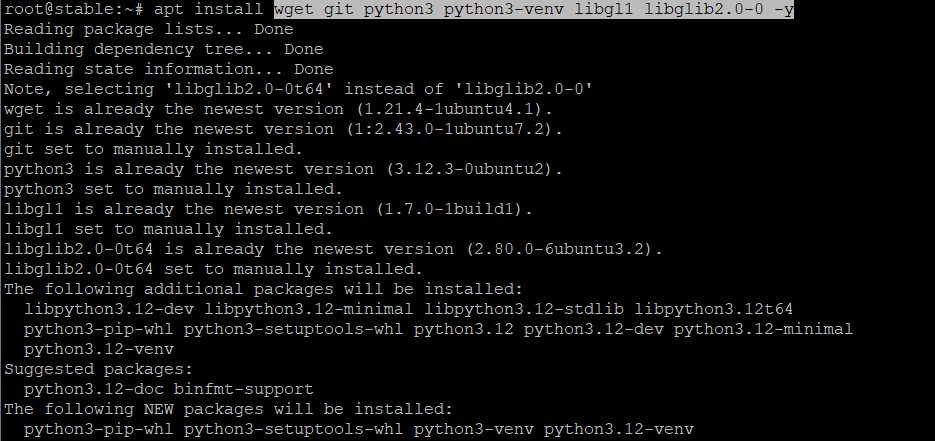
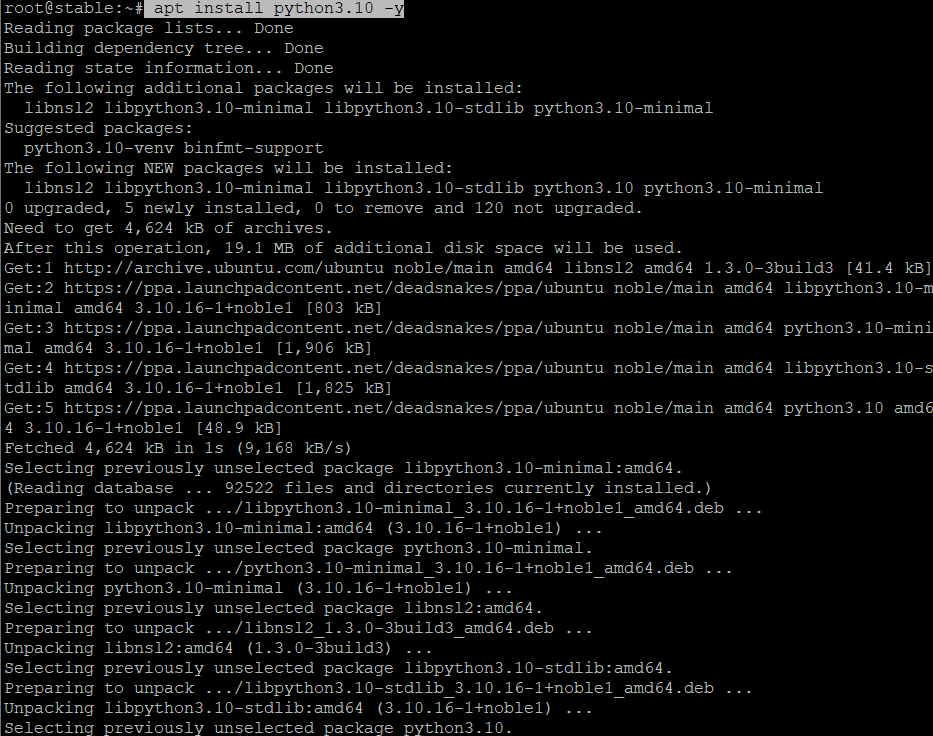
Step 6: Install Python 3.10
Stable Diffusion requires Python 3.10. Add the deadsnakes PPA and install Python 3.10:
sudo add-apt-repository ppa:deadsnakes/ppa
apt update
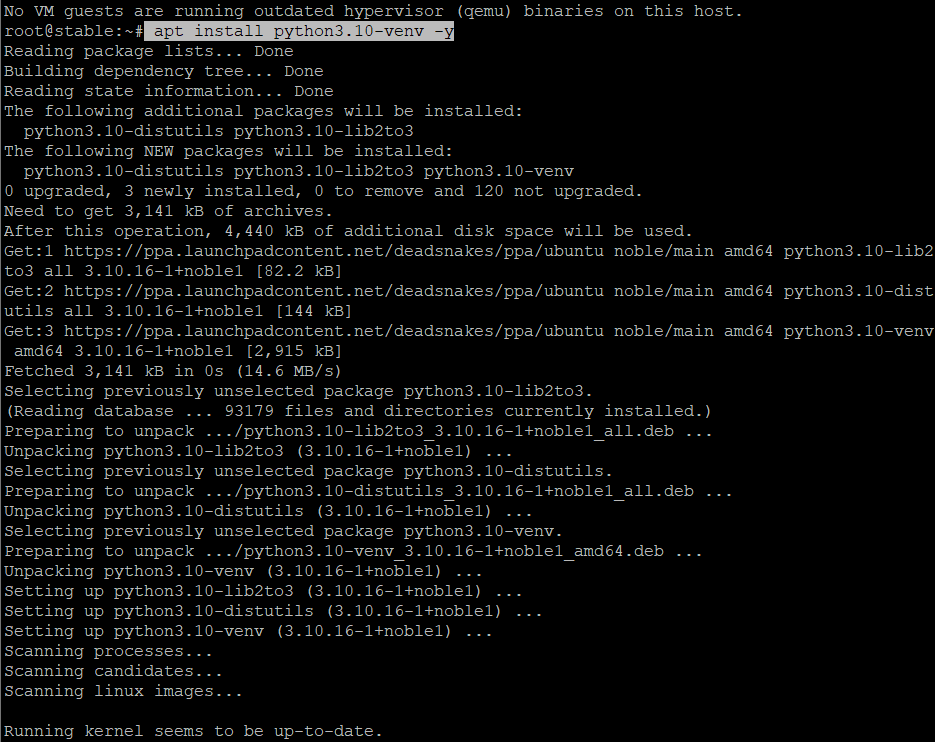
apt install python3.10 -y
apt install python3.10-venv -y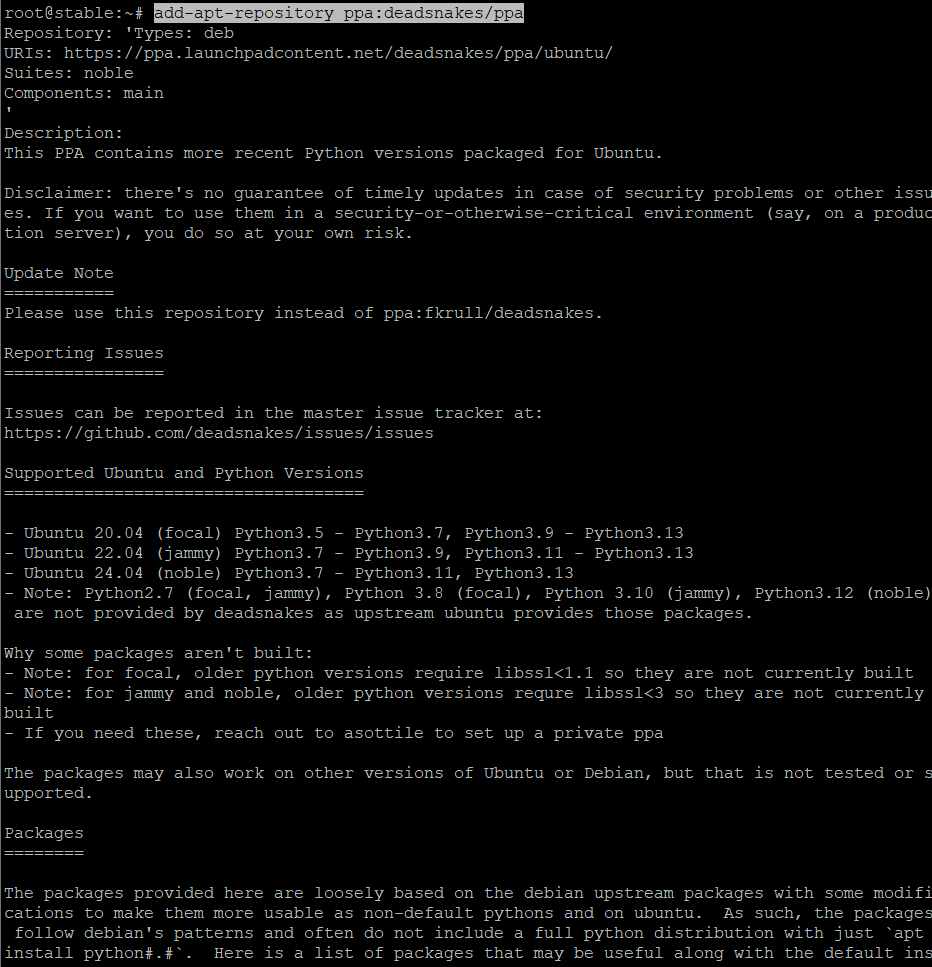
Step 7: Create a Dedicated User
For security purposes, create a dedicated user to run Stable Diffusion:
adduser shape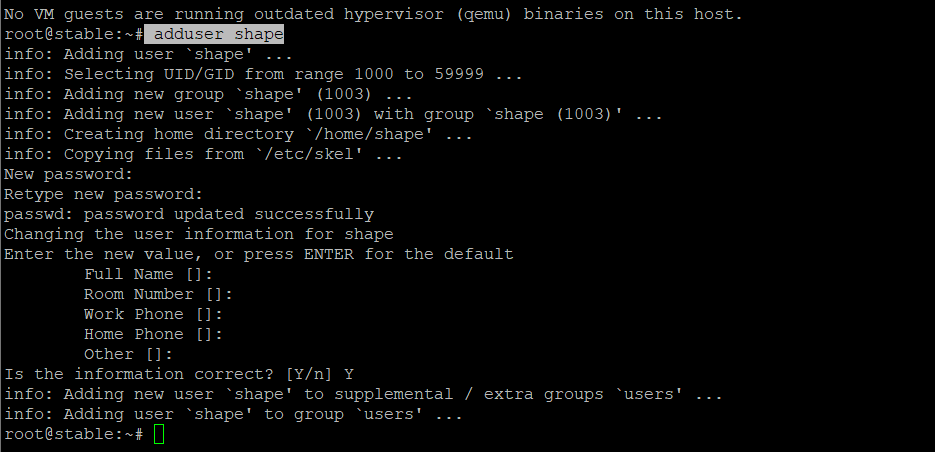
Switch to the new user:
su - shapeStep 8: Set Up Stable Diffusion
Create a directory for Stable Diffusion and navigate to it:
mkdir stable
cd stable
Download the webui.sh script from the Stable Diffusion WebUI repository:
wget -q https://raw.githubusercontent.com/AUTOMATIC1111/stable-diffusion-webui/master/webui.sh
Make the script executable:
chmod +x webui.shStep 9: Create a Python Virtual Environment
Create a Python virtual environment to isolate the Stable Diffusion dependencies:
python3 -m venv venv
Step 10: Run the WebUI Script
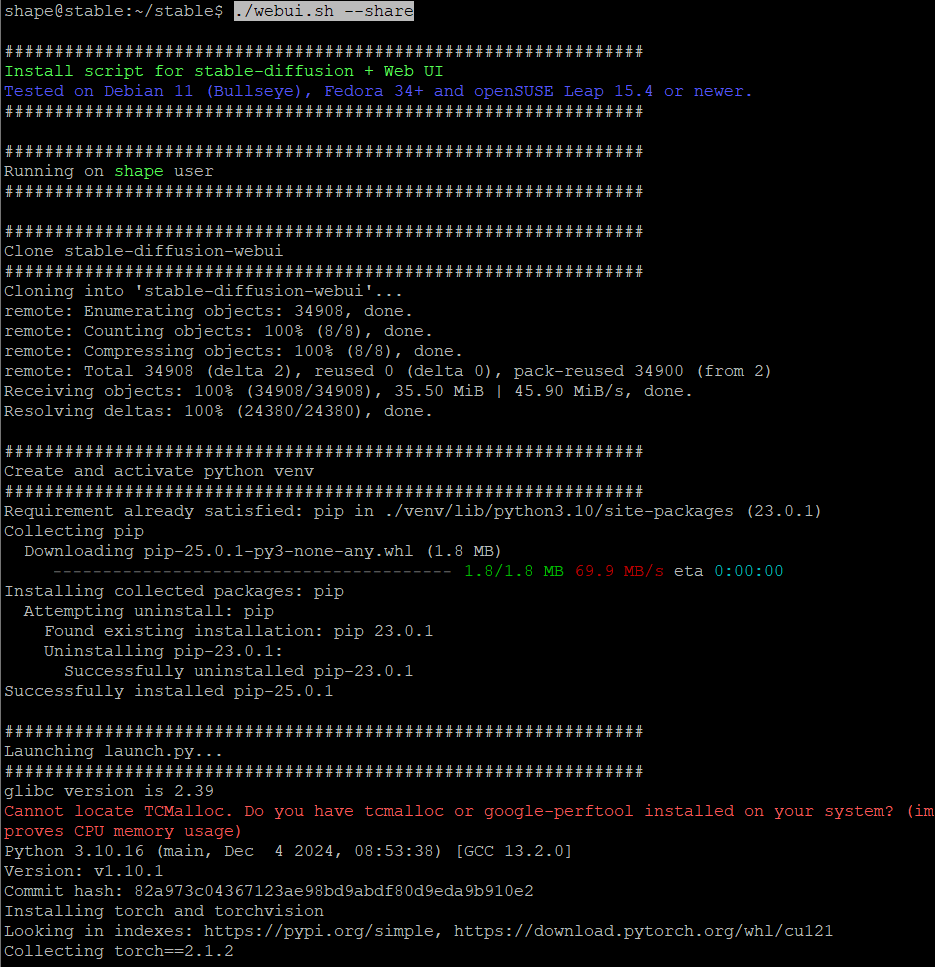
Start the Stable Diffusion WebUI by running the following command:
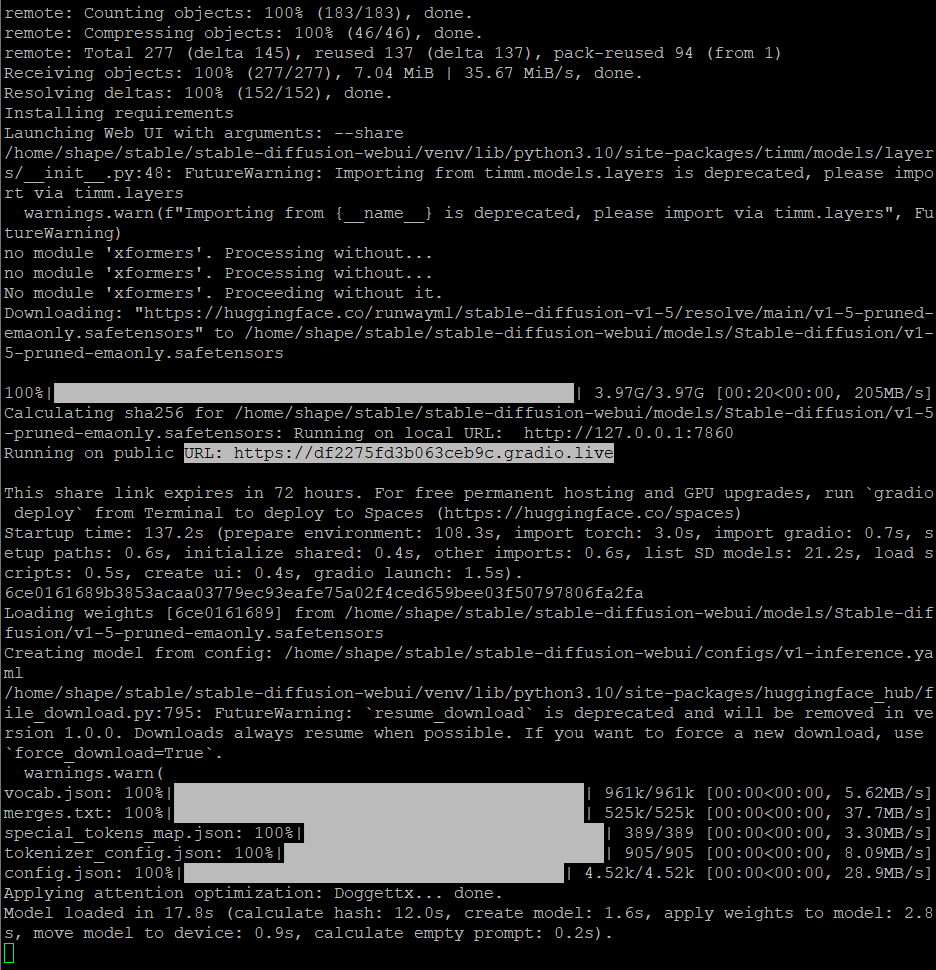
./webui.sh --shareThis script will download and install all required dependencies, including the Stable Diffusion model. Once the installation is complete, the script will provide a URL to access the Stable Diffusion WebUI.
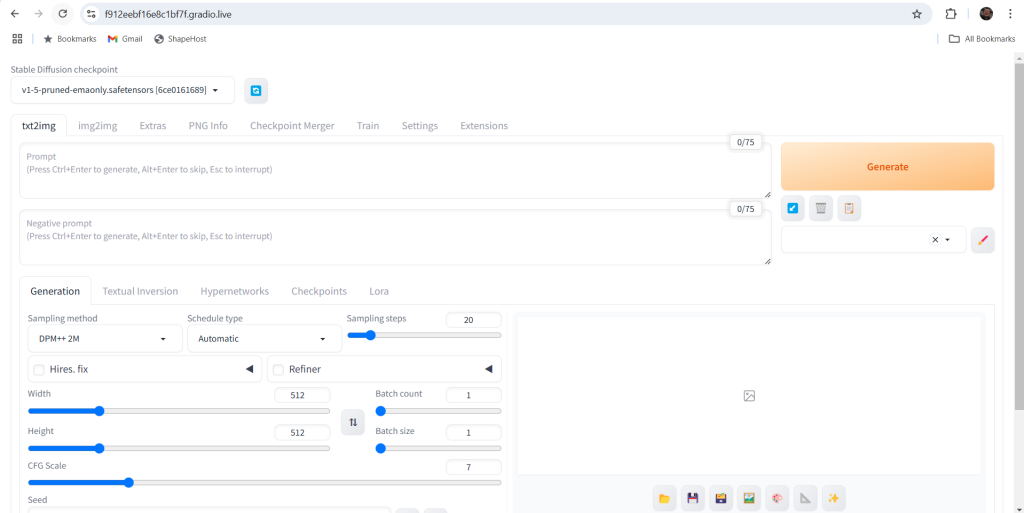
Step 11: Access Stable Diffusion
After the installation finishes, you will see a URL in the terminal output. Open this URL in your web browser to access the Stable Diffusion WebUI. You can now start generating images using text prompts!
If you’re looking for a reliable and high-performance hosting solution for your AI projects, consider Shape.Host Linux SSD VPS services. With fast SSD storage, scalable resources, and excellent support, Shape.Host provides the perfect environment for running Stable Diffusion and other demanding applications. Visit Shape.Host to learn more and get started today!