Ghostfolio (Investment Tracker) on Ubuntu 24.04 (Docker + Nginx + SSL)
Ghostfolio is an open-source, self-hosted portfolio tracking and wealth management platform designed for individuals and investors who value privacy and transparency. It allows you to track stocks, ETFs, cryptocurrencies, and other financial assets in one place. With powerful data visualization, analytics, and reporting tools, Ghostfolio helps you make informed investment decisions — all while keeping your data private and fully under your control.
Running Ghostfolio on Ubuntu 24.04 LTS (Noble Numbat) provides a stable, secure, and modern foundation for hosting your personal finance platform. Ubuntu 24.04 includes OpenSSL 3, systemd 255, and up-to-date Docker and Node.js packages, making it ideal for deploying Ghostfolio with Docker Compose, Nginx, and SSL encryption for a secure, production-ready setup.
Architecture Overview
| Layer | Component | Role |
|---|---|---|
| OS | Ubuntu 24.04 LTS | Long-term supported, stable base system |
| Container Runtime | Docker Engine + Compose | Orchestrates Ghostfolio and its supporting services |
| Application | Ghostfolio (Node.js + NestJS) | Web-based portfolio tracker and backend API |
| Database | PostgreSQL 15/16 | Stores portfolio data, user information, and historical pricing |
| Reverse Proxy | Nginx | Manages HTTPS termination, compression, and request routing |
| TLS | Let’s Encrypt / PKI | Provides SSL certificates for secure web access |
Why Use Ghostfolio?
- All-in-one portfolio tracker – monitor stocks, ETFs, crypto, and more.
- Self-hosted and open-source – your data stays entirely private.
- Real-time insights – track asset performance, allocations, and net worth.
- Automatic data fetching – integrates with APIs for market data and prices.
- Detailed analytics – visualize diversification, risk exposure, and portfolio trends.
- Multi-user support – manage family or team portfolios securely.
- Modern, intuitive interface – clean design optimized for both desktop and mobile.
Ghostfolio vs Other Portfolio Trackers
| Feature/Capability | Ghostfolio (Self-hosted) | Sharesight | CoinStats | Kubera |
|---|---|---|---|---|
| Hosting | Self-hosted / Cloud | Cloud only | Cloud only | Cloud only |
| Asset coverage | Stocks, ETFs, crypto | Stocks/ETFs only | Crypto only | Multi-asset |
| Privacy | 100% self-hosted | Cloud-based | Cloud-based | Cloud-based |
| API integration | ✅ Yes | ✅ Yes | ✅ Yes | ✅ Yes |
| Cost | Free, open-source | Subscription | Subscription | Subscription |
| Best for | DIY investors / tech users | Investors | Crypto users | Professionals |
Ghostfolio stands out as a powerful, privacy-focused alternative to commercial investment tracking tools — combining financial analytics with the flexibility of open-source technology.
Security & Best Practices
- Deploy behind Nginx with HTTPS enabled (Let’s Encrypt or custom SSL).
- Use environment variables or Docker secrets for PostgreSQL credentials.
- Restrict database access to the internal Docker network.
- Keep Ubuntu, Docker, and Ghostfolio images updated regularly.
- Enable UFW and allow only ports 80 and 443.
- Automate SSL renewals with Certbot or Traefik ACME.
- Schedule PostgreSQL backups and verify recovery periodically.
- Use fail2ban or rate limiting on login endpoints.
- Configure daily cron jobs for data synchronization and cache cleanup.
Typical Use Cases
- Personal investment tracking – manage diversified portfolios across markets.
- Crypto and stock investors – monitor performance and balance allocations.
- Financial advisors – analyze client portfolios with real-time charts.
- Family wealth management – track shared assets privately.
- Data-driven investors – visualize asset growth and risk in a single dashboard.
Deploying Ghostfolio on Ubuntu 24.04 with Docker, Nginx, and SSL gives you a secure, real-time, and private investment tracking platform — empowering you to take full control of your financial data and analytics with open-source flexibility.
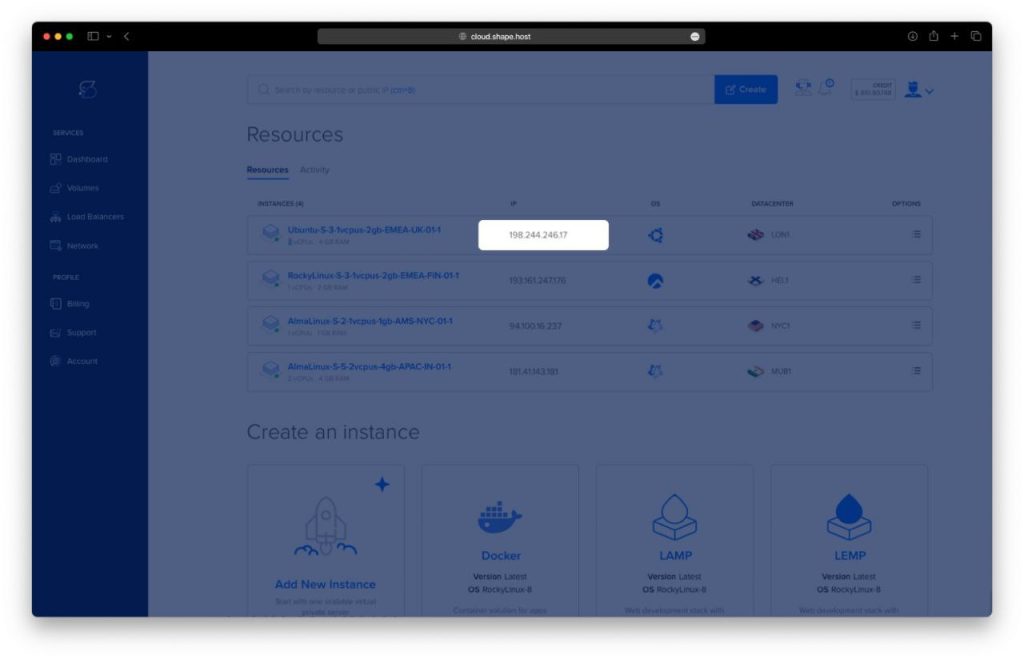
Create a Cloud Server Instance on Shape.Host
Before installing Ghostfolio, you need a clean Ubuntu 24.04 server.
Follow these steps at Shape.Host:
Visit https://shape.host and sign in.
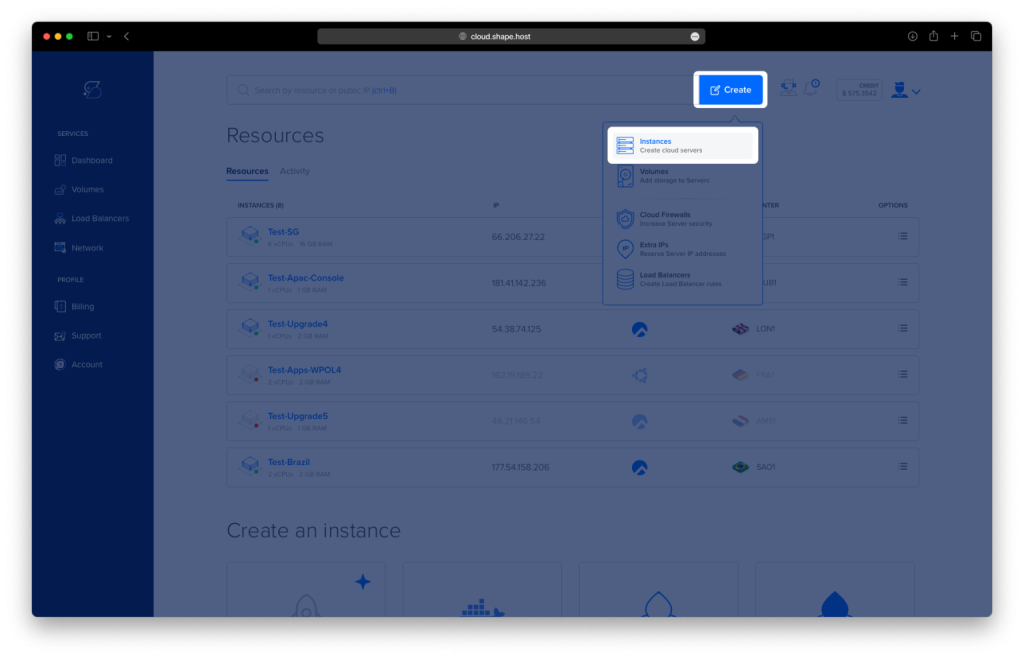
Click Create in the top-right menu.
Choose Instance.
Select the data center nearest to your users.
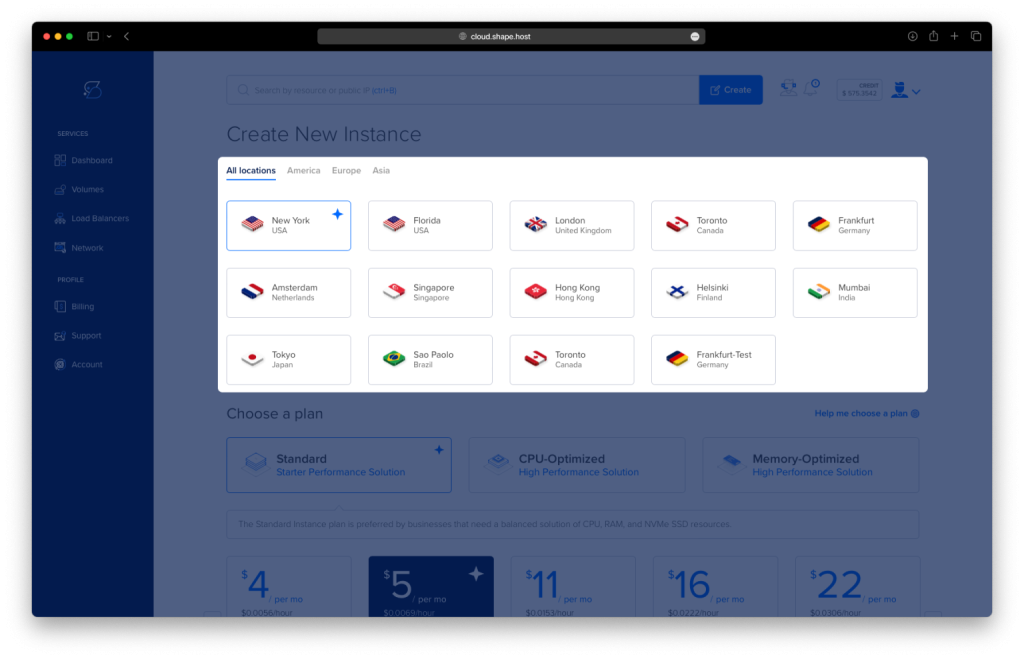
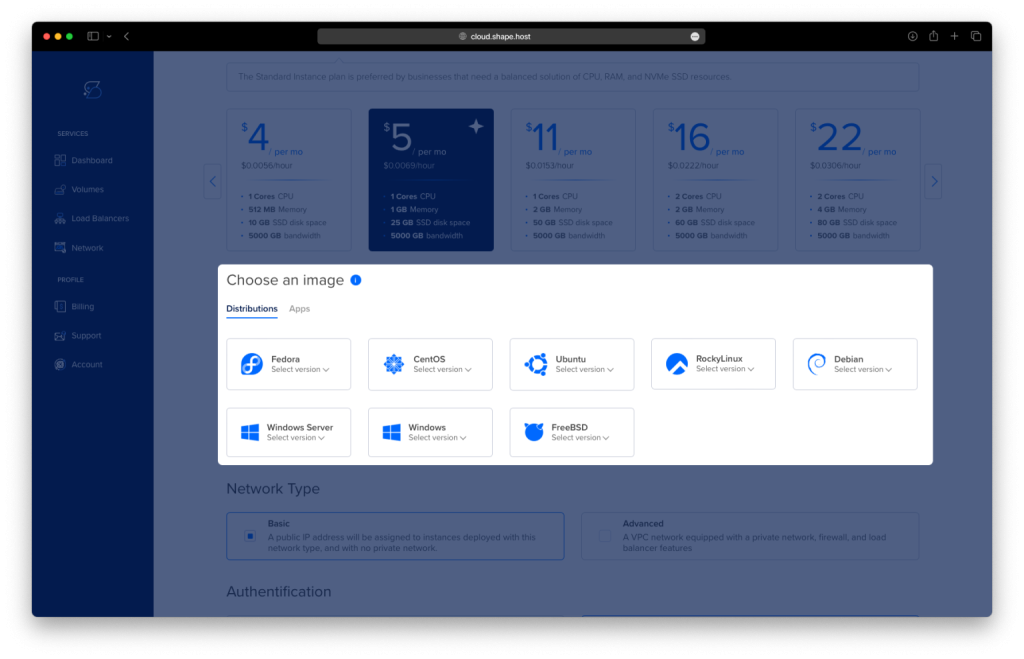
Under Operating System, choose Ubuntu 24.04 (64-bit).
Select a plan. Recommended minimum:
2 vCPUs
4 GB RAM
20 GB NVMe SSD
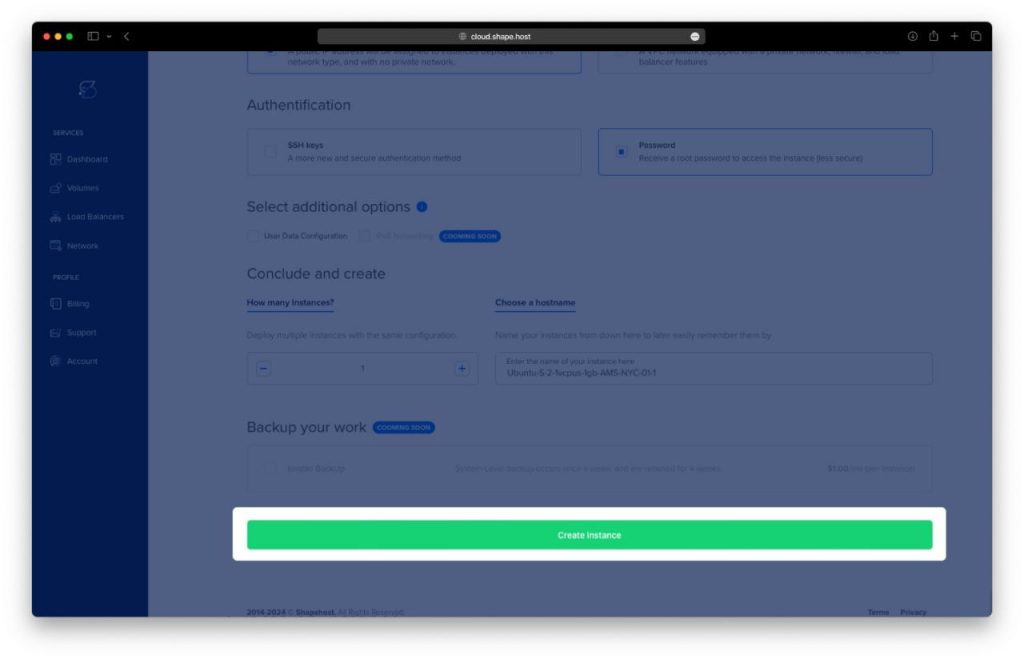
Click Create Instance.
Wait 20–40 seconds for deployment.
Copy your server’s public IP address.
Your server is now ready for SSH access.
Step 1: Connect to Your Instance via SSH
On macOS or Linux
Open Terminal:
ssh root@YOUR_SERVER_IP
On Windows
Use PowerShell, Windows Terminal, or PuTTY:
ssh root@YOUR_SERVER_IP
After accepting the fingerprint, you will be logged into your VPS.
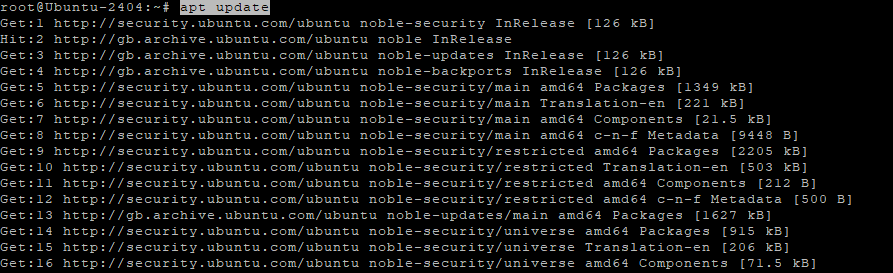
Step 2: Update the System
apt update
Refreshes Ubuntu’s package lists.
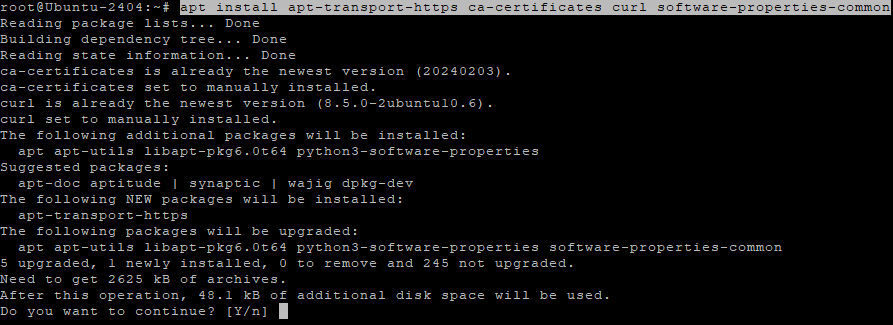
Step 3: Install Required Dependencies
apt install apt-transport-https ca-certificates curl software-properties-common
These packages allow secure repository downloads and software installation.
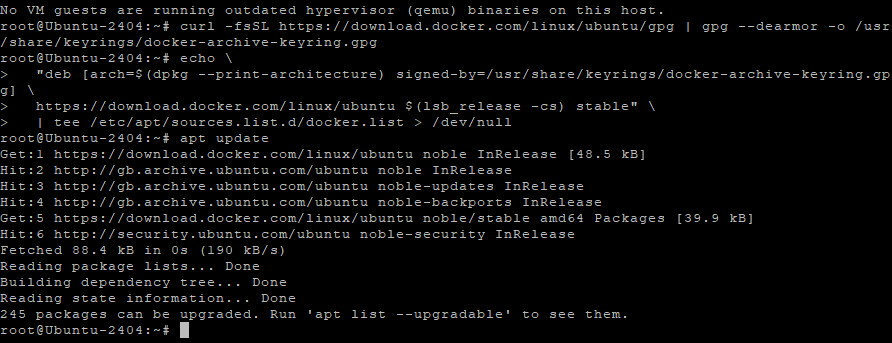
Step 4: Add Docker’s Official GPG Key
curl -fsSL https://download.docker.com/linux/ubuntu/gpg | gpg --dearmor -o /usr/share/keyrings/docker-archive-keyring.gpg
This imports Docker’s trusted signing key.
Step 5: Add Docker Repository
echo   "deb [arch=$(dpkg --print-architecture) signed-by=/usr/share/keyrings/docker-archive-keyring.gpg] \
  https://download.docker.com/linux/ubuntu $(lsb_release -cs) stable"   | tee /etc/apt/sources.list.d/docker.list > /dev/null
This adds Docker’s official repository to your system.
Step 6: Update Again
apt update
Loads the newly added Docker repository.
Step 7: Install Docker Engine + Docker Compose
apt install docker-ce docker-ce-cli docker-compose-plugin
Installs the Docker runtime and Docker Compose v2 plugin.

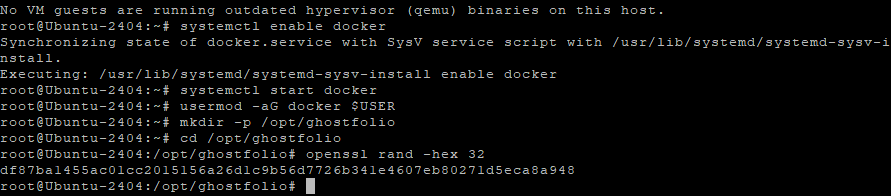
Step 8: Enable Docker at Startup
systemctl enable docker
Step 9: Start Docker
systemctl start docker
Step 10: Add Current User to Docker Group
usermod -aG docker $USER
This allows the user to run Docker without sudo after re-login.
Step 11: Create Ghostfolio Directory
mkdir -p /opt/ghostfolio
Step 12: Enter Directory
cd /opt/ghostfolio
Step 13: Generate Security Keys
Your history shows you generated multiple random keys:
openssl rand -hex 32
openssl rand -hex 32
openssl rand -hex 32
You will use these for JWT, access tokens, and refresh tokens.

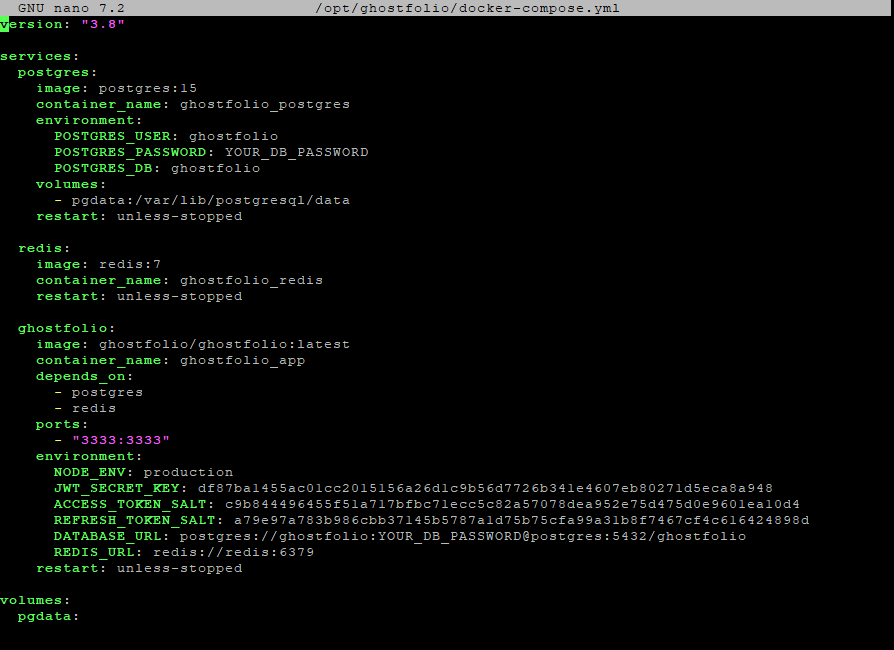
Step 14: Create docker-compose.yml
nano docker-compose.yml
Paste your exact configuration:
version: "3.8"

services:
  postgres:
    image: postgres:15
    container_name: ghostfolio_postgres
    environment:
      POSTGRES_USER: ghostfolio
      POSTGRES_PASSWORD: YOUR_DB_PASSWORD
      POSTGRES_DB: ghostfolio
    volumes:
      - pgdata:/var/lib/postgresql/data
    restart: unless-stopped

  redis:
    image: redis:7
    container_name: ghostfolio_redis
    restart: unless-stopped

  ghostfolio:
    image: ghostfolio/ghostfolio:latest
    container_name: ghostfolio_app
    depends_on:
      - postgres
      - redis
    ports:
      - "3333:3333"
    environment:
      NODE_ENV: production
      JWT_SECRET_KEY: df87ba1455ac01cc2015156a26d1c9b56d7726b341e4607eb80271d5eca8a948
      ACCESS_TOKEN_SALT: c9b844496455f51a717bfbc71ecc5c82a57078dea952e75d475d0e9601ea10d4
      REFRESH_TOKEN_SALT: a79e97a783b986cbb37145b5787a1d75b75cfa99a31b8f7467cf4c616424898d
      DATABASE_URL: postgres://ghostfolio:YOUR_DB_PASSWORD@postgres:5432/ghostfolio
      REDIS_URL: redis://redis:6379
    restart: unless-stopped

volumes:
  pgdata:
Save and close (CTRL + O, ENTER, CTRL + X).
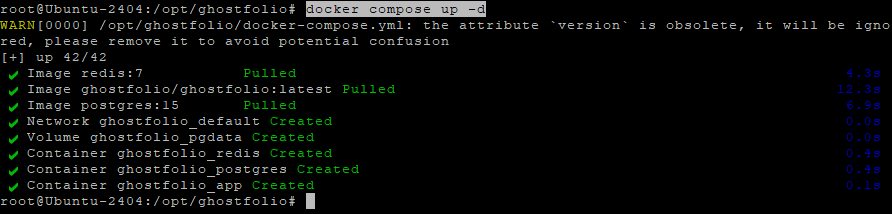
Step 15: Start Ghostfolio
docker compose up -d
Starts all containers in the background.
Step 16: Check Running Containers
docker ps
Confirm that all three containers are listed as “Up”.

Step 17: View Logs (Optional)
docker compose logs
Useful for debugging.
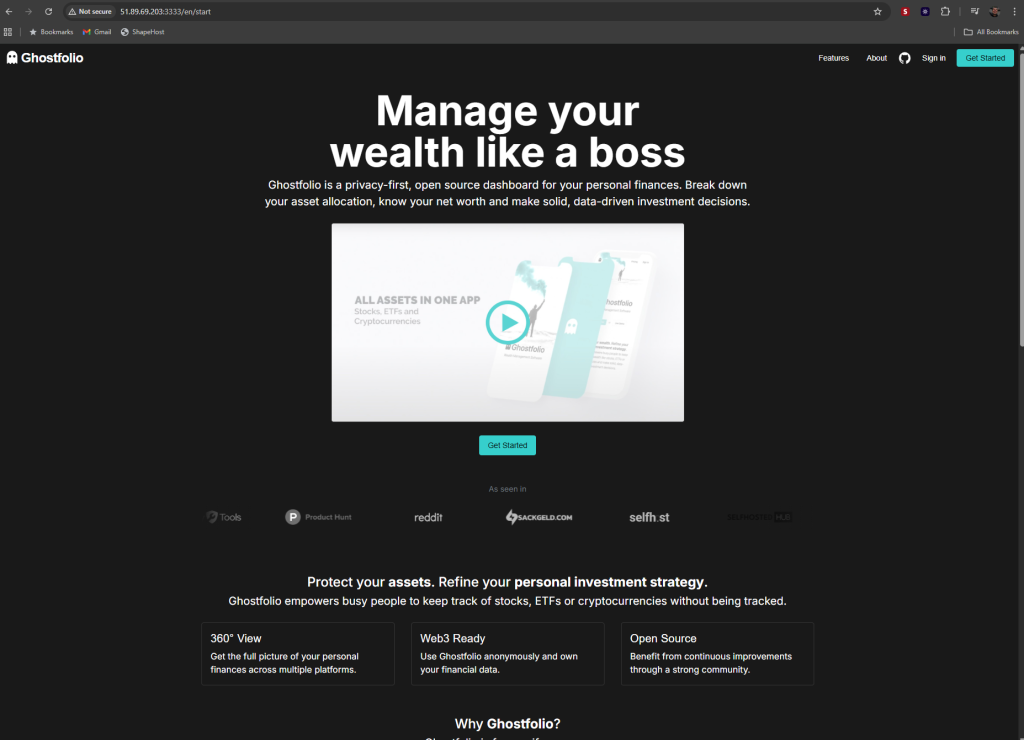
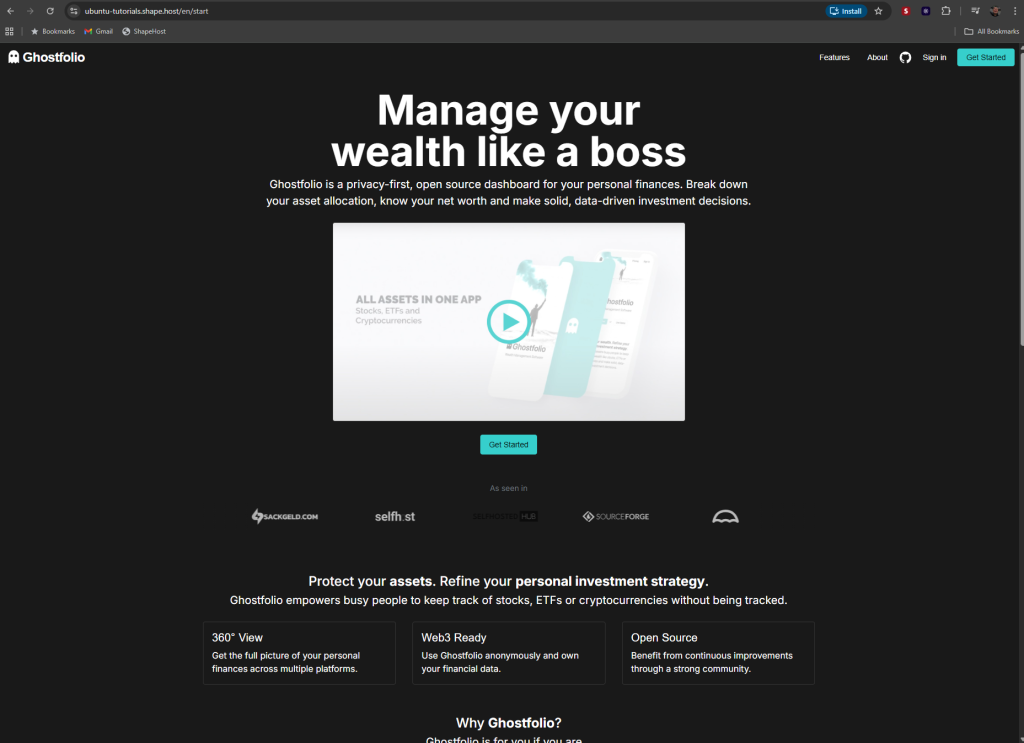
Step 18: Test Ghostfolio from Browser (Before Nginx)
Visit:
http://YOUR_SERVER_IP:3333
If everything is correct, you will see the Ghostfolio web UI.
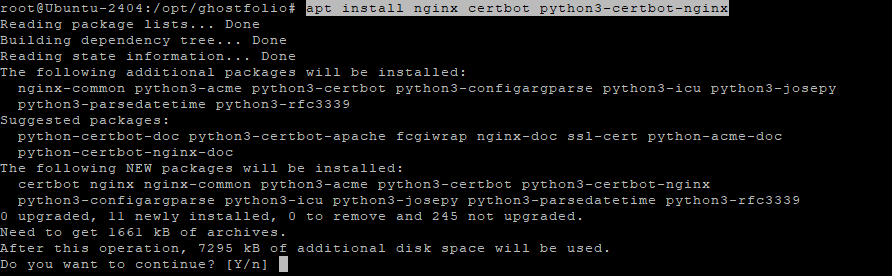
Step 19: Install Nginx and Certbot
apt install nginx certbot python3-certbot-nginx
Installs Nginx reverse proxy and SSL automation tools.
Step 20: Enable and Start Nginx
systemctl enable nginx
systemctl start nginx

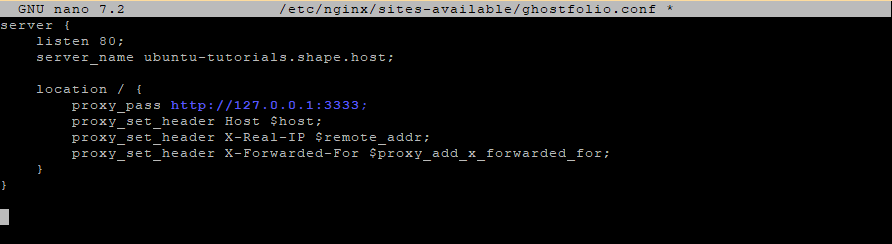
Step 21: Create the Nginx Reverse Proxy
nano /etc/nginx/sites-available/ghostfolio.conf
Insert:
server {
    listen 80;
    server_name your.domain.com;

    location / {
        proxy_pass http://127.0.0.1:3333;
        proxy_set_header Host $host;
        proxy_set_header X-Real-IP $remote_addr;
        proxy_set_header X-Forwarded-For $proxy_add_x_forwarded_for;
    }
}
Step 22: Enable the Site
ln -s /etc/nginx/sites-available/ghostfolio.conf /etc/nginx/sites-enabled/
Step 23: Test Nginx Configuration
nginx -t
Step 24: Reload Nginx
systemctl reload nginx

Step 25: Enable HTTPS with Certbot
certbot --nginx -d ubuntu-tutorials.shape.host
Certbot automatically configures SSL.

Step 26: Access Ghostfolio Securely
Open:
https://your.domain.com
Ghostfolio is now fully installed and secured with SSL.
For hosting applications such as Ghostfolio, NocoDB, Appwrite, HedgeDoc, Paperless-ngx, Focalboard, and others, Shape.Host provides:
- High-performance NVMe Cloud VPS
- Instant deployment
- Clean OS images
- Reliable uptime
- Flexible scaling options
Visit https://shape.host to deploy your next project with confidence.