NocoDB (Airtable Alternative) on Ubuntu 24.04 (Docker + Nginx + SSL)
NocoDB is an open-source Airtable alternative that turns any SQL database into a smart spreadsheet interface. It provides a modern, collaborative platform to manage data visually — supporting MySQL, PostgreSQL, SQLite, SQL Server, and MariaDB backends. With NocoDB, you can build no-code applications, internal dashboards, and API-based workflows directly on top of your databases.
Running NocoDB on Ubuntu 24.04 LTS (Noble Numbat) ensures a secure, long-term supported, and optimized environment for modern web applications. Ubuntu 24.04 includes systemd 255, OpenSSL 3, and updated Docker packages, making it ideal for deploying NocoDB with Docker, Nginx, and SSL for production-grade reliability.
Architecture Overview
| Layer | Component | Role |
|---|---|---|
| OS | Ubuntu 24.04 LTS | Stable and long-term supported base OS |
| Container Runtime | Docker Engine + Compose | Manages NocoDB and related services |
| Application | NocoDB (Node.js) | Main web application and API service |
| Database | PostgreSQL / MySQL / MariaDB | Stores data and schema for NocoDB |
| Reverse Proxy | Nginx | Handles HTTPS termination, caching, and routing |
| TLS | Let’s Encrypt / PKI | Provides SSL for secure access to NocoDB dashboard |
Why Use NocoDB?
- Open-source Airtable alternative – self-hosted with full control over your data.
- Spreadsheet-like interface – intuitive and collaborative, no coding required.
- Multi-database support – connect to MySQL, PostgreSQL, SQLite, and SQL Server.
- REST & GraphQL APIs – automatically generated endpoints for database access.
- Role-based access control – manage teams and permissions effectively.
- Extensible & programmable – integrate via webhooks, automations, and scripts.
- Private, scalable, and secure – ideal for both individuals and enterprises.
NocoDB vs Other Data Platforms
| Feature/Capability | NocoDB (Self-hosted) | Airtable | Baserow | SeaTable |
|---|---|---|---|---|
| Hosting | Self-hosted / Cloud | Cloud only | Self-hosted / Cloud | Self-hosted / Cloud |
| Database backend | MySQL / PostgreSQL / SQLite | Proprietary | PostgreSQL | Proprietary |
| API Access | REST & GraphQL | Limited | REST | REST |
| Cost | Free, open-source | Subscription | Free/Paid | Subscription |
| Data Ownership | Full control | Cloud-managed | Full control | Partial |
| Customization | High | Limited | Moderate | Moderate |
NocoDB provides the power of Airtable combined with the flexibility of SQL — a perfect blend for businesses seeking a no-code platform without vendor lock-in.
Security & Best Practices
- Deploy behind Nginx with HTTPS (Let’s Encrypt recommended).
- Use environment variables for database credentials (
.envfile). - Restrict NocoDB’s internal port (default
8080) tolocalhostonly. - Keep Docker, NocoDB, and Ubuntu packages updated regularly.
- Enable UFW firewall and allow only ports 80/443.
- Automate SSL renewals using Certbot or Traefik ACME integration.
- Schedule database backups regularly (PostgreSQL or MySQL).
- Enable NocoDB’s authentication and team management features.
- Apply fail2ban or rate-limiting rules for Nginx to prevent brute-force attacks.
Typical Use Cases
- Internal tools – build web-based dashboards and admin panels.
- Project & CRM management – track projects, clients, and leads.
- Inventory management – maintain real-time product databases.
- Data visualization – create charts, grids, and Kanban boards.
- API automation – expose database tables as REST/GraphQL APIs instantly.
- Collaboration platform – manage data with team permissions and sharing.
Deploying NocoDB on Ubuntu 24.04 with Docker, Nginx, and SSL gives you a powerful, self-hosted Airtable alternative that combines ease of use with enterprise-grade scalability — a perfect fit for modern data-driven organizations.
Create Your Cloud Server on Shape.Host
Before installing anything, you need a VPS running Ubuntu 24.04.
Follow these steps:
Go to https://shape.host and log into your dashboard.
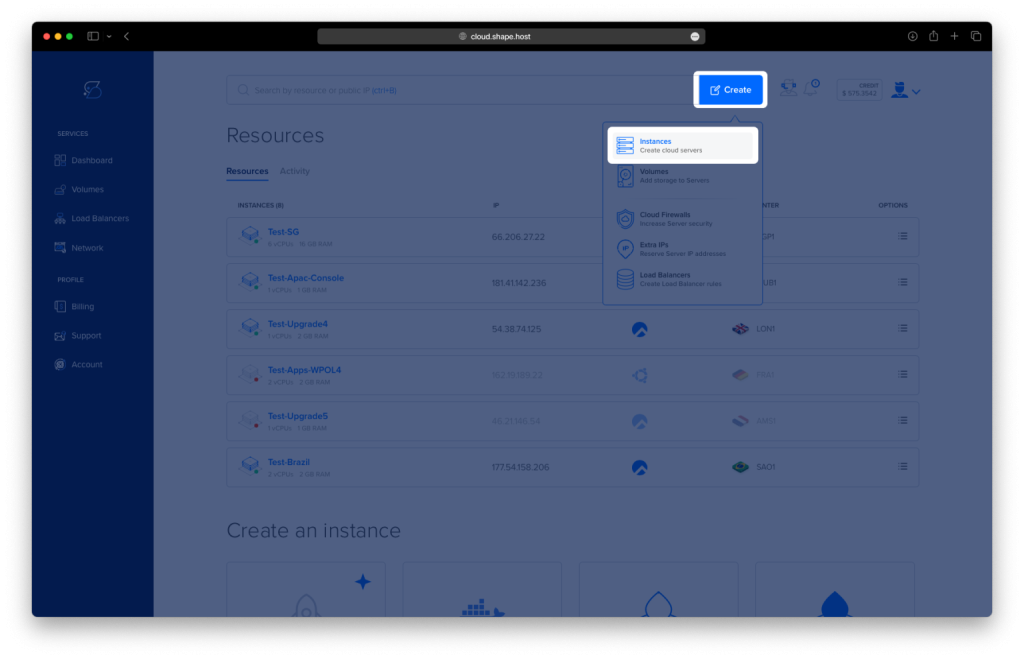
Click Create (top-right).
Select Instance.
Choose the datacenter location nearest to your users.

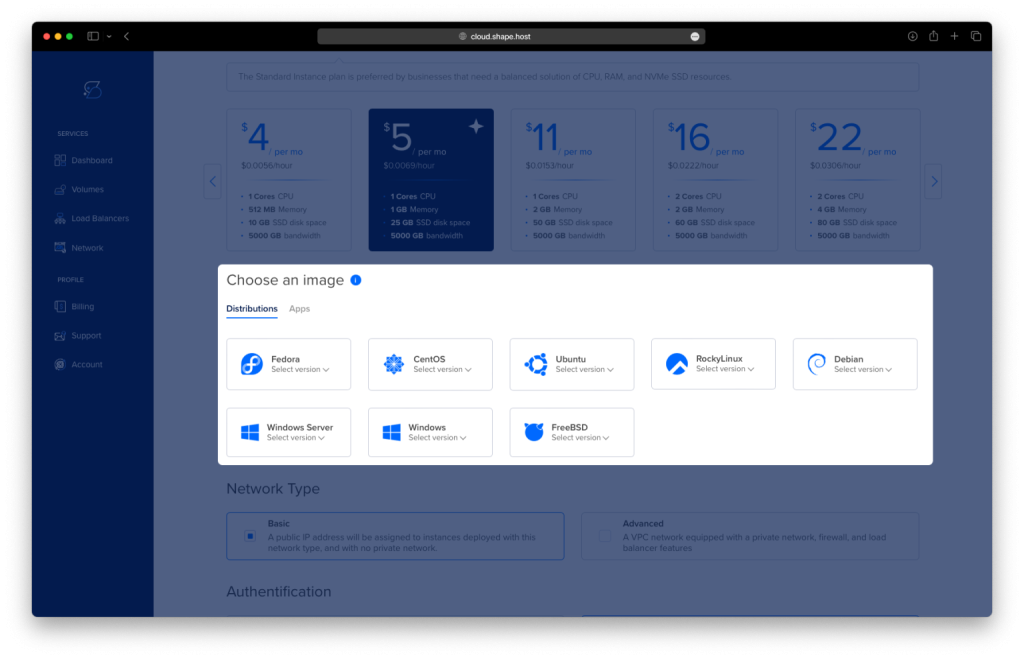
Under the OS list, select Ubuntu 24.04 (64-bit).
Select a plan — recommended minimum for NocoDB:
2 vCPUs
4 GB RAM
20 GB NVMe storage
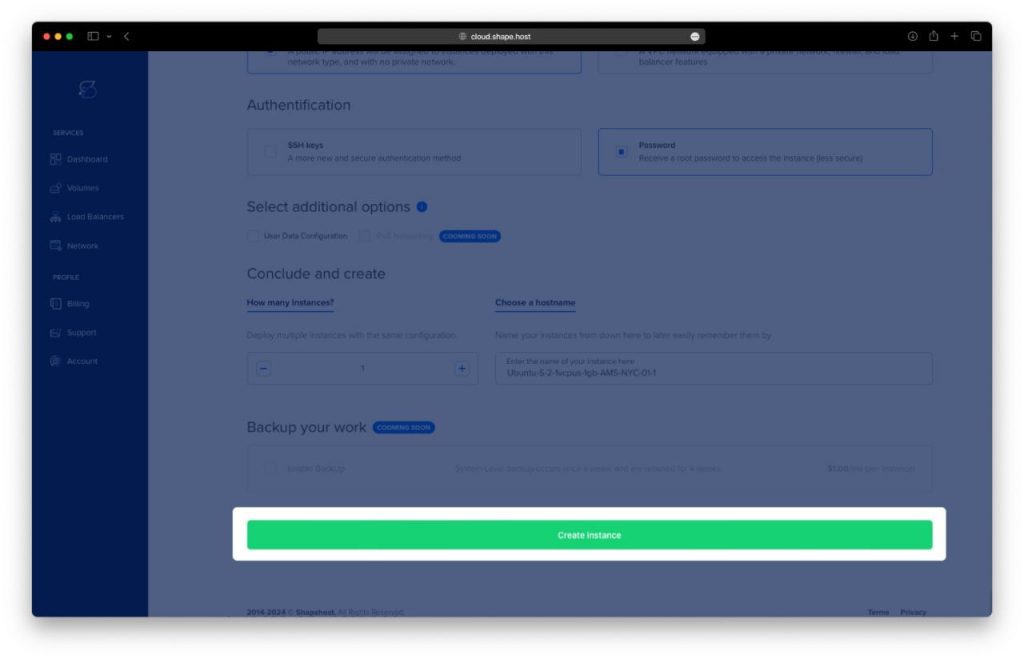
Click Create Instance.
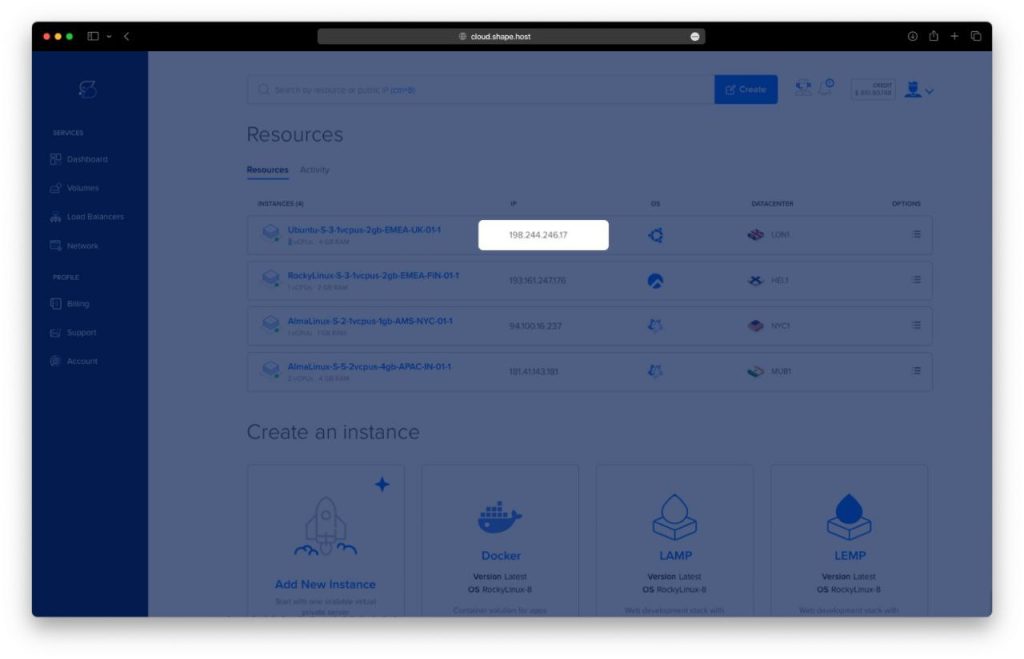
Wait for deployment (usually under 30 seconds).
Copy your server’s public IP address from the “Resources” section.
Your cloud server is now ready.
Step 1: Connect to Your Instance (SSH)
Now connect to your new VPS.
On macOS or Linux:
Open Terminal and run:
ssh root@YOUR_SERVER_IP
On Windows:
You can use:
- Windows Terminal
- PowerShell
- PuTTY
Using Windows Terminal / PowerShell:
ssh root@YOUR_SERVER_IP
When prompted to trust the fingerprint, type yes.
You’re now inside your Ubuntu 24.04 server as root, ready to install NocoDB.
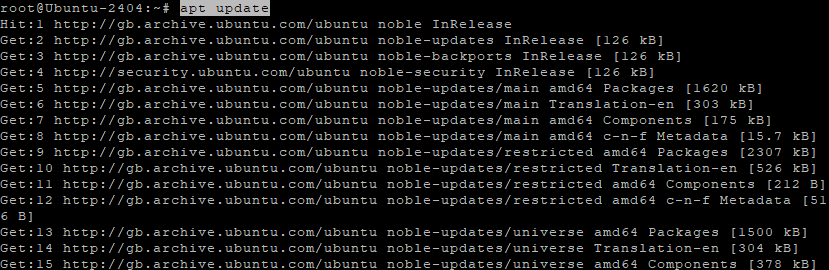
Step 2: Update System Packages
apt update
This refreshes Ubuntu’s package list so you always download the newest packages.
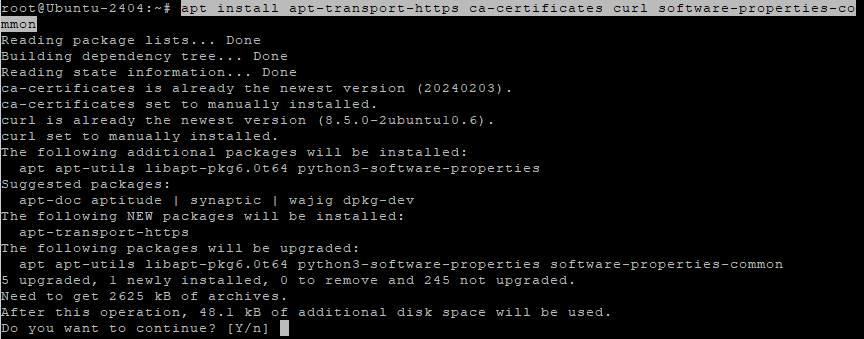
Step 3: Install System Dependencies
apt install apt-transport-https ca-certificates curl software-properties-common
What we are installing:
- apt-transport-https → enables secure APT downloads
- ca-certificates → validates secure websites
- curl → tool for downloading files
- software-properties-common → manages additional repositories
These are necessary before adding Docker’s official repo.
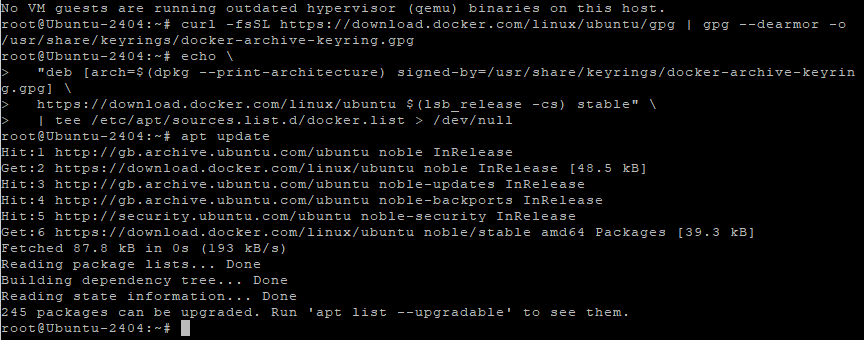
Step 4: Add Docker’s Official GPG Key
curl -fsSL https://download.docker.com/linux/ubuntu/gpg | gpg --dearmor -o /usr/share/keyrings/docker-archive-keyring.gpg
This downloads and stores Docker’s signing key.
Ubuntu uses this key to verify Docker packages are trusted and unmodified.
Step 5: Add the Docker Repository
echo   "deb [arch=$(dpkg --print-architecture) signed-by=/usr/share/keyrings/docker-archive-keyring.gpg] \
  https://download.docker.com/linux/ubuntu $(lsb_release -cs) stable"   | tee /etc/apt/sources.list.d/docker.list > /dev/null
This command adds the official Docker repository for your specific Ubuntu version.
Step 6: Refresh Package List
apt update
Ubuntu now includes Docker packages in the search index.
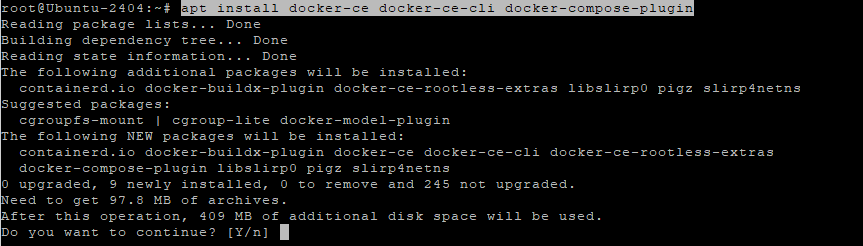
Step 7: Install Docker Engine + Docker Compose
apt install docker-ce docker-ce-cli docker-compose-plugin
This installs:
- Docker CE → main container engine
- Docker CLI tools → allows using the
dockercommand - Docker Compose v2 plugin → allows
docker compose up
Step 8: Enable Docker at Boot
systemctl enable docker
Ensures Docker starts automatically every time your server reboots.
Step 9: Start Docker
systemctl start docker
Starts the Docker service immediately.
Step 10: Allow Your User to Run Docker Without sudo
usermod -aG docker $USER
This adds your user to the docker group, avoiding permission issues.
You must log out and back in for this to take effect.
Step 11: Create the NocoDB Folder
mkdir ~/nocodb
Creates a folder in your home directory where NocoDB files and configs will live.
Step 12: Enter the NocoDB Directory
cd ~/nocodb

Step 13: Generate a Secure JWT Secret
NocoDB requires a long random key for security.
openssl rand -hex 32
Copy the generated key — you will paste it into the config.

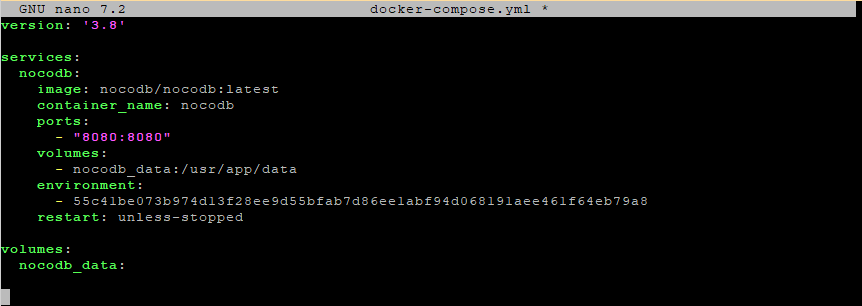
Step 14: Create the Docker Compose File
nano docker-compose.yml
Paste your exact content:
version: '3.8'

services:
  nocodb:
    image: nocodb/nocodb:latest
    container_name: nocodb
    ports:
      - "8080:8080"
    volumes:
      - nocodb_data:/usr/app/data
    environment:
      - NC_AUTH_JWT_SECRET=YOUR_RANDOM_JWT_SECRET
    restart: unless-stopped

volumes:
  nocodb_data:
What this file does:
- Deploys NocoDB from the official image
- Exposes the app on port 8080
- Creates a persistent data volume
- Applies your secure JWT secret
- Automatically restarts if crashed
Save and close with:
CTRL + O → ENTER → CTRL + X
Step 15: Start NocoDB
docker compose up -d
This downloads the container and launches it in the background.
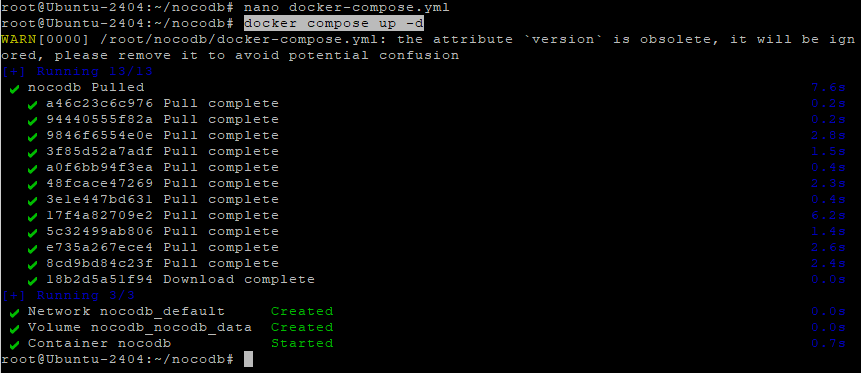
Step 16: Confirm NocoDB Is Running
docker ps

Look for:
nocodb Up
Step 17: View Logs (Optional)
docker compose logs
Useful if something didn’t start correctly.
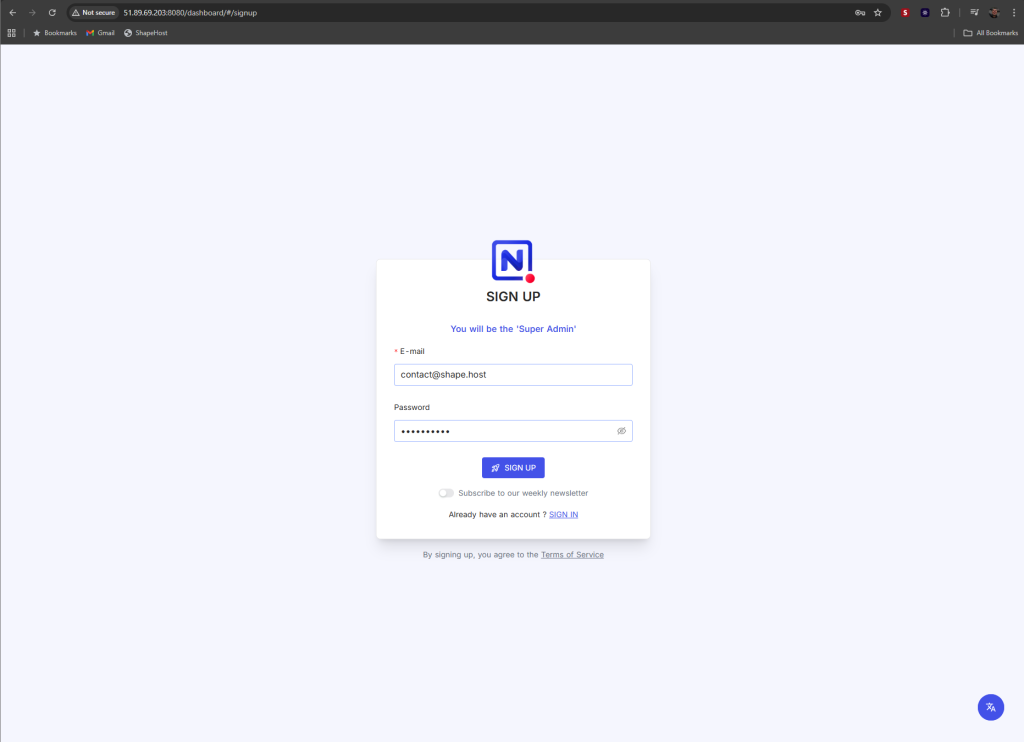
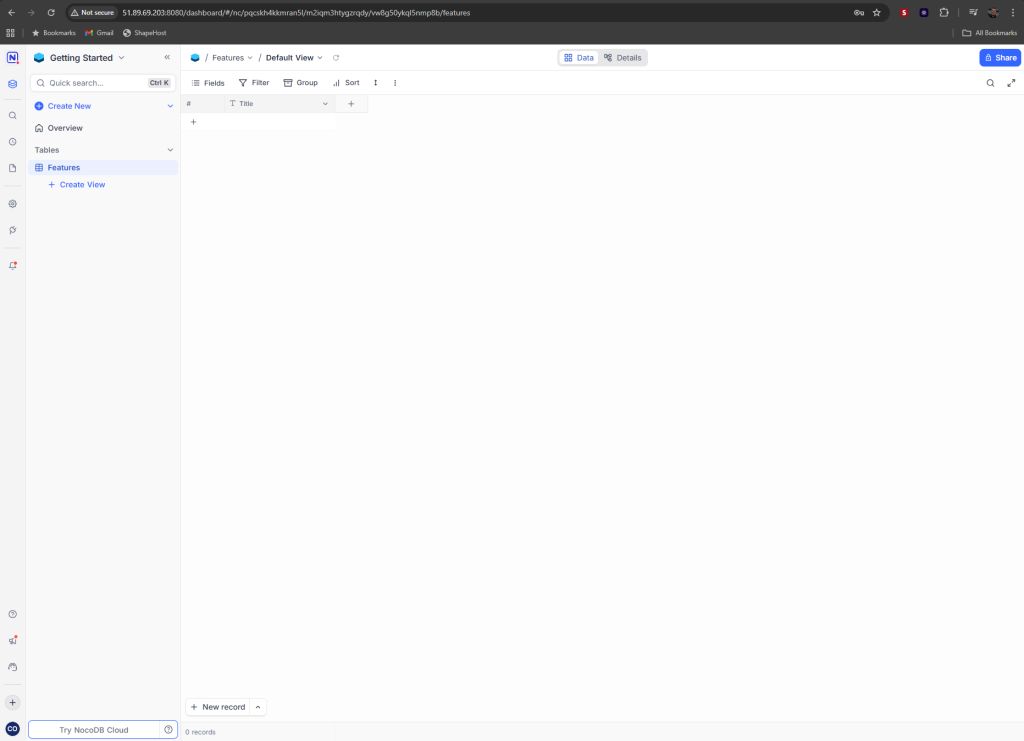
Step 18: Access NocoDB in Your Browser
Visit:
http://YOUR_SERVER_IP:8080
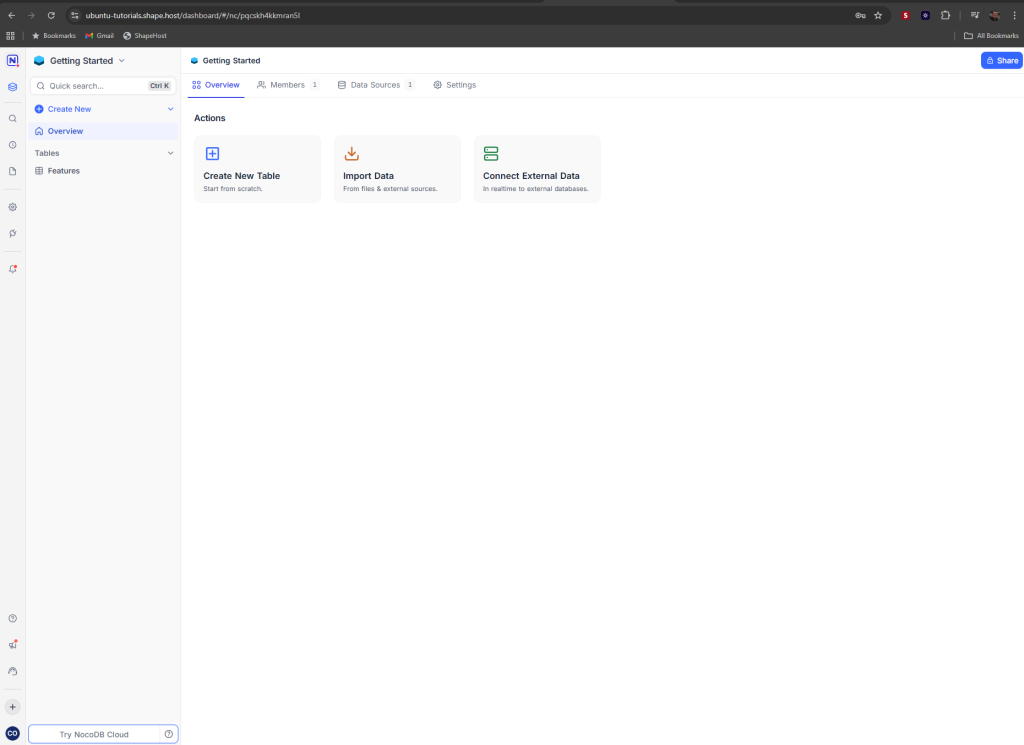
NocoDB should now load its setup screen.
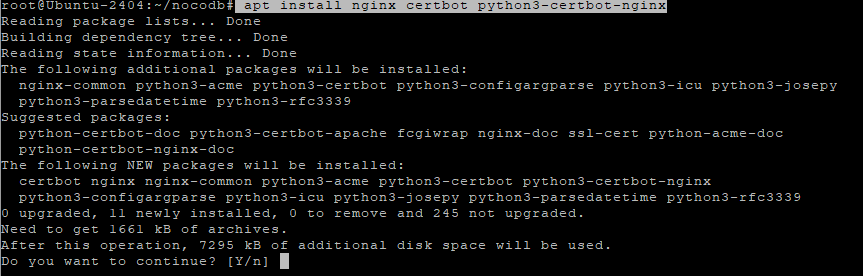
Step 19: Install Nginx + Certbot (HTTPS Reverse Proxy)
apt install nginx certbot python3-certbot-nginx
This installs:
- nginx → reverse proxy
- certbot → issues free SSL
- nginx plugin → automatic SSL config
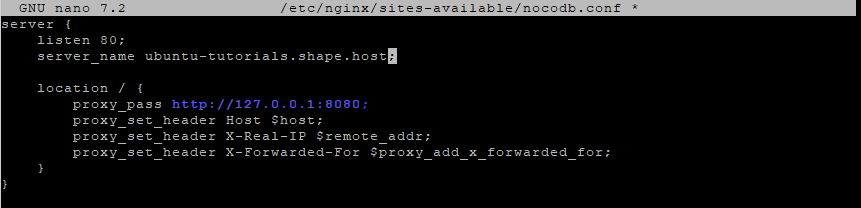
Step 20: Create a Reverse Proxy Config
nano /etc/nginx/sites-available/nocodb.conf
Paste:
server {
    listen 80;
    server_name your.domain.com;

    location / {
        proxy_pass http://127.0.0.1:8080;
        proxy_set_header Host $host;
        proxy_set_header X-Real-IP $remote_addr;
        proxy_set_header X-Forwarded-For $proxy_add_x_forwarded_for;
    }
}
This makes Nginx forward all web traffic to the NocoDB container.
Step 21: Enable the Site
ln -s /etc/nginx/sites-available/nocodb.conf /etc/nginx/sites-enabled/
Step 22: Test Nginx Configuration
nginx -t
Step 23: Reload Nginx
systemctl reload nginx

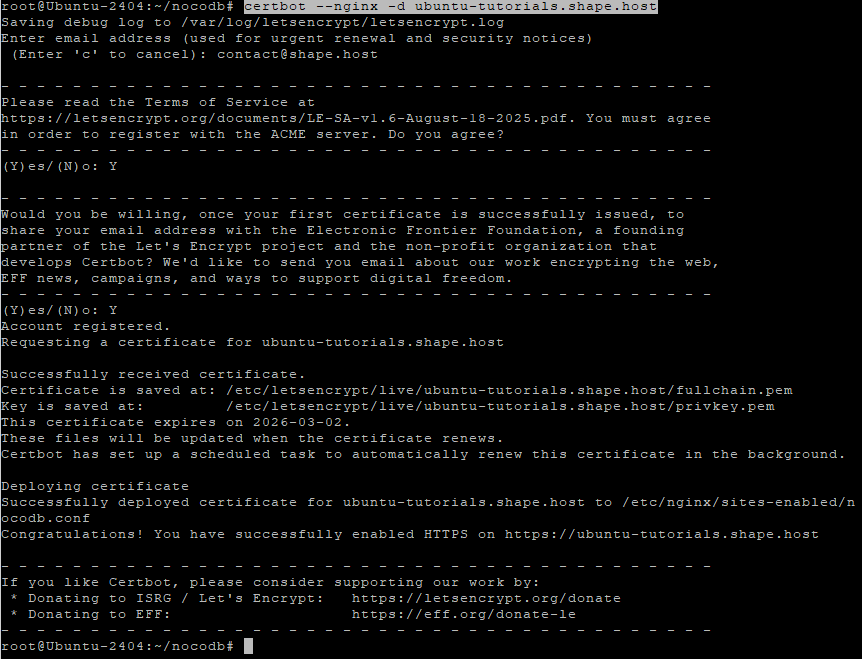
Step 24: Enable SSL (HTTPS)
certbot --nginx -d ubuntu-tutorials.shape.host
This automatically:
- Issues the SSL certificate
- Updates your Nginx config
- Enables HTTPS
- Reloads Nginx
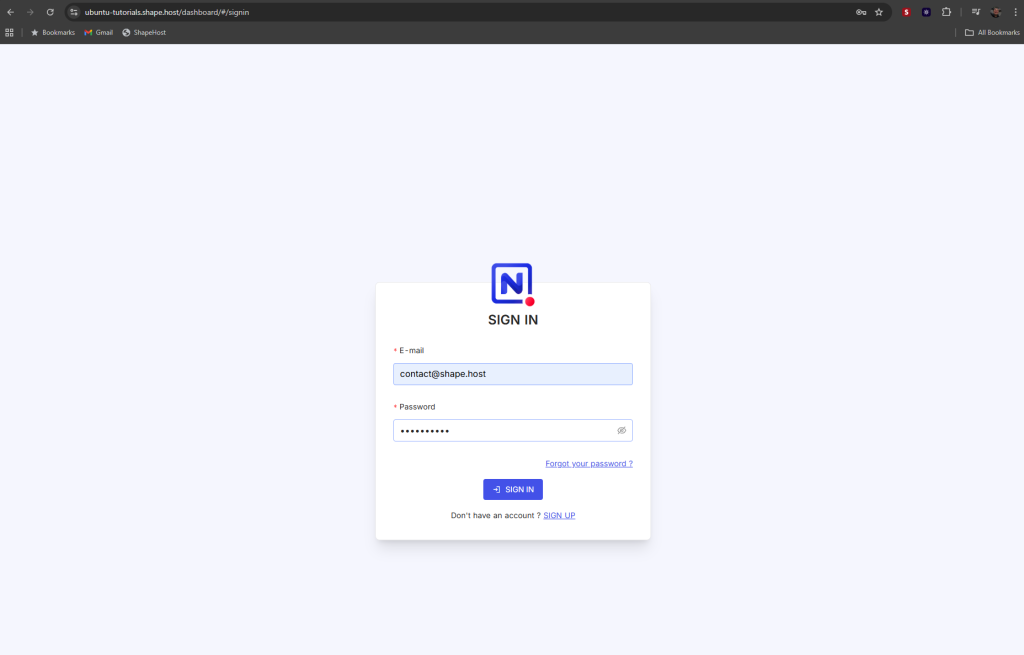
Step 25: Access NocoDB Securely
https://your.domain.com
You now have a fully secured and production-ready NocoDB deployment.
To host modern applications like NocoDB efficiently, you need fast storage, reliable uptime, and clean OS images.
Shape.Host Cloud VPS offers:
- High-performance NVMe servers
- Fast global datacenters
- Instant deployment
- Perfect compatibility with Docker, Nginx, and self-hosted apps
- Flexible pricing and excellent uptime
For professional deployments and smooth performance, Shape.Host is your ideal hosting provider.