Invoice Ninja v5 on Ubuntu 24.04
(PHP 8.4 + MariaDB/MySQL + Nginx/Apache + SSL)
Invoice Ninja v5 is a modern, open-source invoicing, billing, and payment management platform designed for freelancers, agencies, and small to medium-sized businesses. It enables you to create professional invoices, manage clients and products, track payments and expenses, and automate recurring billing — all from a clean, web-based interface.
Unlike SaaS invoicing tools, Invoice Ninja can be fully self-hosted, giving you complete control over your financial data, clients, and workflows. This is especially important for businesses that value data ownership, privacy, and predictable long-term costs.
Running Invoice Ninja v5 on Ubuntu 24.04 LTS (Noble Numbat) provides a secure, modern, and long-term supported environment. Ubuntu 24.04 pairs perfectly with PHP 8.4, modern databases, and current web servers, making it an excellent foundation for a stable, production-ready invoicing system.
Architecture Overview
| Layer | Component | Role |
|---|---|---|
| OS | Ubuntu 24.04 LTS | Secure, long-term supported Linux base |
| Web Server | Nginx or Apache | Serves the Invoice Ninja web application |
| Runtime | PHP 8.4 (FPM) | Executes Invoice Ninja backend logic |
| Database | MariaDB / MySQL | Stores invoices, clients, payments, settings |
| Application | Invoice Ninja v5 (Laravel) | Invoicing, billing, reporting |
| TLS | Let’s Encrypt / PKI | Encrypted HTTPS access |
| Payments | Stripe, PayPal, etc. | Online payment processing |
Invoice Ninja v5 is built on Laravel, ensuring clean architecture, extensibility, and long-term maintainability.
Why Use Invoice Ninja?
- Open-source & self-hosted – no vendor lock-in
- Professional invoices & quotes – customizable templates
- Recurring billing & subscriptions – automate repeat invoices
- Online payments – Stripe, PayPal, and more
- Client portal – clients can view and pay invoices online
- Expense tracking – monitor business costs
- Multi-currency & tax support – ideal for international clients
- Multi-company support – manage several businesses from one instance
- REST API – integrate with other systems
Invoice Ninja is ideal for users who want full control over invoicing without monthly SaaS fees.
Invoice Ninja vs Other Invoicing Platforms
| Feature / Capability | Invoice Ninja | FreshBooks | QuickBooks | Zoho Invoice |
|---|---|---|---|---|
| Hosting | Self-hosted | Cloud only | Cloud only | Cloud only |
| Open-source | ✅ Yes | ❌ No | ❌ No | ❌ No |
| Data ownership | Full control | Vendor-controlled | Vendor-controlled | Vendor-controlled |
| Recurring invoices | ✅ Yes | ✅ Yes | ✅ Yes | ✅ Yes |
| Online payments | ✅ Yes | ✅ Yes | ✅ Yes | ✅ Yes |
| Cost | Free (self-hosted) | Paid | Paid | Free / Paid |
Invoice Ninja stands out for flexibility, transparency, and cost control.
Security & Best Practices on Ubuntu 24.04
- Serve Invoice Ninja only over HTTPS.
- Use PHP-FPM with a dedicated pool for better isolation.
- Keep database access restricted to localhost or internal networks.
- Store secrets (APP_KEY, DB credentials, mail passwords) in
.envonly. - Set proper file permissions for
storage/andbootstrap/cache/. - Enable UFW and allow only ports 80 and 443.
- Schedule cron jobs for recurring invoices and background tasks.
- Regularly update:
- Ubuntu packages
- PHP extensions
- Invoice Ninja core
- Back up:
- Database
.envfile- Uploaded assets and PDFs
- Restrict admin access and use strong passwords + 2FA where possible.
Typical Use Cases
- Freelancers issuing invoices and tracking payments
- Agencies managing multiple clients and recurring services
- Small businesses replacing SaaS invoicing tools
- Consultants billing hourly or per project
- International businesses using multiple currencies and tax rules
- Self-hosted business stacks combined with CRM or ERP tools
Deploying Invoice Ninja v5 on Ubuntu 24.04 gives you a powerful, professional, and fully self-hosted invoicing platform — combining modern Laravel architecture with full financial data ownership, strong security, and long-term OS stability.
Step 1: Create a Server Instance on Shape.Host
Before installing Invoice Ninja, you need a VPS.
Log in to your Shape.Host account at https://shape.host.
Click Create → Instance.

Choose a data center location close to your users.
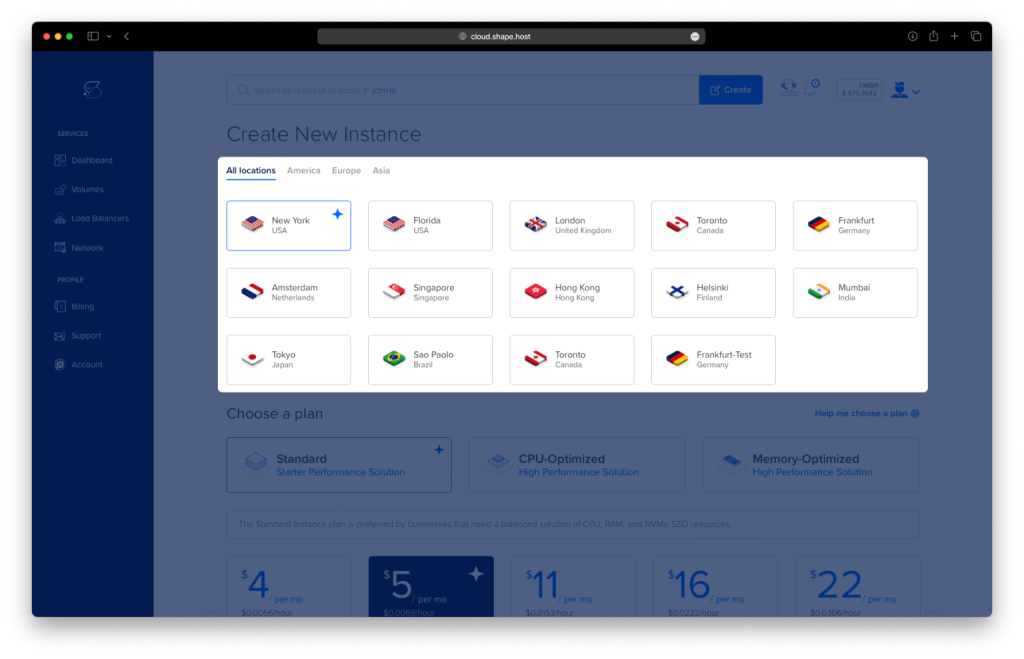
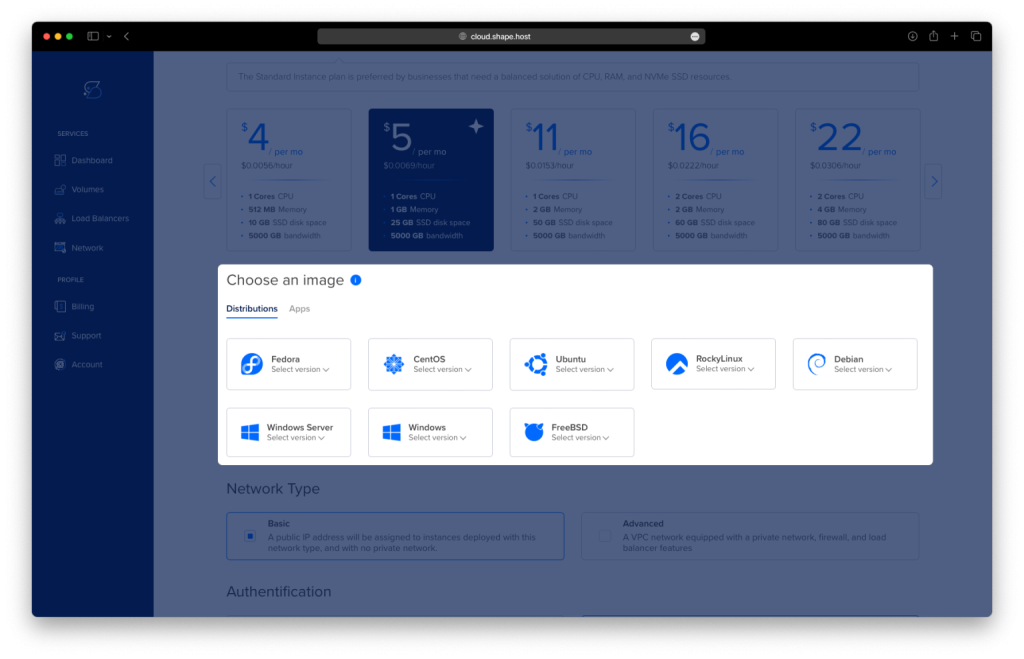
Select a VPS plan with at least:
2 CPU cores
4 GB RAM
40 GB SSD storage
Choose Ubuntu 24.04 (64-bit) as the operating system.
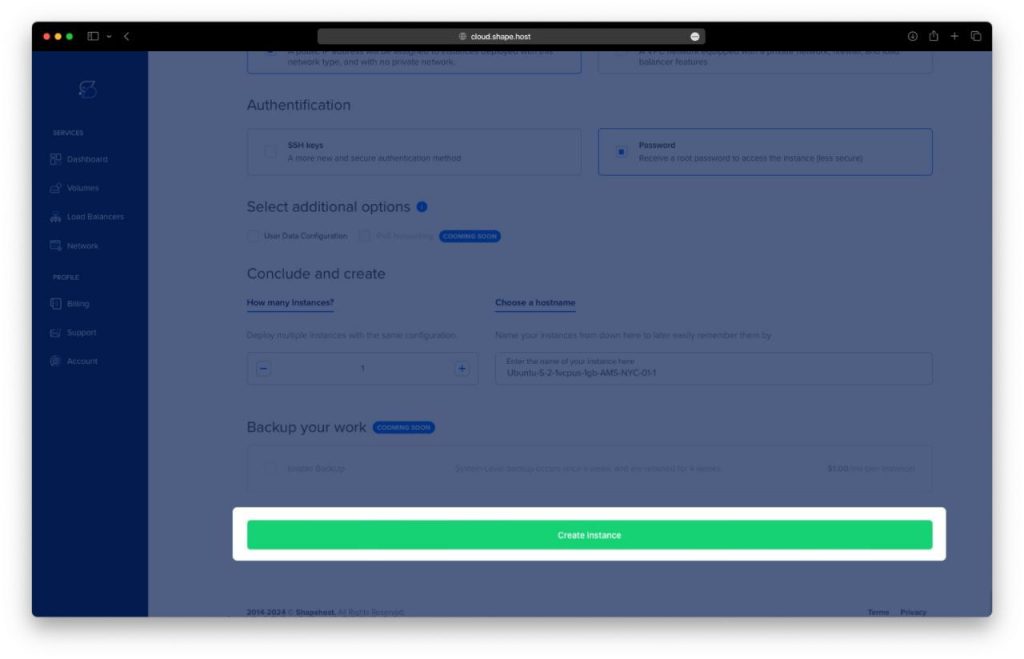
Create the instance and wait for provisioning.
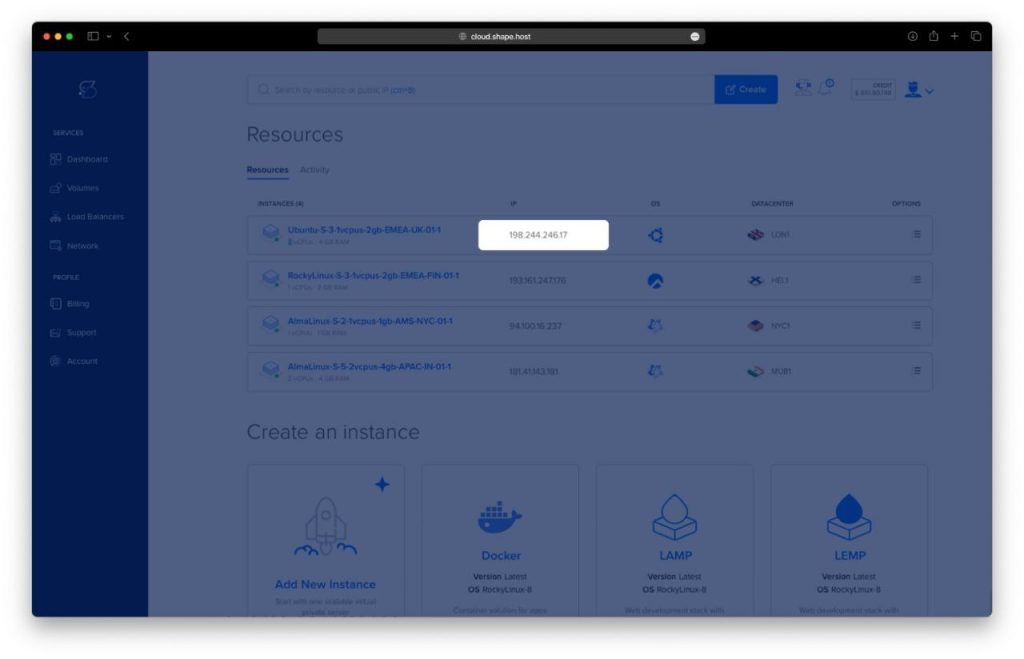
Copy the public IP address of the server.
Step 2: Connect to the Server
Linux / macOS
ssh root@YOUR_SERVER_IP
Windows
Use PowerShell, Windows Terminal, or PuTTY:
ssh root@YOUR_SERVER_IP
You should now be logged in as root.
Step 3: Install Apache Web Server
apt update
apt upgrade -y
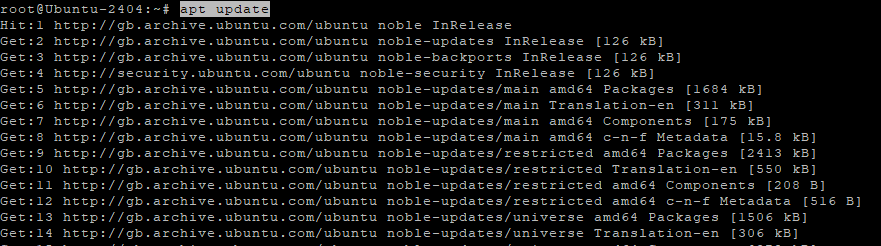
apt install apache2
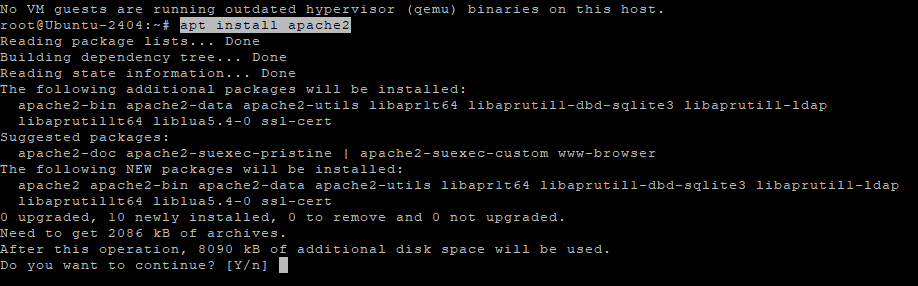
systemctl enable apache2
systemctl start apache2
Apache is now installed and running.

Step 4: Install and Configure MariaDB
apt install mariadb-server mariadb-client

systemctl enable mariadb
systemctl start mariadb

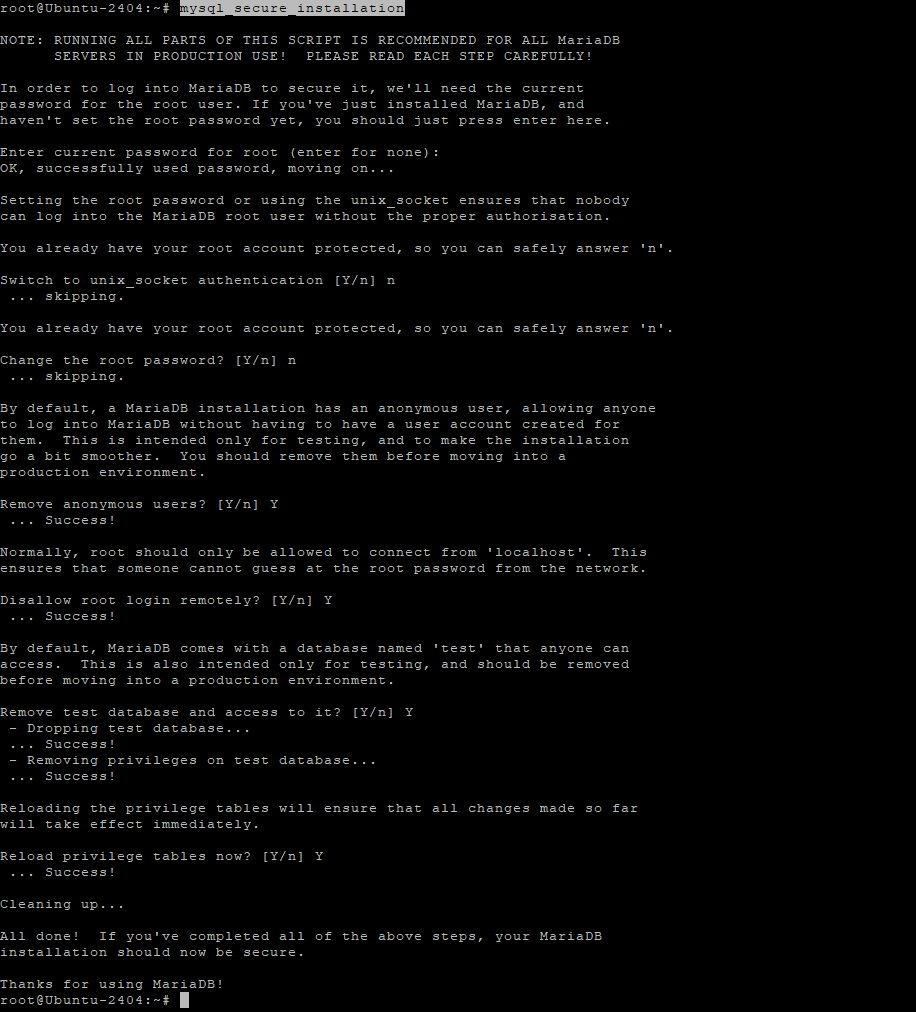
Secure the MariaDB installation:
mysql_secure_installation
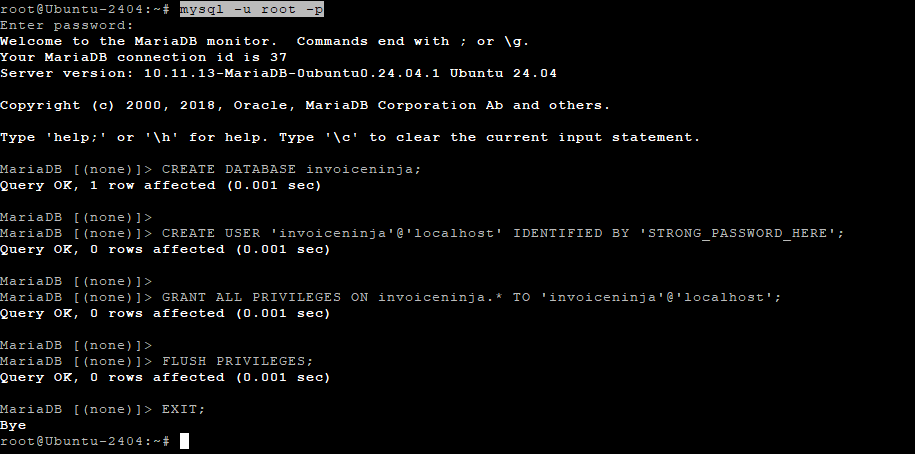
Log in to MariaDB:
mysql -u root -p
Create the database and user:
CREATE DATABASE invoiceninja;

CREATE USER 'invoiceninja'@'localhost' IDENTIFIED BY 'STRONG_PASSWORD_HERE';

GRANT ALL PRIVILEGES ON invoiceninja.* TO 'invoiceninja'@'localhost';

FLUSH PRIVILEGES;
EXIT;
Step 5: Install PHP 8.4 and Required Extensions
apt install software-properties-common

add-apt-repository ppa:ondrej/php
apt update
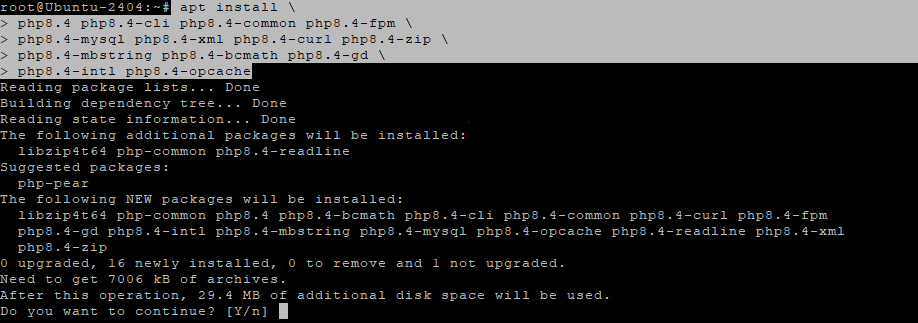
apt install php8.4 php8.4-cli php8.4-common php8.4-fpm php8.4-mysql php8.4-xml php8.4-curl php8.4-zip php8.4-mbstring php8.4-bcmath php8.4-gd php8.4-intl php8.4-opcache
Enable PHP-FPM and required Apache modules:
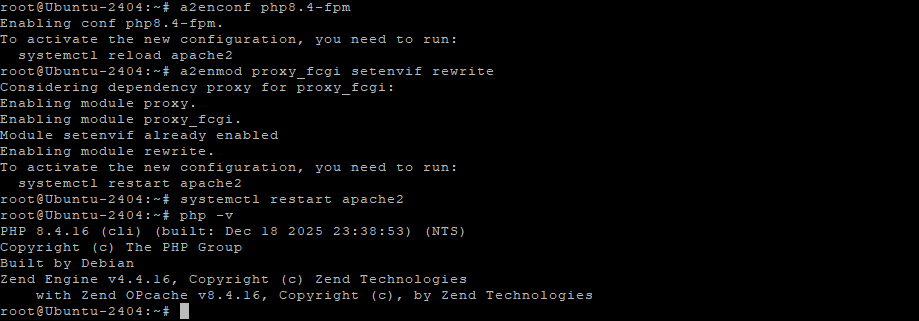
a2enconf php8.4-fpm
a2enmod proxy_fcgi setenvif rewrite
systemctl restart apache2
Verify PHP:
php -v
Step 6: Download and Prepare Invoice Ninja
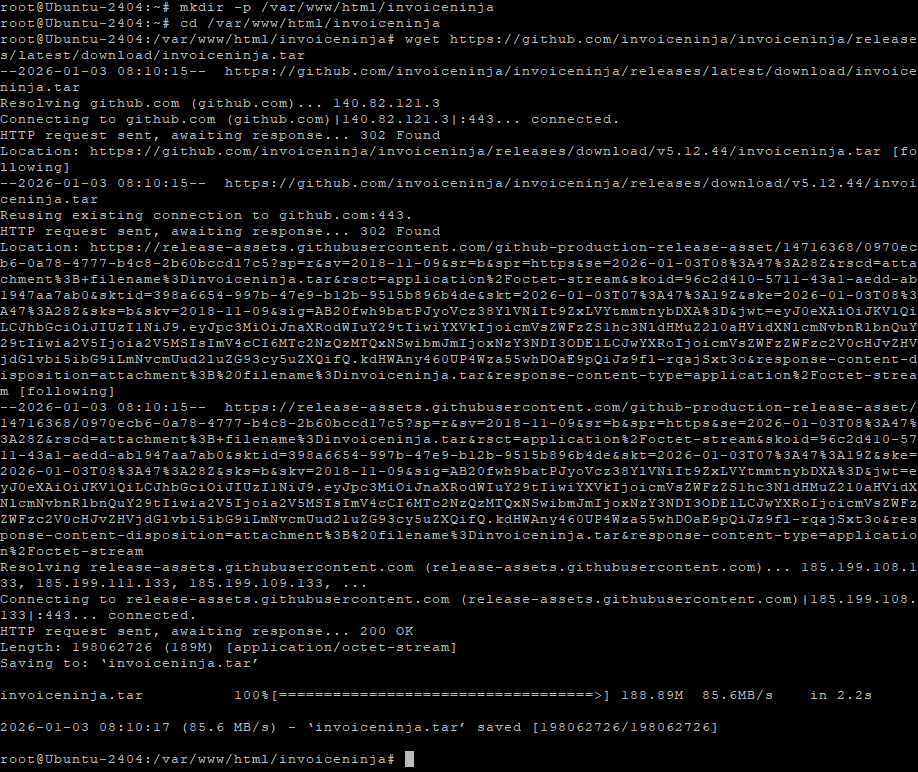
mkdir -p /var/www/html/invoiceninja
cd /var/www/html/invoiceninja
wget https://github.com/invoiceninja/invoiceninja/releases/latest/download/invoiceninja.tar
tar -xvzf invoiceninja.tar
rm invoiceninja.tar
Set permissions:
chown -R www-data:www-data /var/www/html/invoiceninja
chmod -R 755 /var/www/html/invoiceninja
chmod -R 775 storage bootstrap/cache

Step 7: Configure Apache Virtual Host
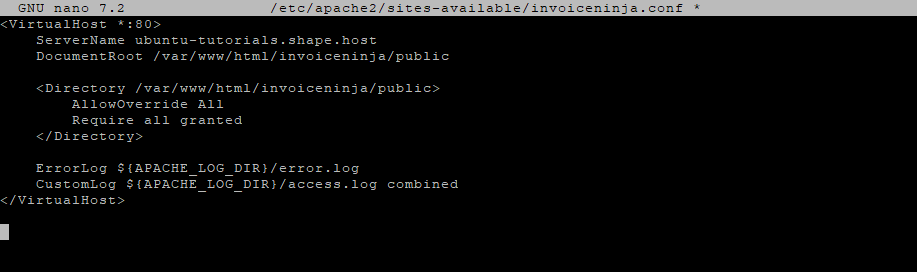
nano /etc/apache2/sites-available/invoiceninja.conf
Paste:
<VirtualHost *:80>
    ServerName invoices.example.com
    DocumentRoot /var/www/html/invoiceninja/public

    <Directory /var/www/html/invoiceninja/public>
        AllowOverride All
        Require all granted
    </Directory>

    ErrorLog ${APACHE_LOG_DIR}/error.log
    CustomLog ${APACHE_LOG_DIR}/access.log combined
</VirtualHost>
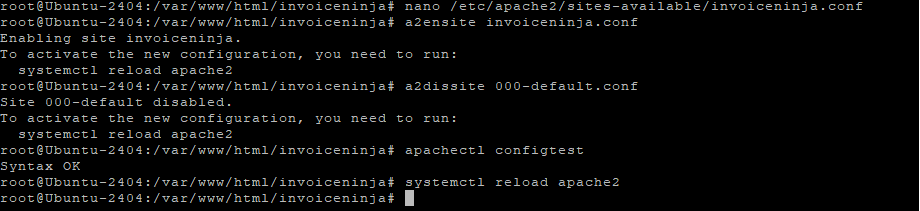
Enable the site and reload Apache:
a2ensite invoiceninja.conf
a2dissite 000-default.conf
apachectl configtest
systemctl reload apache2
Step 8: Configure Invoice Ninja Environment
cd /var/www/html/invoiceninja
cp .env.example .env
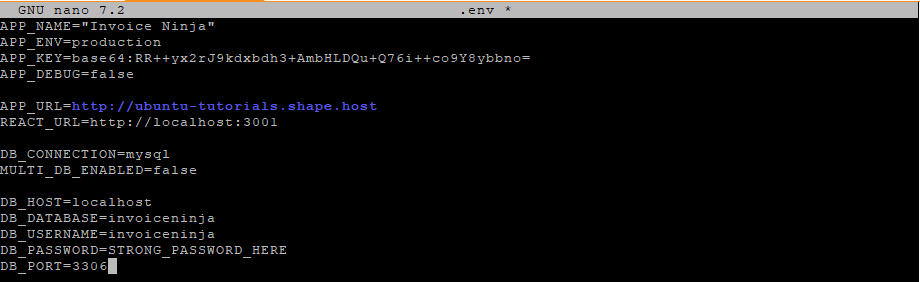
nano .env
Edit:
APP_NAME=InvoiceNinja
APP_ENV=production
APP_DEBUG=false
APP_URL=http://invoices.example.com

DB_CONNECTION=mysql
DB_HOST=127.0.0.1
DB_PORT=3306
DB_DATABASE=invoiceninja
DB_USERNAME=invoiceninja
DB_PASSWORD=STRONG_PASSWORD_HERE
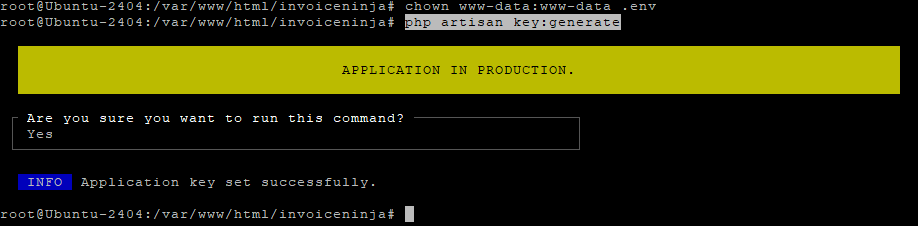
Set permissions:
chown www-data:www-data .env

Step 9: Finalize Invoice Ninja Setup
php artisan key:generate
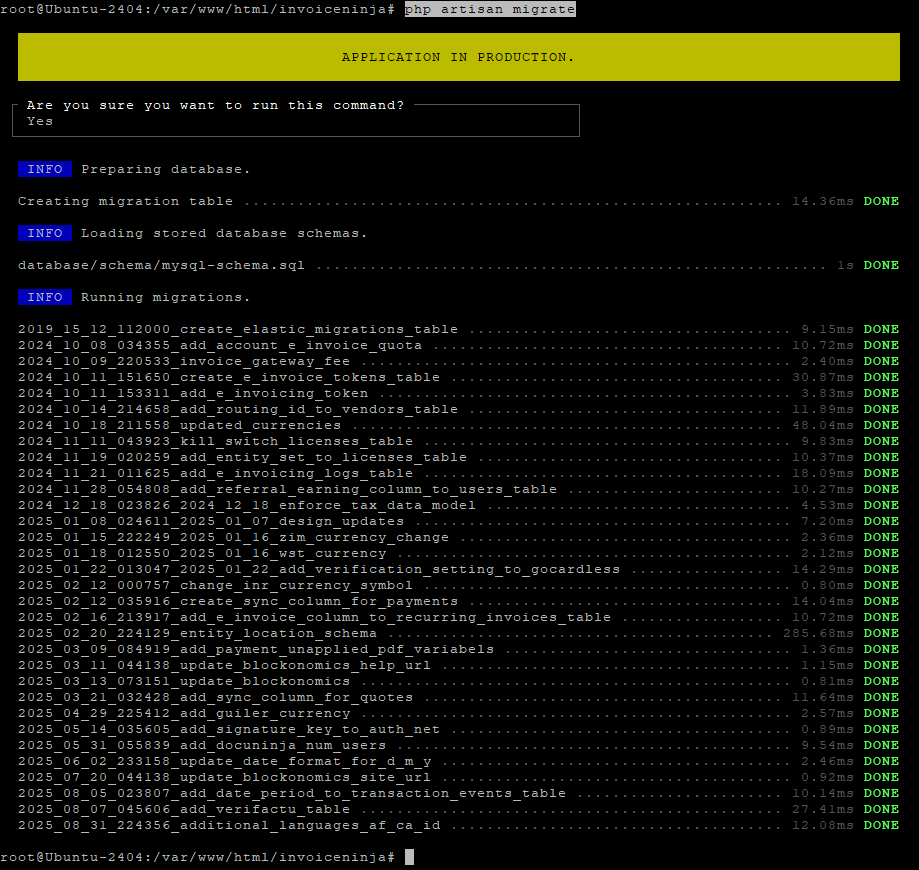
php artisan optimize:clear

php artisan migrate
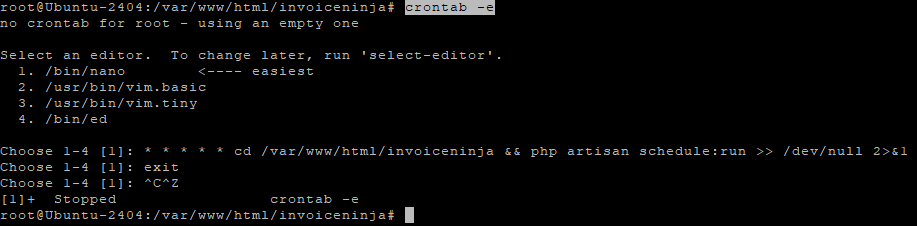
Step 10: Configure Cron Job
crontab -e
Add:
* * * * * cd /var/www/html/invoiceninja && php artisan schedule:run >> /dev/null 2>&1
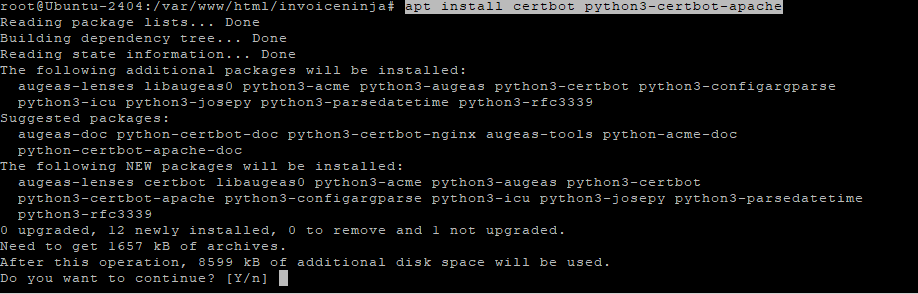
Step 11: Enable SSL with Let’s Encrypt
apt install certbot python3-certbot-apache
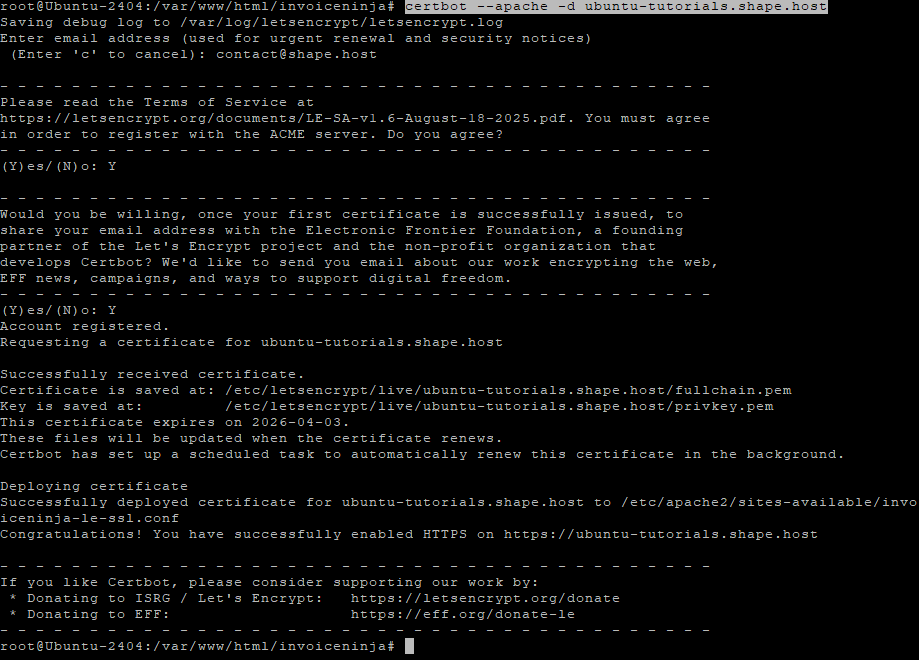
certbot --apache -d ubuntu-tutorials.shape.host
Replace with your real domain:
yourdomain.com
Step 12:Permissions Fix
chown -R www-data:www-data /var/www/html/invoiceninja
chmod -R 775 /var/www/html/invoiceninja/storage
chmod -R 775 /var/www/html/invoiceninja/bootstrap/cache
Step 13: Access Invoice Ninja
Open your browser:
https://invoices.example.com
Complete the web installer:
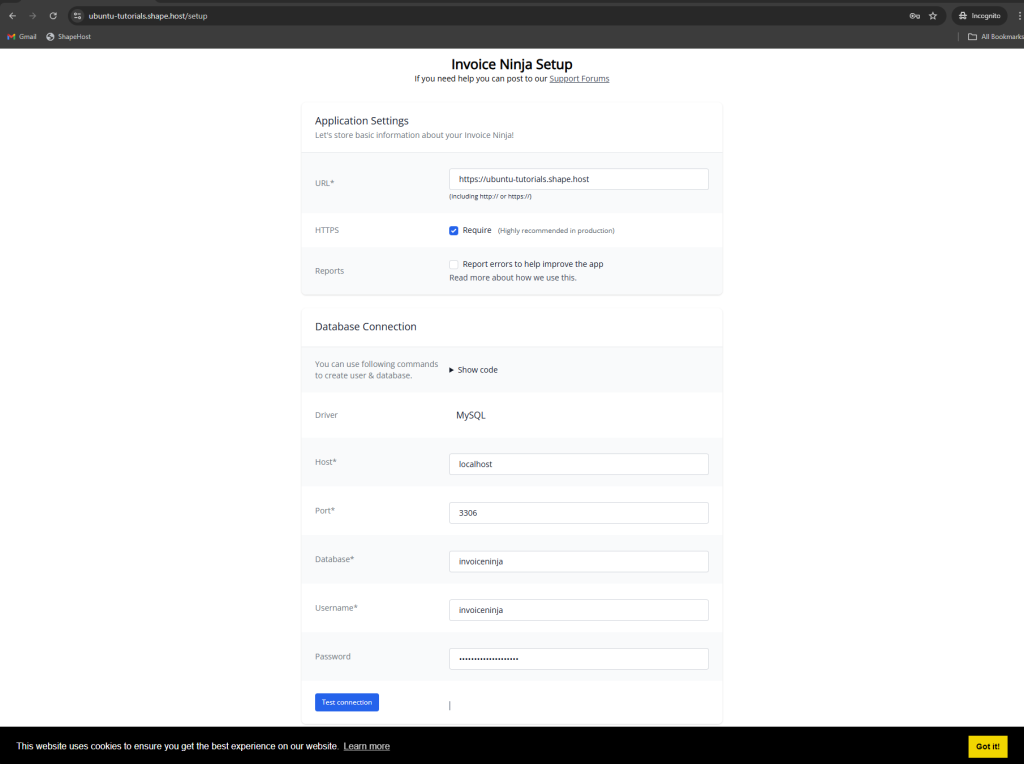
Application Settings and Database Configuration
On the Invoice Ninja Setup page, configure the application settings and database connection.
Make sure the URL matches your domain and that HTTPS is enabled (highly recommended for production environments).
In the database section, enter your MySQL credentials, including host, port, database name, username, and password, then click Test connection to verify connectivity.
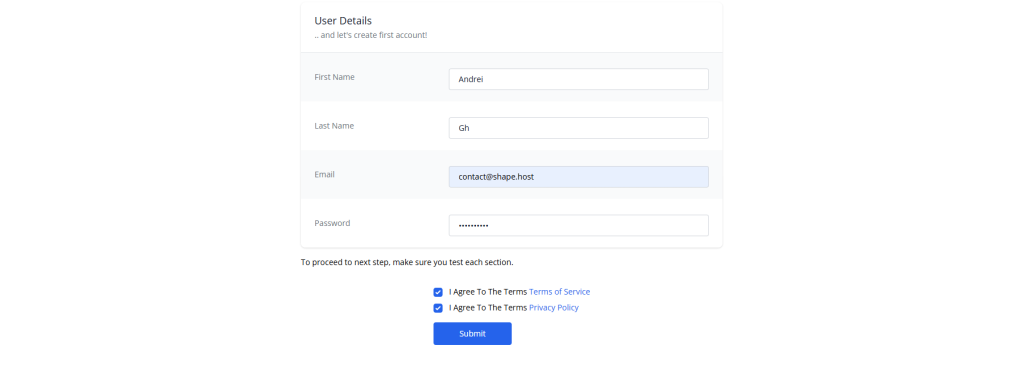
Create the First Administrator Account
In this step, create the first administrator user account for Invoice Ninja.
Fill in the first name, last name, email address, and password.
Accept the Terms of Service and Privacy Policy, then click Submit to finalize the installation and user creation.
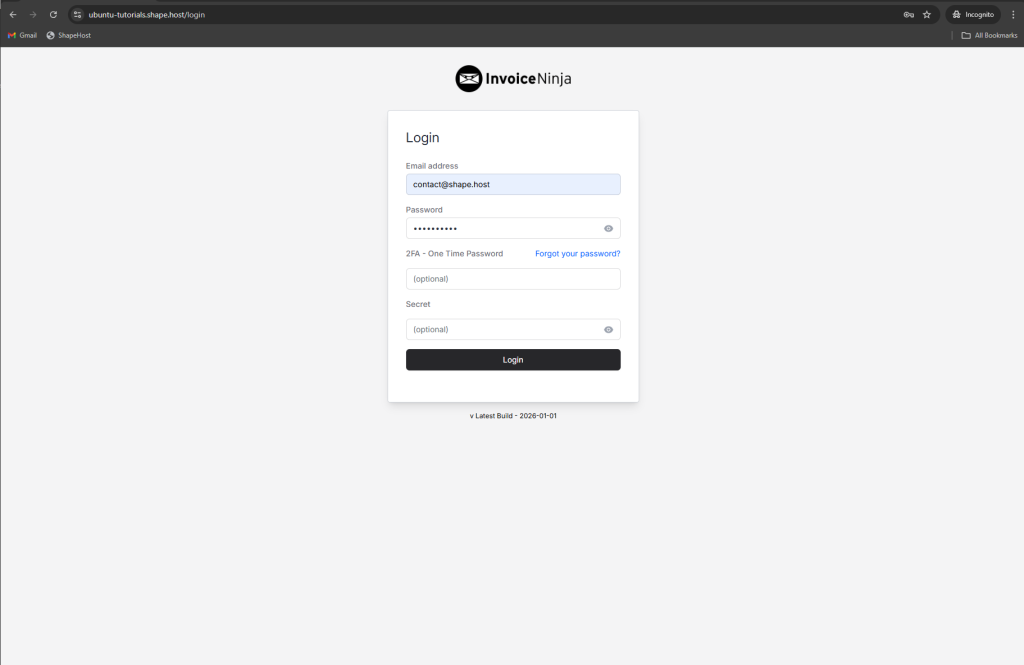
Invoice Ninja Login Page
After completing the setup, you are redirected to the Invoice Ninja login page.
Enter the administrator email address and password created during installation.
If enabled, you can also use 2FA (Two-Factor Authentication) for additional security.
Click Login to access the Invoice Ninja dashboard.
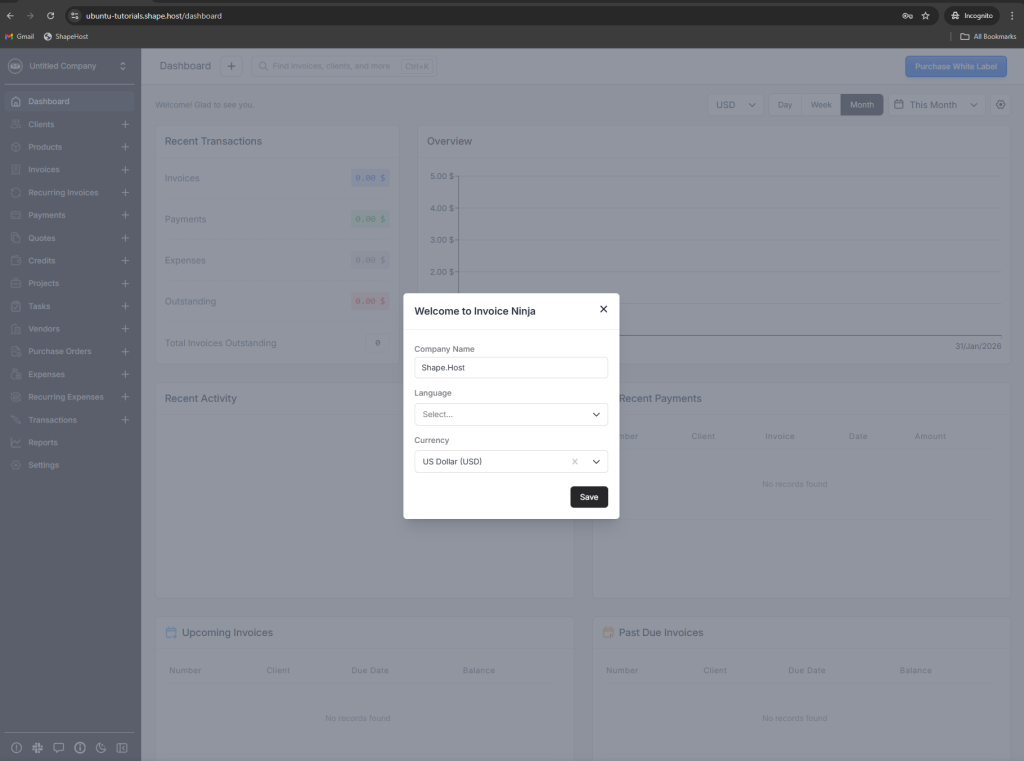
Welcome to Invoice Ninja – Initial Company Setup
After the first login, Invoice Ninja displays a welcome dialog where you configure the basic company information.
Here, enter your Company Name, select the preferred Language, and choose the default Currency.
Click Save to complete the initial setup and access the main dashboard.
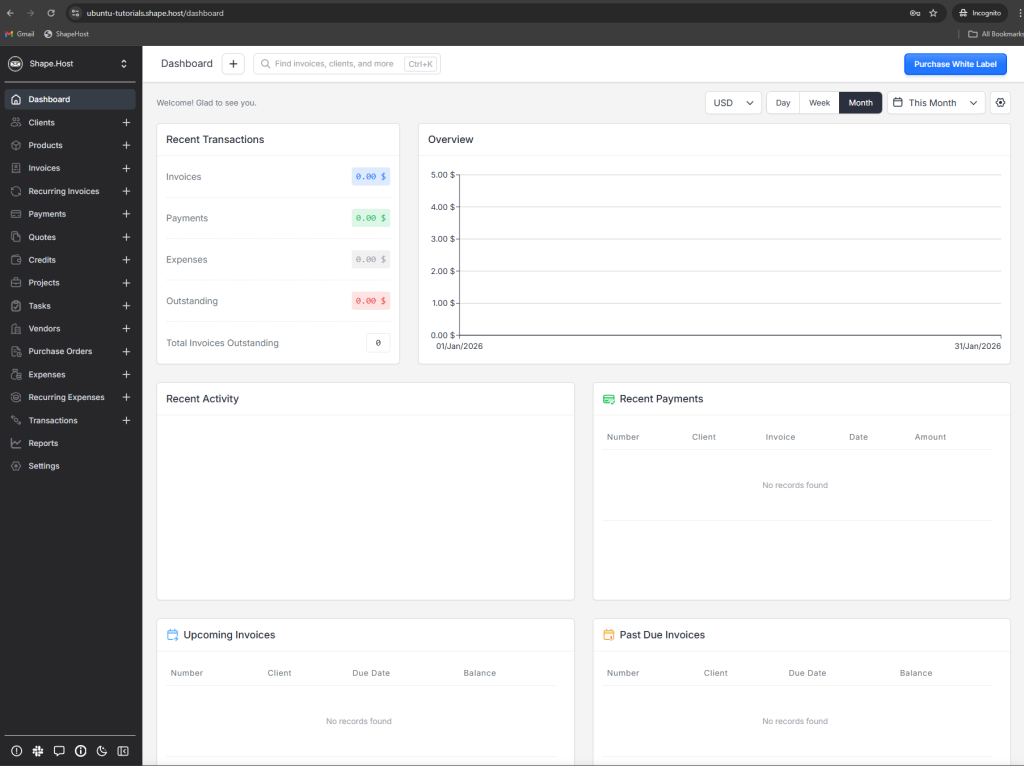
Invoice Ninja Dashboard Overview
Once the setup is complete, you are redirected to the Invoice Ninja dashboard.
This interface provides a complete overview of your business activity, including recent transactions, payments, outstanding invoices, and financial charts.
From the left sidebar, you can manage clients, products, invoices, recurring billing, reports, and application settings.
You installed Invoice Ninja v5 on Ubuntu 24.04 using Apache, MariaDB, PHP 8.4, and secured it with Let’s Encrypt SSL. This setup is robust, secure, and suitable for production billing and invoicing workloads.
For hosting business-critical applications like Invoice Ninja with full control, scalability, and high performance, Shape.Host Linux SSD VPS is a reliable choice for modern self-hosted environments.