Jenkins Pipeline is a feature within Jenkins, an open-source automation server, that allows for the implementation of continuous integration and continuous delivery (CI/CD) workflows. It provides a way to define the entire build, test, and deployment process in a structured and automated manner.
Key Features:
- Pipeline as Code: Pipelines are defined in a Jenkinsfile, written in a Groovy-based DSL, allowing version control and better collaboration.
- Durable: Pipelines can handle server restarts and resume from where they left off, ensuring long-running processes are not interrupted.
- Extensible: Compatible with a wide range of plugins, enabling integration with tools like Docker, Kubernetes, Git, and cloud services.
- Visual Representation: Offers a graphical view of pipeline stages, making it easy to track progress and debug issues.
- Supports Complex Workflows: Allows for conditional execution, parallel processing, and integration with various external systems.
- Multi-Branch Pipelines: Automatically creates pipelines for all branches in a repository, making it ideal for teams following GitOps practices.
Benefits:
- Automation: Simplifies the software delivery process by automating repetitive tasks.
- Scalability: Supports distributed builds, making it suitable for large projects.
- Consistency: Ensures a reliable and repeatable deployment process.
- Version Control: Pipelines can be versioned alongside application code, improving traceability.
Common Use Cases:
- Automating build and testing processes.
- Managing multi-environment deployments (staging, production).
- Running quality assurance checks, such as static code analysis.
- Continuous delivery of containerized applications to Kubernetes or cloud platforms.
Advantages:
- Centralized management of CI/CD workflows.
- Flexible integration with diverse tools and technologies.
- Real-time feedback on build and deployment status.
Limitations:
- May require Groovy scripting knowledge for advanced configurations.
- Debugging complex pipelines can be challenging for beginners.
Jenkins Pipeline is an essential tool for modern software development teams, offering the flexibility and power to streamline CI/CD processes across diverse projects.
Step 1: Create an Instance
First, create a server instance running Ubuntu 24.04.
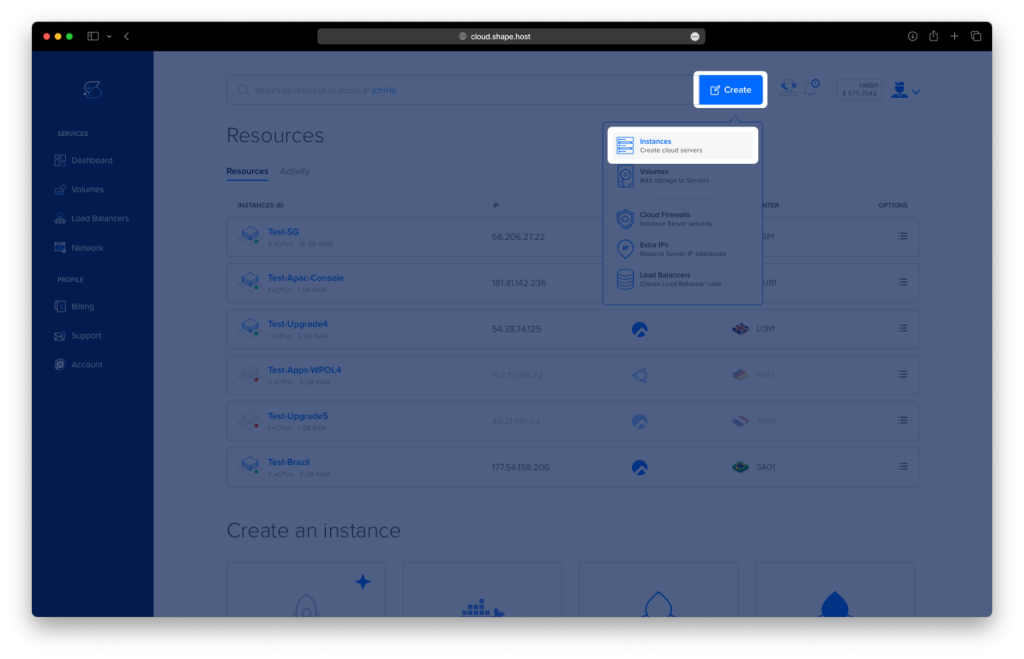
- Access the Dashboard
Log in to your Shape.Host account and navigate to your Dashboard.
- Click Create
Click on the “Create” button located in the top-right corner.
- Select Instances
From the dropdown menu, choose “Instances” to begin creating a new cloud server.
- Select Location
Choose a data center location for your instance closest to your target audience for optimal performance.
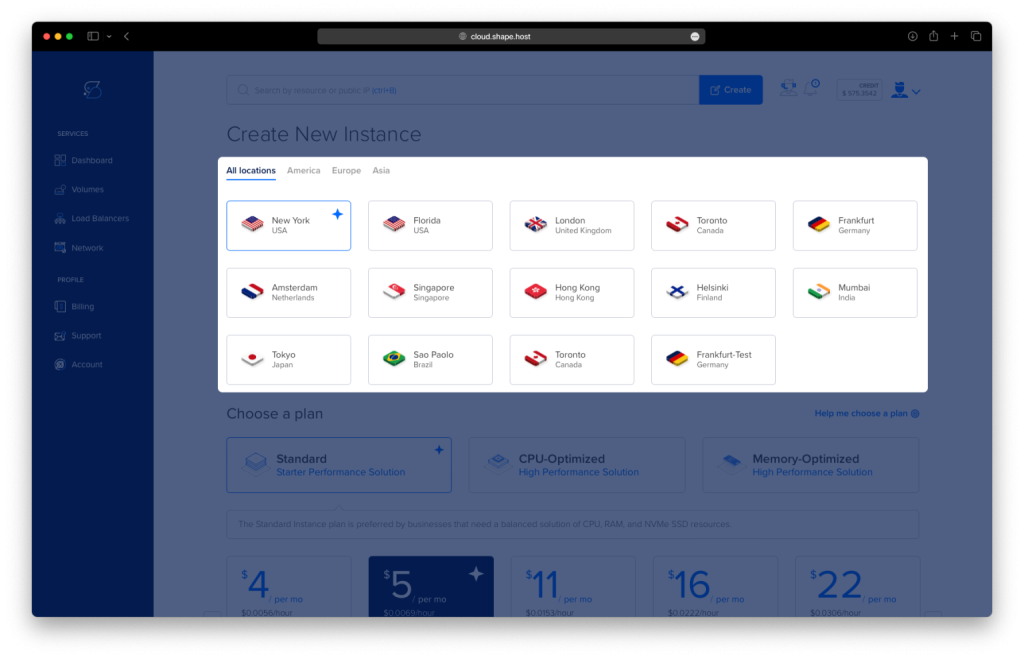
- Choose a Plan
Scroll through the available pricing plans. Select a plan based on your project requirements, such as Standard, CPU-Optimized, or Memory-Optimized.
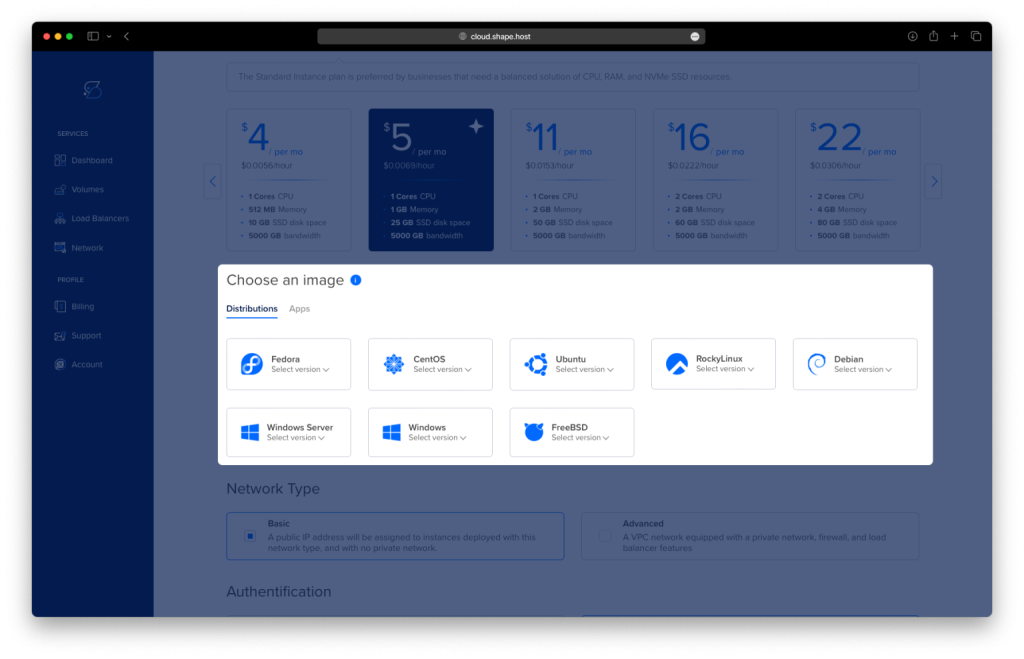
- Choose an Image
Select Ubuntu 24.04 as the operating system for your instance.
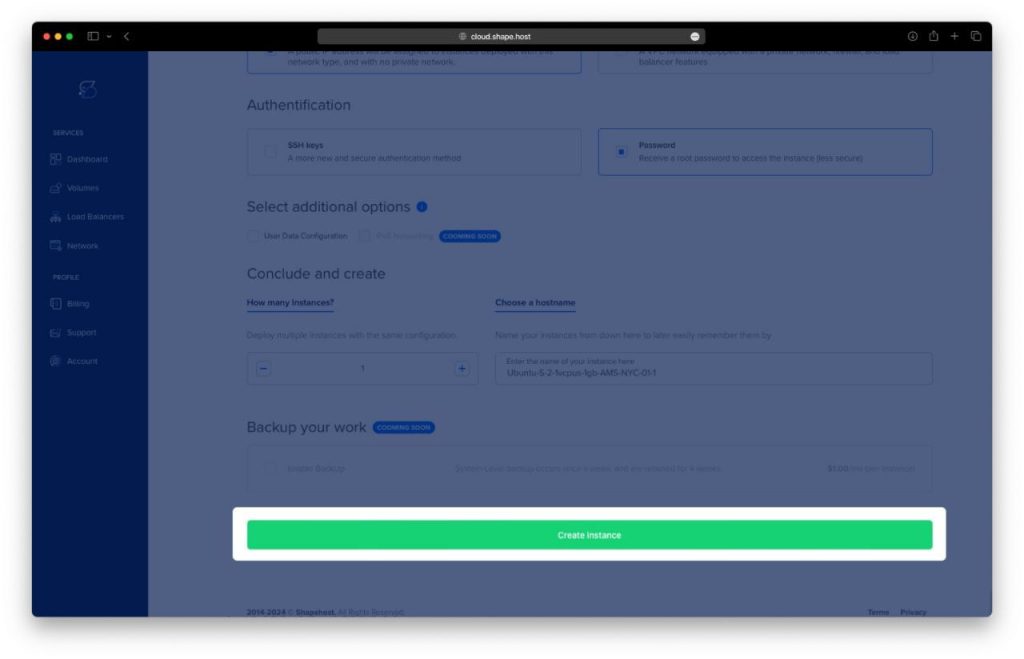
- Authentication and Finalize
Choose your authentication method, either via SSH keys or password. Once done, click “Create Instance” to launch your server.
Step 2: Connect to Your Instance
Once your server is running, connect to it via SSH:
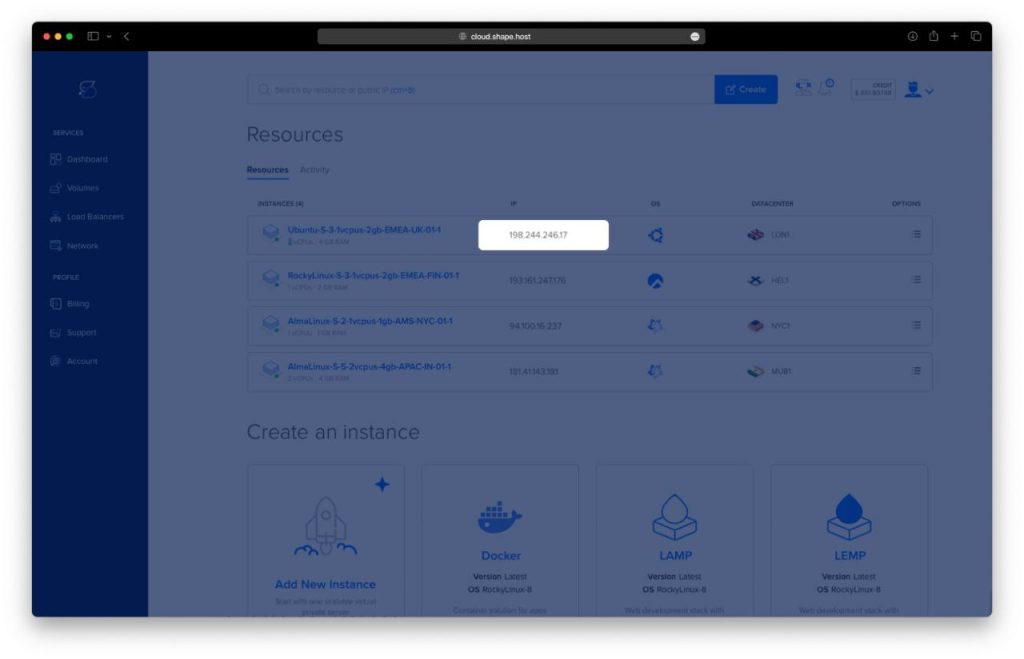
- Get the Instance IP
After creating your instance, find the public IP address in the Shape.Host dashboard under Resources.
- Open SSH Client
Use an SSH client like Terminal (Linux/macOS) or PuTTY (Windows).
- SSH into the Instance
Use the following command to connect to your server:
ssh root@<your-instance-ip>
Replace <your-instance-ip> with your server’s actual IP address.
- Enter the Password
Enter the root password or use your SSH key to complete the connection.
Step 2: Update and Upgrade the System
Before installing Jenkins, update and upgrade the system packages:
apt update && apt upgrade -y
Step 3: Install Java
Jenkins requires Java to run. Install OpenJDK 21:
apt install openjdk-21-jdk fontconfig -y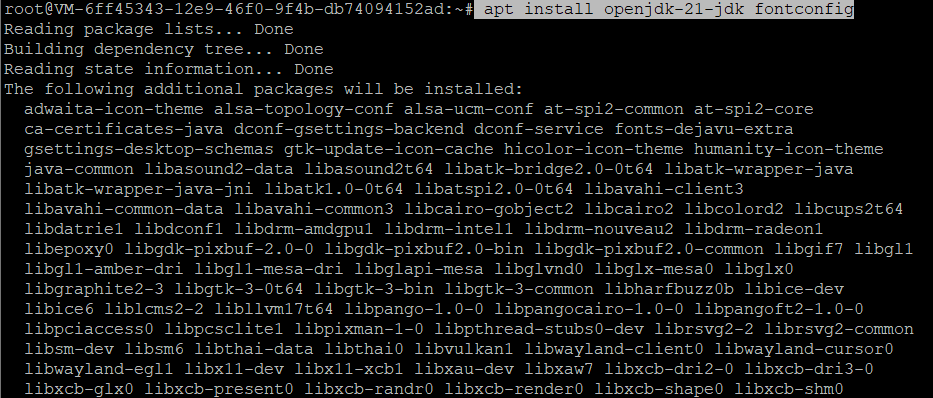
Verify the installation:
java -version
Step 4: Add Jenkins Repository and Key
Add the Jenkins repository key:
wget -O /usr/share/keyrings/jenkins-keyring.asc https://pkg.jenkins.io/debian-stable/jenkins.io-2023.key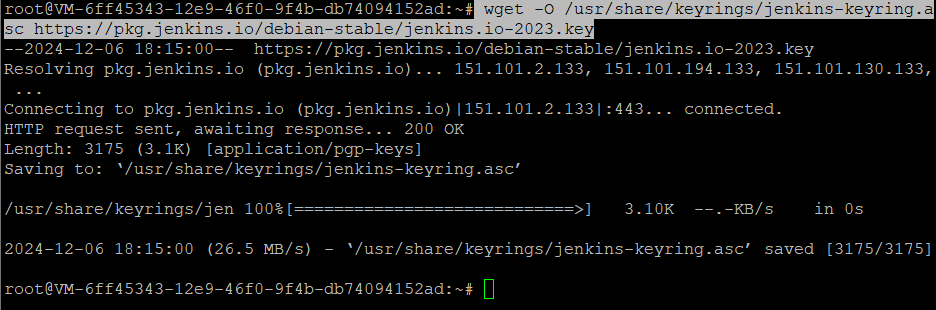
Add the Jenkins repository to your system:
echo "deb [signed-by=/usr/share/keyrings/jenkins-keyring.asc] https://pkg.jenkins.io/debian-stable binary/" | tee /etc/apt/sources.list.d/jenkins.list > /dev/null
Update the package list:
apt update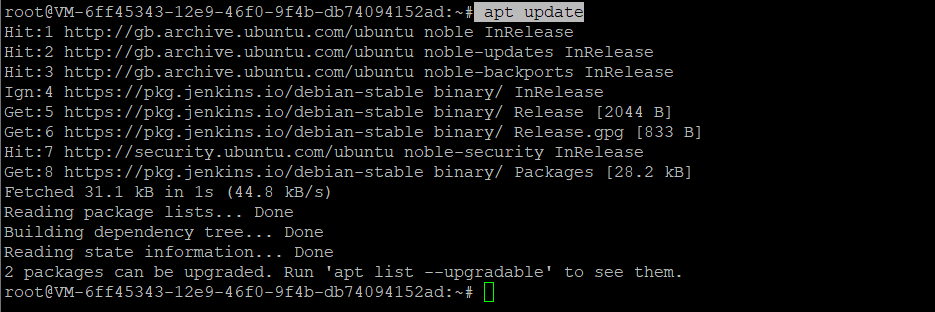
Step 5: Install Jenkins
Install Jenkins using the following command:
apt install jenkins -y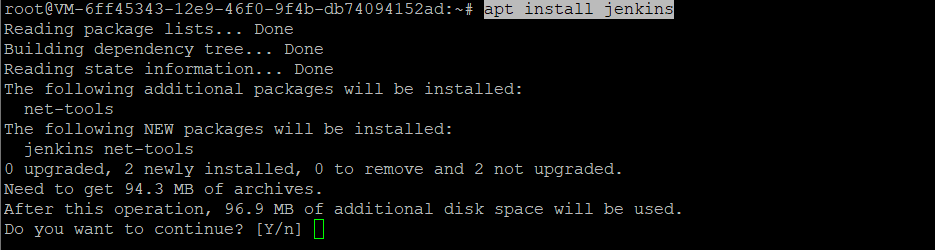
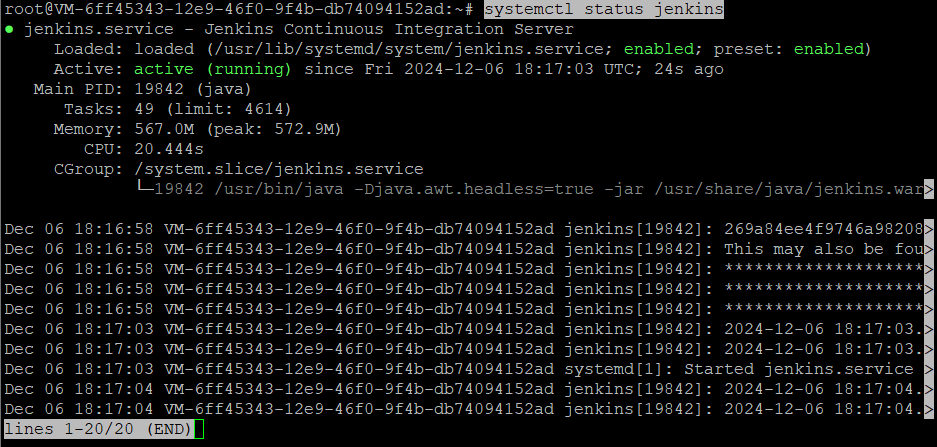
Check the Jenkins service status:
systemctl status jenkinsEnsure Jenkins is running and enabled to start on boot.
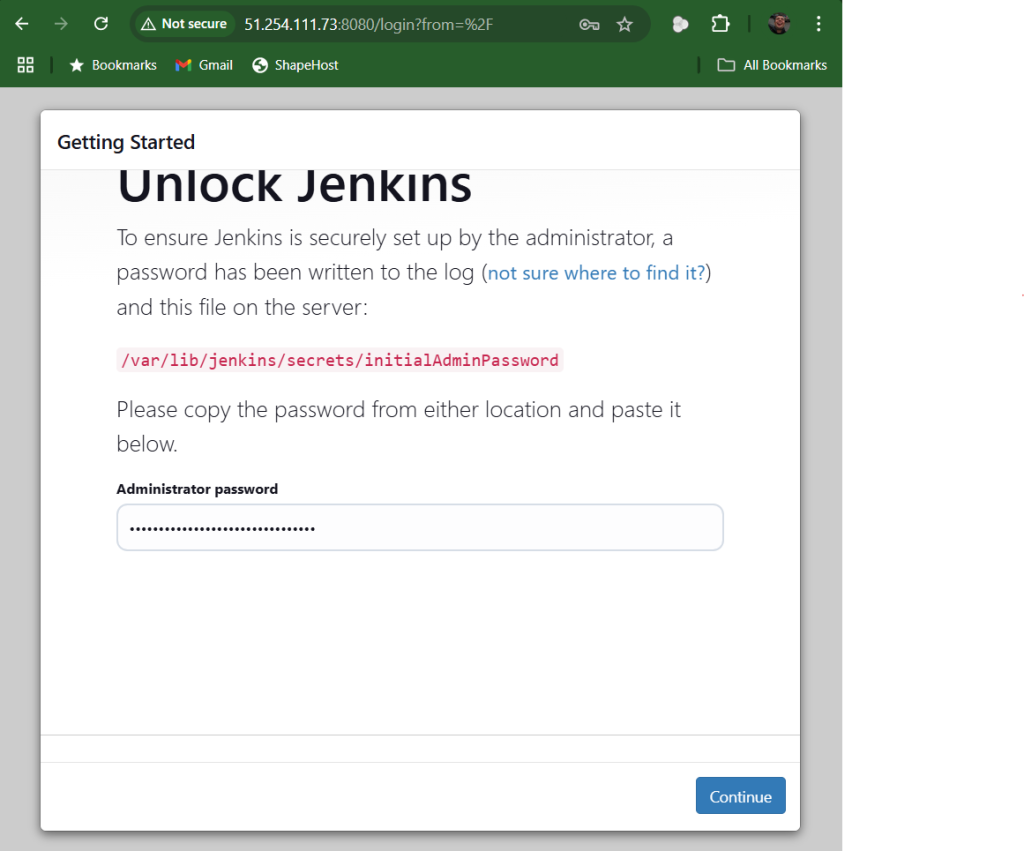
Step 6: Retrieve the Initial Admin Password
To access Jenkins for the first time, you need the initial admin password. Retrieve it with this command:
cat /var/lib/jenkins/secrets/initialAdminPassword
Copy the output as you will need it during the setup process.
Step 7: Access Jenkins
- Open your web browser.
- Navigate to Jenkins by entering the following URL:
http://your_server_ip:8080- Paste the initial admin password you copied earlier into the password field.
- Follow the on-screen instructions to complete the Jenkins setup, including selecting plugins and creating an admin account.
Step 8: Unlock Jenkins
When you access Jenkins for the first time, you will be prompted with the Unlock Jenkins screen. To ensure that Jenkins is securely set up, an initial administrator password is required.
- Locate the Password:
- The password can be found in the file located at:
/var/lib/jenkins/secrets/initialAdminPassword - You will need to access your server and open this file to retrieve the password. Use a command like
-
cat /var/lib/jenkins/secrets/initialAdminPasswordto display the password.
- The password can be found in the file located at:
- Enter the Password:
- Copy the password from the file and paste it into the Administrator password field shown on the screen.
- Proceed:
- Click the Continue button to unlock Jenkins and move to the next step of the setup process.
This step ensures that only authorized users can access the Jenkins dashboard for initial configuration.
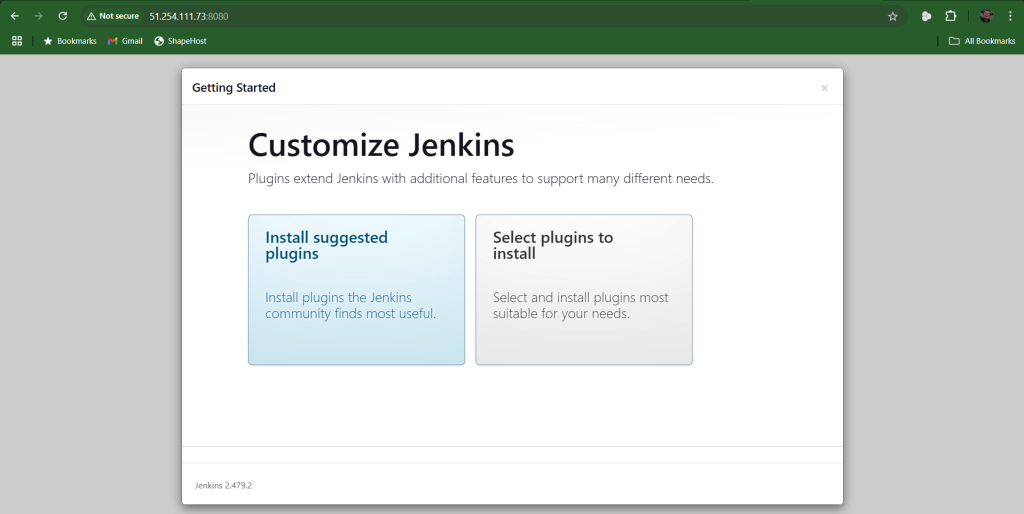
Step 9: Customize Jenkins
After unlocking Jenkins, you will be presented with the Customize Jenkins screen. This step allows you to configure plugins that extend Jenkins’ functionality based on your specific requirements.
- Install Suggested Plugins:
- This option automatically installs a set of plugins that the Jenkins community recommends as most useful for general use cases. It is a quick and easy option for new users or standard setups.
- Select Plugins to Install:
- This option lets you manually select plugins to install based on your specific needs. It is suitable for advanced users who want to customize their Jenkins setup and install only the necessary plugins.
Choose the option that best suits your project requirements and click on it to proceed. If you are unsure, selecting Install Suggested Plugins is a good starting point.
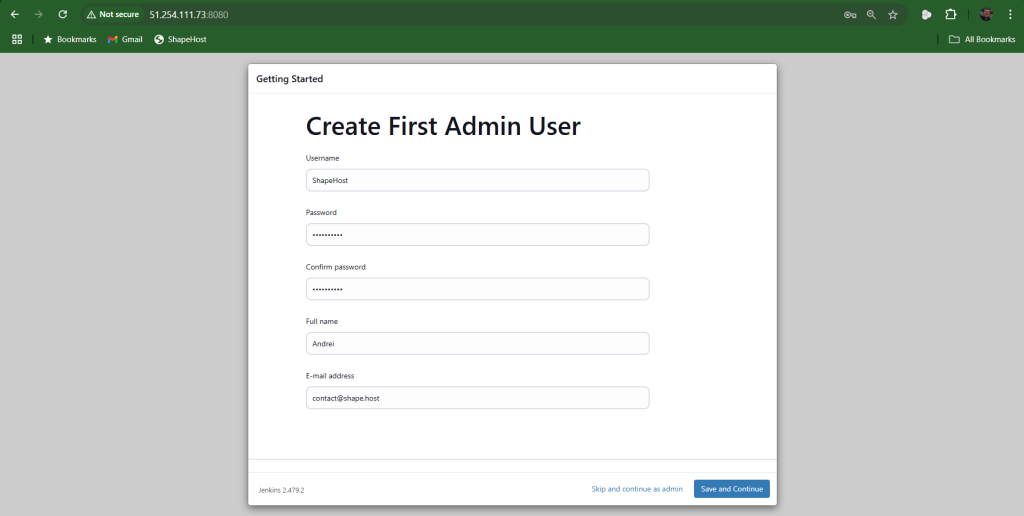
Step 10: Create the First Admin User
In this step of the Jenkins setup, you need to create the first admin user for managing the Jenkins environment. This user will have full administrative privileges.
- Username: Enter the desired username for the admin account. For example, “ShapeHost” is used in this screenshot.
- Password: Choose a strong password for the admin user and confirm it in the “Confirm password” field.
- Full Name: Provide the full name of the user for easier identification in the interface.
- Email Address: Enter a valid email address. This email will be used for notifications and account recovery purposes.
After filling out all the fields, click Save and Continue to proceed. If you prefer not to create a custom admin user at this stage, you can choose Skip and continue as admin to use the default admin account.
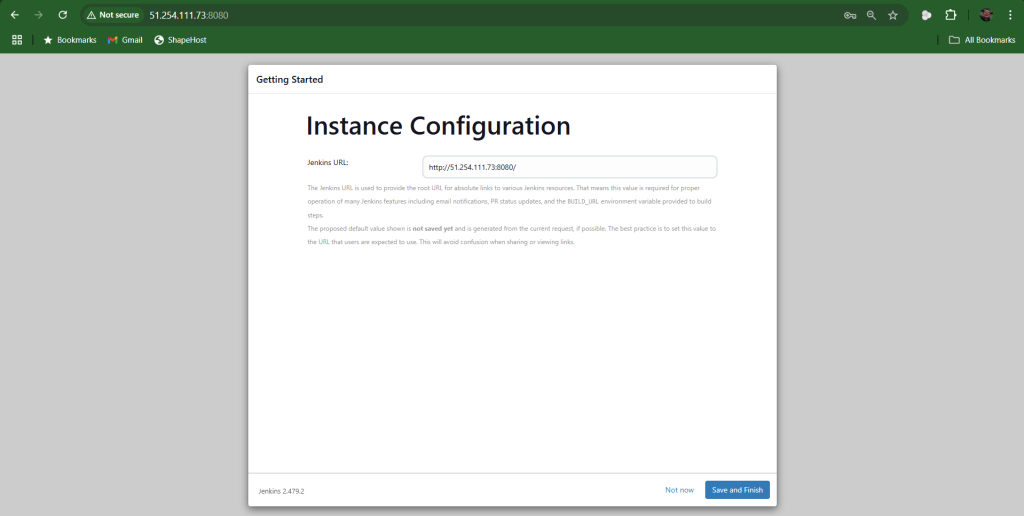
Step 11: Instance Configuration
The next step in the Jenkins setup is to configure the Instance URL. This URL is used as the root address for Jenkins and is required for features such as:
- Email notifications.
- Absolute links in resources.
- The
BUILD_URLenvironment variable during builds. - Jenkins URL: The system suggests the current URL being used to access Jenkins (e.g.,
http://51.254.111.73:8080/). You can keep this default or update it to the address your users will use to access Jenkins (e.g., a custom domain or public IP).
It is best to configure this URL correctly to avoid confusion when sharing links or receiving notifications.
Once you’ve confirmed or updated the URL, click Save and Finish to complete the setup. If you want to configure this later, click Not now.
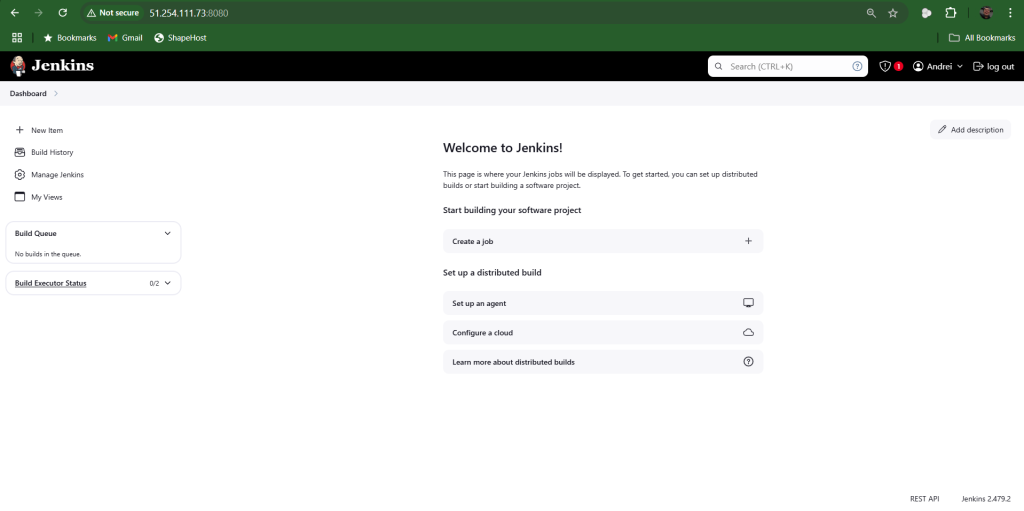
Step 12: Jenkins Dashboard
After completing the setup process, you will be redirected to the Jenkins Dashboard, the central hub for managing your Jenkins environment. Here’s what you can do:
- Welcome Section:
- Start building your software project by clicking on Create a job. This will guide you through setting up your first Jenkins pipeline or freestyle project.
- Set up distributed builds by configuring agents or connecting Jenkins to a cloud-based infrastructure.
- Menu Options:
- New Item: Create new jobs or projects.
- Build History: View logs and records of past builds.
- Manage Jenkins: Access administrative settings, including plugin management, system configuration, and security settings.
- My Views: Customize your dashboard view.
- Build Queue and Executor Status:
- The Build Queue shows pending builds waiting to be executed.
- Build Executor Status displays the number of executors (build slots) currently running or idle.
From this dashboard, you can explore Jenkins’ features and start managing builds, pipelines, and configurations for your projects.
You have successfully installed Jenkins Pipeline on your Ubuntu 24.04 server. You can now start creating and managing your pipelines. For reliable cloud hosting, check out Shape.Host Cloud VPS services to ensure optimal performance for your Jenkins setup.