Jitsi Meet on AlmaLinux 9
(Self-Hosted Video Conferencing + Nginx + SSL)
Jitsi Meet is a robust, open-source video conferencing platform that enables secure audio and video meetings directly in the browser—no user accounts, plugins, or proprietary software required. It supports HD video, screen sharing, chat, meeting moderation, recording/streaming, and optional end-to-end encryption (E2EE), making it a compelling alternative to Zoom, Google Meet, or Microsoft Teams.
Unlike cloud-only video platforms, Jitsi Meet can be fully self-hosted, giving you complete control over meeting data, media traffic, and access policies. This makes it especially suitable for organizations that value privacy, compliance, and infrastructure ownership.
Running Jitsi Meet on AlmaLinux 9, a RHEL-compatible, enterprise-grade Linux distribution, provides long-term stability, predictable updates, and strong security defaults. AlmaLinux 9 pairs well with Nginx and HTTPS (SSL), offering a production-ready foundation for secure, self-hosted video conferencing.
Architecture Overview
| Layer | Component | Role |
|---|---|---|
| OS | AlmaLinux 9 | Enterprise-grade, RHEL-compatible Linux base |
| Web Server | Nginx | HTTPS termination and web access |
| Web App | Jitsi Meet | Browser-based meeting interface |
| Media Server | Jitsi Videobridge | Handles audio/video streams |
| Signaling | Prosody + Jicofo | Authentication, signaling, room control |
| Transport | UDP / TCP | Real-time media transport (WebRTC) |
| TLS | Let’s Encrypt / PKI | Encrypted connections |
Jitsi’s modular architecture allows it to scale from small private meetings to large multi-participant conferences.
Why Use Jitsi Meet?
- Open-source & self-hosted — no vendor lock-in
- No user accounts required — join meetings via simple links
- High-quality audio & video — WebRTC-based
- Screen sharing & chat — built-in collaboration tools
- Meeting moderation — lobby, passwords, participant controls
- End-to-end encryption (E2EE) — optional enhanced privacy
- Browser-based — works on all modern browsers
- Scalable architecture — suitable for teams and organizations
Jitsi Meet is ideal for users who want private, secure video conferencing without SaaS dependencies.
Jitsi Meet vs Other Video Conferencing Platforms
| Feature / Capability | Jitsi Meet | Zoom | Google Meet | Microsoft Teams |
|---|---|---|---|---|
| Hosting | Self-hosted | Cloud only | Cloud only | Cloud only |
| Open-source | ✅ Yes | ❌ No | ❌ No | ❌ No |
| Data ownership | Full control | Vendor-controlled | Vendor-controlled | Vendor-controlled |
| Accounts required | ❌ No | ✅ Yes | ✅ Yes | ✅ Yes |
| E2EE | ✅ Yes | Partial | Partial | Partial |
| Cost | Free (self-hosted) | Free / Paid | Free | Paid |
Jitsi stands out for privacy, flexibility, and infrastructure control.
Security & Best Practices on AlmaLinux 9
- Serve Jitsi only over HTTPS.
- Use Let’s Encrypt SSL certificates with automatic renewal.
- Open required ports:
- 443/TCP — HTTPS
- 10000/UDP — media traffic
- Optional fallbacks: 4443/TCP, 5349/TCP
- Configure firewalld to restrict unused ports.
- Enable room moderation (passwords, lobby).
- Keep AlmaLinux and Jitsi packages updated regularly.
- Monitor CPU, RAM, disk, and network bandwidth.
- Use a dedicated domain or subdomain (e.g.
meet.example.com). - Tune Nginx and Videobridge settings for performance.
- For larger deployments, consider multiple videobridges.
Typical Use Cases
- Team meetings and daily stand-ups
- Private business calls
- Remote education and training
- Internal company conferencing
- Privacy-focused organizations
- Self-hosted alternatives to Zoom or Meet
- Government, NGO, or compliance-sensitive environments
Deploying Jitsi Meet on AlmaLinux 9 gives you a secure, scalable, and fully self-hosted video conferencing solution—combining modern WebRTC technology with full data ownership, strong encryption, and enterprise-grade Linux stability.
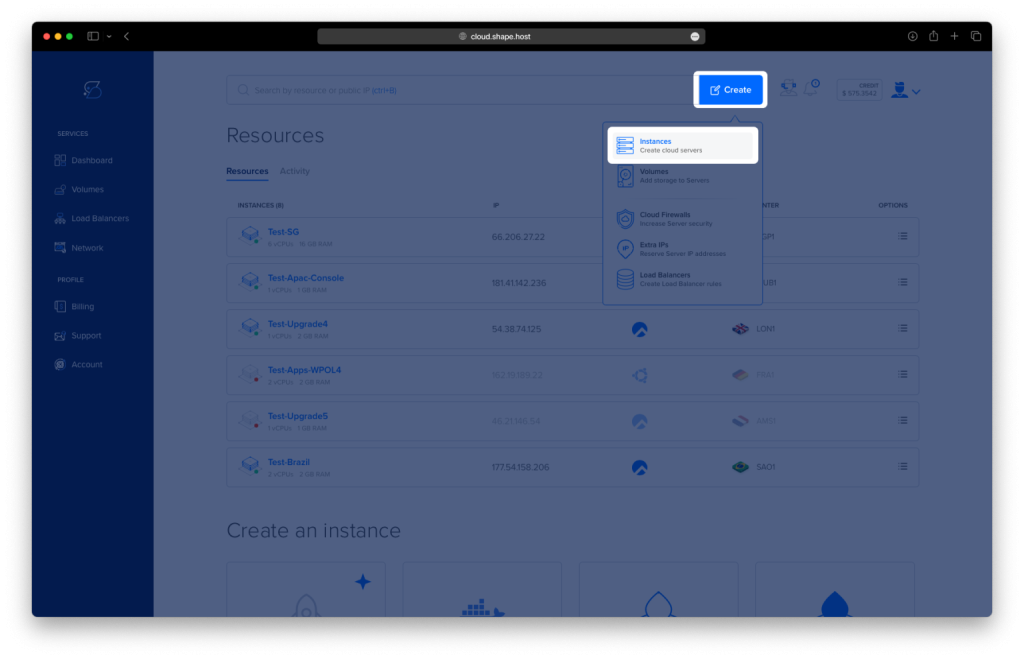
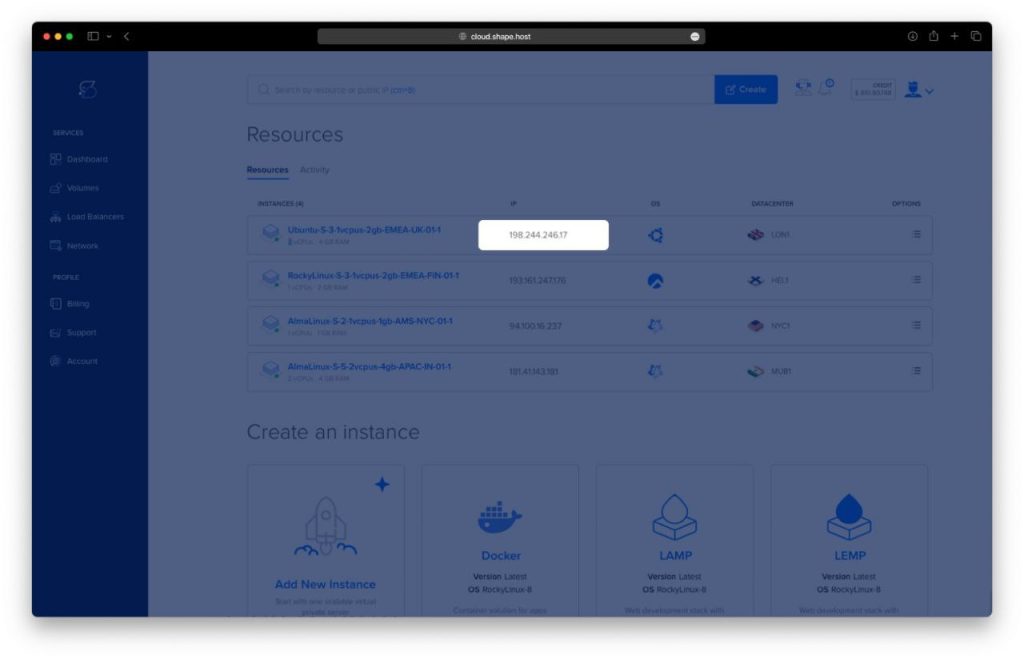
Step 1: Create a Server Instance on Shape.Host
Before starting, create a VPS.
Log in to https://shape.host
Click Create → Instance
Choose a data center close to your users
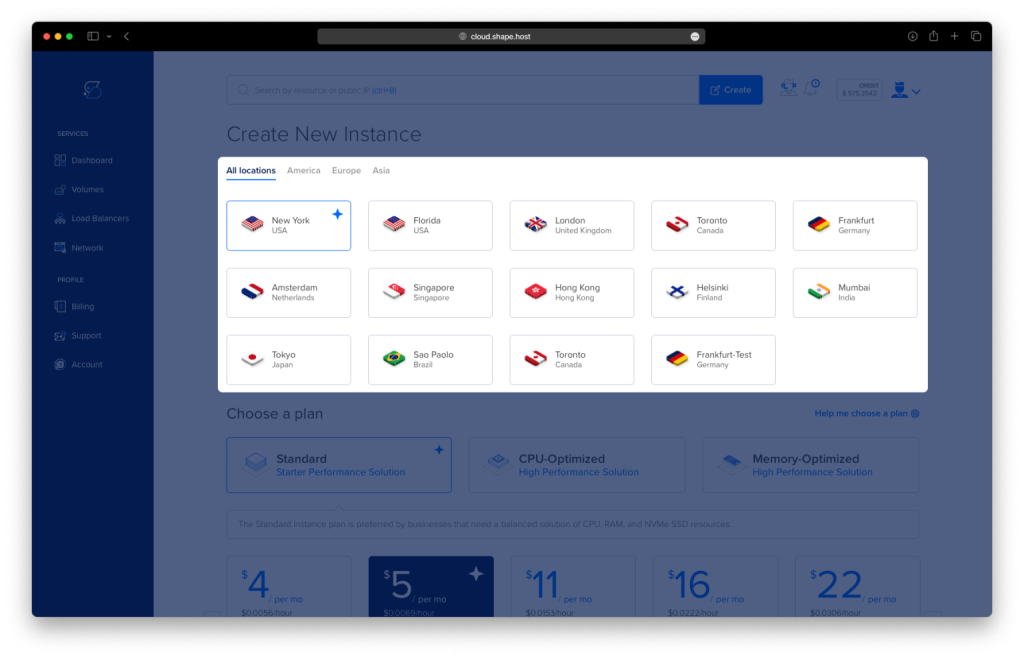
Select a plan with at least:
2 CPU cores (4 recommended)
4 GB RAM
40 GB SSD
Choose AlmaLinux 9 (64-bit)
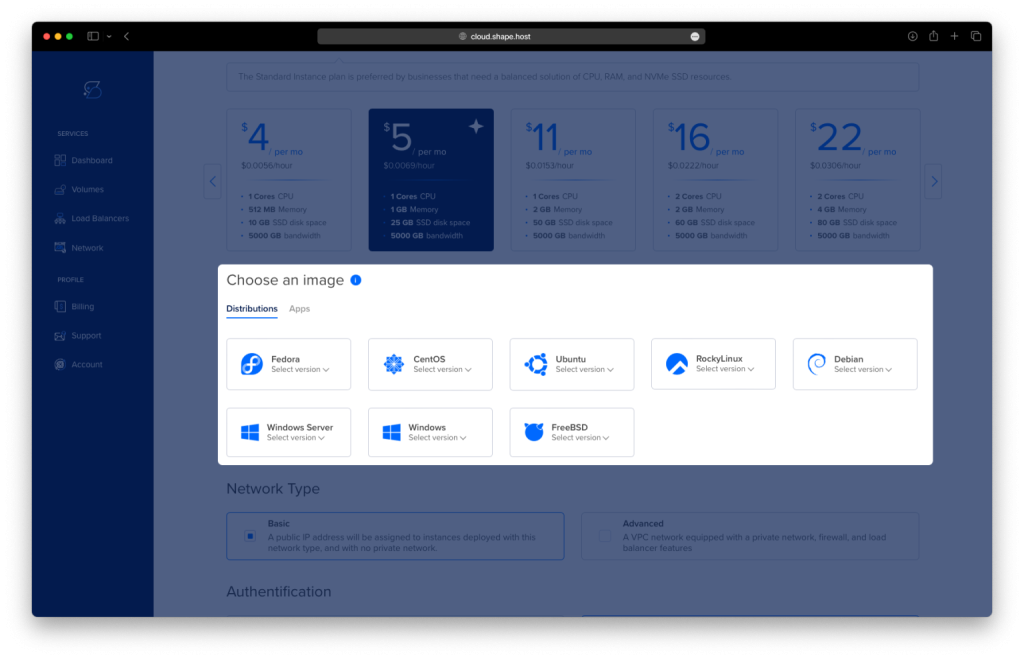
Create the instance and wait for provisioning
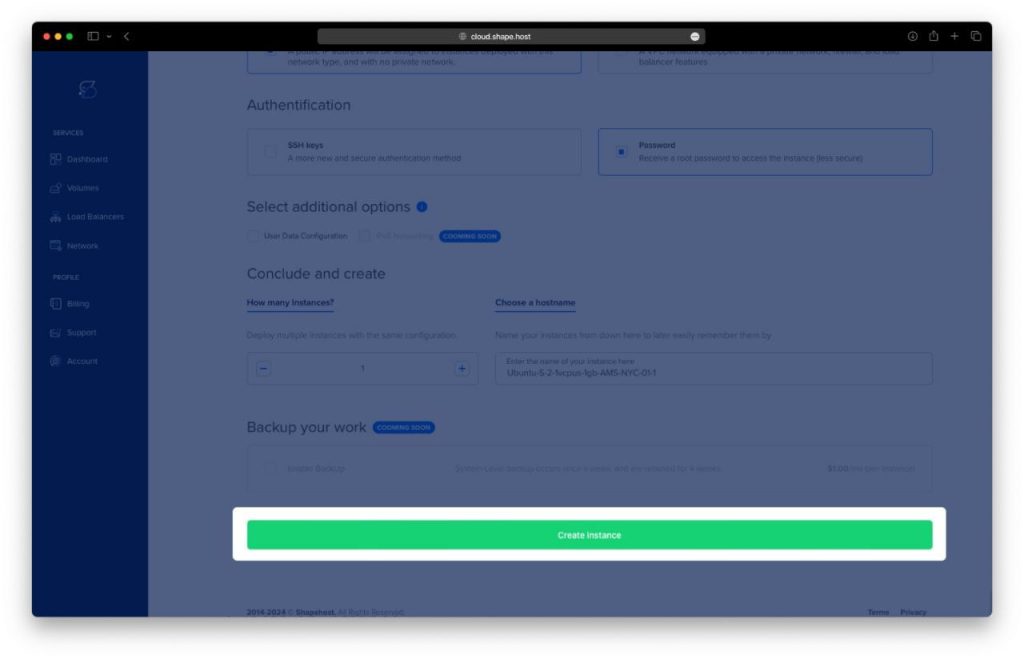
Copy the public IP address
Step 2: Connect to the Server
Linux / macOS
ssh root@YOUR_SERVER_IP
Windows (PowerShell / Windows Terminal)
ssh root@YOUR_SERVER_IP
Windows (PuTTY)
- Host Name:
YOUR_SERVER_IP - Port:
22 - Connection type:
SSH - Username:
root
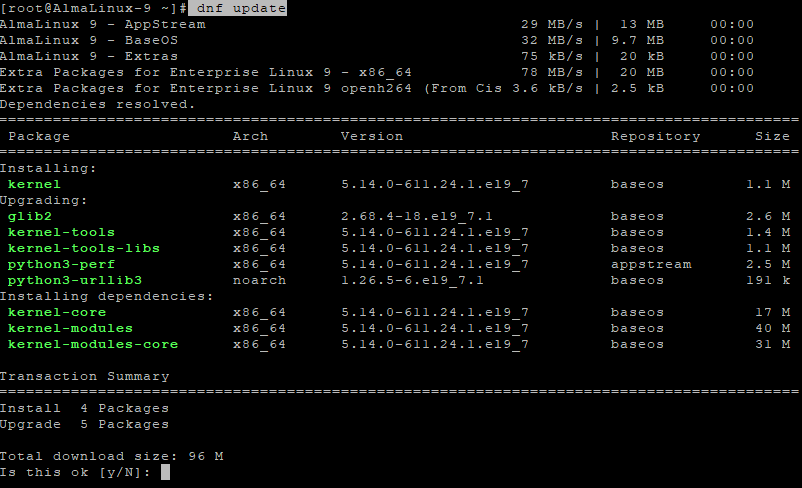
Step 3: Update the System
dnf update
- Updates all installed packages
- Applies security patches
- Prepares the system for Docker and firewall configuration
Step 4: Set Hostname (Required by Jitsi)
Jitsi requires a valid fully qualified domain name (FQDN).
hostnamectl set-hostname almalinux-tutorials.shape.host
Edit hosts file:
nano /etc/hosts
Add or adjust:
127.0.0.1       localhost
YOUR_PUBLIC_IP  meet.example.com

Verify hostname:
hostname

Update again and reboot:
dnf update
reboot
Reconnect via SSH after reboot.
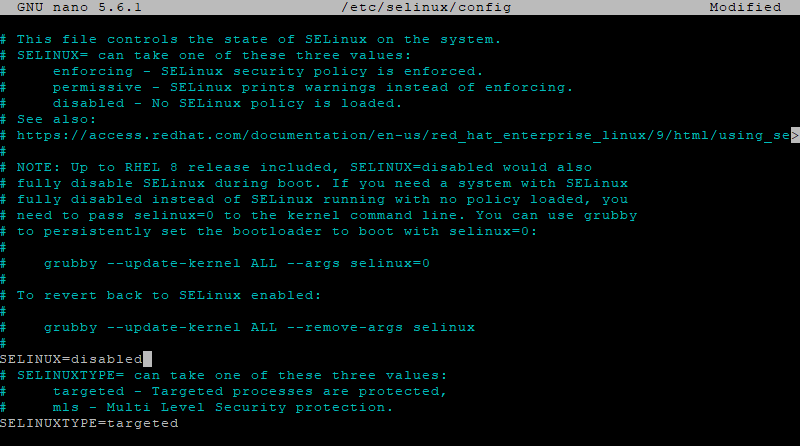
Step 5: Disable SELinux (Required for Docker-Jitsi)
Docker-Jitsi-Meet does not work reliably with SELinux enforcing.
Edit SELinux config:
nano /etc/selinux/config
Set:
SELINUX=disabled
Temporarily disable SELinux:
setenforce 0
Reboot to apply permanently:
reboot
Verify:
getenforce
Output must be:
Disabled

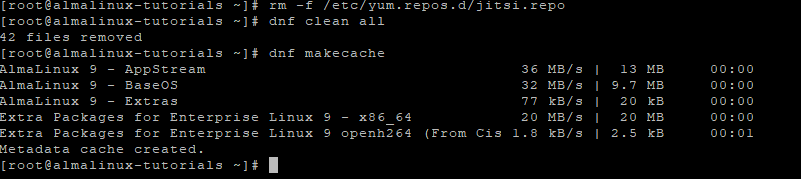
Step 6: Prepare Repositories and Docker
Clean any old Jitsi repo references:
rm -f /etc/yum.repos.d/jitsi.repo
dnf clean all
dnf makecache
dnf repolist
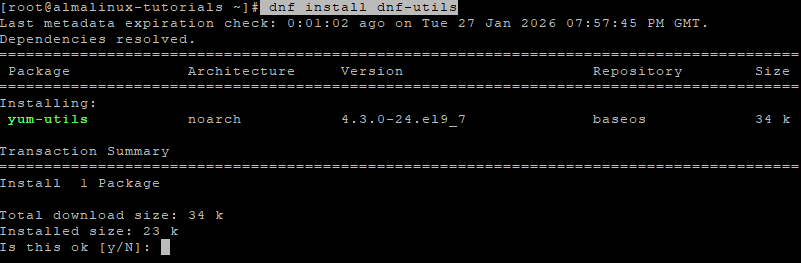
Install repository tools:
dnf install dnf-utils
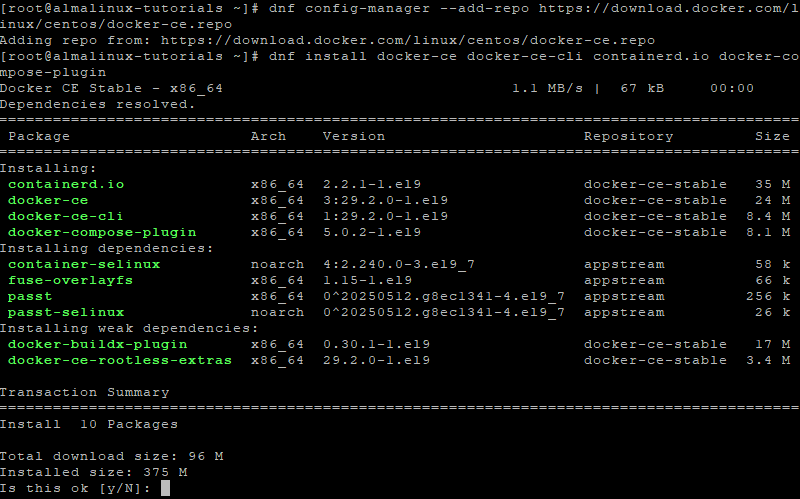
Add Docker repository:
dnf config-manager --add-repo https://download.docker.com/linux/centos/docker-ce.repo
Install Docker:
dnf install docker-ce docker-ce-cli containerd.io docker-compose-plugin
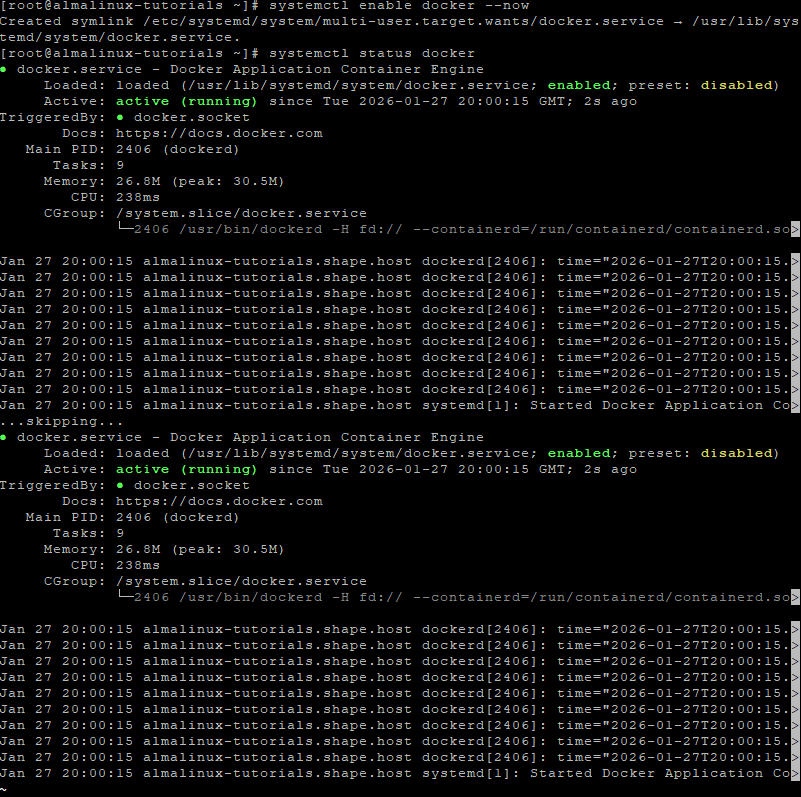
Enable and start Docker:
systemctl enable docker --now
Verify Docker:
systemctl status docker
Step 7: Configure Firewall (Firewalld)
Enable firewalld:
systemctl unmask firewalld
systemctl enable firewalld --now
Open required ports:
firewall-cmd --permanent --add-port=80/tcp
firewall-cmd --permanent --add-port=443/tcp
firewall-cmd --permanent --add-port=10000/udp
Apply rules:
firewall-cmd --reload

Verify:
firewall-cmd --list-ports

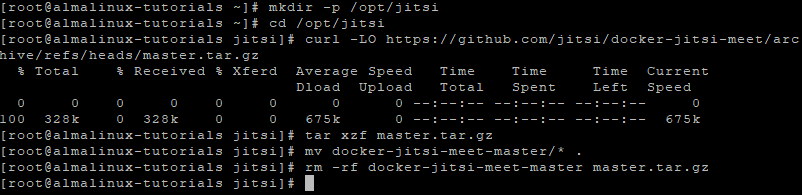
Step 8: Download Docker-Jitsi-Meet
Create project directory:
mkdir -p /opt/jitsi
cd /opt/jitsi
Download Docker-Jitsi-Meet:
curl -LO https://github.com/jitsi/docker-jitsi-meet/archive/refs/heads/master.tar.gz
Extract and clean:
tar xzf master.tar.gz
mv docker-jitsi-meet-master/* .
rm -rf docker-jitsi-meet-master master.tar.gz
Step 9: Configure Jitsi Environment
Copy example environment:
cp env.example .env
Generate secure passwords:
./gen-passwords.sh
Edit .env:
nano .env
Set the following values:
ENABLE_LETSENCRYPT=1
LETSENCRYPT_DOMAIN=meet.example.com
LETSENCRYPT_EMAIL=admin@example.com

PUBLIC_URL=https://meet.example.com

TZ=Europe/Bucharest

HTTP_PORT=80
HTTPS_PORT=443
What these settings do
- Enables Let’s Encrypt SSL
- Defines your Jitsi domain
- Sets timezone for logs
- Exposes ports 80/443 for HTTPS access
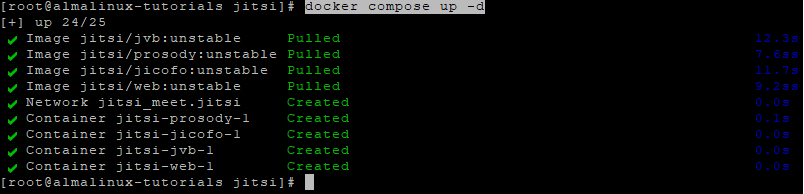
Step 10: Start Jitsi Meet
docker compose up -d
This will:
- Pull all required Jitsi containers
- Automatically request SSL certificates
- Start Prosody, Jicofo, Videobridge, Web, and Let’s Encrypt services
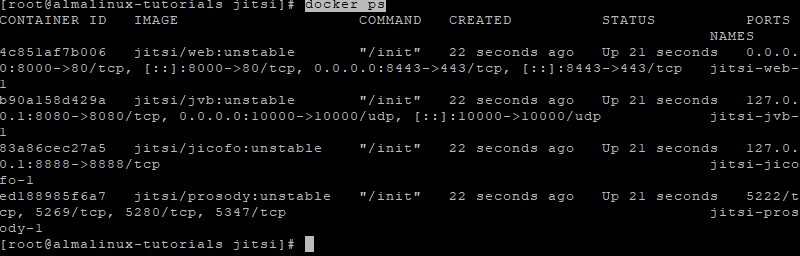
Verify containers:
docker ps
Step 11: Verify SSL Connection
openssl s_client -connect almalinux-tutorials.shape.host:443 -servername almalinux-tutorials.shape.host
A valid certificate chain confirms SSL is working correctly.
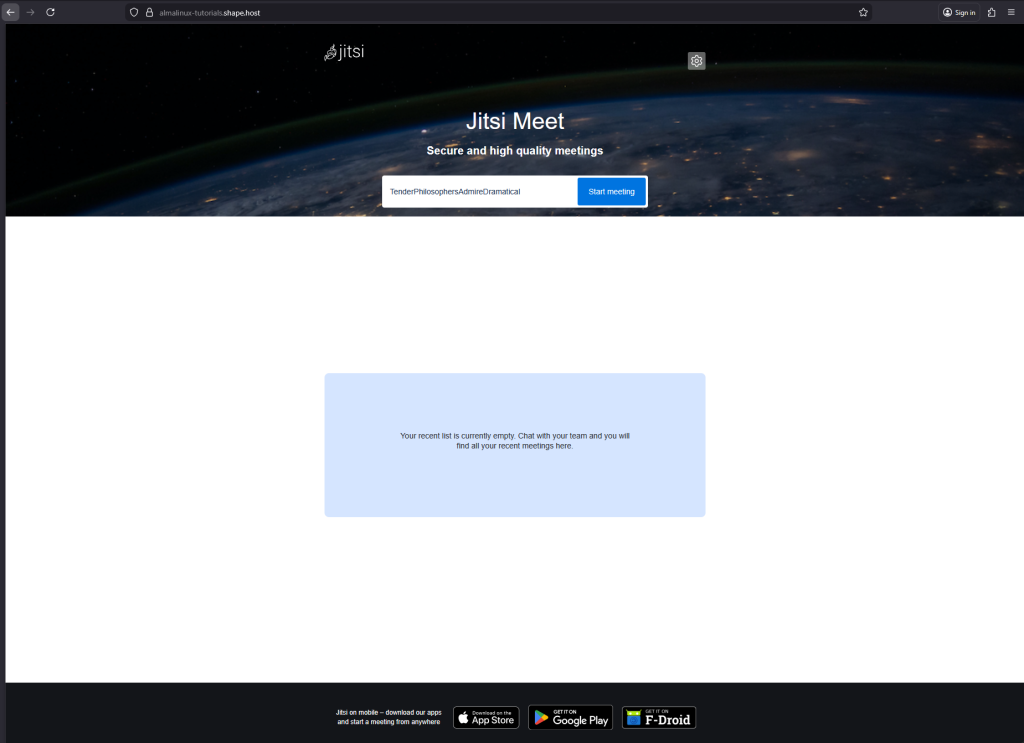
Step 12: Access Jitsi Meet
Open your browser:
https://meet.example.com
You now have:
- A self-hosted Jitsi Meet instance
- Running fully in Docker
- Protected by Let’s Encrypt SSL
- Ready for secure video conferences
You installed Jitsi Meet on AlmaLinux 9 using Docker-Jitsi-Meet, configured hostname, firewall, and SELinux, and enabled automatic HTTPS with Let’s Encrypt. This setup is production-ready, scalable, and much easier to maintain than native package installations.
For hosting real-time communication platforms with full control, performance, and reliability, Shape.Host Linux SSD VPS provides a strong foundation for modern self-hosted infrastructure.