Maven is a powerful build automation and project management tool primarily used for Java projects. It simplifies the process of building, packaging, and managing dependencies, providing a standardized way to handle all aspects of project builds. Maven also supports the creation of a project object model (POM), which defines the project’s structure, dependencies, and other configurations.
What is Maven used for?
- Project Management: Maven helps manage project configurations, ensuring consistency across different environments and simplifying project builds.
- Dependency Management: One of Maven’s core features is managing dependencies. It automatically downloads and includes libraries from remote repositories (such as Maven Central) based on the information defined in the POM file.
- Build Automation: Maven provides a consistent, repeatable build process, allowing developers to automate tasks such as compilation, testing, packaging, and deployment.
- Standardization: Maven enforces a standard project structure, making it easier to understand the layout of any Maven-based project. This consistency helps developers quickly get up to speed with new projects.
- Integration with Other Tools: Maven integrates with many other tools, such as Jenkins for continuous integration, and can be used to deploy applications to different environments (e.g., development, staging, and production).
- Plugins and Goals: Maven uses plugins to perform tasks, where each plugin has a set of goals (specific tasks). Common goals include compiling code, running tests, generating documentation, or creating a WAR or JAR file for deployment.
Key Features of Maven
- POM (Project Object Model): The core of any Maven project is the
pom.xmlfile, which contains all the metadata about the project (such as dependencies, build configurations, plugins, and more). - Dependency Management: Maven handles downloading and updating dependencies automatically from a repository. You simply specify the dependency’s group ID, artifact ID, and version, and Maven takes care of the rest.
- Central Repository: Maven uses central repositories (such as Maven Central or custom repositories) to store and distribute libraries and artifacts, making it easy to reuse code across projects.
- Life Cycle Phases: Maven defines a set of life cycle phases (such as
validate,compile,test,package,verify,install, anddeploy). These phases define the order in which Maven executes tasks, ensuring that the correct operations happen in the right sequence. - Plugins: Maven has a rich set of plugins that help in various aspects of development, including compiling code, running unit tests, creating reports, packaging, and deploying. You can even extend Maven’s functionality with custom plugins.
- Multi-module Projects: Maven allows developers to manage complex projects with multiple modules (sub-projects), simplifying dependency management and ensuring consistency across modules.
How to Use Maven
- Installation: Maven can be installed on various platforms (Windows, Linux, macOS). It typically involves downloading and extracting the Maven binary, setting up environment variables (
M2_HOME,MAVEN_HOME), and addingmvnto your system’s PATH. - Creating a Project: You can create a new Maven project by using the
mvn archetype:generatecommand, which scaffolds a new project based on predefined templates. - Running a Build: Running
mvn clean installwill clean the project, compile the source code, run tests, and then package the project into a JAR/WAR file (depending on the configuration in the POM). - Adding Dependencies: To add dependencies to your project, you include them in the
dependenciessection of thepom.xmlfile. Maven will automatically fetch these dependencies from its central repository. - Running Tests: You can run unit tests using the
mvn testcommand, which will execute any tests written in the project and report the results. - Deploying the Project: Once a project is packaged, it can be deployed to a remote repository or a production server using the
mvn deploycommand.
Maven Commands
mvn clean: Cleans the project by deleting thetargetdirectory, which contains compiled classes and other build artifacts.mvn compile: Compiles the source code of the project.mvn test: Runs the unit tests of the project.mvn package: Packages the compiled code into a distributable format, such as a JAR or WAR.mvn install: Installs the packaged artifact into the local Maven repository.mvn deploy: Deploys the packaged artifact to a remote repository or server.mvn site: Generates a site for the project that includes reports and other documentation.
Tips for Using Maven
- Use Proper Versioning: Always specify specific versions for your dependencies to avoid potential conflicts or unexpected behavior when dependencies change.
- Keep Your
pom.xmlClean: Maintain a well-organizedpom.xmlfile. Avoid unnecessary dependencies, plugins, and configurations to keep it clean and easy to manage. - Leverage Profiles: Maven allows the use of profiles to define different configurations (e.g., for development, testing, or production). This can be helpful for building the project in different environments.
- Use Local Repositories: Maven will download dependencies to a local repository (typically in the
.m2directory), which can speed up future builds by avoiding repeated downloads. - Check Compatibility: Ensure that the versions of Maven, Java, and other tools are compatible with each other to avoid build issues.
Maven is an essential tool for Java developers, providing a standardized and efficient way to build, manage dependencies, and automate the development process. It simplifies complex project structures and integrates well with other tools, making it a key component in modern Java development workflows. By using Maven, developers can focus on writing code rather than managing project configuration and dependencies.
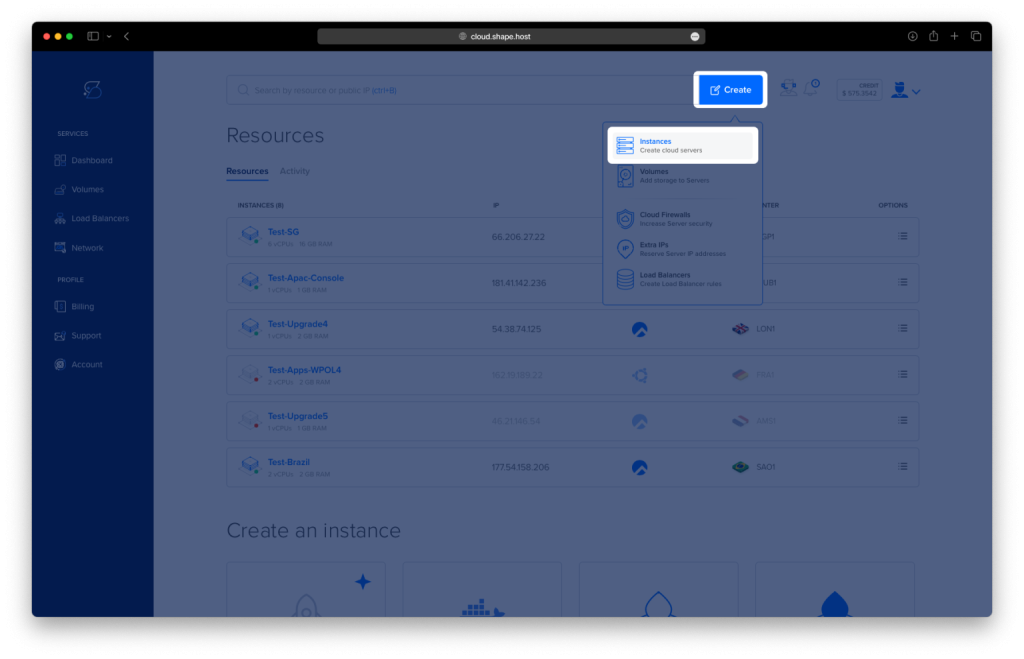
Step 1: Create an Instance
To begin, create a server instance running Ubuntu 24.04.
Access the Dashboard: Log in to your Shape.Host account and navigate to your Dashboard.
Click Create: Click on the “Create” button located in the top-right corner.
Select Instances: From the dropdown menu, choose “Instances” to begin creating a new cloud server.
Select Location: Choose a data center location for your instance that is closest to your target audience for optimal performance.
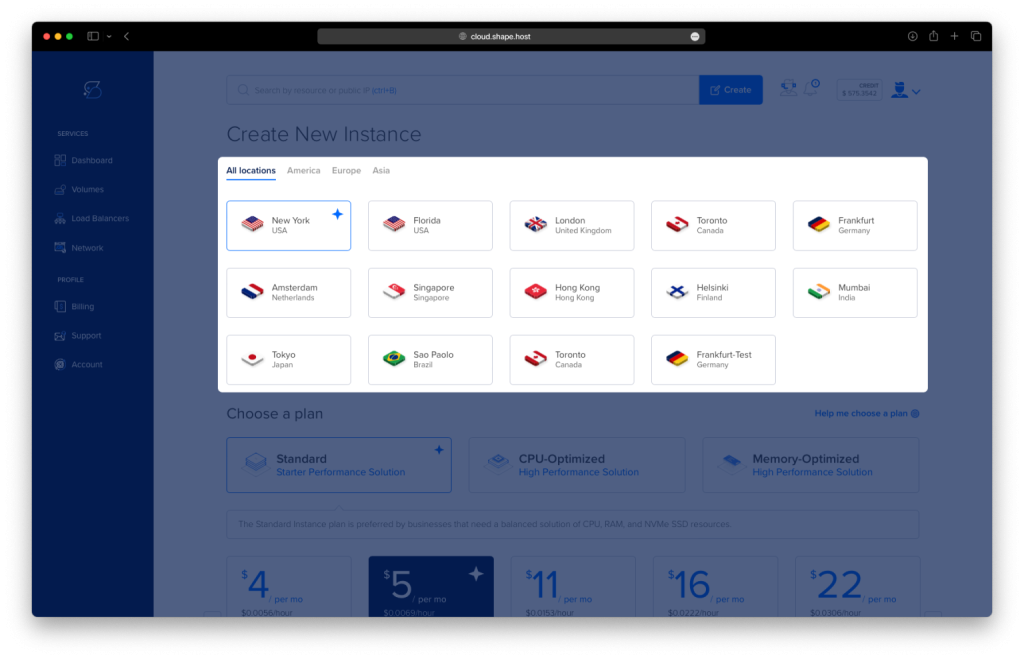
Choose a Plan: Scroll through the available pricing options. Select a plan based on your project needs, such as Standard, CPU-Optimized, or Memory-Optimized.
Choose an Image: Select Ubuntu 24.04 as the operating system for your instance.
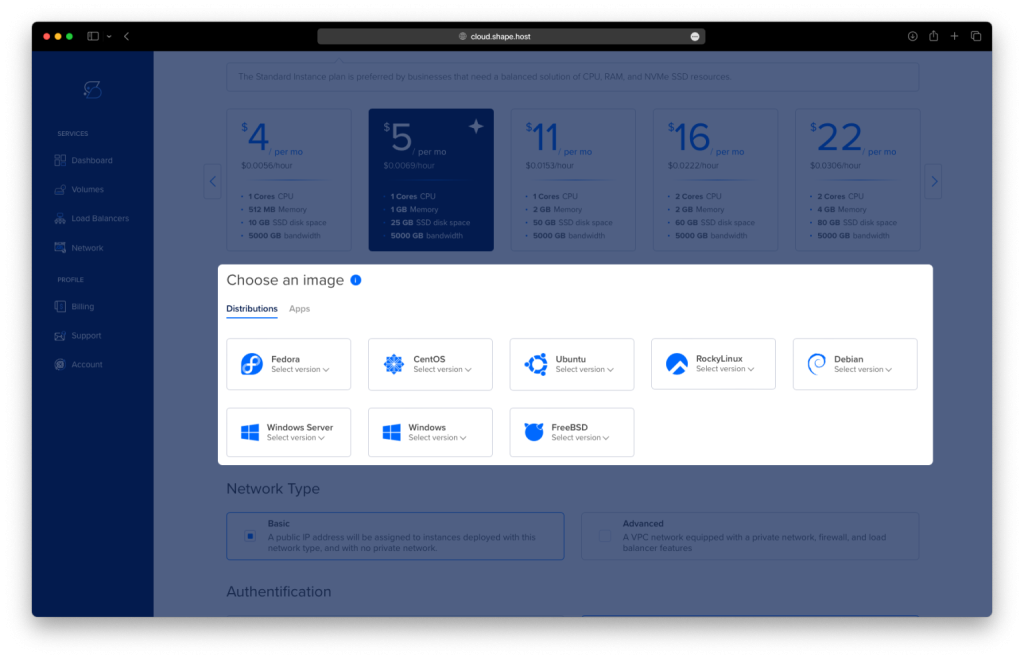
Authentication and Finalize: Choose your preferred authentication method, either SSH keys or password. Once configured, click Create Instance to launch your server.

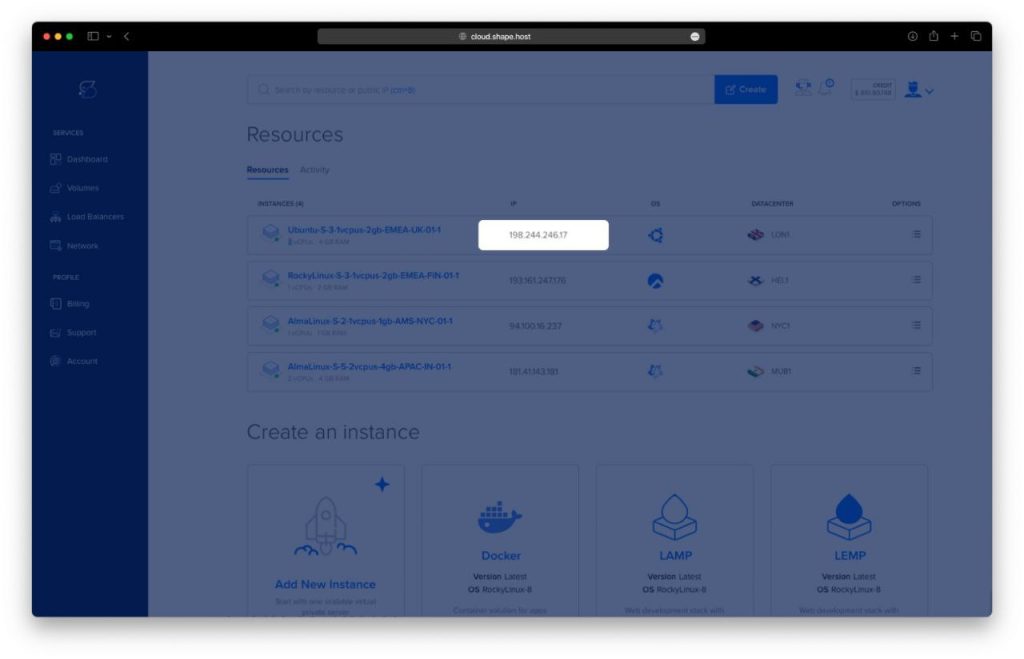
- Obtain IP Address
- Once your instance is created, return to the dashboard.
- Find your instance’s IP address under the Resources section and use it to access your server.
Step 2: Connect to Your Instance
After creating the instance, connect to it using an SSH client. Below are the options you can use:
- Linux/macOS: Open the terminal and use the following command:
ssh root@<your_server_ip> - Windows: Use an SSH client like PuTTY:
- Download and install PuTTY.
- Enter your server’s IP address in the Host Name field.
- Select SSH as the connection type and click Open.
- Log in with your username (usually
root) and the authentication method you chose (password or SSH key).
Once connected, you’ll have terminal access to your instance.
Step 3: Update System and Install Java Development Kit (JDK)
Before installing Maven, update your system and install Java:
apt update
apt install default-jdk 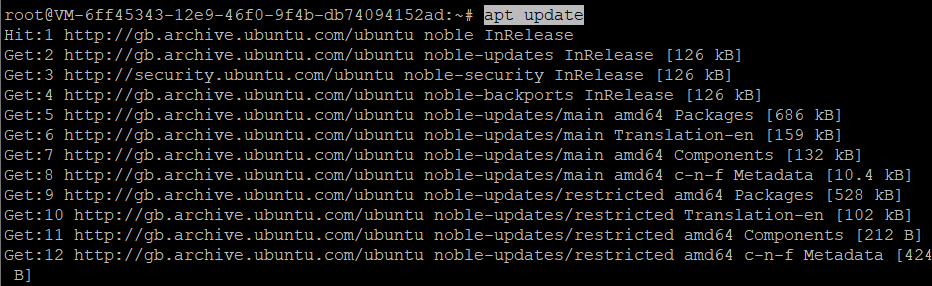

Verify the Java installation to ensure it is correctly installed:
java -version 
Step 4: Download and Extract Maven
Download the Maven binary archive (version 3.9.7):
wget https://dlcdn.apache.org/maven/maven-3/3.9.7/binaries/apache-maven-3.9.7-bin.tar.gz 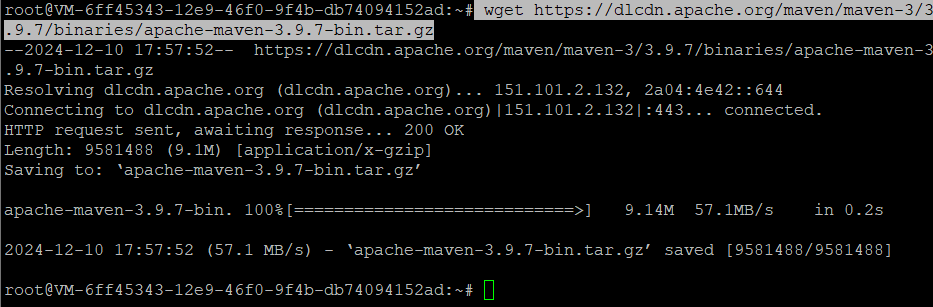
Extract the downloaded archive into the /opt directory:
tar xf apache-maven-3.9.7-bin.tar.gz -C /opt 
Step 5: Configure Maven Environment Variables
Create a script to set the Maven environment variables:
nano /etc/profile.d/maven.sh Inside the maven.sh script file, copy and paste the following lines:
export JAVA_HOME=/usr/lib/jvm/default-java
export M3_HOME=/opt/apache-maven-3.9.7
export MAVEN_HOME=/opt/apache-maven-3.9.7
export PATH=${M3_HOME}/bin:${PATH}
Save the file and exit.

Step 6: Apply the Script and Verify Configuration
Make the script executable:
chmod +x /etc/profile.d/maven.sh Navigate to the /etc/profile.d/ directory and verify the contents of the maven.sh file:
cd /etc/profile.d/
cat maven.sh
Run the script manually to apply it to the current session:
bash /etc/profile.d/maven.sh 
If needed, source the script to reload the environment variables:
source /etc/profile.d/maven.sh Step 7: Verify the Maven Installation
Finally, confirm that Maven is correctly installed and configured by checking its version:
mvn -version This command will display the Maven version and verify that it is ready to use.

You have successfully installed and configured Maven on Ubuntu 24.04 using a complete step-by-step process. Maven is now ready to manage and build your Java projects efficiently.
For reliable hosting solutions tailored to your development needs, consider Shape.Host Cloud VPS. Their services provide excellent performance and scalability for all your projects.