Netstat (short for “Network Statistics”) is a command-line tool used to display detailed information about network connections, routing tables, and other network-related metrics on a system. It is commonly used for diagnosing network issues, monitoring network performance, and understanding active network services.
What You Can Do with Netstat
- View Active Network Connections
Netstat displays all active TCP, UDP, and raw socket connections. This helps in identifying open connections and their statuses. - Monitor Listening Ports
- Identify which ports are open and being listened to by applications or services.
- Check for unauthorized or suspicious listening ports.
- Check Routing Tables
- Display the routing table of your system.
- Helps in diagnosing routing issues and verifying configurations.
- Monitor Network Interface Statistics
- Provides metrics like packets sent/received, errors, and dropped packets.
- Useful for debugging network performance issues.
- Identify Network Services and Applications
- Netstat can show the processes associated with specific ports.
- Determine which application is using a specific port.
- Monitor Established and Pending Connections
- View detailed information about established connections (IP address, port, protocol, etc.).
- Monitor pending or dropped connections to debug application issues.
Common Use Cases for Netstat
- Network Troubleshooting: Check for bottlenecks, failed connections, or unexpected network activity.
- Security Monitoring: Identify suspicious or unauthorized network connections.
- Server Maintenance: Verify if required services are running and accessible.
- Performance Analysis: Measure traffic on different interfaces to optimize resource usage.
Modern Alternatives to Netstat
While Netstat is widely used, it is considered deprecated on some systems in favor of tools like:
- ss: A modern tool that provides similar functionality to Netstat but with improved performance.
- ip: Part of the iproute2 suite, which offers advanced network management features.
Netstat remains a valuable utility for older systems and for users familiar with its straightforward command structure.
Step 1: Create an Instance
Before installing Netstat, ensure you have a Debian 12 server instance.
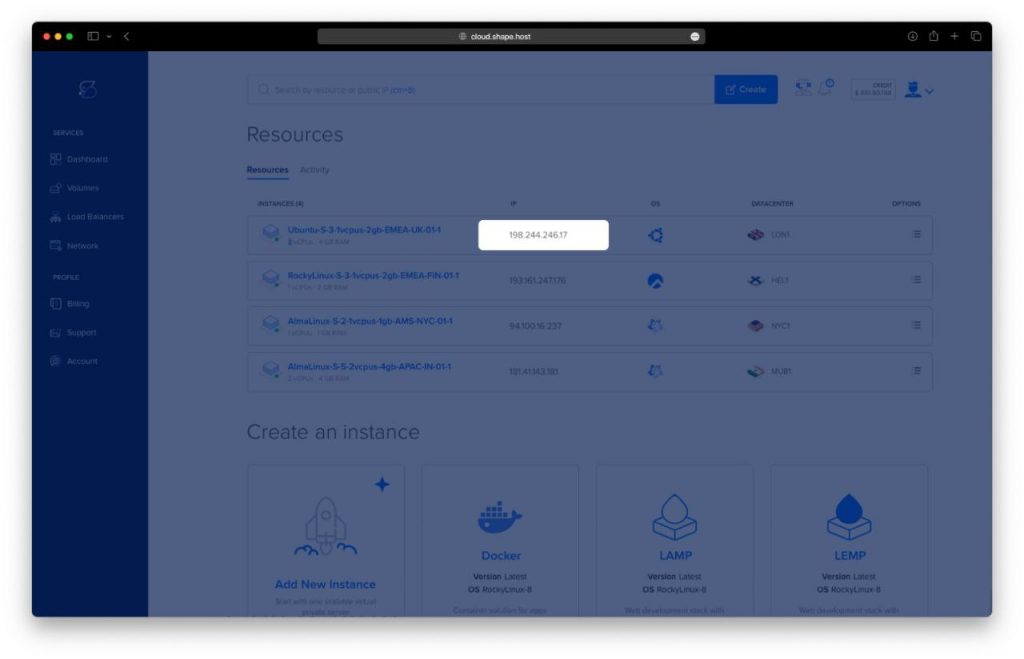
Access the Dashboard: Log in to your Shape.Host account and go to the Dashboard.
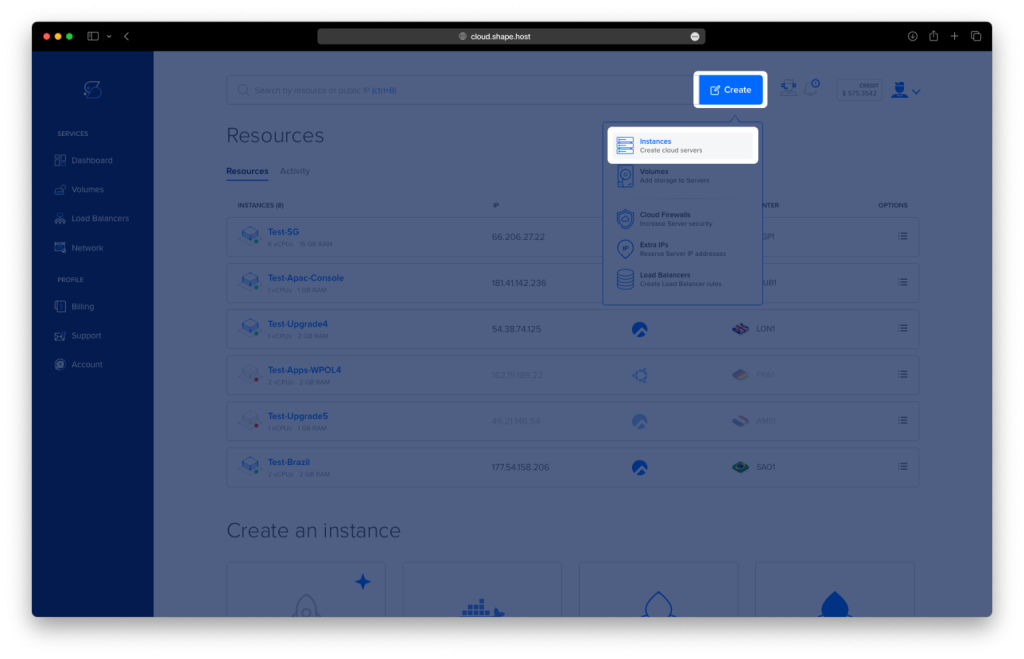
Click Create: Click the “Create” button in the top-right corner.
Select Instances: Choose “Instances” to create a server.
Select Location: Choose a data center close to your target audience.
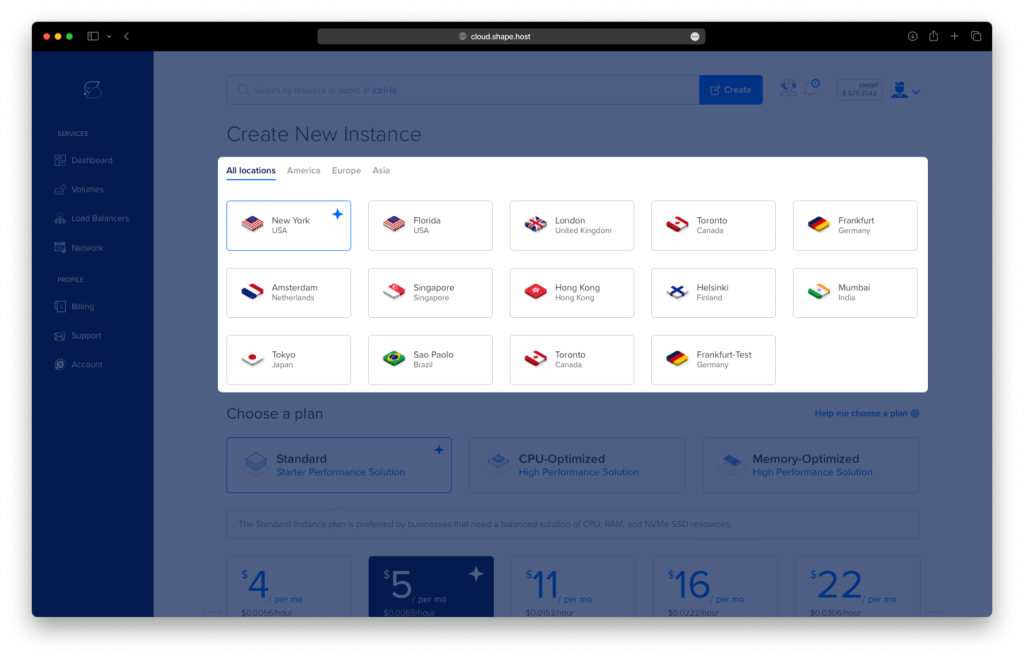
Choose a Plan: Pick a server plan that fits your project, such as Standard or CPU-Optimized.
Choose an Image: Select Debian 12 as the operating system.
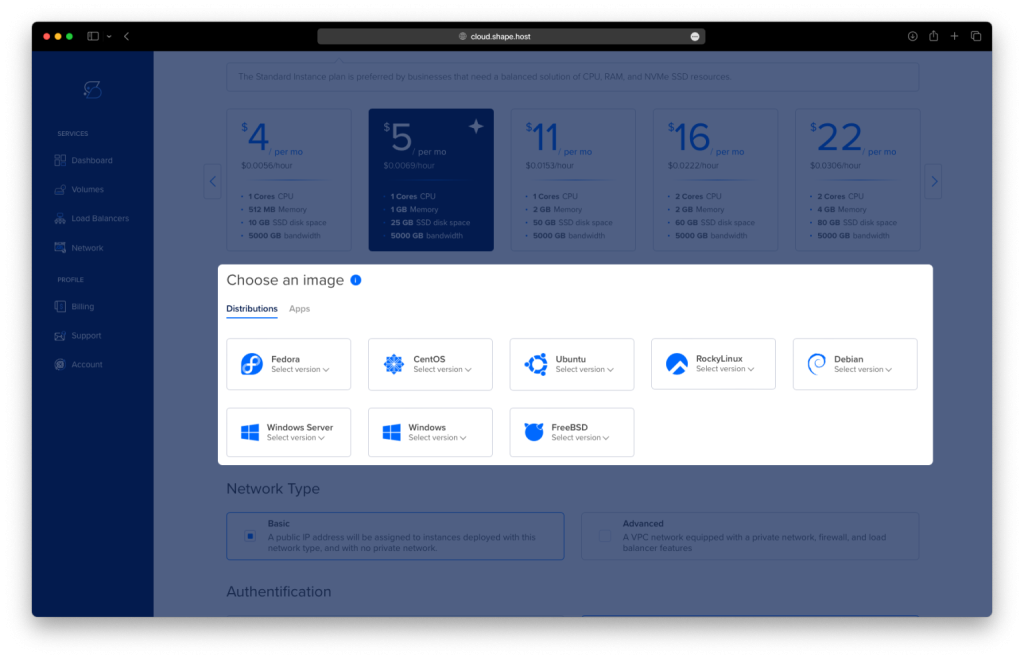
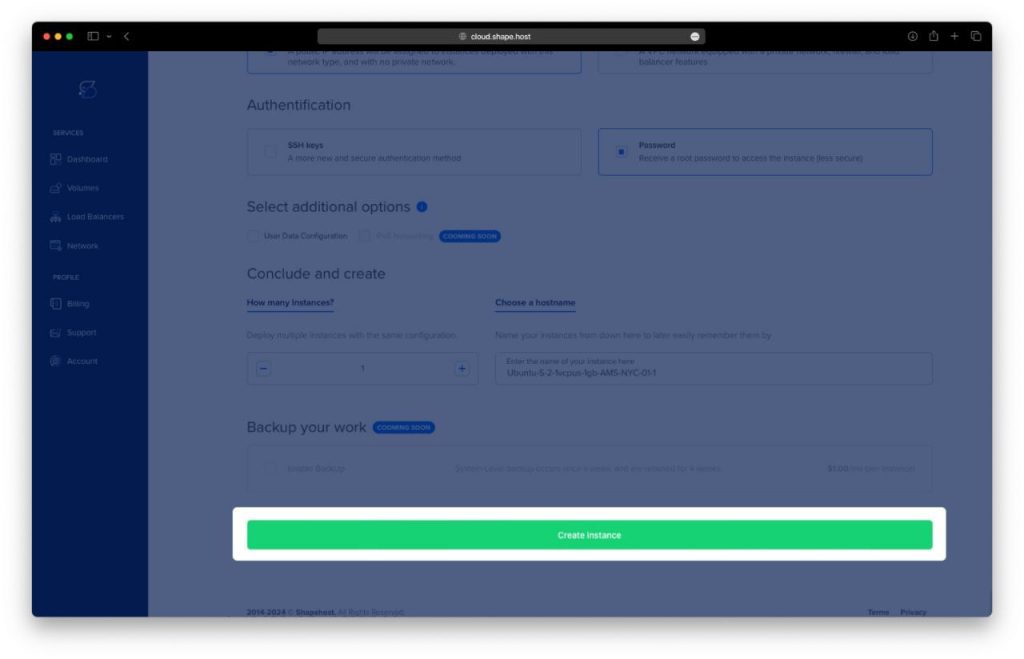
Authentication and Finalize: Select your preferred authentication method (SSH keys or password) and click Create Instance.
- Obtain IP Address
- Once your instance is created, return to the dashboard.
- Find your instance’s IP address under the Resources section and use it to access your server.
Step 2: Connect to Your Instance
Use one of the following methods to connect to your Debian server:
- Linux/macOS: Open a terminal and type:
ssh root@<your_server_ip> - Windows: Use PuTTY. Enter the server’s IP address, select SSH, and log in with your credentials.
Step 3: Update the System
Update your package list to ensure you’re working with the latest software:
apt update -y 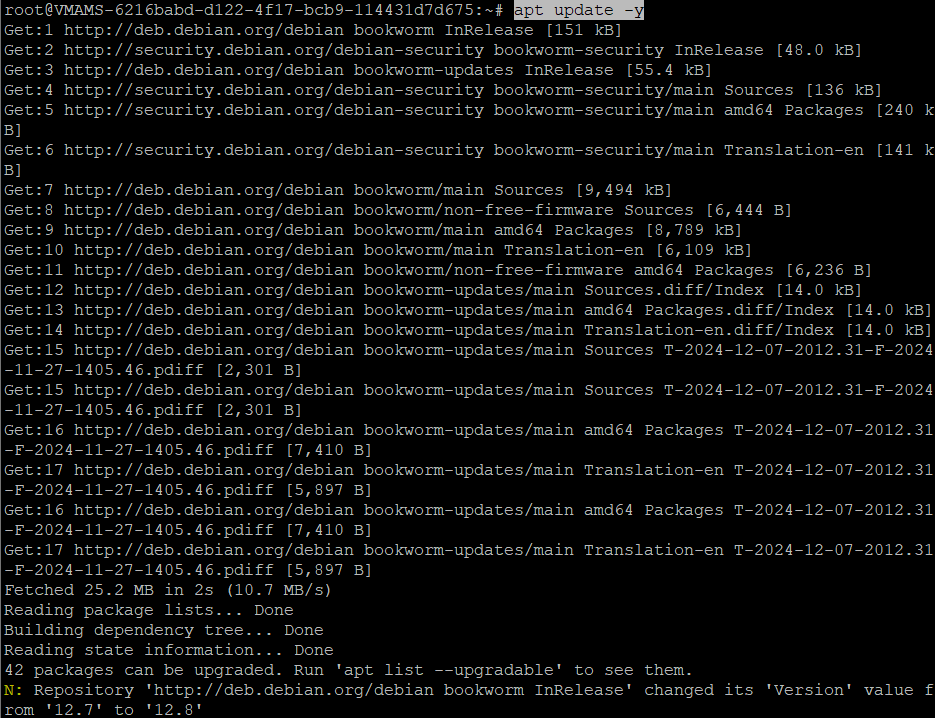
Step 4: Install Netstat
Install the Netstat tool by using the net-tools package:
apt install net-tools 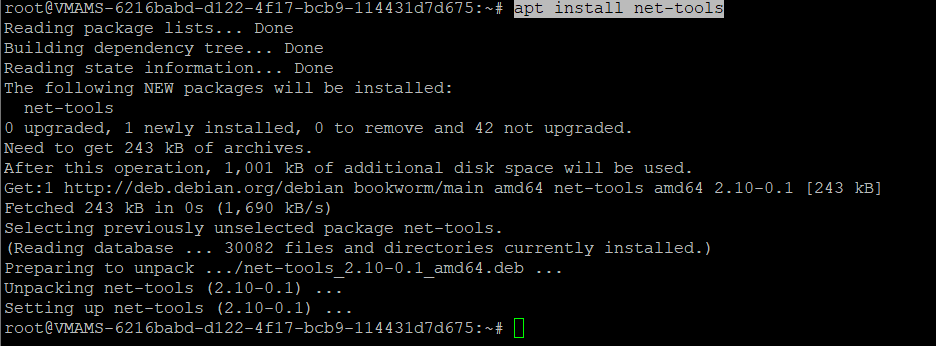
Step 5: Verify Netstat Installation
To verify the installation and check the Netstat version:
netstat -V 
Step 6: Use Netstat
Here are some common Netstat commands:
- View network interfaces:
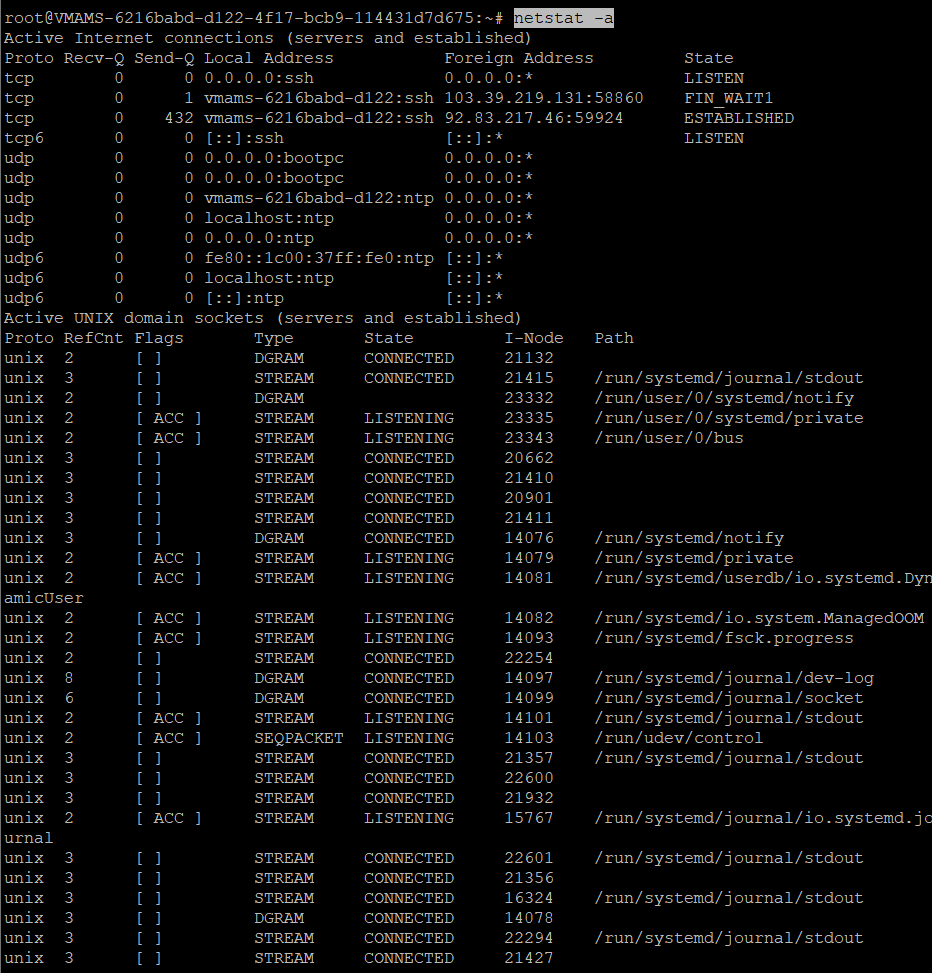
netstat -i - View all active connections:
netstat -a

Step 7: Remove Netstat
If you no longer need Netstat, remove the net-tools package:
apt purge net-tools 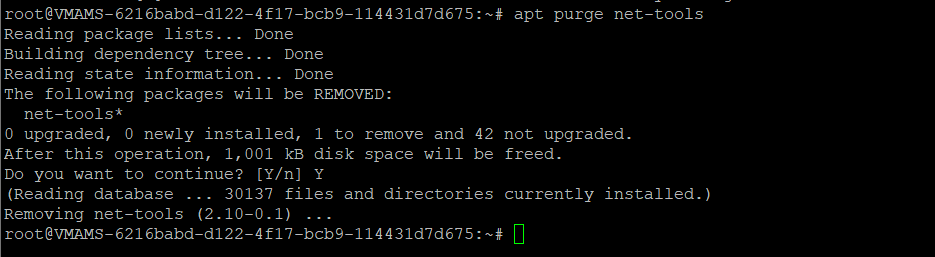
By following these steps, you can effectively install, utilize, and remove Netstat on your Debian 12 server. For high-performance cloud servers, consider Shape.Host Linuxs SSD VPS solutions for seamless hosting.