osTicket on Ubuntu 24.04 (LAMP Stack + SSL) – Open-Source Helpdesk and Ticketing System
osTicket is a widely used open-source support ticketing system that enables organizations to manage customer inquiries and support requests through email, web forms, and APIs. It provides a web-based interface for support agents and administrators to handle tickets efficiently.
Running osTicket on Ubuntu 24.04 LTS with a LAMP stack and SSL provides a secure, stable, and scalable foundation for both small and large support teams.
Key Features of osTicket
- Email-to-Ticket Conversion – Converts incoming support emails into tickets automatically.
- Custom Fields and Forms – Tailor ticket forms to fit organizational workflows.
- Agent Collision Avoidance – Prevents multiple agents from responding to the same ticket simultaneously.
- Ticket Filters and Automation – Auto-assign tickets based on departments or help topics.
- Multilingual Support – Interface and email templates can be localized.
- Knowledgebase Integration – Publish FAQs and self-help articles.
LAMP Stack Compatibility on Ubuntu 24.04
| Component | Recommended Version |
|---|---|
| Linux Kernel | 6.8 (Ubuntu 24.04 default) |
| Apache | 2.4.57 (default in 24.04) |
| PHP | 8.1 or 8.2 (osTicket supports PHP ≤ 8.2) |
| MariaDB/MySQL | MariaDB 10.11 or MySQL 8.0 |
| OpenSSL | 3.0+ (required for modern TLS security) |
Ubuntu 24.04 includes PHP 8.3 by default, but osTicket is not yet fully compatible with PHP 8.3. It is best to use PHP 8.1 or 8.2 from the ondrej/php repository.
SSL and Security Considerations
Using SSL (HTTPS) is critical for securing login credentials, ticket data, and attachments. With Ubuntu 24.04:
- Let’s Encrypt (Certbot) provides free, automated SSL certificates.
- Apache mod_ssl enables HTTPS with HTTP/2 support.
- UFW/NFTables can restrict access to required ports (80/443).
- Fail2Ban can be used to block brute-force login attempts.
osTicket also supports email piping with encrypted SMTP connections, ensuring secure email-to-ticket communication.
Recommended Server Requirements
| User Base / Ticket Volume | CPU | RAM | Storage |
|---|---|---|---|
| Small (<10 agents) | 2 cores | 4 GB | 20–40 GB SSD |
| Medium (10–50 agents) | 4 cores | 8–16 GB | 50–100 GB SSD |
| Large (>100 agents) | 8+ cores | 16–32 GB | 100+ GB SSD/NVMe |
Attachments and database growth must be monitored over time. Storing attachments on a separate storage volume or S3-compatible service can improve scalability.
Typical Use Cases
- Customer Support Helpdesk – Handle incoming support requests via email or web forms.
- IT Service Desk – Manage internal IT tickets, incidents, and requests.
- HR/Facilities Requests – Track employee onboarding, resource allocation, or facility issues.
- Education & Non-Profit Organizations – Provide support portals for students, donors, or volunteers.
Advantages of osTicket on a LAMP Stack
- Simplicity – Apache and PHP are tightly integrated, making osTicket easy to manage.
- Stability – Ubuntu 24.04 provides 5+ years of support for packages.
- Security – SSL/TLS support with Let’s Encrypt for encrypted communications.
- Extensibility – PHP-based plugins, theming, and API integrations are straightforward.
Integration and Automation
osTicket provides:
- REST API for ticket creation, user management, and reporting.
- SMTP/IMAP Email Integration for automatic ticket conversion.
- LDAP/Active Directory Authentication for enterprise environments.
- 3rd-party Plugins for Slack, Teams, and CRM tools.
Ubuntu 24.04’s modern PHP and MySQL/MariaDB packages make it well-suited for running osTicket alongside additional services like Redis (for caching) or Nginx as a reverse proxy.
osTicket vs. Other Helpdesk Tools
| Feature | osTicket | Zammad | FreeScout | Cerb |
|---|---|---|---|---|
| License | Open Source | Open Source | Open Source | Open Source/Pro |
| Email Integration | Yes | Yes | Yes | Yes |
| Automation | Basic Rules | Strong | Moderate | Advanced |
| Customization | High (PHP-based) | Moderate | Limited | Very High |
| Self-Hosted | Yes | Yes | Yes | Yes |
osTicket is ideal for organizations needing a simple, stable, self-hosted support system without the overhead of heavier tools.
Deploying osTicket on Ubuntu 24.04 with a LAMP stack and SSL provides:
- A stable, long-term supported platform for ticketing and helpdesk workflows.
- Secure communications via HTTPS and encrypted email protocols.
- Easy customization through PHP and MySQL, without requiring proprietary software.
- Scalable architecture for both small teams and enterprise environments.
This setup is ideal for businesses and IT teams looking for control, low cost, and straightforward deployment.
Step 1: Deploy an Ubuntu 24.04 Server on Shape.Host
Before starting the installation, set up a VPS using Shape.Host:
Go to https://shape.host and log in to your account.
Click “Create”, then “Instance”.

Select a server location closest to your audience for best performance.

Choose Ubuntu 24.04 (64-bit) as your operating system.
Pick a plan with at least 2 CPUs, 4 GB RAM, and 20 GB SSD.

Click “Create Instance”.

After deployment, note your server’s IP address and root login credentials.

Step 2: Connect to Your Server via SSH
On Linux/macOS:
ssh root@your-server-ip
On Windows:
Use PuTTY and connect to root@your-server-ip.
Step 3: Install LAMP Stack and Dependencies
3.1 Update and Upgrade the System
apt update
apt upgrade

3.2 Install Required Packages
apt install ca-certificates apt-transport-https software-properties-common curl git unzip

3.3 Add PHP Repository
apt install lsb-release
add-apt-repository ppa:ondrej/php
apt update


3.4 Install Apache, PHP 8.2, and Extensions
apt install apache2 php8.2 php8.2-fpm php8.2-cli php8.2-mysql php8.2-curl php8.2-gd php8.2-mbstring php8.2-xml php8.2-intl php8.2-zip libapache2-mod-php8.2

Enable and start services:
systemctl enable --now apache2 php8.2-fpm

3.5 Install MariaDB
apt install mariadb-server
systemctl enable --now mariadb
mysql_secure_installation


Step 4: Create osTicket Database
mysql -u root <<EOF
CREATE DATABASE osticket CHARACTER SET utf8mb4 COLLATE utf8mb4_unicode_ci;
GRANT ALL PRIVILEGES ON osticket.* TO 'osticket'@'localhost' IDENTIFIED BY 'YourStrongPass!';
FLUSH PRIVILEGES;
EOF
🔒 Replace
YourStrongPass!with a strong password.

Step 5: Download and Extract osTicket
cd /var/www/html
curl -s https://api.github.com/repos/osTicket/osTicket/releases/latest | grep browser_download_url | cut -d '"' -f 4 | wget -i -
unzip osTicket-*.zip -d osticket
mv osticket/upload/* /var/www/html/osticket/

Step 6: Configure osTicket Files
cp /var/www/html/osticket/include/ost-sampleconfig.php /var/www/html/osticket/include/ost-config.php
chown -R www-data:www-data /var/www/html/osticket
find /var/www/html/osticket -type d -exec chmod 755 {} \;
find /var/www/html/osticket -type f -exec chmod 644 {} \;

Step 7: Configure Apache Virtual Host
Create a new config file:
nano /etc/apache2/sites-available/osticket.conf
Paste the following:
<VirtualHost *:80>
  ServerName your-domain.com
  DocumentRoot /var/www/html/osticket

  <Directory /var/www/html/osticket>
    AllowOverride All
    Require all granted
  </Directory>

  ErrorLog ${APACHE_LOG_DIR}/osticket_error.log
  CustomLog ${APACHE_LOG_DIR}/osticket_access.log combined
</VirtualHost>

Enable the site and reload Apache:
a2ensite osticket.conf
apachectl configtest
systemctl reload apache2

Step 8: Secure Your Site with SSL
apt install certbot python3-certbot-apache
certbot --apache -d your-domain.com
Follow the prompts to obtain and install the SSL certificate.


Step 9: Access osTicket
Visit:
http://your-domain.com
or
https://your-domain.com
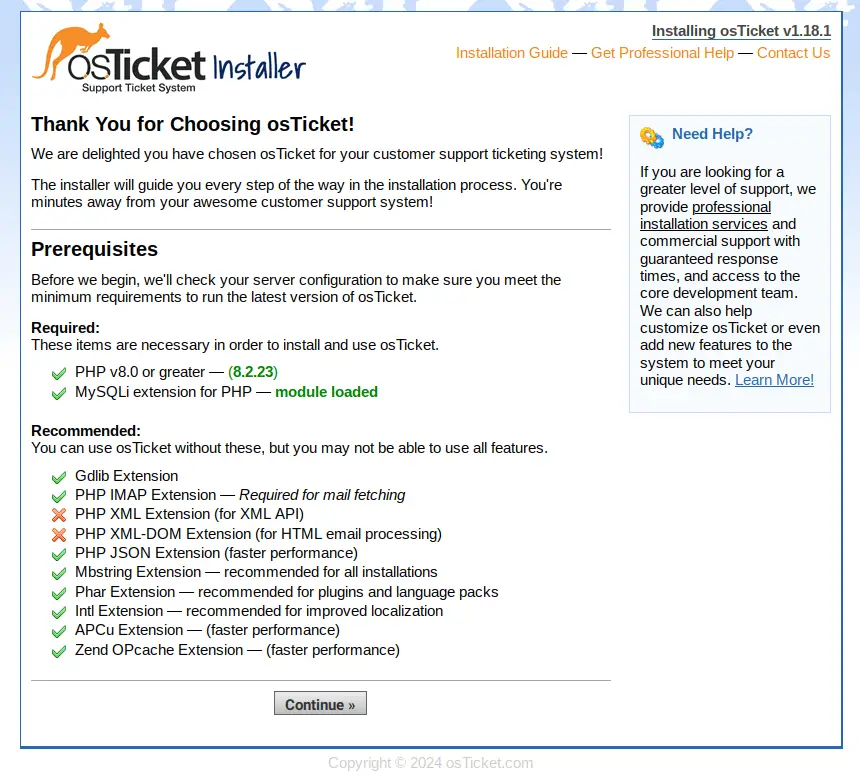
Complete the web-based installer, providing the database credentials you created earlier.
Make sure every dependency for osTicket is installed and click Continue.

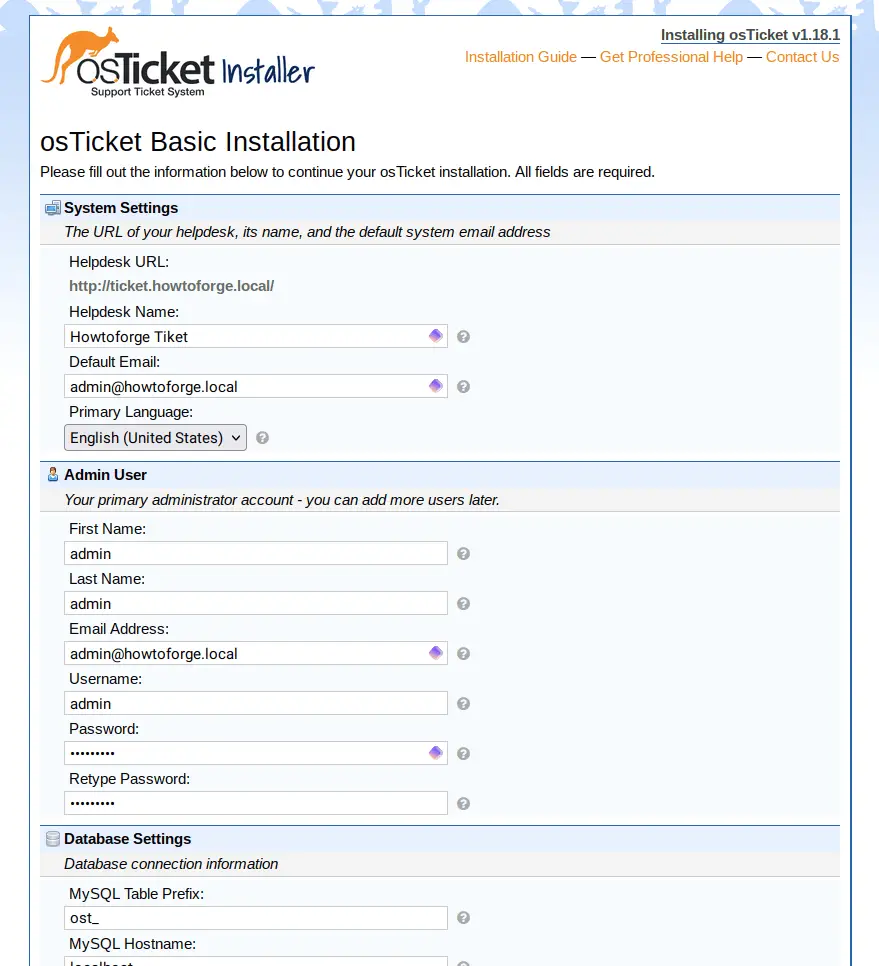
Change the basic system settings such as your domain name, then input the new admin user for osTicket, and input the database details that you’ve created.

If the installation is complete, you’ll see the following page:

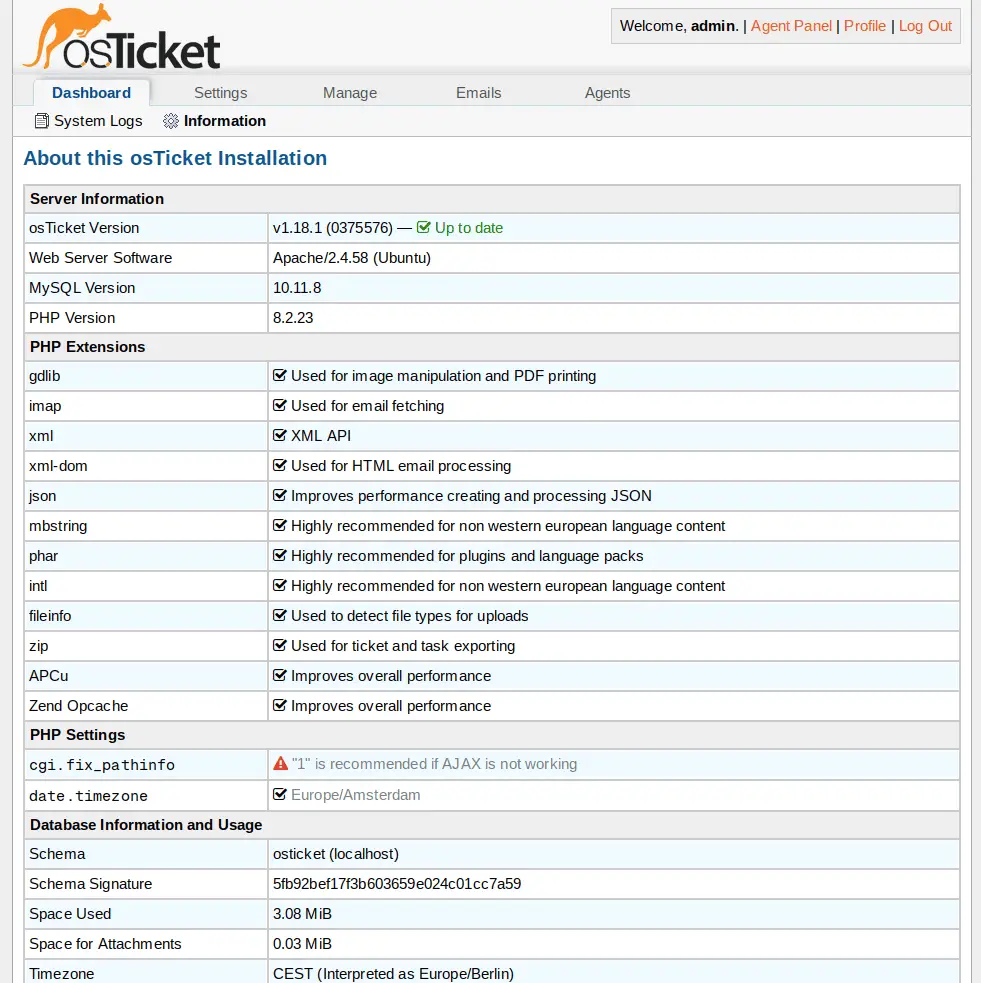
Open this link https://your-domain/scp and log in to the osTicket with your admin user and password.

You’ll see the following osTicket Administration Dashboard.

Step 10: Remove the Setup Directory
After finishing installation via the browser, remove the setup folder:
rm -rf /var/www/html/osticket/setup
You’ve successfully installed osTicket on Ubuntu 24.04 using the LAMP stack and secured it with SSL. osTicket is now ready for production use to handle customer support requests.
For reliable, high-performance hosting, deploy your osTicket instance on Shape.Host.
Get started with Shape.Host today — powerful Cloud VPS for your support system!