What is Varnish Cache?
Varnish Cache is a high-performance HTTP accelerator and reverse proxy that sits between clients and your web server (e.g., Apache or Nginx). It is designed to cache content and serve it extremely quickly, significantly reducing the load on backend servers and improving website speed and scalability.
Running Varnish on Ubuntu 24.04 LTS is ideal for modern web applications, content-heavy websites, and eCommerce platforms looking to optimize performance, handle high traffic, and lower response times.
Key Features of Varnish Cache
High-Speed HTTP Caching
- Varnish can serve cached content in microseconds, making it ideal for high-traffic sites.
- It stores content in memory, allowing lightning-fast delivery of repeated requests.
VCL (Varnish Configuration Language)
- Custom caching policies using VCL, a flexible domain-specific language.
- Modify request/response headers, define caching rules, bypass logic, and backend selection.
Backend Integration
- Works seamlessly with Apache, Nginx, and other HTTP servers.
- Supports load balancing between multiple backends with health checks.
Grace Mode and Stale Serving
- Serve stale content if the backend is down or slow, ensuring high availability.
- Configurable time-to-live (TTL), stale time, and grace period values.
ESI (Edge Side Includes)
- Allows caching parts of pages, useful for mixing static and dynamic content.
- Supports partial page updates without invalidating the entire cache.
Logging and Statistics
- Access detailed metrics with varnishstat, varnishlog, and varnishncsa.
- Integrate with Prometheus, Grafana, or ELK stack for visualization.
Content Purging and Invalidation
- Manual or automated purge support for clearing specific URLs or patterns.
- Supports soft purges and cache invalidation APIs for dynamic sites.
Why Use Varnish on Ubuntu 24.04?
Ubuntu 24.04 (LTS) offers:
- Modern and secure kernel with long-term support until 2029
- Latest systemd, libc, and TLS libraries
- Compatibility with Varnish 7.x and its dependencies
- Easy installation via official Varnish APT repository
- Seamless integration with web servers, firewalls (UFW), and HTTPS reverse proxies
System Requirements
| Component | Requirement |
|---|---|
| OS | Ubuntu 24.04 LTS |
| CPU | 1+ core (multi-core recommended for load) |
| RAM | 1 GB minimum (2+ GB for production caching) |
| Disk | Optional for log storage or persistent cache |
| Network | Public interface for frontend, private for backend |
| Dependencies | libpcre2, libjemalloc, varnish, systemd |
Note: Varnish does not support HTTPS directly; use it behind Nginx or HAProxy for TLS termination.
Common Use Cases
- Accelerating CMS platforms like WordPress, Joomla, Drupal
- Caching eCommerce sites (e.g., Magento, WooCommerce)
- Serving APIs and static assets at scale
- Reducing load on dynamic applications (e.g., Django, Laravel, Rails)
- Content Delivery for news, media, and ad servers
Varnish vs Similar Caching Solutions
| Feature | Varnish Cache | Nginx | Squid | Redis (as cache) |
|---|---|---|---|---|
| Caching Type | HTTP reverse proxy | Reverse proxy | Forward proxy | In-memory data store |
| Configuration Language | VCL | Nginx conf | ACLs, directives | Lua, scripting APIs |
| HTTPS Support | No (use frontend) | Yes | Yes | No (used differently) |
| Edge-Side Includes (ESI) | Yes | No | Limited | No |
| Ideal For | Web app acceleration | General web serving | Forward proxying | Session caching, key-value storage |
Security Best Practices
- Use Varnish behind HTTPS termination (e.g., Nginx with Let’s Encrypt)
- Limit public access to Varnish admin port (6082)
- Configure proper ACLs in VCL for purge and management actions
- Monitor varnishlog and restrict exposure to sensitive headers
- Always validate backends and sanitize inputs in VCL
Deployment Stack Example
- Frontend: Nginx (TLS termination, redirect handling)
- Cache Layer: Varnish Cache (HTTP acceleration, content caching)
- Backend: Apache, Nginx, or application server (e.g., PHP-FPM, Node.js)
- Storage/DB: MySQL, PostgreSQL, Redis, etc.
Monitoring and Management Tools
- varnishstat: Live performance counters
- varnishlog: Raw HTTP transaction logs
- varnishncsa: Apache-like log format
- Prometheus exporter: Available for metric scraping
- Varnish Dashboard, Grafana, or Zabbix for visualization
Varnish Cache on Ubuntu 24.04 is a powerful, flexible, and production-grade solution for boosting web performance, handling high traffic, and reducing backend load. With its high-speed in-memory caching and VCL-driven customization, Varnish is ideal for dynamic and static websites that need to scale.
Ubuntu 24.04’s long-term support, up-to-date packages, and stable architecture make it an excellent foundation for running Varnish in modern, secure, and efficient web infrastructures.
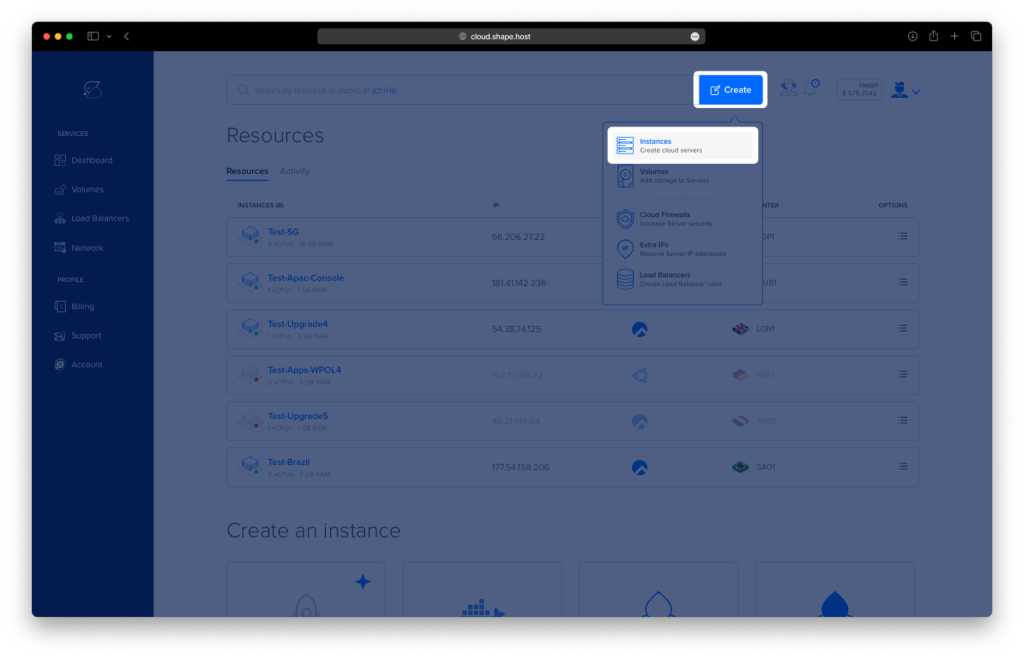
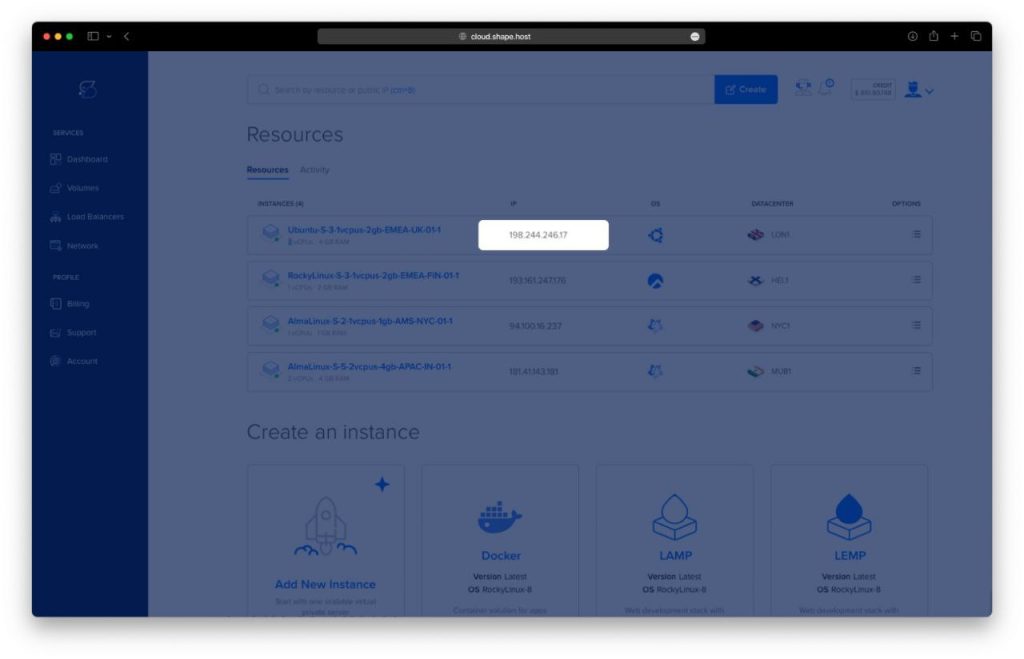
Step 1: Launch a Server on Shape.Host
Visit https://shape.host and sign in.
Click Create, then select Instance.
Choose your preferred server location.
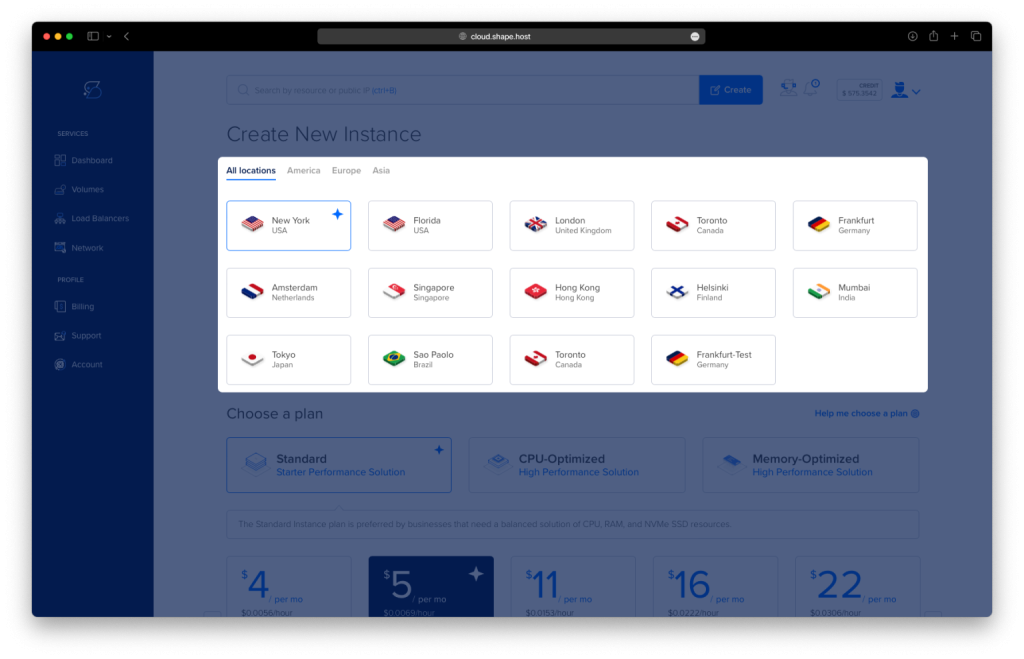
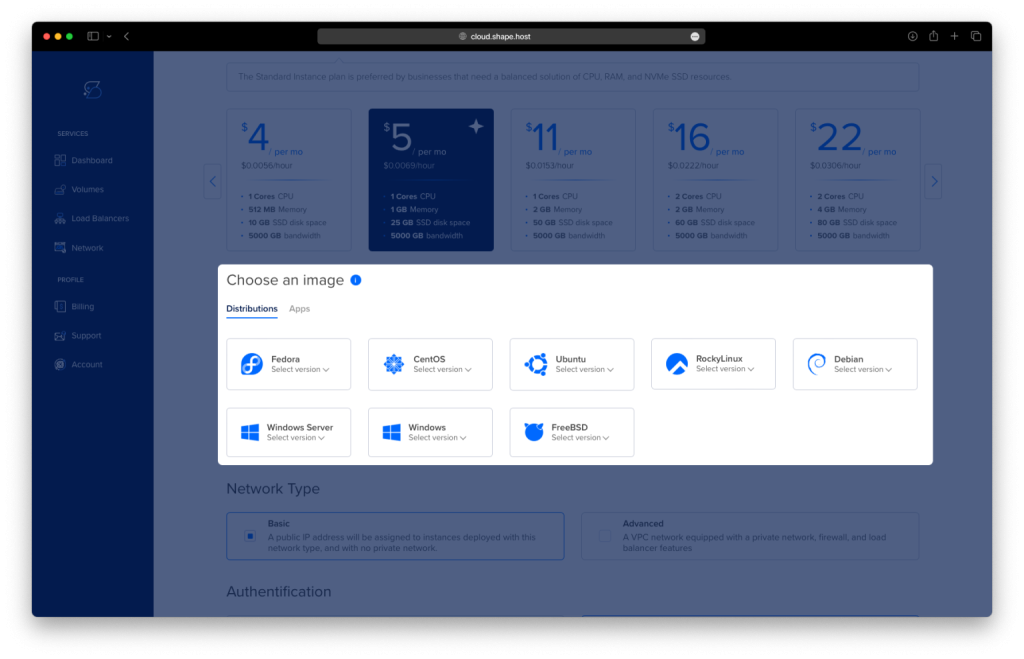
Select Ubuntu 24.04 (64-bit) as your operating system.
Pick a plan with at least 2 CPUs, 4 GB RAM, and 20 GB SSD.
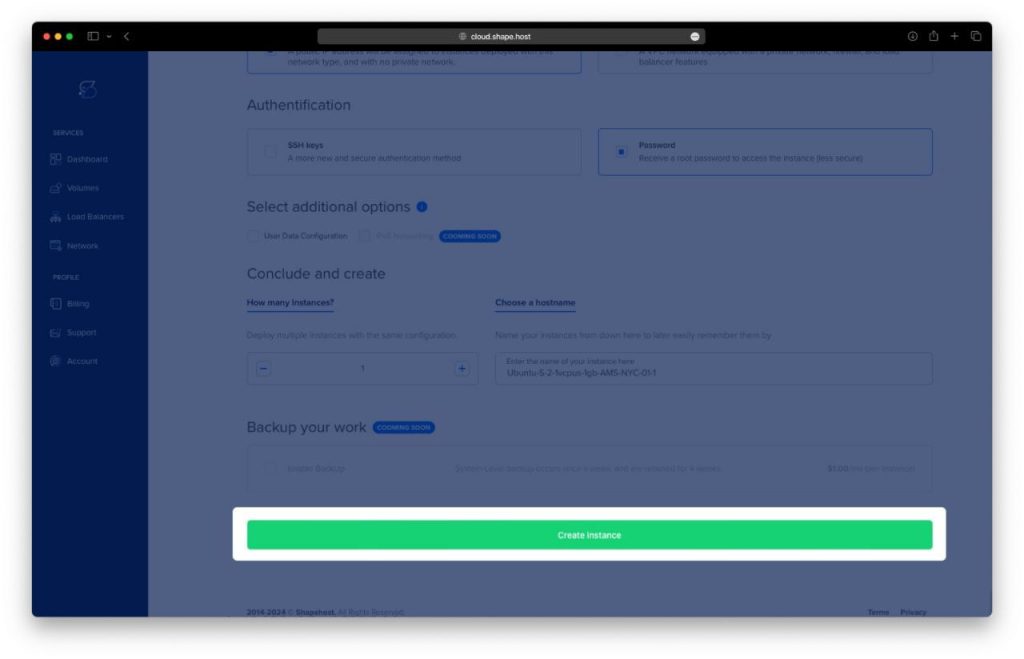
Click Create Instance.
After deployment, copy your server IP address from the Resources tab.
Step 2: Connect to Your Server
Linux/macOS:
Open Terminal and run:
ssh root@your_server_ip
Windows:
Use PuTTY, enter your IP, and log in as root.
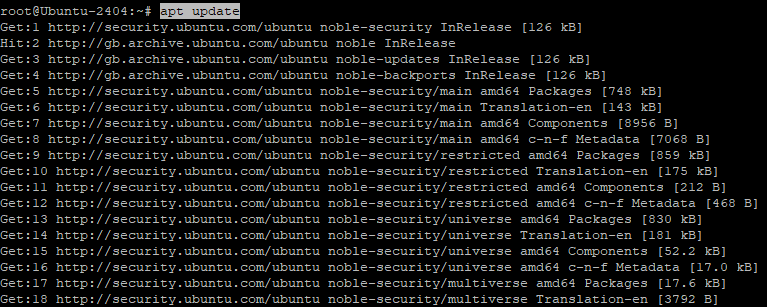
Step 3: Update Your System
apt update
This updates your system’s list of available packages.
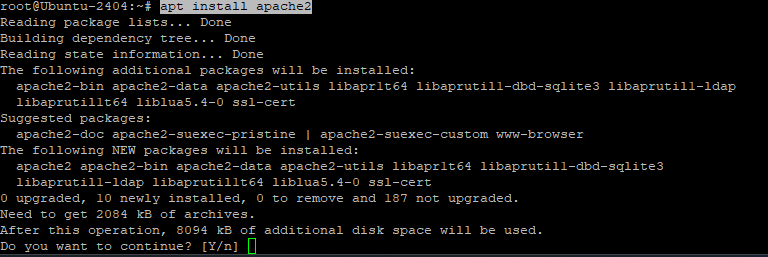
Step 4: Install Apache
apt install apache2
Installs the Apache web server, which will run behind Varnish.
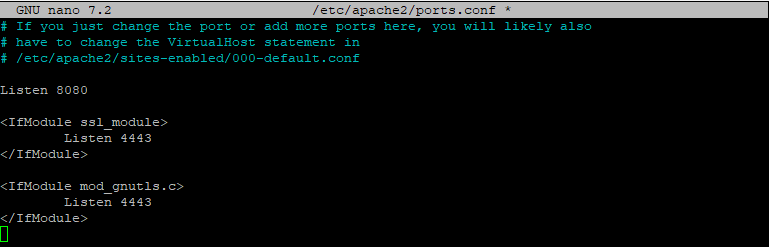
Step 5: Change Apache Ports
nano /etc/apache2/ports.conf
Update it so Apache listens on port 8080 instead of 80, and 4433 instead of 443:
Listen 8080

<IfModule ssl_module>
    Listen 4433
</IfModule>

<IfModule mod_gnutls.c>
    Listen 4433
</IfModule>
Step 6: Update Apache Virtual Host
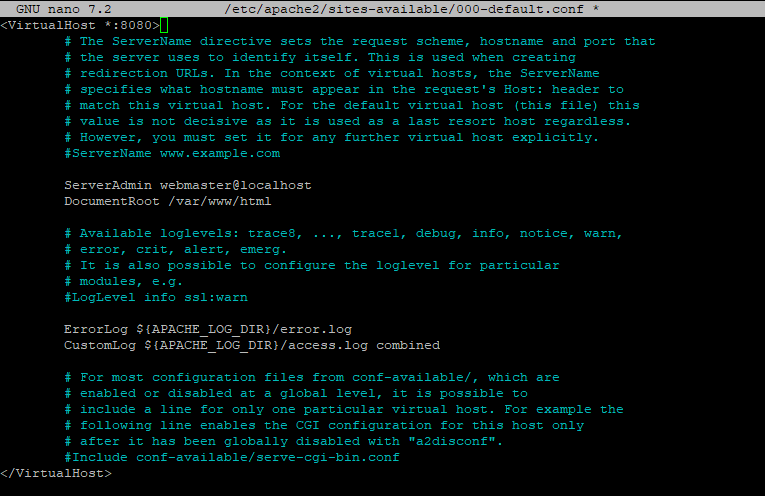
nano /etc/apache2/sites-available/000-default.conf
Change this line:
<VirtualHost *:80>
To:
<VirtualHost *:8080>
This matches the new port Apache is listening on.
Step 7: Restart Apache
systemctl restart apache2
Applies the port changes to the web server.

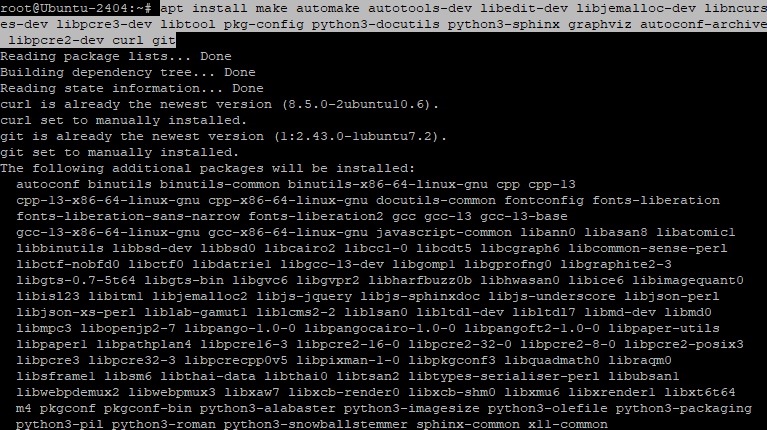
Step 8: Install Build Dependencies for Varnish
apt install make automake autotools-dev libedit-dev libjemalloc-dev libncurses-dev libpcre3-dev libtool pkg-config python3-docutils python3-sphinx graphviz autoconf-archive libpcre2-dev curl git
These packages are needed to build Varnish from source.
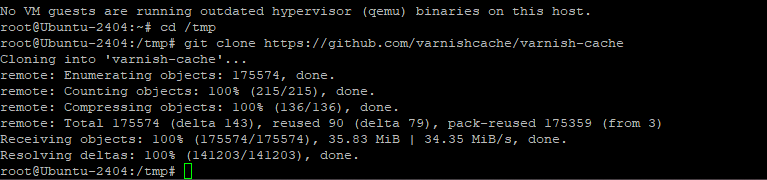
Step 9: Clone the Varnish Source Code
cd /tmp
git clone https://github.com/varnishcache/varnish-cache
cd varnish-cache
Downloads the latest development version of Varnish Cache.
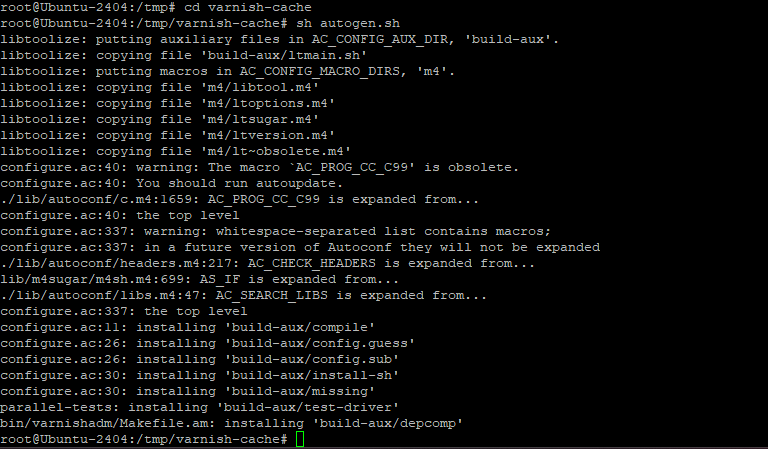
Step 10: Build and Install Varnish
sh autogen.sh
sh configure
make
make install
ldconfig
This builds and installs Varnish from source and updates the shared library cache.
Step 11: Start Varnish and Connect It to Apache
varnishd -n /usr/local/sbin/ -a :80 -T localhost:6082 -b localhost:8080
Starts Varnish listening on port 80, forwarding requests to Apache on port 8080.
-a :80tells Varnish to listen for HTTP traffic.-b localhost:8080sends incoming traffic to Apache running on port 8080.

Step 12: Test the Setup
curl -I http://localhost
This fetches the HTTP headers to confirm that Varnish is responding on port 80.
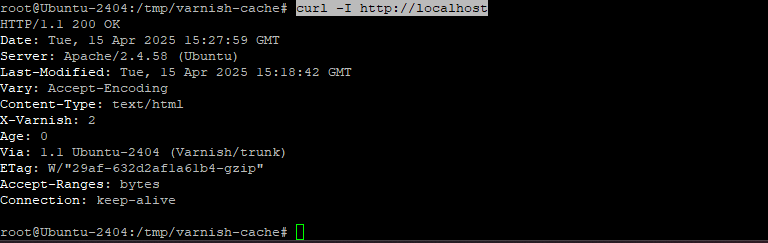
You now have Varnish Cache running on Ubuntu 24.04 in front of Apache, configured to cache and deliver faster web content.
This setup works perfectly on Shape.Host Linux SDD VPS:
- Lightning-fast instance creation
- Full root access
- Flexible plans for every project
Start now at https://shape.host