What is Apache Basic Authentication?
Apache Basic Authentication is a straightforward access control method that requires users to enter a username and password to access specific parts of a website. It uses the standard HTTP Basic Auth mechanism, which prompts users via a browser dialog and validates their credentials against a secure password file.
On Ubuntu 24.04, Apache Basic Authentication remains a reliable method for quickly securing web directories, admin panels, staging sites, and private content without implementing a full user management system.
How It Works
- A password file (commonly named
.htpasswd) stores usernames and encrypted passwords. - Apache checks incoming requests to protected paths and looks up credentials in this file.
- If credentials match, access is granted. Otherwise, users receive a “401 Unauthorized” error.
- The browser typically caches the login until the session ends or the user manually clears it.
Use Cases
Apache Basic Authentication is best suited for:
- Restricting access to staging environments or development areas
- Protecting admin interfaces or sensitive content directories
- Limiting access to private file repositories
- Adding a simple authentication layer to legacy applications
- Enforcing access control for intranet pages or internal dashboards
Benefits
- Easy to configure and manage
- Requires no coding changes—configured entirely at the server level
- Browser-compatible across all major platforms
- Supports multiple users with individual passwords
- Can be combined with SSL/TLS for secure authentication
Security Considerations
- Always use HTTPS: Basic Authentication sends credentials in base64 format, which is not encrypted. TLS is required to secure them during transmission.
- Strong passwords: Use complex, unique passwords for each user and rotate them regularly.
- File permissions: Ensure the
.htpasswdfile is stored securely and not accessible via the web. - Access restrictions: For extra protection, combine with IP allowlists, firewalls, or port restrictions.
- Brute-force protection: Consider tools like Fail2Ban to block repeated failed login attempts.
Limitations
- No session management: Once logged in, the browser stores credentials until closed.
- No password reset/recovery feature
- No user interface: Authentication uses a generic browser dialog
- Not scalable for large user bases or complex authentication needs
- Credentials are static: New users or changes require manual updates to the password file
Apache vs Nginx Basic Authentication
| Feature | Apache | Nginx |
|---|---|---|
| Configuration | Per-directory .htaccess or server config | Nginx config block |
| Built-in User Tools | Yes (htpasswd) | Uses same password file (htpasswd) |
| Browser Support | All major browsers | All major browsers |
| HTTPS Required | Strongly recommended | Strongly recommended |
| Access Granularity | File and directory-level | URL path-level |
Apache Basic Authentication on Ubuntu 24.04 provides a quick and reliable way to restrict access to specific parts of a website or application. It’s especially useful for private content, development environments, or low-traffic admin sections where simplicity and ease of use are more important than advanced features.
When paired with TLS encryption, good password practices, and optional IP restrictions, Basic Authentication remains a practical and secure option in many real-world scenarios.
Step 1: Deploy a VPS on Shape.Host
Go to https://shape.host and sign in.
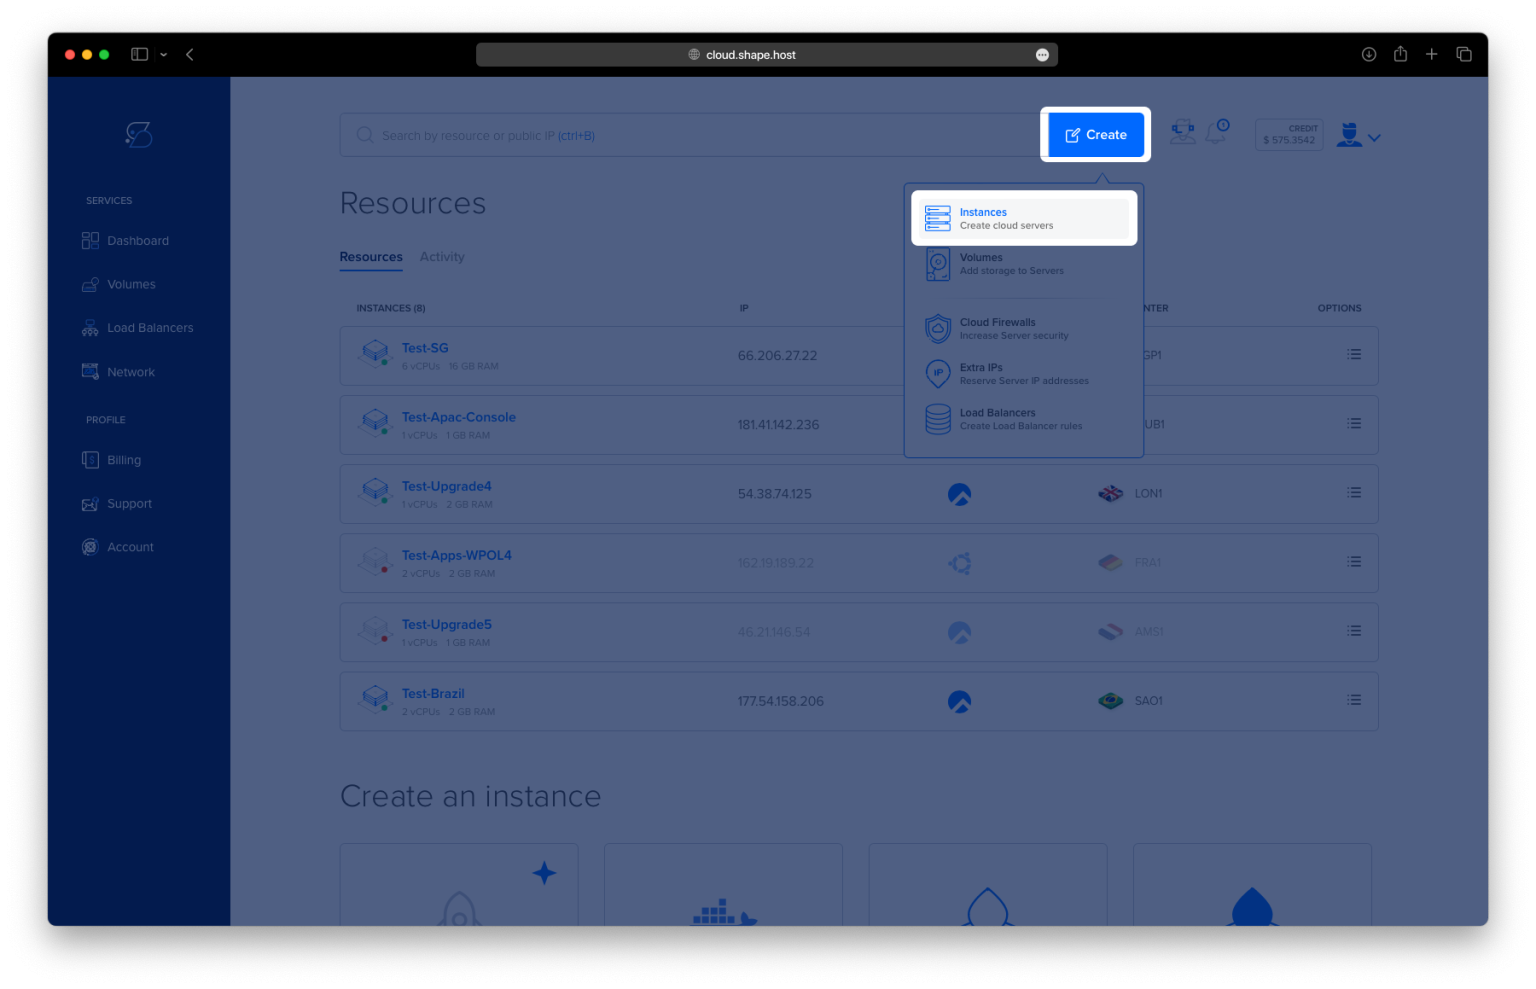
Click Create, then choose Instance.

Select a server location close to your users.

Choose Ubuntu 24.04 (64-bit) as the operating system.
Pick a plan with at least 2 CPUs, 4 GB RAM, and 20 GB SSD.

Click Create Instance.

Once deployed, copy your IP address from the Resources tab — you’ll need this to connect via SSH.

Step 2: Connect to Your VPS
Linux/macOS:
ssh root@your_server_ip
Windows:
Use PuTTY and log in as root.
Step 3: Update Package Lists
apt update
Ensures you’re installing the latest versions of packages.

Step 4: Install Apache Web Server
apt install apache2
This installs the Apache HTTP server.

Step 5: Check Apache Status
systemctl status apache2
Verifies that Apache is running.

Step 6: Configure the Firewall
ufw allow 'Apache Full'
ufw allow ssh
ufw enable
These commands allow both web and SSH traffic.

Step 7: Install Apache Tools
apt install apache2-utils
Installs the htpasswd tool for creating username/password credentials.

Step 8: Create a Basic Authentication Configuration
nano /etc/apache2/sites-available/auth-basic.conf
Paste the following inside the file:
<Directory /var/www/html/sensitive-doc>
    AuthType Basic
    AuthName "Basic Authentication"
    AuthUserFile /etc/apache2/.htpasswd
    require valid-user
</Directory>
This configuration secures access to the /sensitive-doc directory.

Step 9: Create Username and Password
htpasswd -Bc /etc/apache2/.htpasswd username
Replace username with the name you want to use. You’ll be prompted to set a password.

Step 10: Create the Protected Directory
mkdir /var/www/html/sensitive-doc
This is the directory that will be password-protected.
Step 11: Enable the Site Configuration
a2ensite auth-basic.conf
Activates the configuration file for Apache.
Step 12: Reload Apache
systemctl reload apache2
Applies your changes without restarting the whole web server.

Step 13: Add a Test Page
nano /var/www/html/sensitive-doc/index.html
Paste the following HTML:
<html>
<title>My basic authentication HTML page</title>
<body>
<p style="width: 100%; font-weight: bold; font-size: 60px; text-align: center;">
Basic authentication is enabled!
</p>
</body>
</html>
Save and exit.

Step 14: Test in Your Browser
Go to:
http://your_server_ip/sensitive-doc/
You should be prompted to log in. Use the credentials you created earlier. If successful, you’ll see the page confirming authentication is working.


You’ve now set up Apache Basic Authentication on Ubuntu 24.04, securing a directory with just a few commands.
Shape.Host offers fast, reliable Cloud VPS hosting with:
- Root access
- SSD storage
- Simple server setup for Apache-based stacks
Spin up your server now at https://shape.host