Set Up FlowiseAI on Ubuntu 24.04 with Docker
FlowiseAI is a visual builder for AI workflows and agents, with a browser-based canvas for chaining models, tools, memory, and integrations without writing every orchestration step by hand. It is a strong fit when you want a self-hosted interface for prototyping AI pipelines on infrastructure you control.
In this guide, we restore a fresh Ubuntu 24.04.1 LTS server on Shape.Host, verify the current FlowiseAI stable release from the official project, install Docker Engine and Docker Compose from Docker’s official Ubuntu repository, deploy FlowiseAI 3.1.1 in a localhost-only container, and validate the setup screen safely over an SSH tunnel.
| Application | FlowiseAI |
|---|---|
| Application version | 3.1.1 |
| Operating system | Ubuntu 24.04.1 LTS |
| Container runtime | Docker Engine 29.3.1 with Docker Compose 5.1.1 |
| Supporting tools | Git 2.43.0 and OpenSSL 3.0.13 |
| Access pattern | FlowiseAI bound to 127.0.0.1:3000 with browser access through an SSH tunnel |
| Validated on | Live Shape.Host Ubuntu 24.04.1 server |
Why Use FlowiseAI on Ubuntu 24.04?
- FlowiseAI gives you a visual workspace for building and testing AI flows without writing a full custom frontend.
- Ubuntu 24.04.1 LTS provides a current and stable base for containerized apps.
- Docker keeps the deployment easy to reproduce and update.
- A localhost-only bind keeps the FlowiseAI editor off the public interface until you intentionally add a reverse proxy later.
Before You Begin
Make sure you have the following before you start:
- A fresh Ubuntu 24.04 server
- Root or sudo access
- An SSH key that can log in to the server
- A local workstation where you can open an SSH tunnel to the server
1. Verify the Ubuntu 24.04 Release
Start by confirming that the rebuilt server is actually running Ubuntu 24.04.1 LTS.
cat /etc/os-release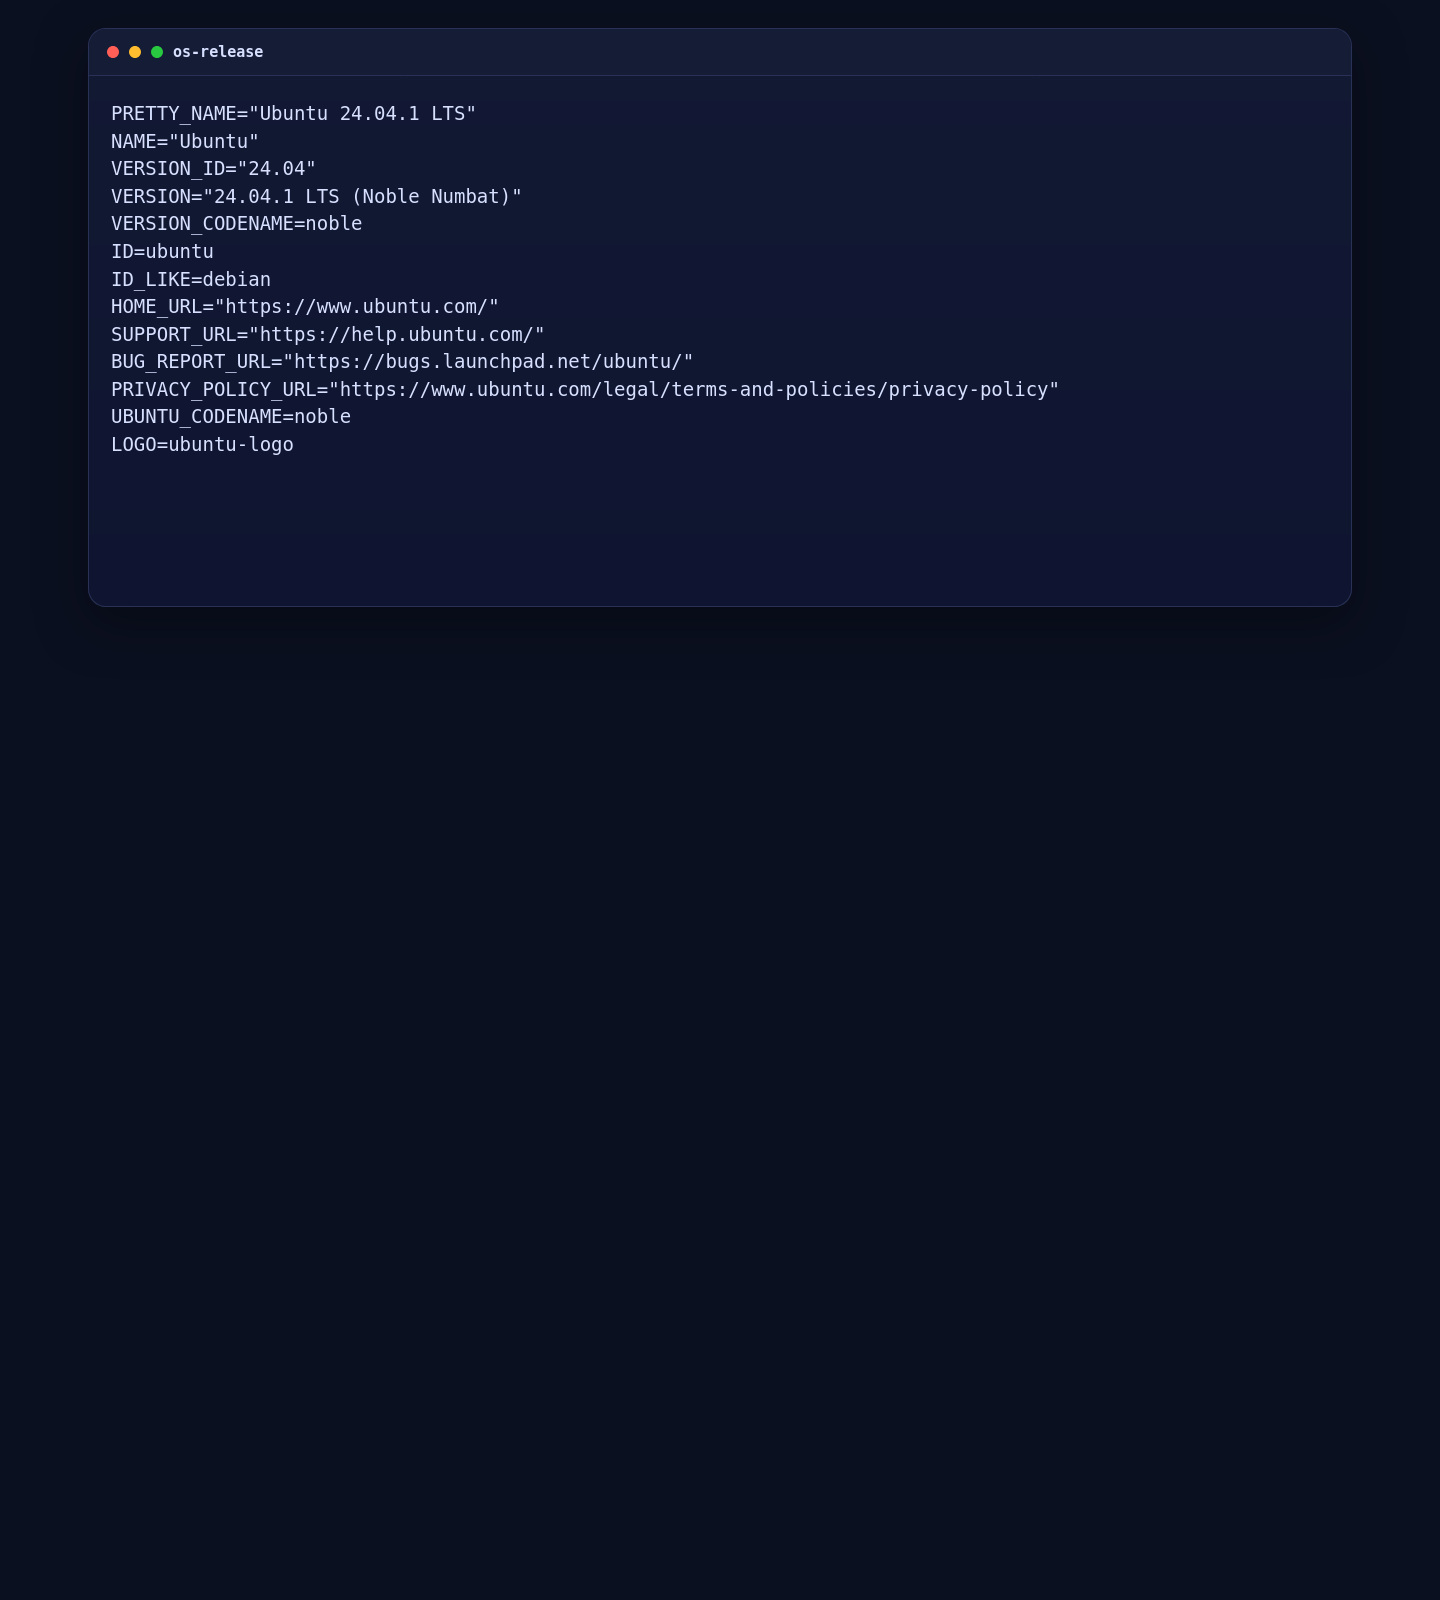
2. Install Docker Engine, Docker Compose, and Base Tools
FlowiseAI has an official Docker path, so the clean Ubuntu route is Docker’s official APT repository rather than relying on an older distro-packaged container stack.
apt-get update
apt-get install -y ca-certificates curl git openssl
install -m 0755 -d /etc/apt/keyrings
curl -fsSL https://download.docker.com/linux/ubuntu/gpg -o /etc/apt/keyrings/docker.asc
chmod a+r /etc/apt/keyrings/docker.asc
cat > /etc/apt/sources.list.d/docker.list <<EOF
deb [arch=$(dpkg --print-architecture) signed-by=/etc/apt/keyrings/docker.asc] https://download.docker.com/linux/ubuntu \
$(. /etc/os-release && echo "${UBUNTU_CODENAME:-$VERSION_CODENAME}") stable
EOF
apt-get update
apt-get install -y docker-ce docker-ce-cli containerd.io docker-buildx-plugin docker-compose-plugin
systemctl enable --now docker
docker --version
docker compose version
git --version
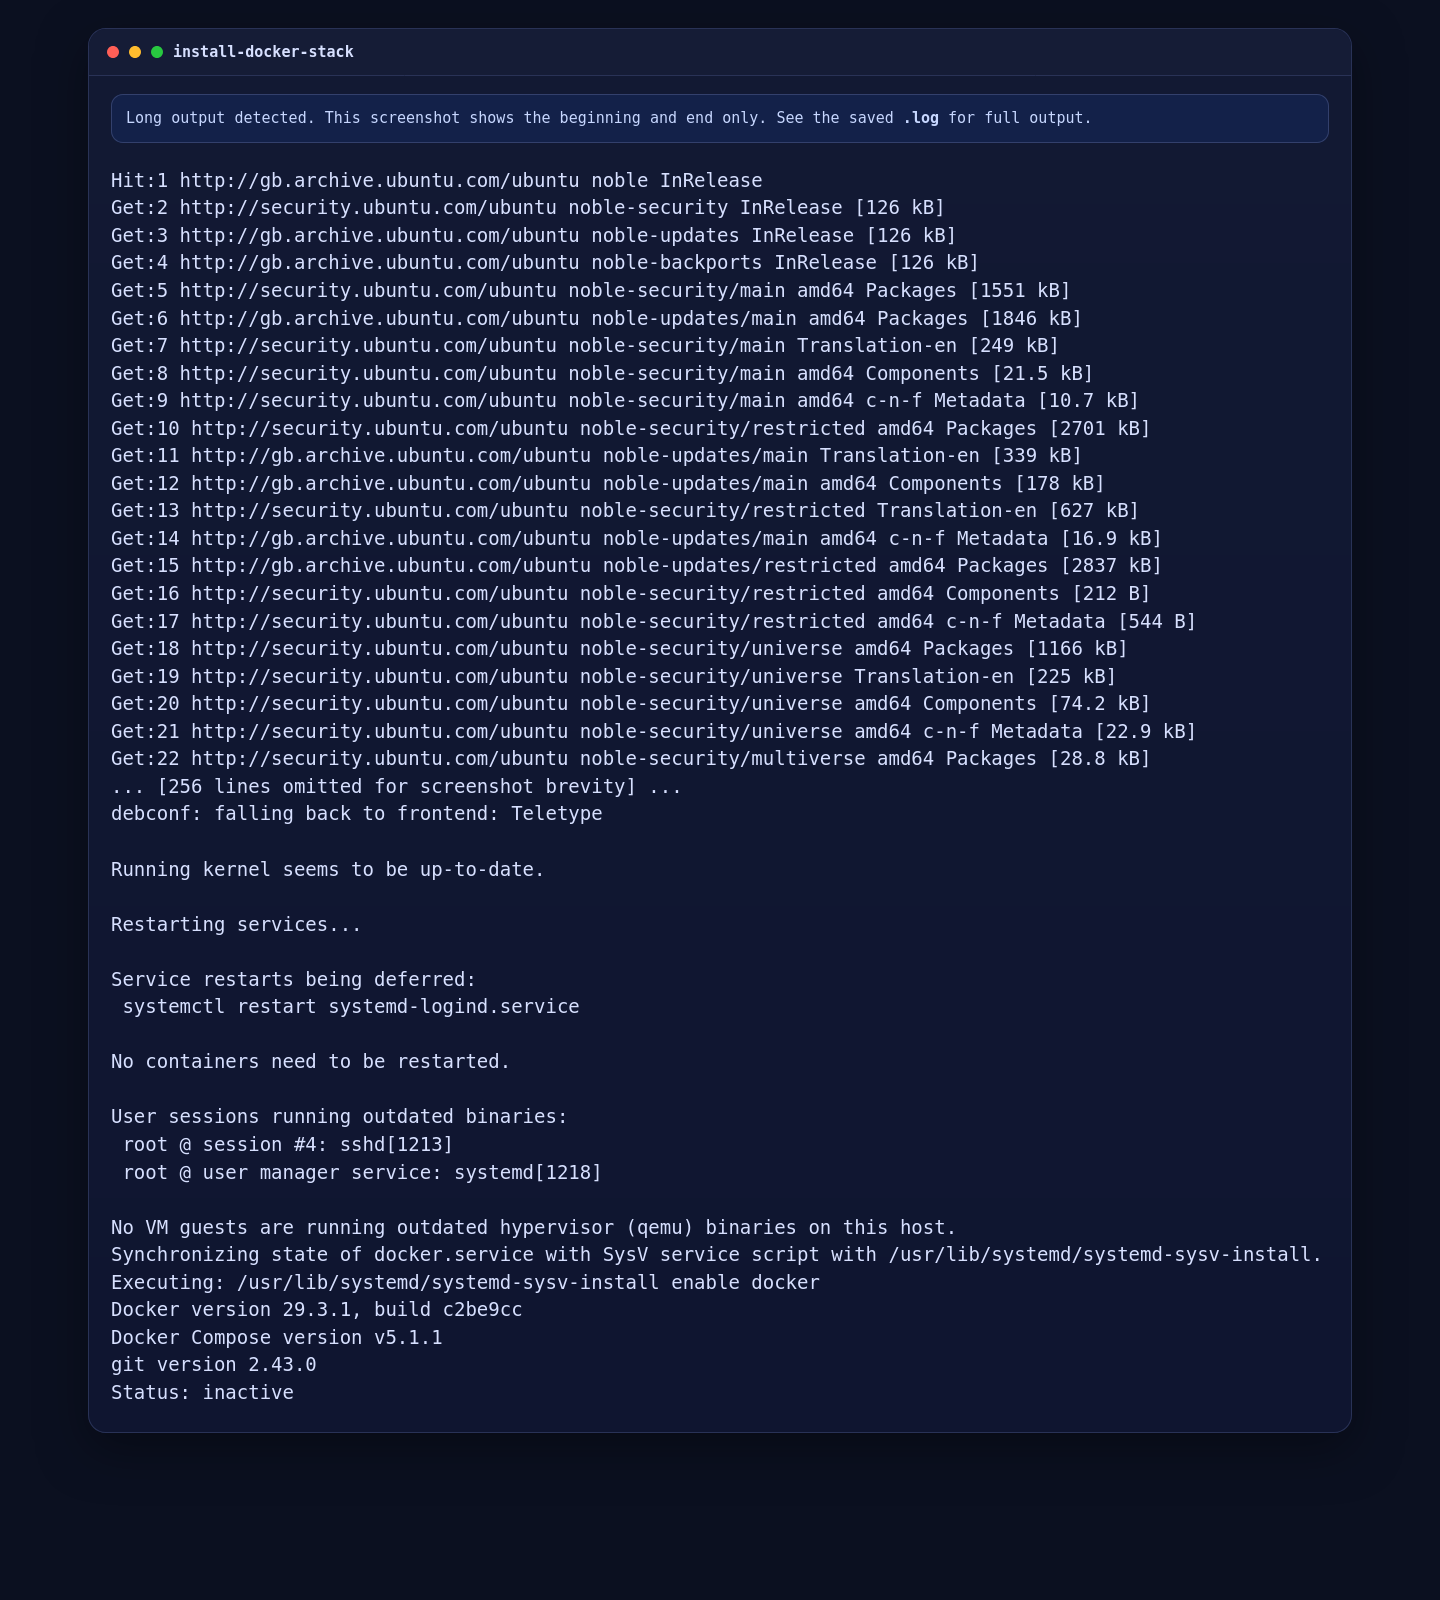
ufw status || trueOn the validated Ubuntu 24.04.1 server, this installed Docker Engine 29.3.1, Docker Compose 5.1.1, and Git 2.43.0.
3. Create the FlowiseAI Configuration
The official Docker image expects its persistent data to live under /root/.flowise inside the container. A small environment file plus a bind-mounted data directory is enough for a clean single-server deployment.
mkdir -p /opt/flowise/flowise-data
cd /opt/flowise
cat > .env <<'EOF'
PORT=3000
DATABASE_PATH=/root/.flowise
LOG_PATH=/root/.flowise/logs
SECRETKEY_PATH=/root/.flowise
BLOB_STORAGE_PATH=/root/.flowise/storage
EOF
cat > compose.yaml <<'EOF'
services:
flowise:
image: flowiseai/flowise:3.1.1
container_name: flowise
restart: unless-stopped
env_file:
- .env
ports:
- 127.0.0.1:3000:3000
volumes:
- ./flowise-data:/root/.flowise
EOF
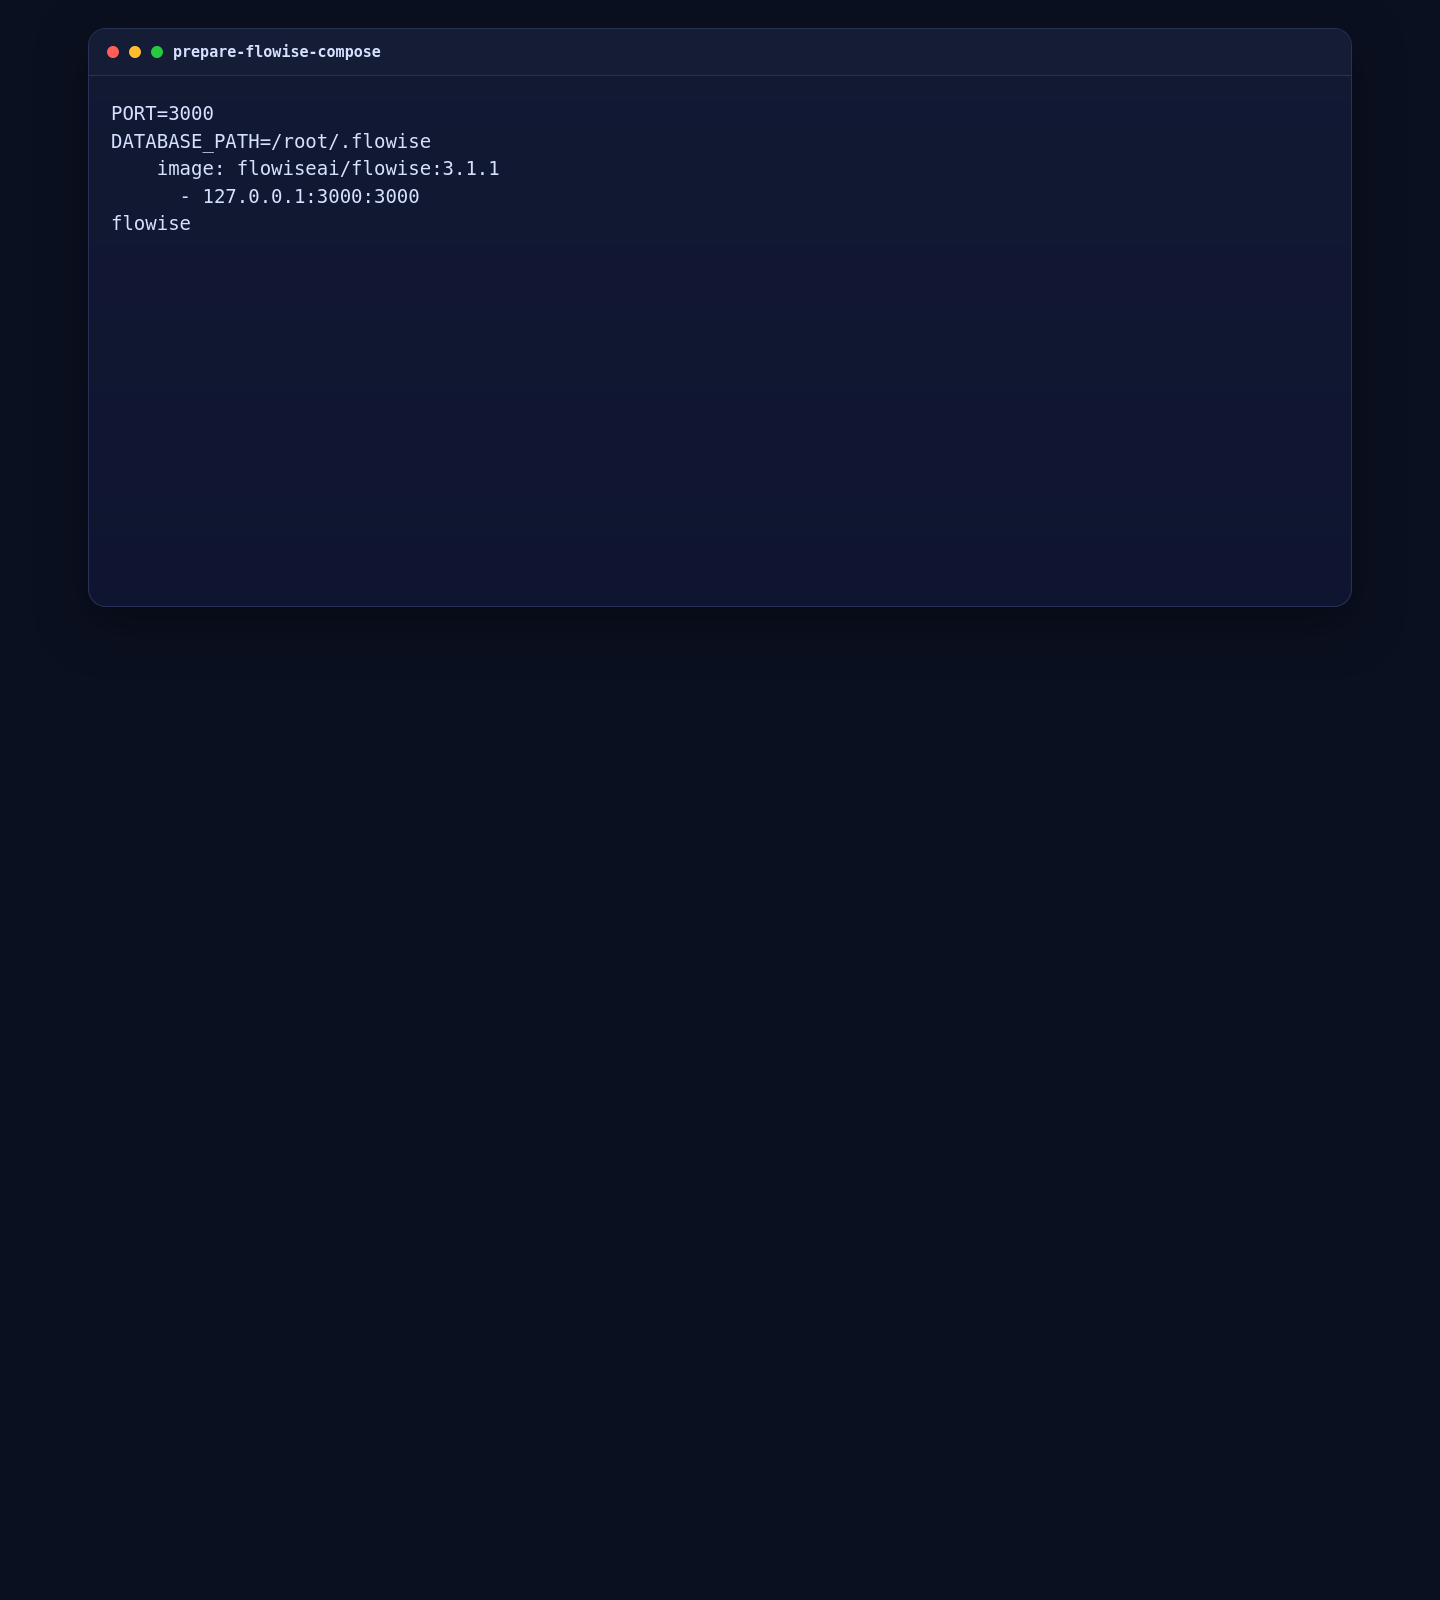
grep '^PORT=' .env
grep '^DATABASE_PATH=' .env
grep 'image:' compose.yaml
grep '127.0.0.1:3000:3000' compose.yaml
docker compose config --servicesThis keeps FlowiseAI on localhost, persists its database and generated assets on the host, and pins the current stable image instead of following the moving latest tag in production.
4. Start FlowiseAI
With the configuration in place, pull the image and start the FlowiseAI container.
4.1 Launch the Container
cd /opt/flowise
docker compose pull
docker compose up -d
sleep 30
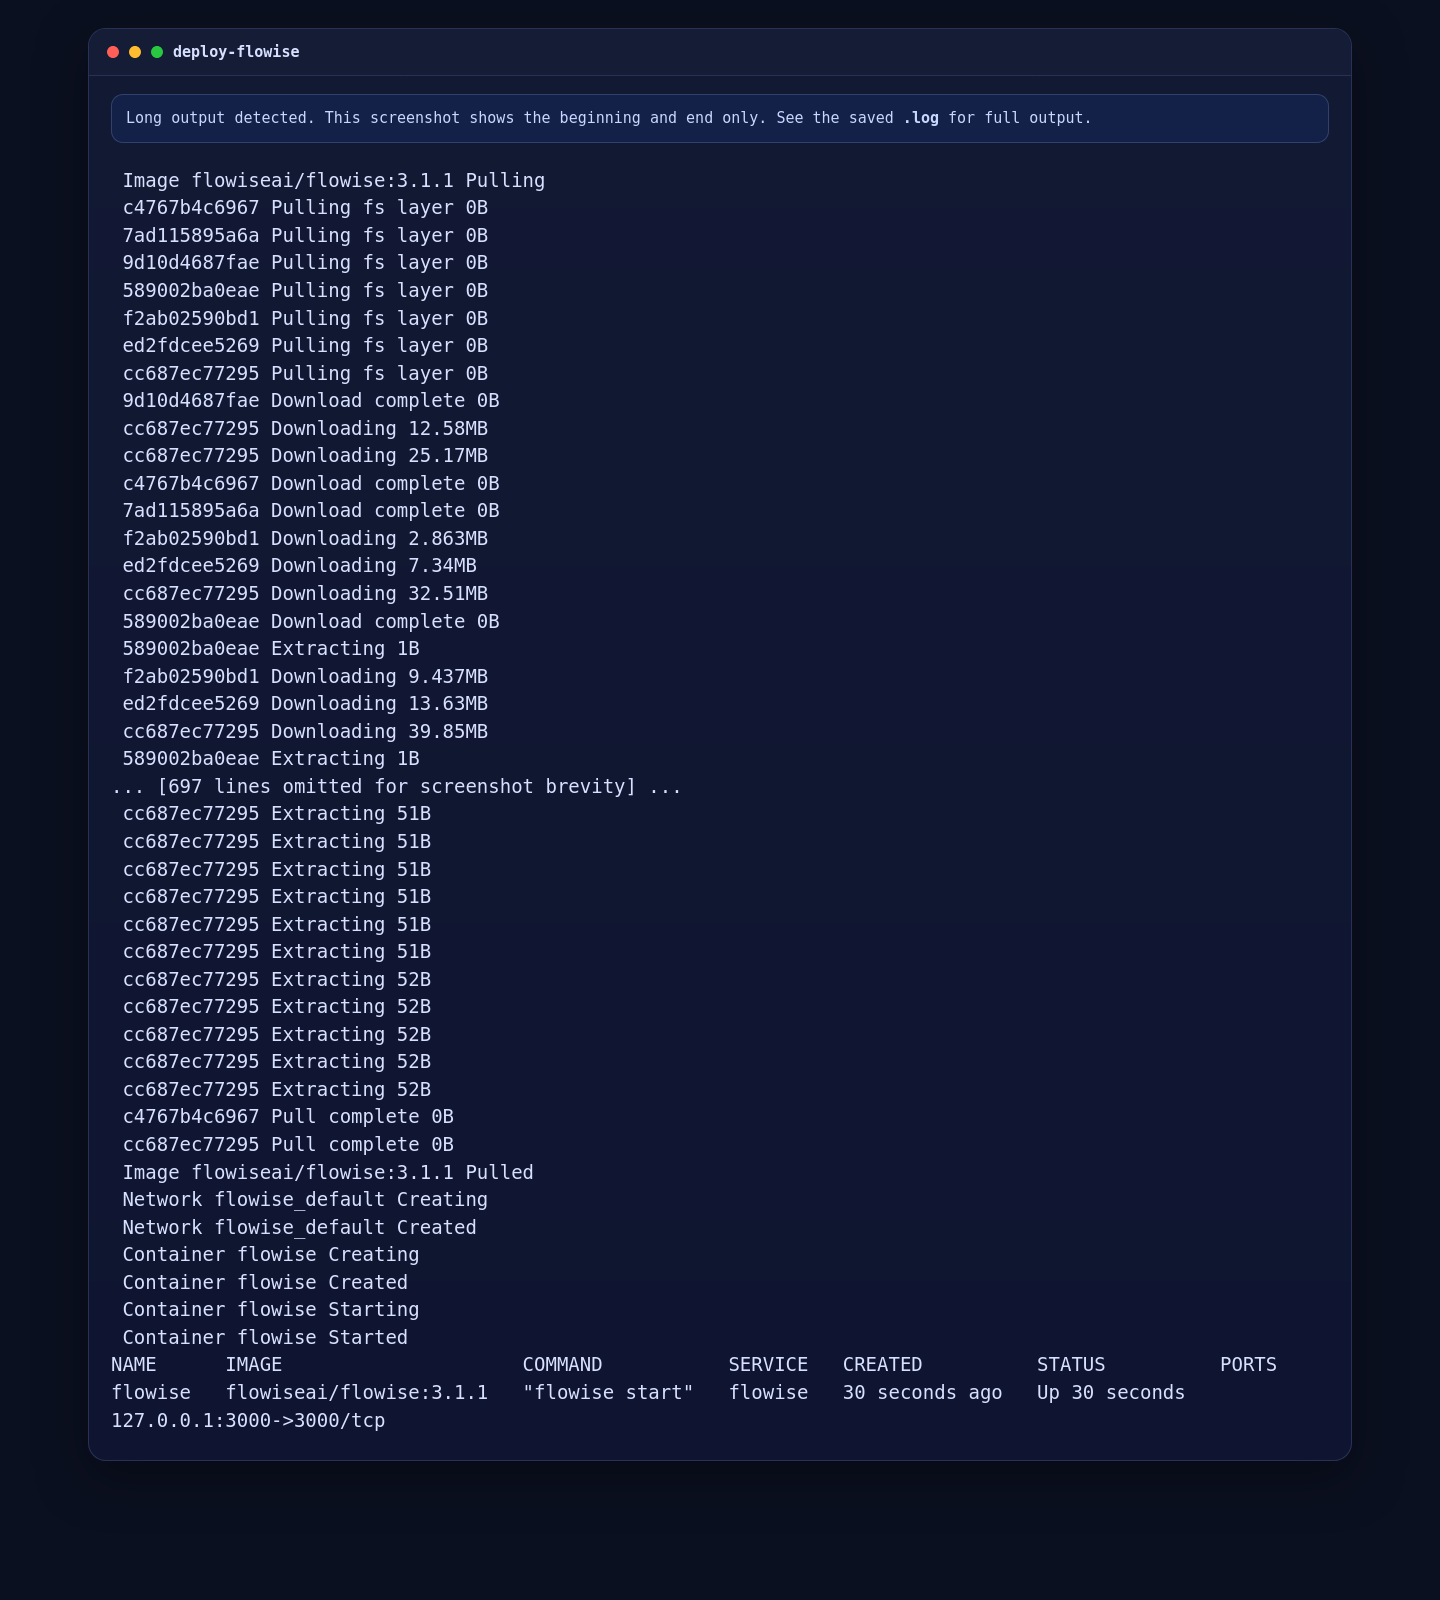
docker compose psOn the validated server, Docker pulled flowiseai/flowise:3.1.1, created the container, and brought the service up successfully.
4.2 Validate the Local HTTP Response
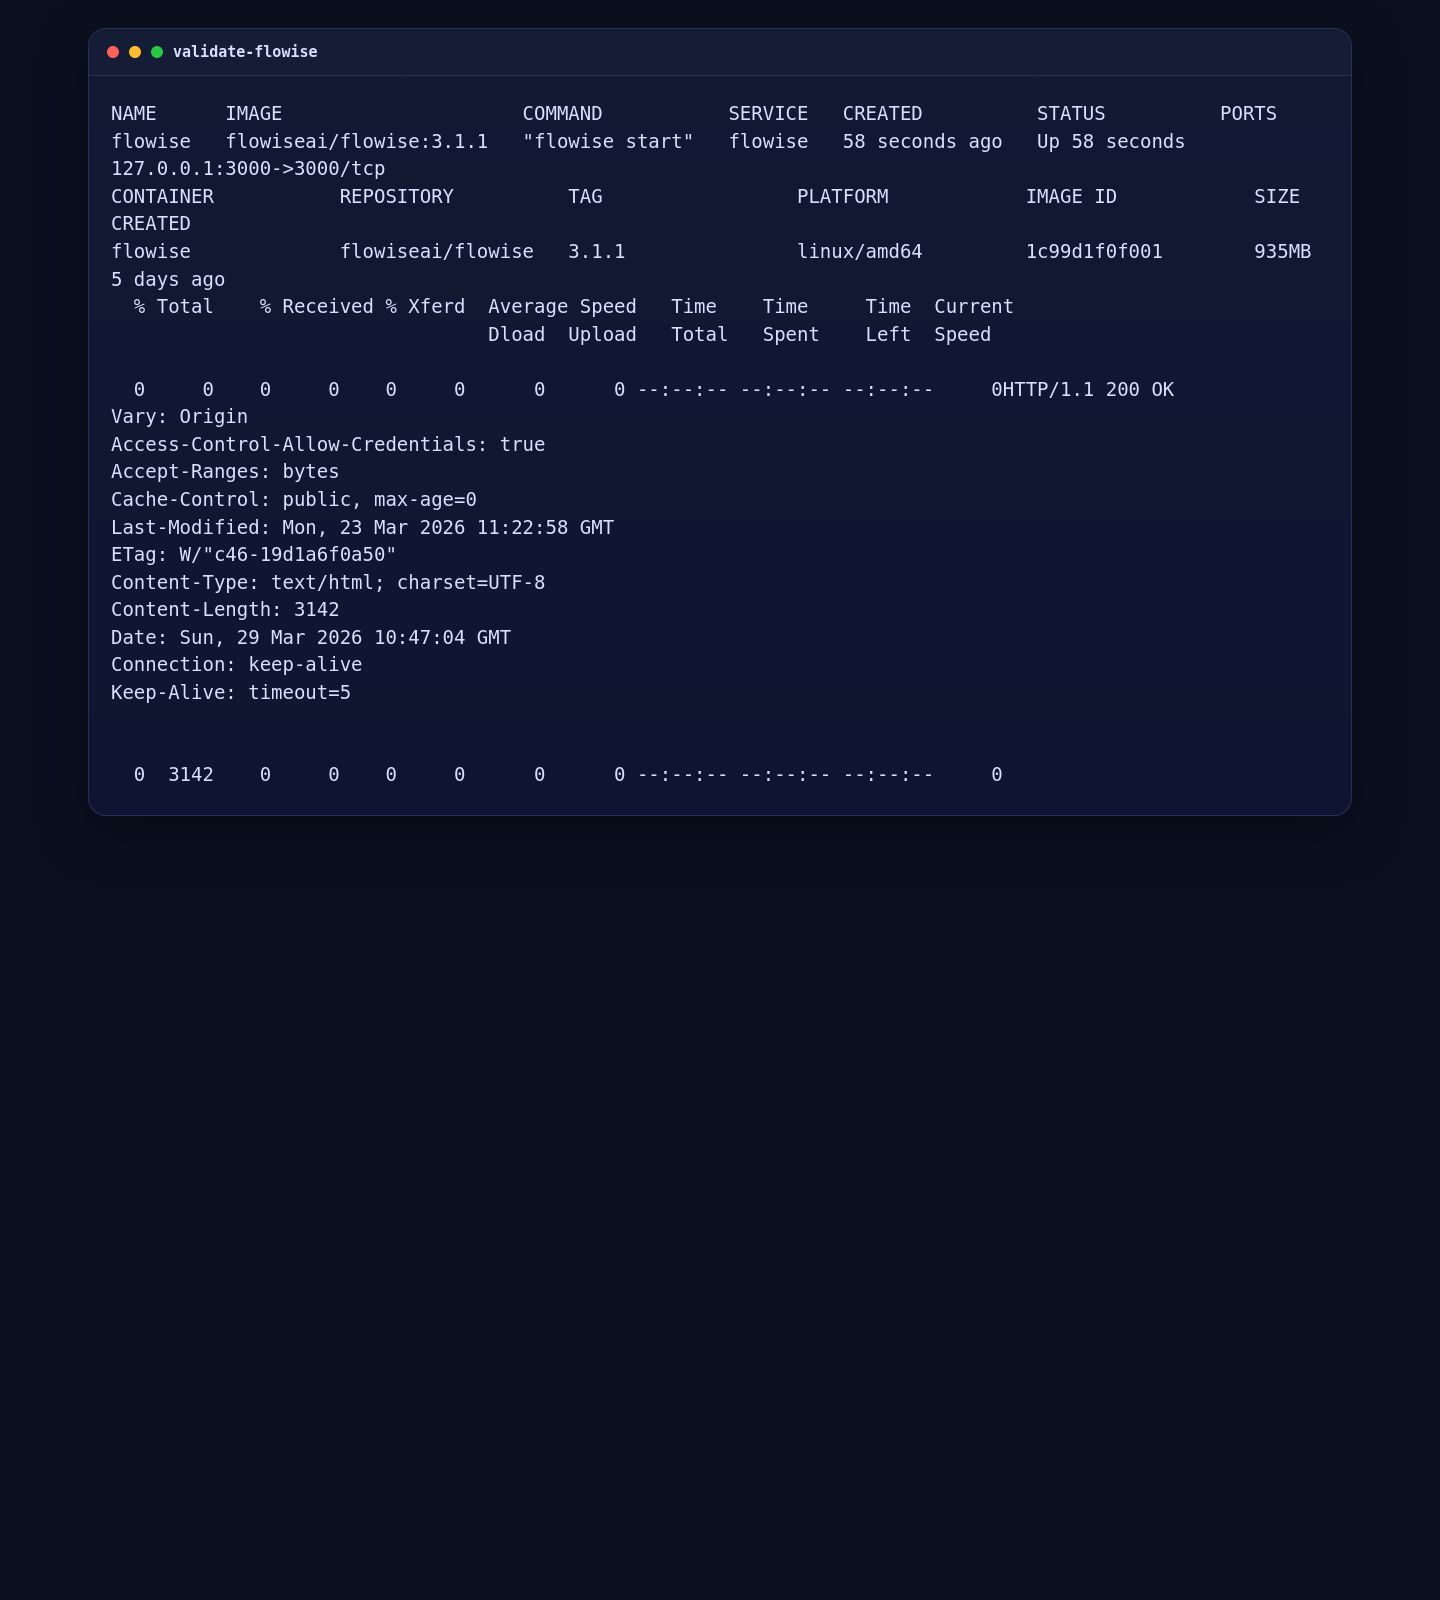
docker compose ps
docker compose images
curl -I http://127.0.0.1:3000
The live deployment returned HTTP/1.1 200 OK from the local FlowiseAI route, which is the expected result before you open the editor through an SSH tunnel.
5. Open the FlowiseAI UI Through an SSH Tunnel
This installation keeps FlowiseAI on localhost instead of exposing the editor directly to the public network. Create an SSH tunnel from your local machine, then open the forwarded port in your browser.
ssh -L 13000:127.0.0.1:3000 root@YOUR_SERVER_IPAfter the tunnel is open, browse to:
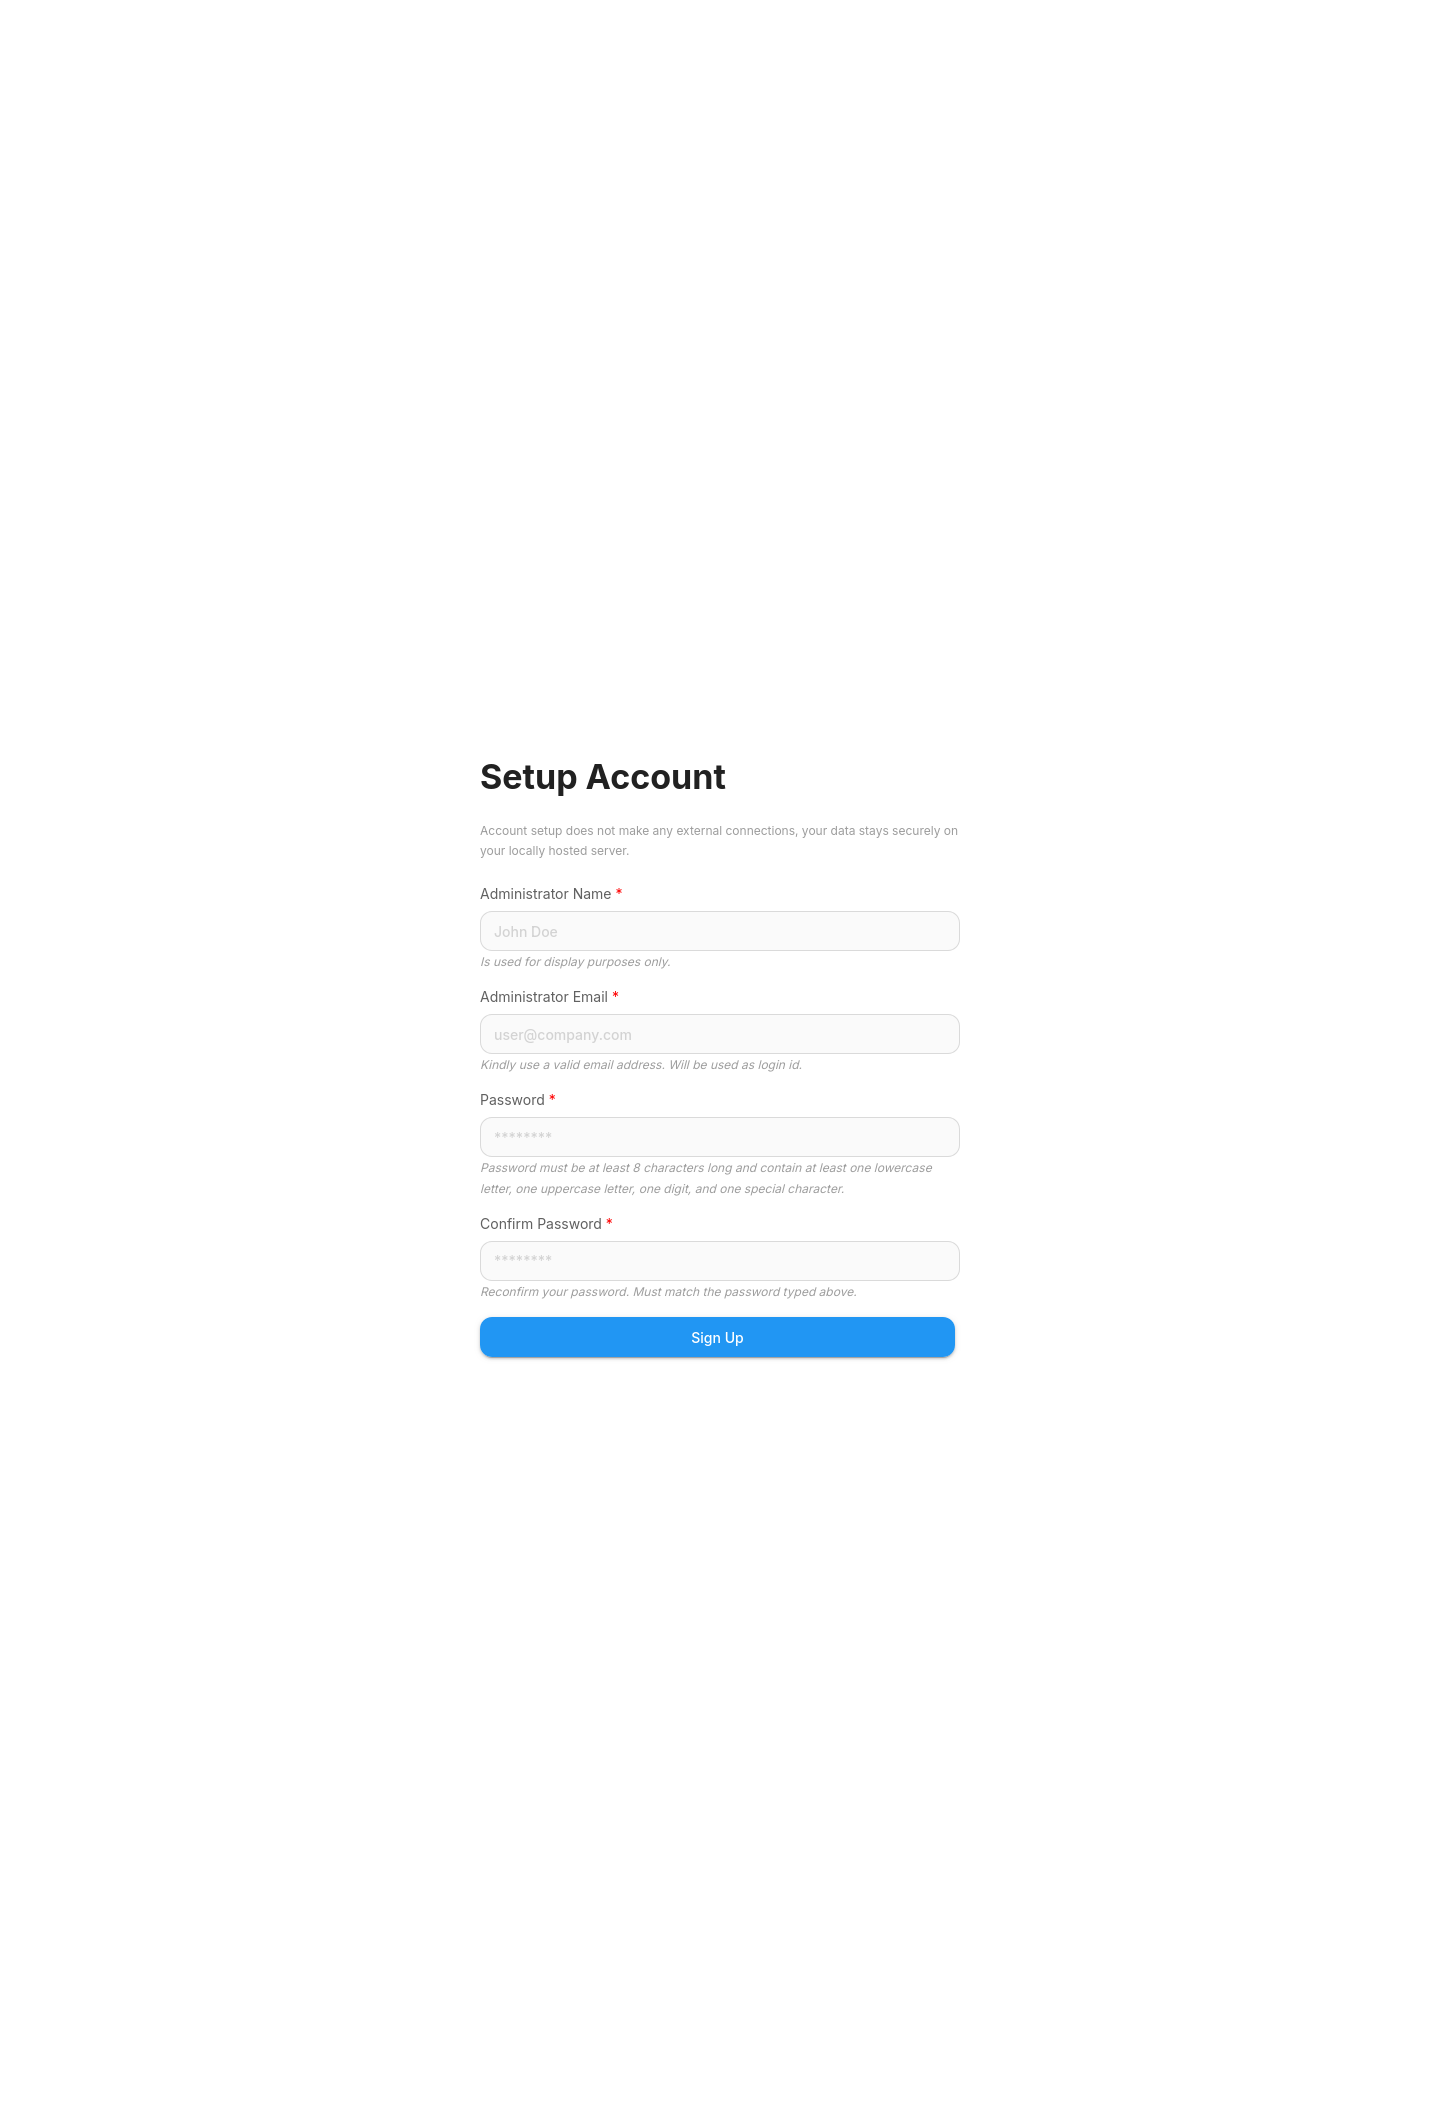
http://127.0.0.1:13000On the live server, the initial FlowiseAI setup screen loaded correctly through the tunnel and was ready for the first administrator account.
6. Run Final Server-Side Checks
Before you stop, confirm that the container is still healthy, the port is bound only to localhost, and the local HTTP response remains available.
cd /opt/flowise
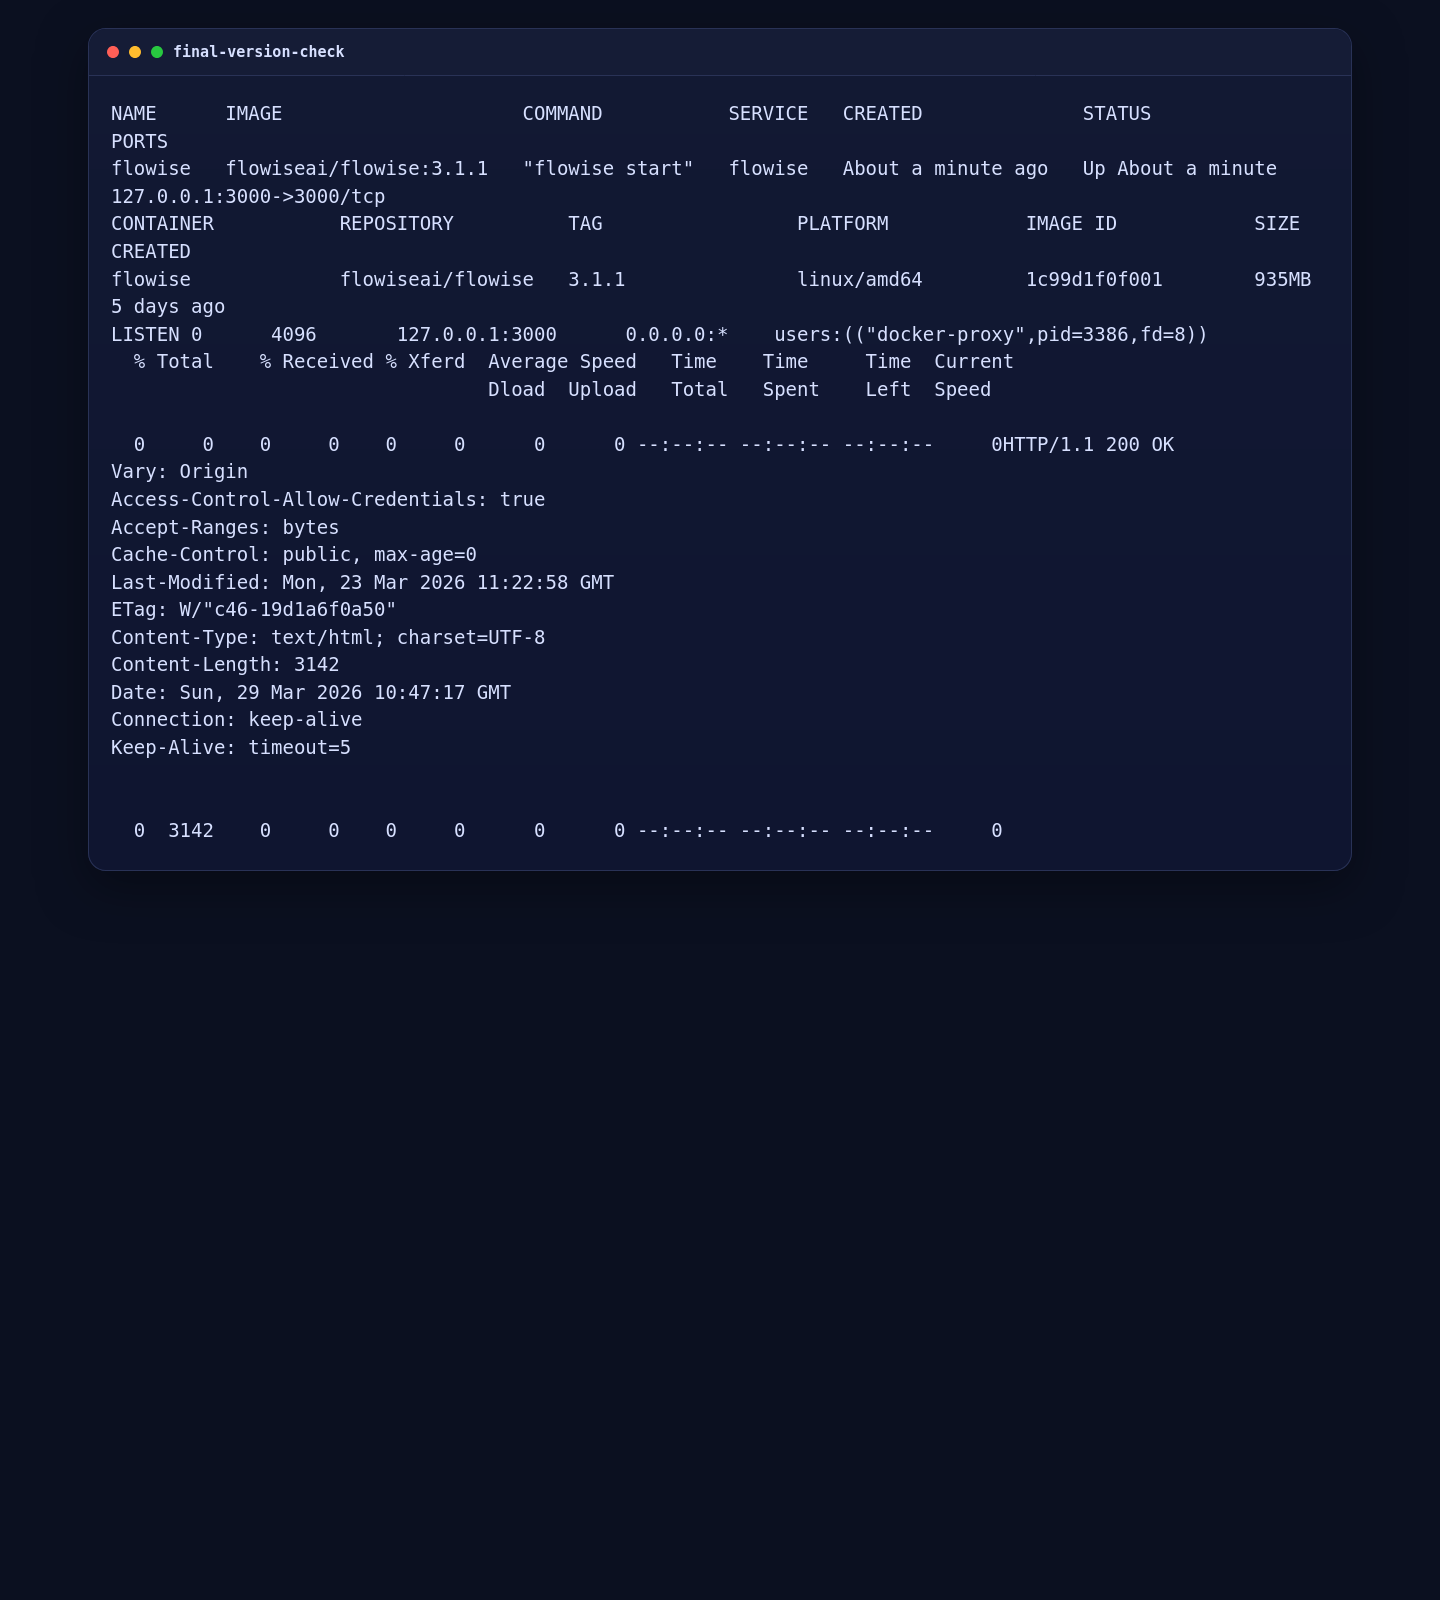
docker compose ps
docker compose images
ss -lntp | grep ':3000'
curl -I http://127.0.0.1:3000On the validated deployment, the final check showed FlowiseAI listening only on 127.0.0.1:3000 and still returning 200 OK locally.
Conclusion
You now have FlowiseAI on Ubuntu 24.04 running in Docker with persistent local data and a safer localhost-only access pattern. From here, you can finish the first-account setup, connect your preferred model providers, and only add a public reverse proxy later if you decide you need browser access without SSH tunneling.