Changing the hostname of your Debian 12 server is a straightforward process. Follow the steps below to configure it properly.
Step 1: Create an Instance
First, set up a Debian 12 server instance.
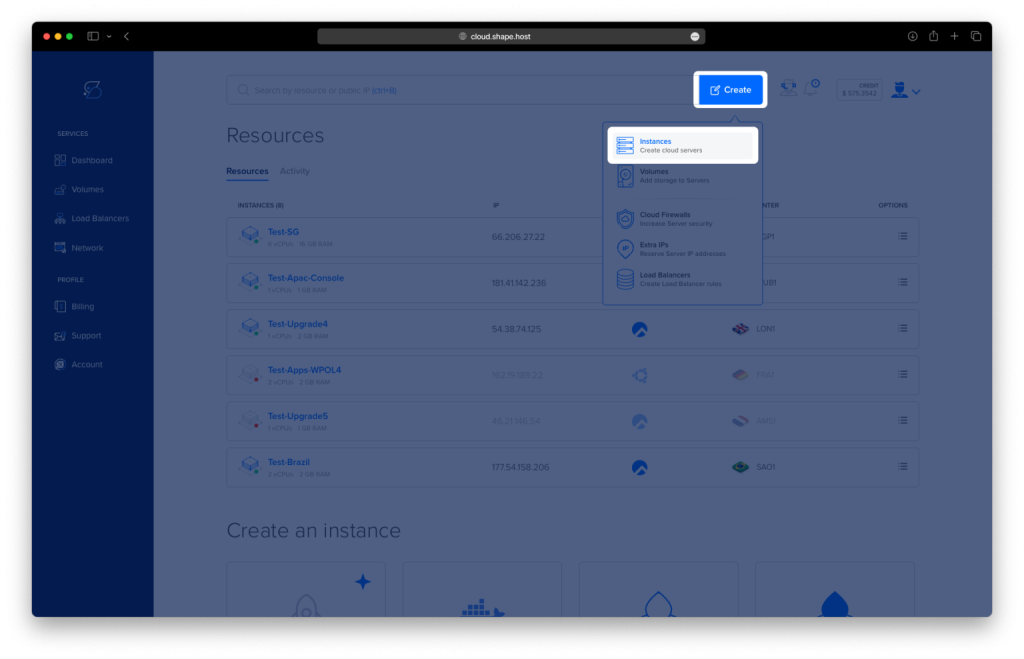
Access the Dashboard: Log in to your Shape.Host account and navigate to your Dashboard.
Click Create: Click the “Create” button in the top-right corner.
Select Instances: From the menu, choose “Instances” to begin creating a new server.
Select Location: Choose a data center location closest to your target audience for better performance.
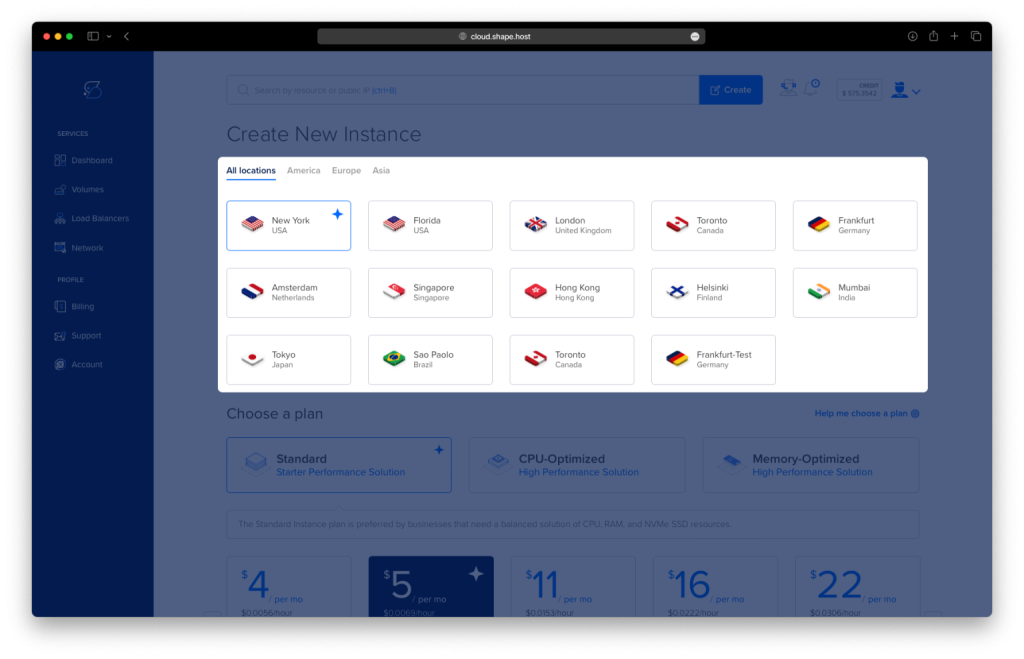
Choose a Plan: Select a plan that meets your requirements, such as Standard or Memory-Optimized.
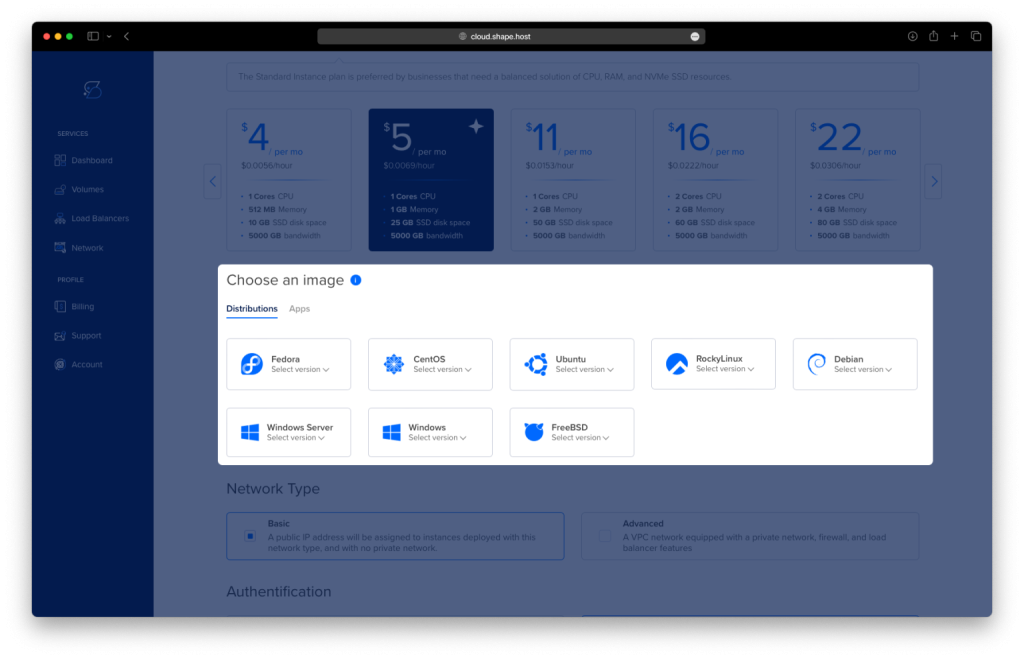
Choose an Image: Select Debian 12 as the operating system.
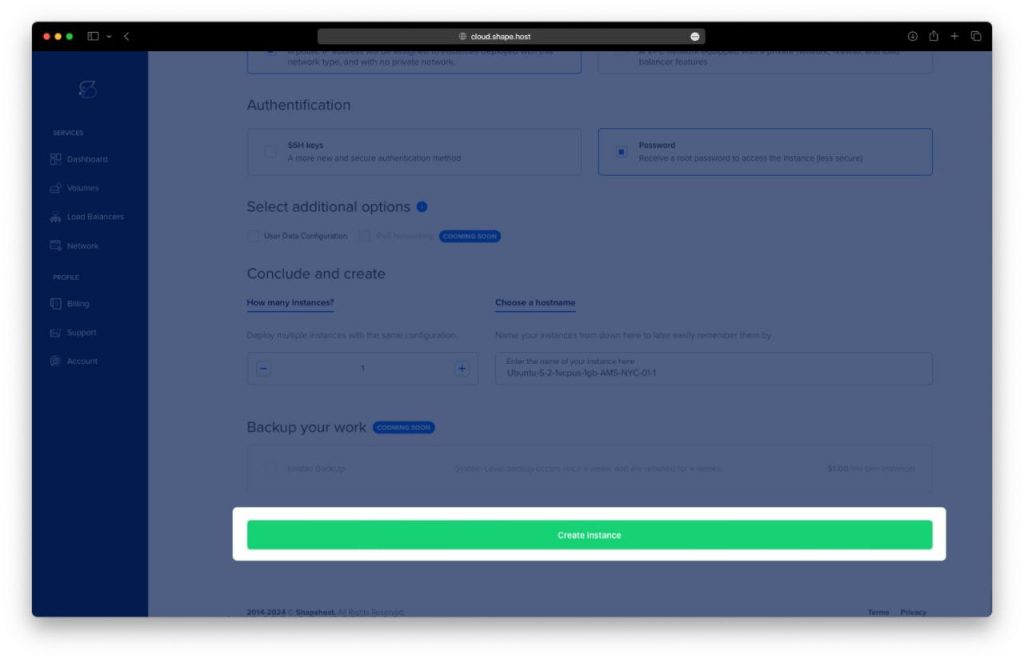
Authentication and Finalize: Choose your authentication method, either SSH keys or password, and click Create Instance.
- Obtain IP Address
- Once your instance is created, return to the dashboard.
- Find your instance’s IP address under the Resources section and use it to access your server.

Step 2: Update the System
Update your system packages to ensure everything is up-to-date:
apt update
apt upgrade -y 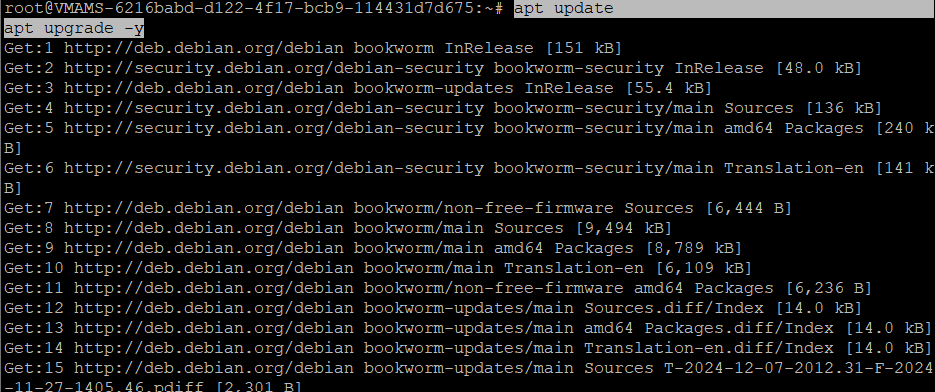
Step 3: Check the Current Hostname
To view your system’s current hostname, run:
hostname 
Step 4: Change the Hostname
Set your new hostname, for example, DebianXII:
hostnamectl set-hostname DebianXII 
Step 5: Apply the Changes
Reload your group session to ensure the hostname changes take effect:
newgrp 
Step 6: Verify the New Hostname
Finally, confirm that the new hostname has been applied successfully:
hostnamectl 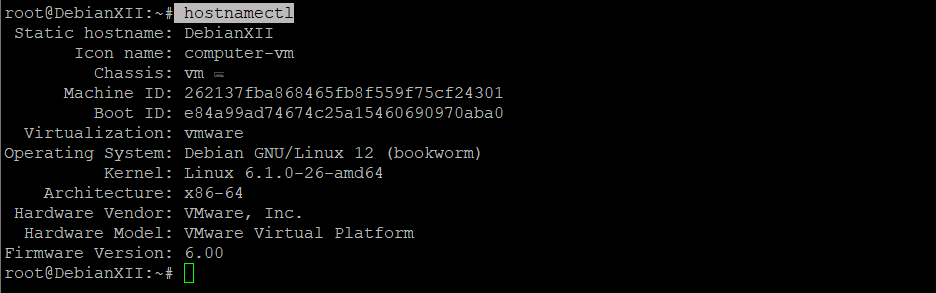
You’ve successfully updated your Debian 12 system’s hostname!
For reliable hosting solutions optimized for Debian servers, consider Shape.Host Linux SSD VPS. Their services offer excellent performance, scalability, and support for all your hosting needs.