Zabbix is an open-source monitoring tool designed to monitor and track the performance and availability of IT infrastructure, including servers, networks, applications, databases, and cloud services. It provides real-time data collection, visualization through dashboards, and alerting capabilities, helping organizations proactively manage their systems.
Key Features of Zabbix
- Comprehensive Monitoring
Zabbix can monitor a wide range of metrics, including CPU usage, memory utilization, disk space, network traffic, and application performance. - Agent-Based and Agentless Monitoring
- Agent-based: Uses Zabbix agents installed on the monitored devices for detailed metrics.
- Agentless: Supports protocols like SNMP, IPMI, and SSH for monitoring without agents.
- Real-Time Alerts and Notifications
Zabbix provides instant alerts via email, SMS, Slack, or other messaging platforms when predefined thresholds are exceeded. - Customizable Dashboards
Offers user-friendly dashboards that display real-time metrics, graphs, and charts for better data visualization and analysis. - Scalability
Zabbix is highly scalable, supporting small environments and large enterprise networks with thousands of devices. - Automation and Discovery
- Auto-discovery: Detects and adds new devices automatically.
- Automated Actions: Executes predefined tasks, such as restarting services or sending alerts.
- Historical Data Storage
Zabbix stores historical data for trend analysis and capacity planning. - Security
Zabbix supports encrypted communication between the server, agents, and frontend to ensure data security. - Integration with Third-Party Tools
Zabbix integrates with various tools like Grafana, Docker, Kubernetes, and cloud platforms (AWS, Azure, GCP).
What You Can Do with Zabbix
- Monitor IT Infrastructure
- Track the health and performance of servers, switches, routers, and storage systems.
- Monitor operating systems (Linux, Windows, macOS) and virtual machines.
- Application Monitoring
- Monitor databases (MySQL, PostgreSQL), web servers (Apache, Nginx), and applications.
- Ensure the performance and availability of mission-critical applications.
- Network Monitoring
- Monitor bandwidth usage, packet loss, and latency.
- Identify network bottlenecks and troubleshoot connectivity issues.
- Cloud Monitoring
- Monitor cloud services like AWS, Azure, and Google Cloud for performance, uptime, and resource usage.
- Log Monitoring
- Collect and analyze logs from servers and applications to identify potential issues.
- Proactive Alerting
- Receive alerts before critical issues escalate, minimizing downtime and improving system reliability.
- Capacity Planning and Trend Analysis
- Analyze historical data to predict future resource needs and prevent system overloads.
Advantages of Zabbix
- Free and Open Source: No licensing costs, making it an affordable choice for businesses of all sizes.
- Extensive Customization: Flexible templates, scripts, and triggers allow for tailored monitoring.
- Centralized Management: Monitor all infrastructure components from a single interface.
- Cross-Platform Support: Compatible with various operating systems, devices, and protocols.
- Strong Community Support: Backed by an active community and regular updates from the development team.
Common Use Cases for Zabbix
- Enterprise IT Monitoring: Monitor and manage large-scale IT environments with thousands of devices and services.
- Small Business Infrastructure: Gain visibility into small networks and prevent system failures.
- Cloud and Hybrid Environments: Monitor hybrid setups combining on-premise and cloud infrastructure.
- DevOps and CI/CD Pipelines: Monitor build servers, containerized applications, and deployment processes.
- Service Providers: Ensure uptime and performance for hosted services and customer environments.
Zabbix Architecture
- Zabbix Server
The core component that collects and processes data from monitored devices and triggers alerts based on thresholds. - Database
Stores configuration, collected metrics, and historical data. - Frontend
A web-based interface for managing Zabbix, configuring monitoring, and visualizing data. - Agents
Installed on monitored devices to collect detailed performance and availability metrics. - Proxies (Optional)
Used in large environments to reduce the load on the Zabbix server by collecting data from remote locations.
How to Get Started with Zabbix
- Installation
Zabbix can be installed on various operating systems, including Debian, Ubuntu, CentOS, and RHEL. Docker images are also available for containerized environments. - Configuration
- Add hosts and set up monitoring templates.
- Configure triggers, alerts, and notifications.
- Monitoring
- Start collecting and visualizing data.
- Use graphs, maps, and screens to analyze performance.
- Optimization
- Customize templates and thresholds based on specific requirements.
- Integrate Zabbix with other tools for extended functionality.
Zabbix is a robust monitoring solution suitable for businesses of all sizes, offering real-time insights into IT infrastructure and applications. Whether you’re managing a small network or a complex enterprise environment, Zabbix provides the tools to ensure optimal performance and reliability.
Step 1: Create an Instance
First, set up a Debian 12 server instance.
Access the Dashboard: Log in to your Shape.Host account and navigate to your Dashboard.
Click Create: Click the “Create” button in the top-right corner.
Select Instances: From the menu, choose “Instances” to begin creating a new server.

Select Location: Choose a data center location closest to your target audience for better performance.

Choose a Plan: Select a plan that meets your requirements, such as Standard or Memory-Optimized.
Choose an Image: Select Debian 12 as the operating system.

Authentication and Finalize: Choose your authentication method (SSH keys or password) and click Create Instance.

- Obtain IP Address
- Once your instance is created, return to the dashboard.
- Find your instance’s IP address under the Resources section and use it to access your server.

Step 2: Update the System
Update your system packages to ensure everything is up-to-date:
apt update 
Step 3: Install and Configure PostgreSQL
Install PostgreSQL, the database backend for Zabbix:
apt install postgresql postgresql-contrib 
Check the status of PostgreSQL:
systemctl is-enabled postgresql
systemctl status postgresql 
Create a new PostgreSQL user and database for Zabbix:
sudo -u postgres createuser --pwprompt zabbix
sudo -u postgres createdb -O zabbix zabbix 

Step 4: Install Zabbix Packages
Download and install the Zabbix repository:
wget https://repo.zabbix.com/zabbix/7.2/release/debian/pool/main/z/zabbix-release/zabbix-release_latest_7.2+debian12_all.deb
sudo dpkg -i zabbix-release_latest_7.2+debian12_all.deb 

Install the necessary Zabbix components:
apt update
apt install zabbix-server-pgsql zabbix-frontend-php php8.2-pgsql zabbix-nginx-conf zabbix-sql-scripts zabbix-agent 

Step 5: Configure the Zabbix Database
Import the initial database schema:
zcat /usr/share/zabbix/sql-scripts/postgresql/server.sql.gz | sudo -u zabbix psql zabbix 

Edit the Zabbix server configuration file:
nano /etc/zabbix/zabbix_server.conf Uncomment and set the following options with your PostgreSQL credentials:
DBHost=localhost
DBName=zabbix
DBUser=zabbix
DBPassword=password 
Step 6: Configure Nginx for Zabbix
Edit the Nginx configuration file:
nano /etc/zabbix/nginx.conf Change the default port and set your domain name:
listen 8080;
server_name your-domain.com; 
Test the Nginx configuration:
nginx -t 
Step 7: Start and Enable Zabbix Services
Enable and restart Zabbix, Nginx, and PHP services:
systemctl enable zabbix-server zabbix-agent nginx php8.2-fpm
systemctl restart zabbix-server zabbix-agent nginx php8.2-fpm 
Step 8: Access the Zabbix Web Interface
Open your web browser and visit:
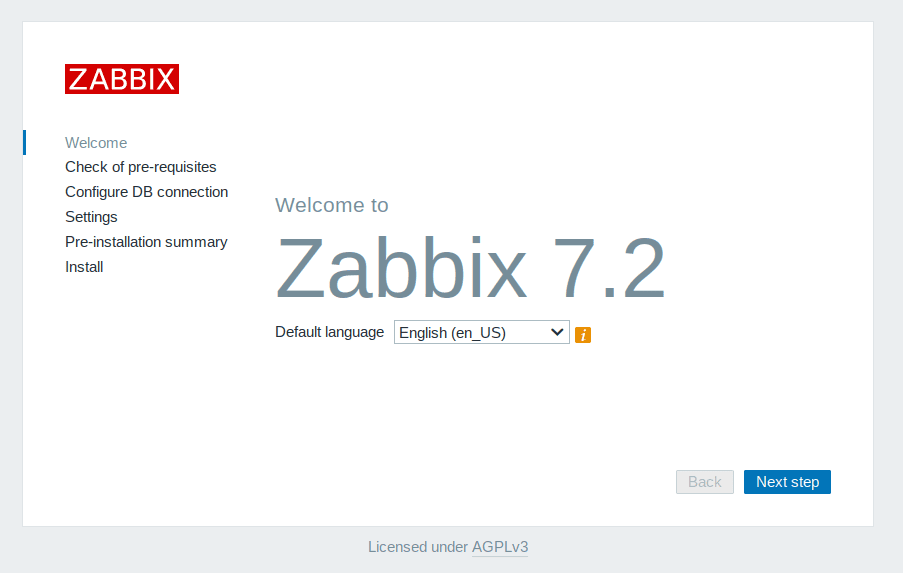
http://debian-tutorials.shape.host:8080/ Select your default language for Zabbix and click ‘Next step‘ to continue.

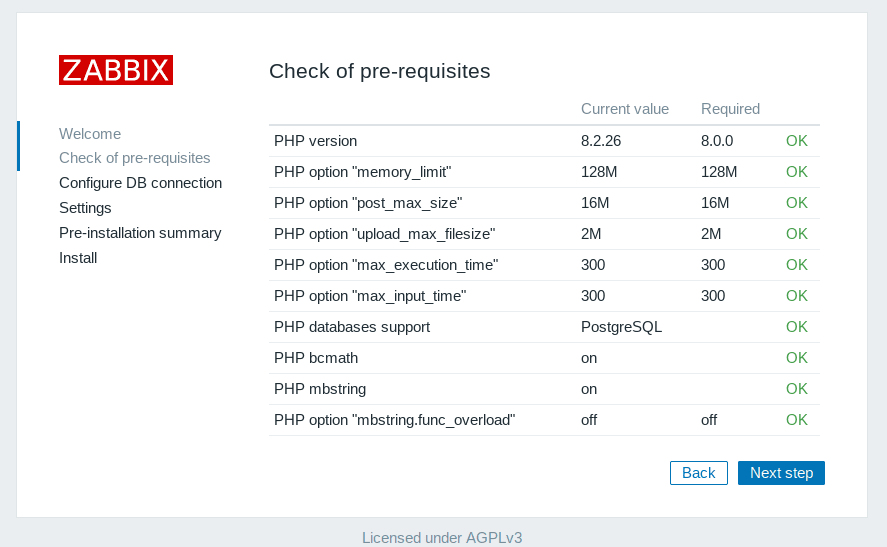
During the pre-check, make sure that your server configuration is met with the Zabbix requirements.

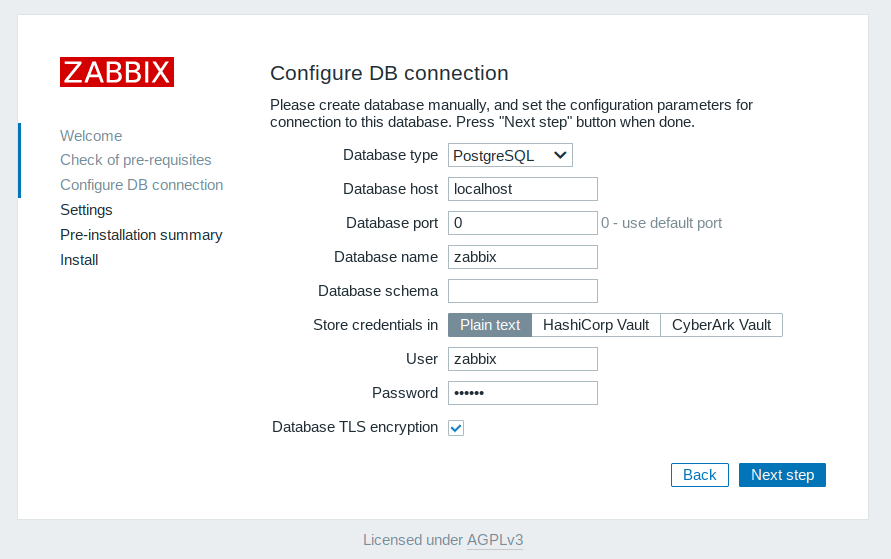
Now select the database as ‘PostgreSQL’ and input your database details.

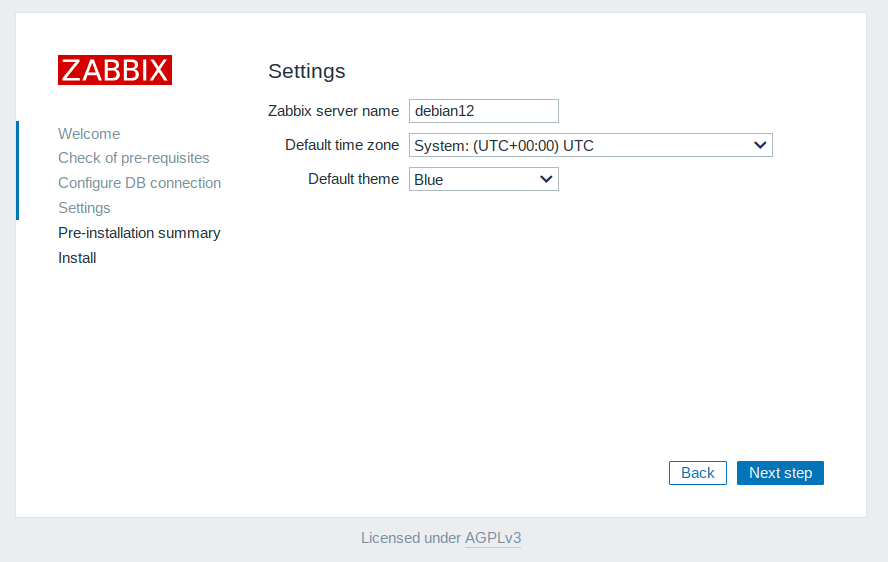
Enter your server name and select the default timezone for Zabbix.

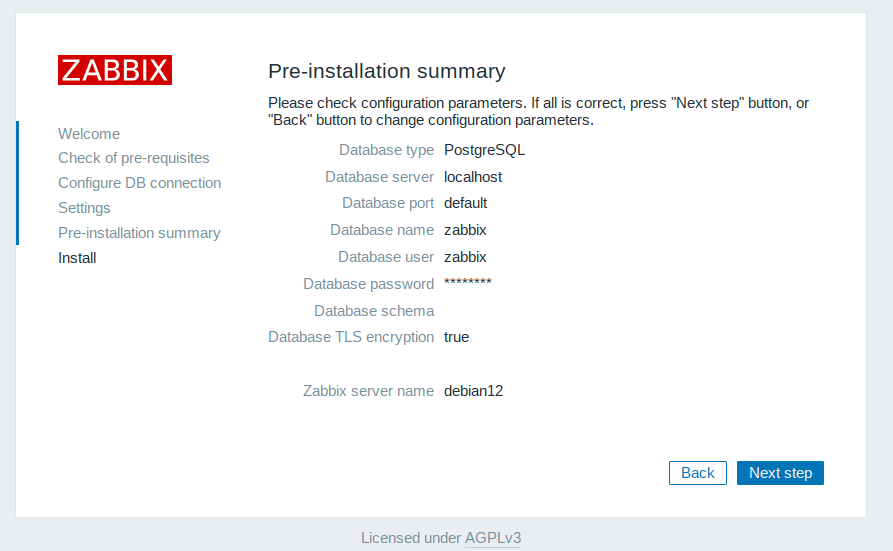
Check everything before you continue, then click ‘Next step‘.

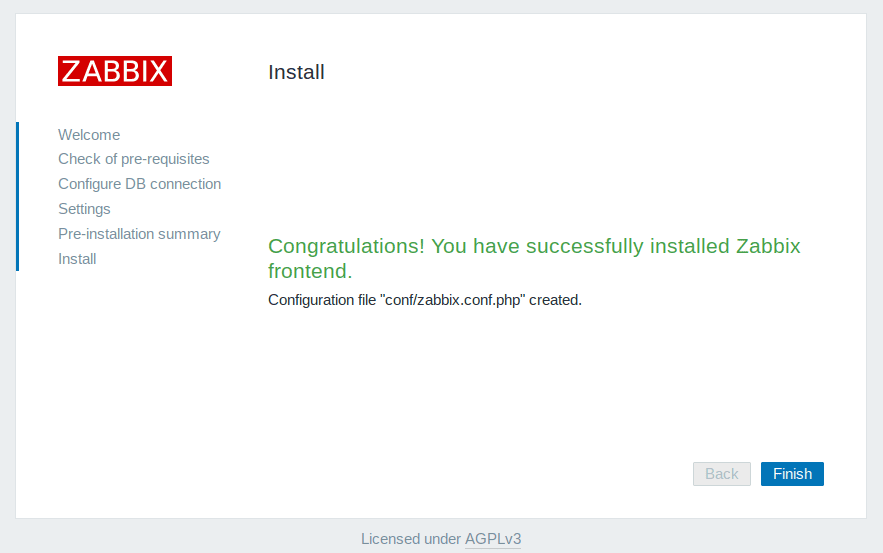
After the installation is complete, you’ll see a message such as ‘Congratulations! You have successfully installed the Zabbix frontend.
Click ‘Finish‘ to complete the installation.

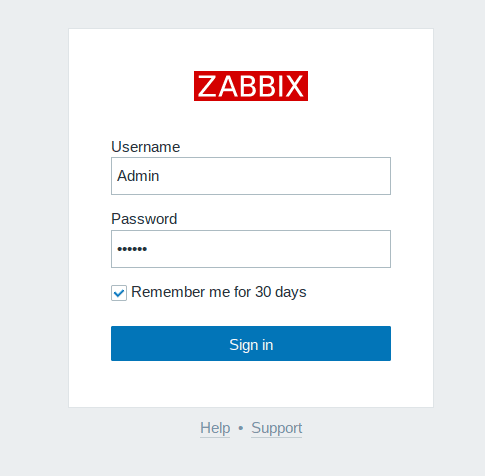
Now you’ll be redirected to the Zabbix login page. Enter user Admin and password zabbix, and then click ‘Sign in‘.

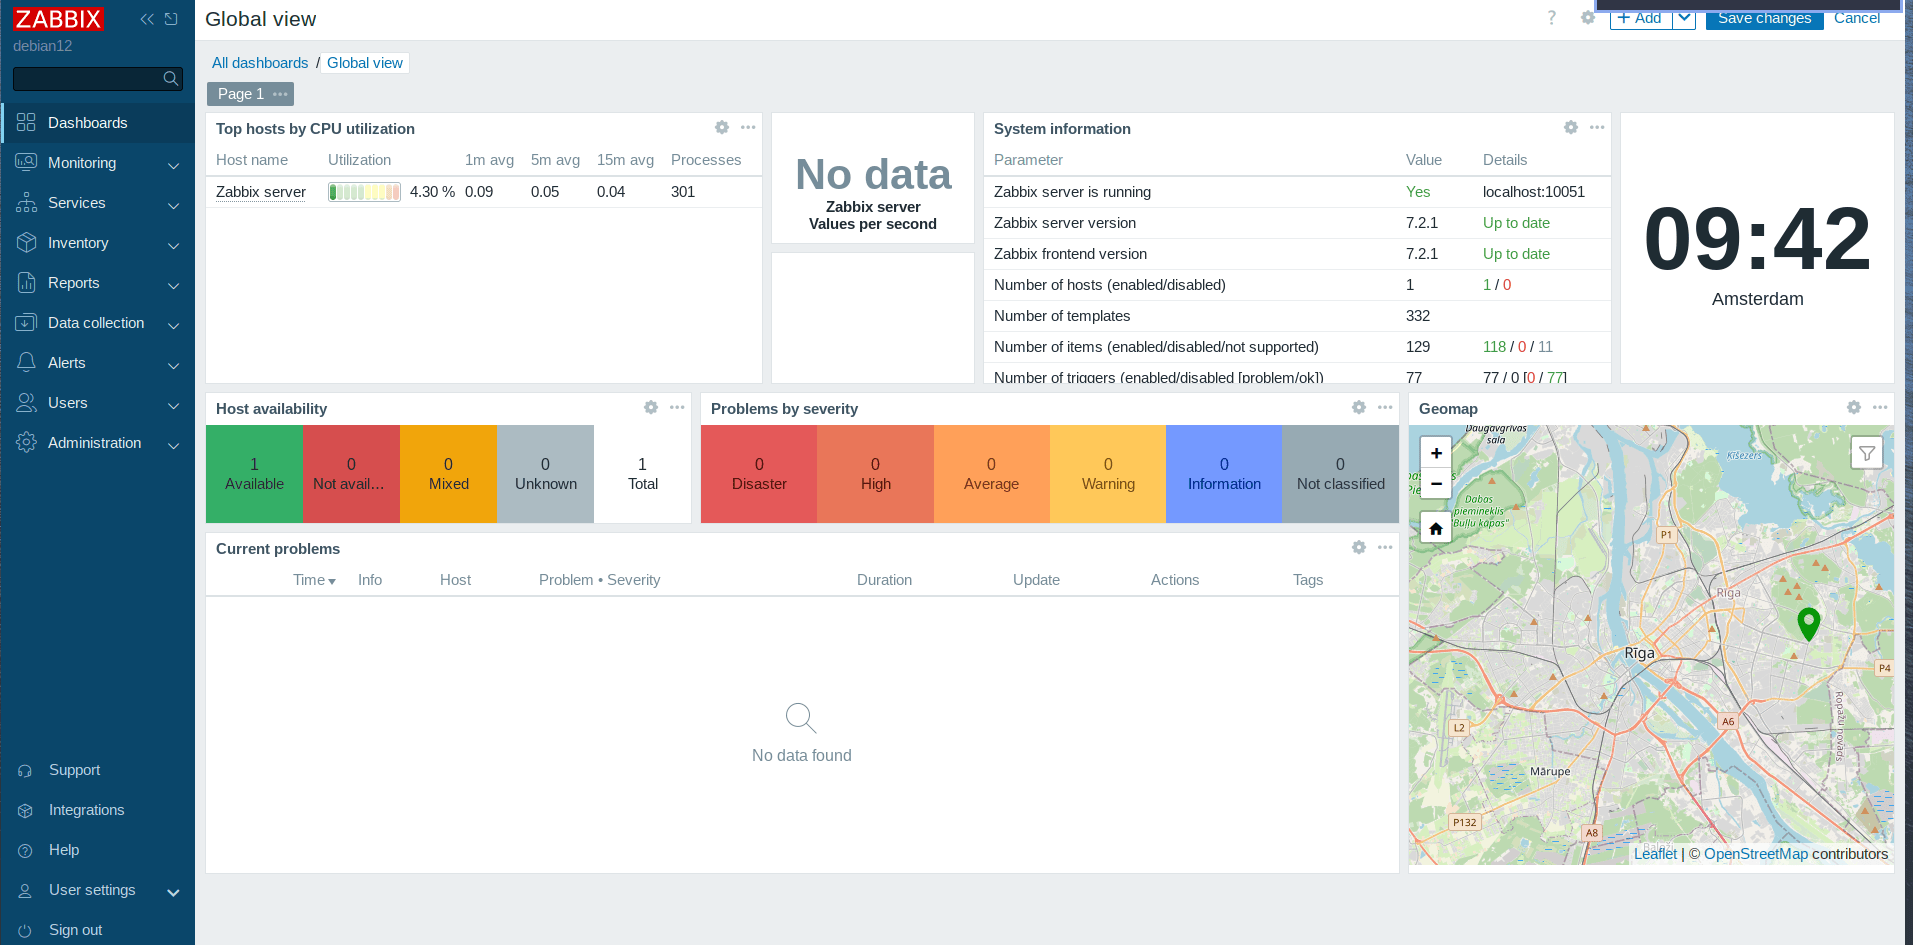
If everything goes well, you’ll see the following Zabbix administration dashboard.

You’ve successfully installed and configured Zabbix on Debian 12. This setup provides a robust monitoring solution for your IT infrastructure.
For high-performance hosting tailored to monitoring solutions, consider Shape.Host Cloud VPS. Their services ensure reliable and scalable hosting for all your Zabbix needs.