Caddy is a modern, open-source web server written in Go. It is designed to be simple, secure, and developer-friendly, with automatic HTTPS and a wide range of built-in features. Caddy is known for its ease of use, requiring minimal configuration to serve static and dynamic content.
Key Features of Caddy
- Automatic HTTPS
- Caddy automatically provisions and renews SSL/TLS certificates using Let’s Encrypt, ensuring secure connections without manual intervention.
- Ease of Configuration
- Configuration is done through a simple, human-readable file called
Caddyfile. It allows you to define your server settings with minimal effort.
- Configuration is done through a simple, human-readable file called
- Cross-Platform Compatibility
- Caddy runs on multiple platforms, including Linux, Windows, macOS, and Docker, making it a versatile choice for different environments.
- Built-in Reverse Proxy
- Caddy includes a reverse proxy feature with load balancing, making it ideal for microservices or distributed systems.
- Fast and Lightweight
- Written in Go, Caddy is highly efficient and requires fewer resources compared to traditional web servers like Apache or Nginx.
- Extensible with Plugins
- Caddy supports a wide range of plugins, allowing developers to extend its functionality for specific use cases like real-time logging, advanced caching, or integration with third-party services.
- HTTP/2 and HTTP/3 Support
- Caddy supports modern web protocols, including HTTP/2 and HTTP/3, ensuring faster and more reliable connections.
- File Server and Static Content Hosting
- Caddy excels at serving static content, making it a great choice for hosting simple websites, documentation, or file-sharing platforms.
What You Can Do with Caddy
- Host Static Websites
- Serve HTML, CSS, JavaScript, images, and other static files with minimal configuration.
- Deploy Dynamic Web Applications
- Use Caddy as a reverse proxy to forward requests to backends like Python (Flask, Django), Node.js, PHP, or Go applications.
- Set Up HTTPS with Zero Effort
- Automatically secure your website with HTTPS, saving time and eliminating the need to manage certificates manually.
- Reverse Proxy for Load Balancing
- Distribute traffic across multiple backend servers for high availability and scalability.
- Host APIs
- Serve RESTful APIs or GraphQL endpoints securely with built-in support for HTTPS and advanced routing.
- Development and Testing
- Use Caddy to quickly spin up local development environments with a secure setup.
- Content Delivery
- Serve media files, images, or video content with efficient caching and fast delivery.
- Run a Personal File Server
- Host and share personal files securely over HTTPS.
Advantages of Caddy
- Automatic HTTPS: Eliminates the need to manually configure SSL/TLS certificates.
- User-Friendly Configuration: The
Caddyfileis easy to read and modify, making Caddy accessible even to beginners. - Modern Protocols: Supports HTTP/2 and HTTP/3 for better performance and lower latency.
- Lightweight and Fast: Consumes fewer resources while maintaining high performance.
- Cross-Platform: Runs on all major operating systems, making it versatile for various environments.
- Extensive Plugin Ecosystem: Extend Caddy’s functionality to meet specific needs.
Common Use Cases for Caddy
- Static Site Hosting
- Perfect for hosting documentation, portfolios, or personal blogs.
- Microservices Architecture
- Serve as a reverse proxy for managing traffic between different microservices.
- Secure API Gateways
- Use Caddy to provide secure access to your APIs with automatic HTTPS and custom routes.
- Development Environments
- Quickly set up local development servers with HTTPS support for testing purposes.
- Enterprise Applications
- Deploy Caddy as a high-performance, secure reverse proxy for large-scale applications.
- IoT and Edge Computing
- Serve lightweight, secure endpoints for Internet of Things (IoT) devices or edge applications.
Caddy vs. Other Web Servers
- Caddy vs. Nginx: While Nginx is more widely adopted, Caddy is easier to configure and offers automatic HTTPS out of the box, making it more beginner-friendly.
- Caddy vs. Apache: Apache is highly configurable but requires more manual setup for HTTPS and modern protocols. Caddy simplifies this process with its default settings.
- Caddy vs. Traefik: Traefik is designed for dynamic environments like Docker and Kubernetes, while Caddy excels in static configurations and simpler setups.
How to Get Started with Caddy
- Installation
- Download the pre-built binary or install Caddy via package managers like
apt,brew, or using Docker.
- Download the pre-built binary or install Caddy via package managers like
- Create a Caddyfile
- Define your site’s configuration in the
Caddyfilewith minimal syntax.
- Define your site’s configuration in the
- Start the Server
- Run Caddy with the command
caddy runand instantly serve your website or application.
- Run Caddy with the command
- Explore Plugins
- Extend Caddy’s functionality by exploring its rich plugin ecosystem.
Caddy is a modern, secure, and developer-friendly web server that simplifies many aspects of web hosting and application deployment. Whether you’re hosting a simple static website or managing complex microservices, Caddy provides a powerful and efficient solution.
Step 1: Create an Instance
First, set up a server instance running Ubuntu 24.04.
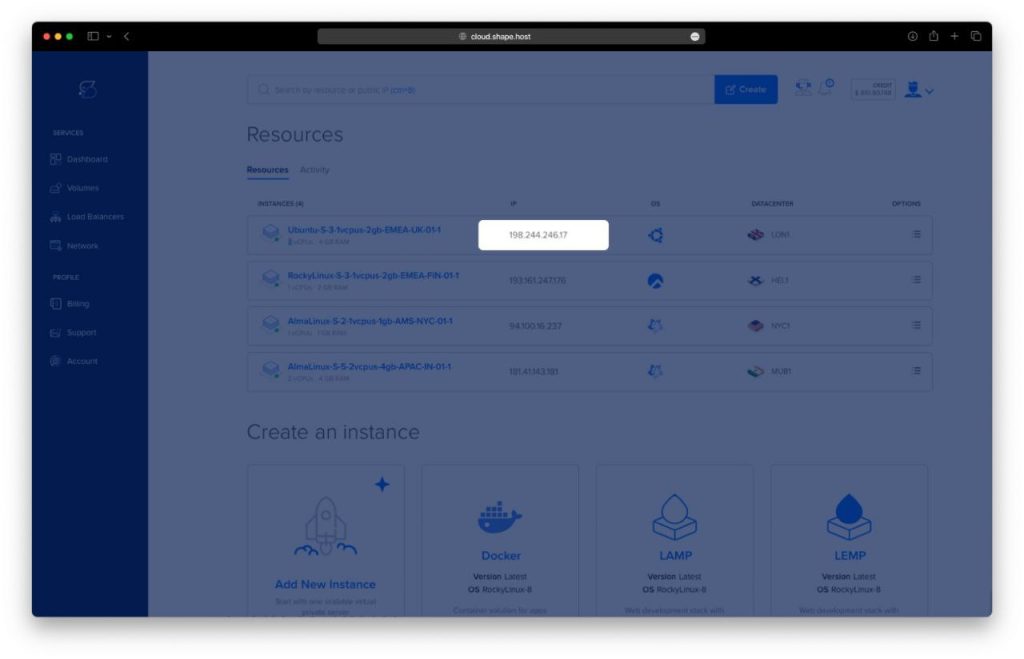
Access the Dashboard: Log in to your Shape.Host account and navigate to your Dashboard.
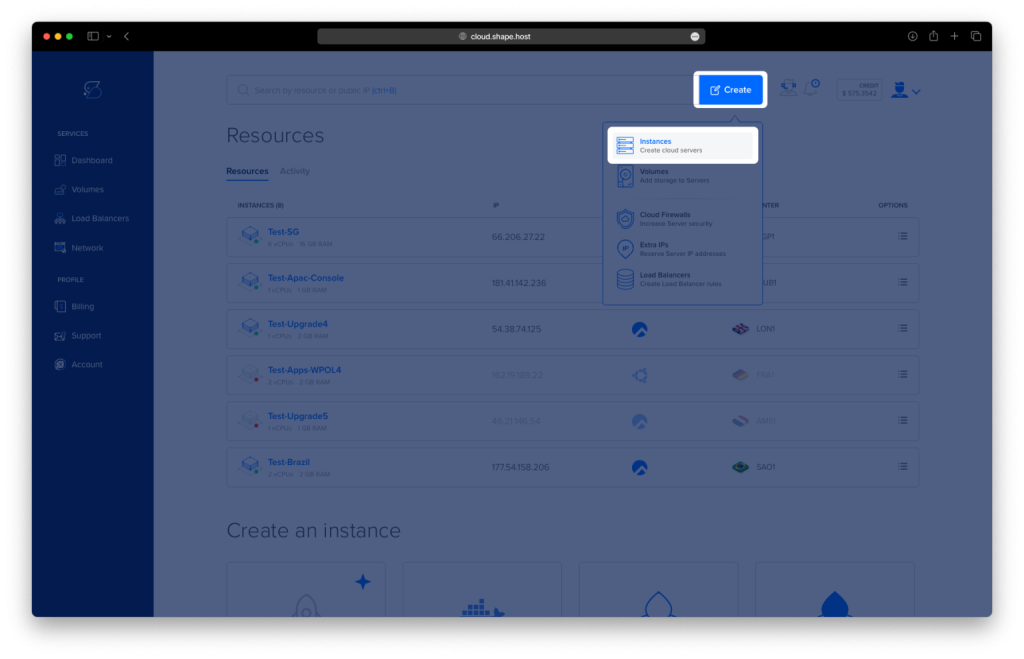
Click Create: Click the “Create” button in the top-right corner.
Select Instances: From the menu, choose “Instances” to begin creating a new server.
Select Location: Choose a data center closest to your target audience for optimal performance.
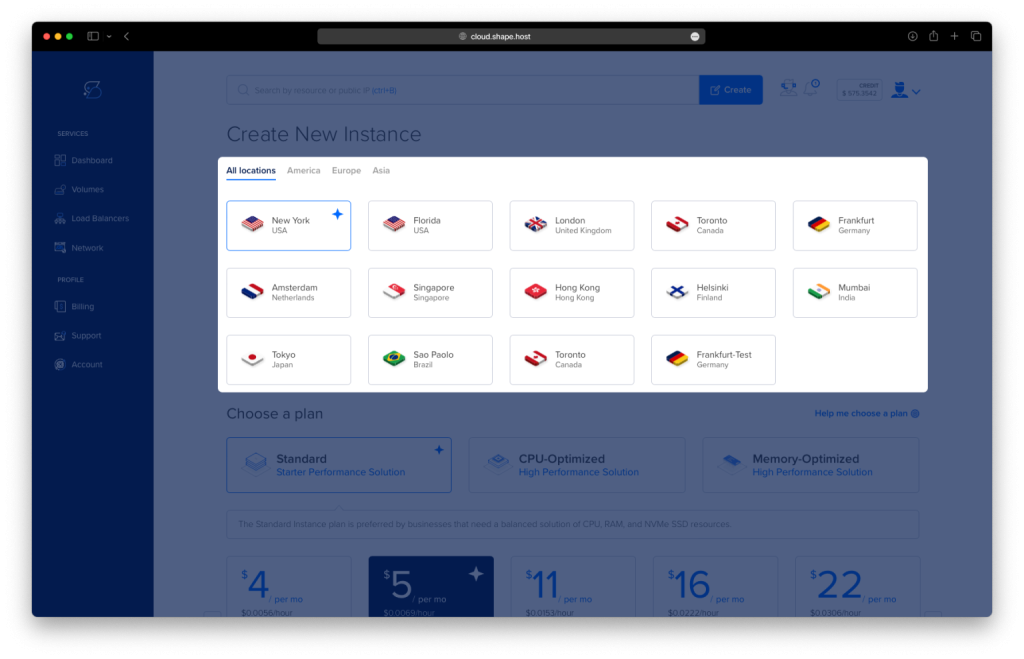
Choose a Plan: Select a plan that meets your requirements, such as Standard or Memory-Optimized.
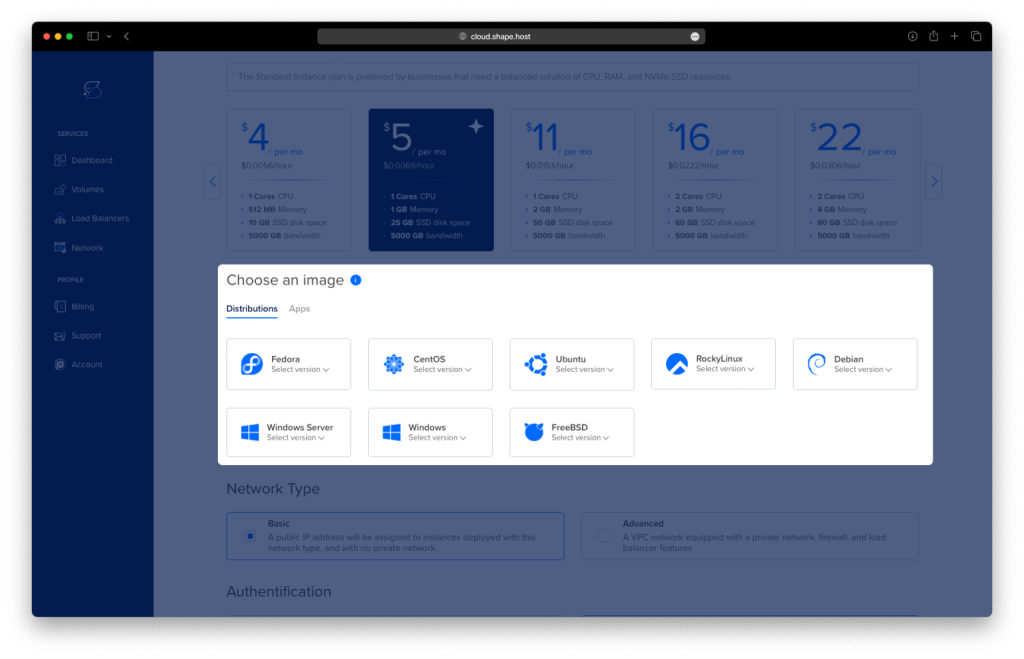
Choose an Image: Select Ubuntu 24.04 as the operating system.
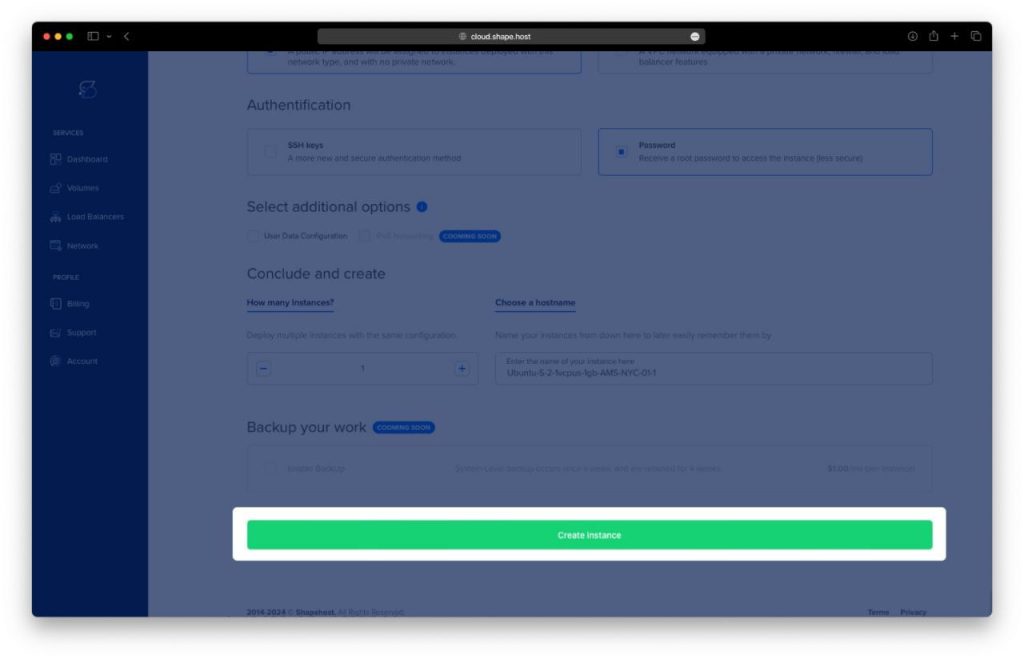
Authentication and Finalize: Choose your authentication method (SSH keys or password) and click Create Instance.
- Obtain IP Address
- Once your instance is created, return to the dashboard.
- Find your instance’s IP address under the Resources section and use it to access your server.
Step 2: Connect to Your Instance
Connect to your server using SSH:
- Linux/macOS:
ssh root@<your_server_ip> - Windows: Use PuTTY. Enter the server’s IP, select SSH, and log in with your credentials.
Step 3: Install Caddy Web Server
Step 3.1: Add the Caddy GPG Key
curl -1sLf 'https://dl.cloudsmith.io/public/caddy/stable/gpg.key' | sudo gpg --dearmor -o /usr/share/keyrings/caddy-stable-archive-keyring.gpg Step 3.2: Add the Caddy Repository
curl -1sLf 'https://dl.cloudsmith.io/public/caddy/stable/debian.deb.txt' | sudo tee /etc/apt/sources.list.d/caddy-stable.list 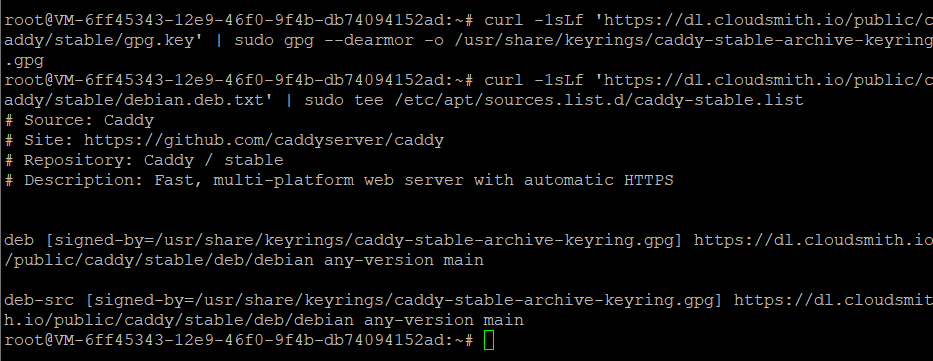
Step 3.3: Update the System and Install Caddy
apt update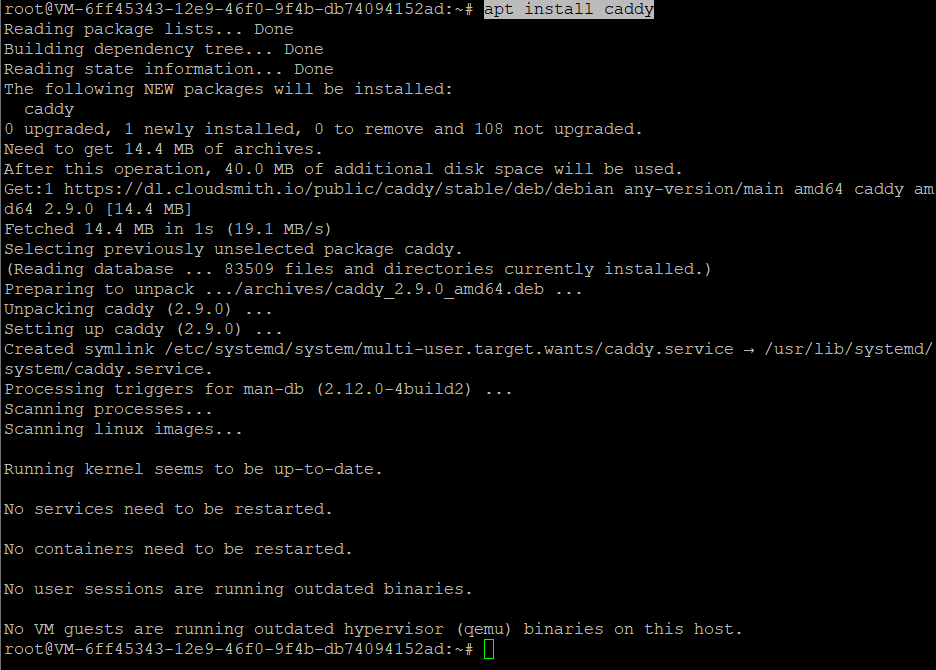
apt install caddy 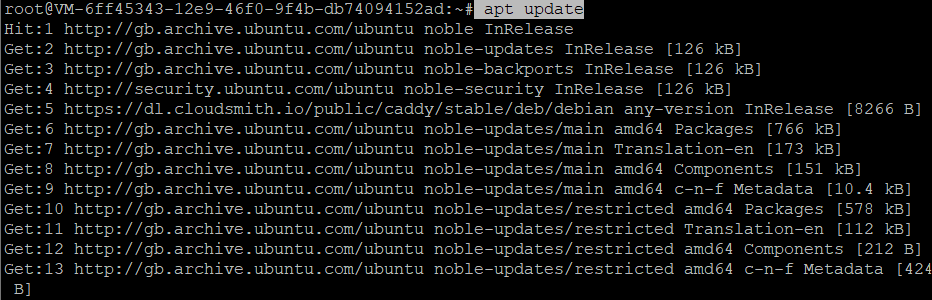
Step 3.4: Verify Caddy Installation
caddy -v 
Step 4: Configure Firewall Rules
Allow HTTP and SSH traffic through the firewall:
ufw allow 80
ufw allow ssh
ufw enable 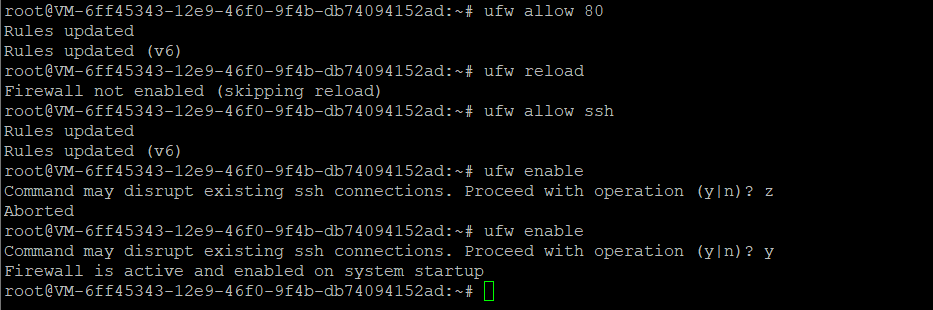
Step 5: Start and Enable Caddy Service
Access your server’s IP to test the Caddy web server:
http://SERVER-IP 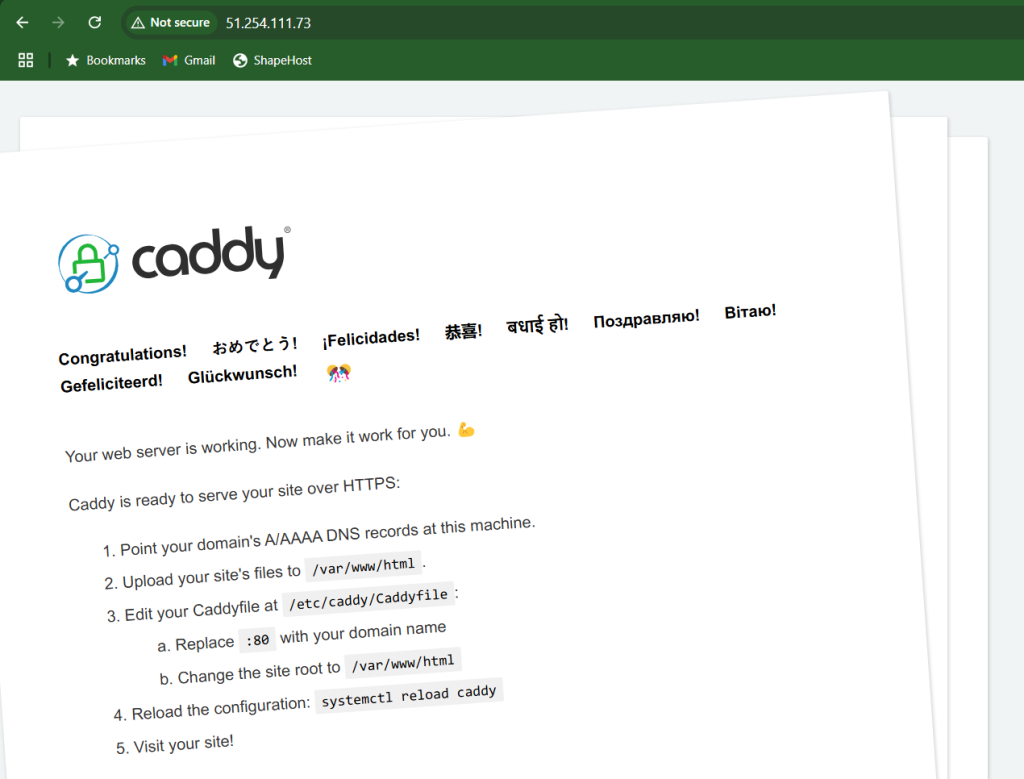
Enable and start the Caddy service:
systemctl enable caddy
systemctl start caddy
systemctl status caddy 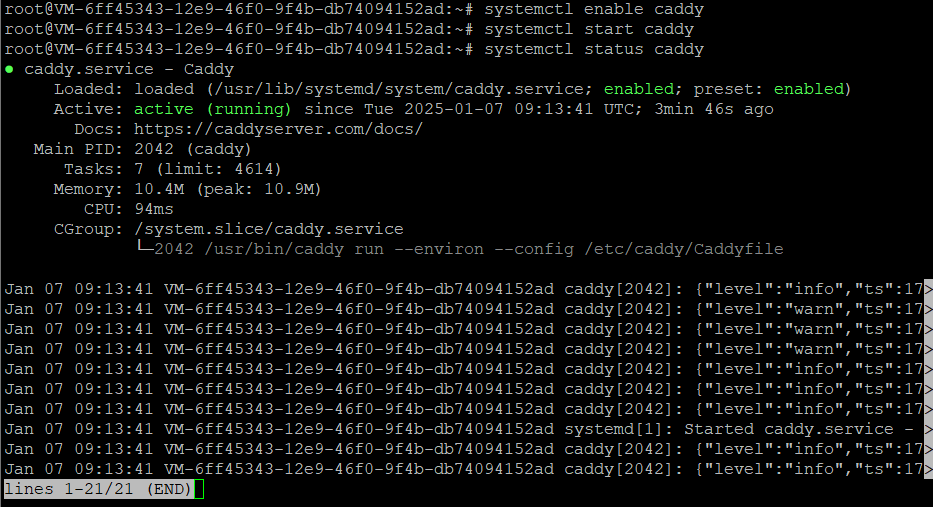
Step 6: Create a Website Directory
Step 6.1: Create the Directory
mkdir -p /var/www/tutorials.shape.host Step 6.2: Add a Test HTML File
nano /var/www/tutorials.shape.host/index.html 
Add the following content to the file:
<html>
<head>
    <title>Greetings from Shape Host!</title>
</head>
<body>
    <br>
    <br>
    <br>
    <h1 align="center">Hello World!, Greetings from Shape Host</h1>
</body>
</html> 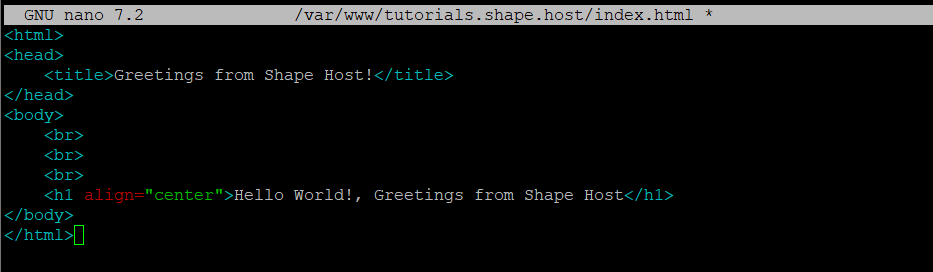
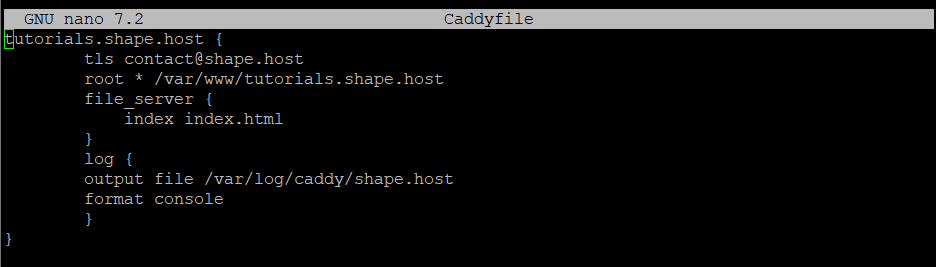
Step 7: Configure the Caddyfile
Step 7.1: Backup the Default Caddyfile
cd /etc/caddy/
mv Caddyfile Caddyfile.default
Step 7.2: Create a New Caddyfile
nano Caddyfile 
Add the following configuration to the file:
example.com {
    tls admin@example.com
    root * /var/www/example.com
    file_server {
        index index.html
    }
    log {
        output file /var/log/caddy/example.log
        format console
    }
} 
Step 8: Validate and Reload Caddy Configuration
Step 8.1: Validate the Configuration
caddy validate 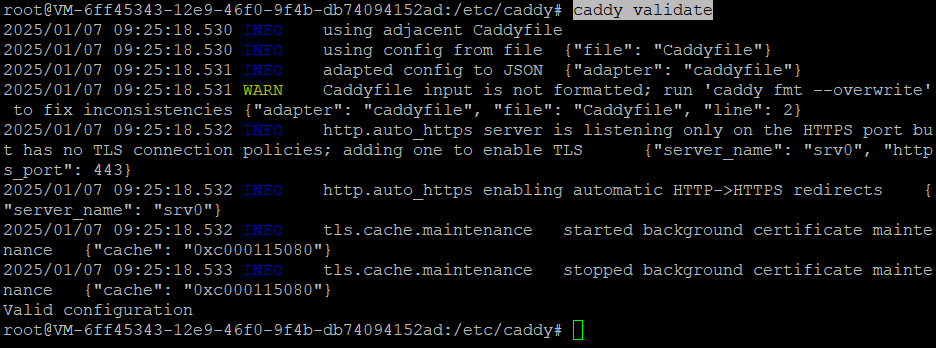
Step 8.2: Reload the Caddy Service
caddy reload 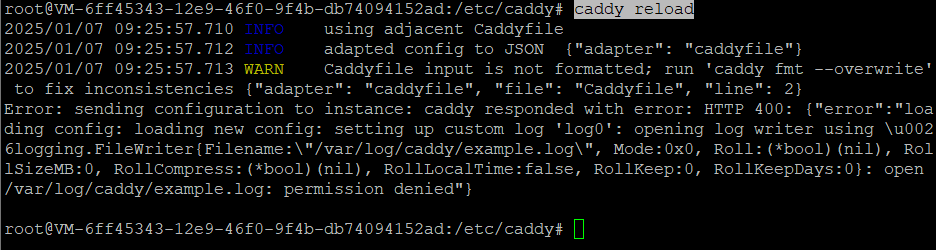
Step 8.3: Set Permissions for the Caddy Configuration Files
chown -R caddy:caddy /etc/caddy
chmod 660 /etc/caddy/Caddyfile
Step 8.4: Check Directory Listing
Ensure the permissions and ownership for the configuration files are correct:
ls -l /etc/caddy/ 
Step 9: Configure Firewall for HTTPS
Allow HTTPS traffic through the firewall:
ufw allow 443
ufw reload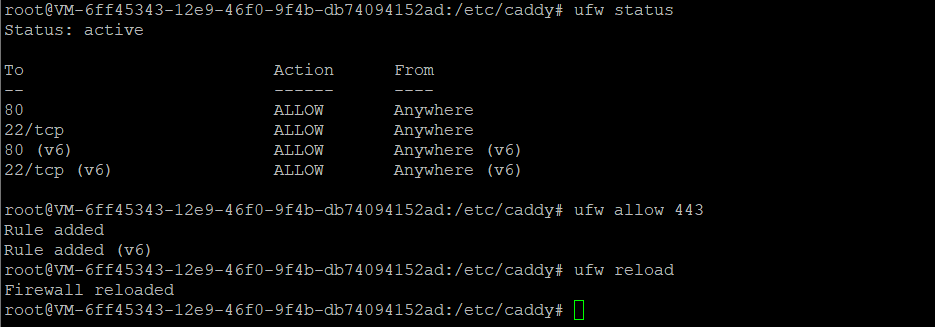
Access your domain using a browser such as Chrome to verify that Caddy serves your virtual host web application fils.
https://example.com
You have successfully installed and configured the Caddy web server on Ubuntu 24.04. For optimized hosting solutions, consider Shape.Host Cloud VPS, ensuring high performance and scalability for all your web applications.