What is Ansible AWX?
Ansible AWX is the open-source, web-based UI and REST API for Ansible, a widely used IT automation and configuration management tool. Maintained by Red Hat, AWX is the upstream project for Red Hat Ansible Automation Platform, offering a visual interface, role-based access control, job scheduling, and logging to enhance and centralize Ansible’s capabilities.
Running AWX on Debian 12 provides a robust, secure, and stable platform for managing infrastructure automation, especially in environments where a graphical interface or multi-user access is needed.
Key Features of Ansible AWX
Web-Based Interface
- Manage playbooks, inventories, and job templates through an intuitive UI.
- Visual dashboards for job monitoring and statistics.
Credential Management
- Store and manage SSH keys, API tokens, cloud credentials securely.
- Supports third-party integrations like GitHub, AWS, and GCP.
Inventory and Project Management
- Use static or dynamic inventories (e.g., AWS EC2, VMware).
- Link Git repositories to sync playbooks and roles automatically.
Job Scheduling
- Execute playbooks on a defined schedule.
- Automate maintenance tasks or deployments with precise timing.
Workflow Automation
- Create complex workflows that connect multiple job templates.
- Include conditional logic, approvals, and parallel tasks.
Role-Based Access Control (RBAC)
- Assign specific permissions to users and teams.
- Control access to projects, inventories, credentials, and job templates.
Logging and Auditing
- Track every user action and job run with timestamps and output.
- View logs in the UI or export to external logging systems.
Why Use AWX on Debian 12?
Debian 12 provides a reliable and minimal base system ideal for deploying AWX. Although Red Hat officially supports AWX on RHEL-based systems, Debian is fully capable of running AWX using Docker or Kubernetes with minor adjustments.
Benefits of using AWX on Debian 12 include:
- Long-term support and security updates.
- Clean, stable package ecosystem.
- Ideal for hosting in VPS or cloud environments.
AWX Architecture Overview
AWX is designed as a containerized application with components like:
- Web UI and API
- Task engine to execute Ansible jobs
- PostgreSQL database
- Redis for caching and messaging
- Optional Kubernetes deployment via AWX Operator
Common Use Cases
- Centralized control of Ansible playbooks and environments
- Collaborative automation with user access control
- Scheduled infrastructure updates or software deployments
- Integration with CI/CD pipelines
- Management of cloud infrastructure via Ansible modules
Ansible AWX vs Ansible CLI
| Feature | Ansible CLI | Ansible AWX |
|---|---|---|
| User Interface | Command line | Web UI & REST API |
| Multi-user Support | No | Yes |
| RBAC | No | Yes |
| Job Scheduling | Manual (cron) | Built-in |
| Inventory Management | Files/CLI | Web + Dynamic |
| Workflow Automation | Manual | Visual workflows |
| Logging and Auditing | Manual | Centralized and accessible |
System Requirements for AWX on Debian 12
| Component | Requirement |
|---|---|
| OS | Debian 12 (Bookworm) |
| CPU | 2+ cores (4 recommended) |
| RAM | 4 GB minimum (8 GB+ recommended) |
| Disk Space | 10 GB or more |
| Container Tool | Docker or Podman |
| Ansible | Installed for local playbook development |
Installation Methods on Debian 12
Since AWX is container-based, it can be installed in two main ways:
1. Docker Compose Deployment
- Suitable for small teams and test environments
- Clone the AWX GitHub repository
- Use Docker Compose to deploy the application stack
2. Kubernetes + AWX Operator
- Recommended for production
- Requires a Kubernetes cluster (e.g., Minikube, MicroK8s)
- Managed via the AWX Operator for lifecycle tasks
Advantages of Using AWX on Debian 12
- Open-source and free to use
- Centralized interface for managing automation
- Lightweight and resource-efficient on Debian
- Secure credential and secrets management
- Integration-ready via API and Git hooks
Limitations
- Not officially supported on Debian (documentation focuses on CentOS/RHEL)
- Initial setup requires knowledge of Docker or Kubernetes
- Resource usage is higher than CLI-based Ansible alone
- Some learning curve for RBAC and workflow configuration
- Upgrade and backup procedures are more complex than traditional applications
Ansible AWX on Debian 12 is a powerful solution for organizations looking to manage and scale their Ansible automation workflows through a centralized, web-based interface. It adds significant value to Ansible by enabling scheduling, access control, collaboration, and monitoring.
While deployment requires container tools and some configuration, AWX on Debian is highly suitable for DevOps teams, system administrators, and infrastructure automation engineers seeking a free and flexible automation platform.
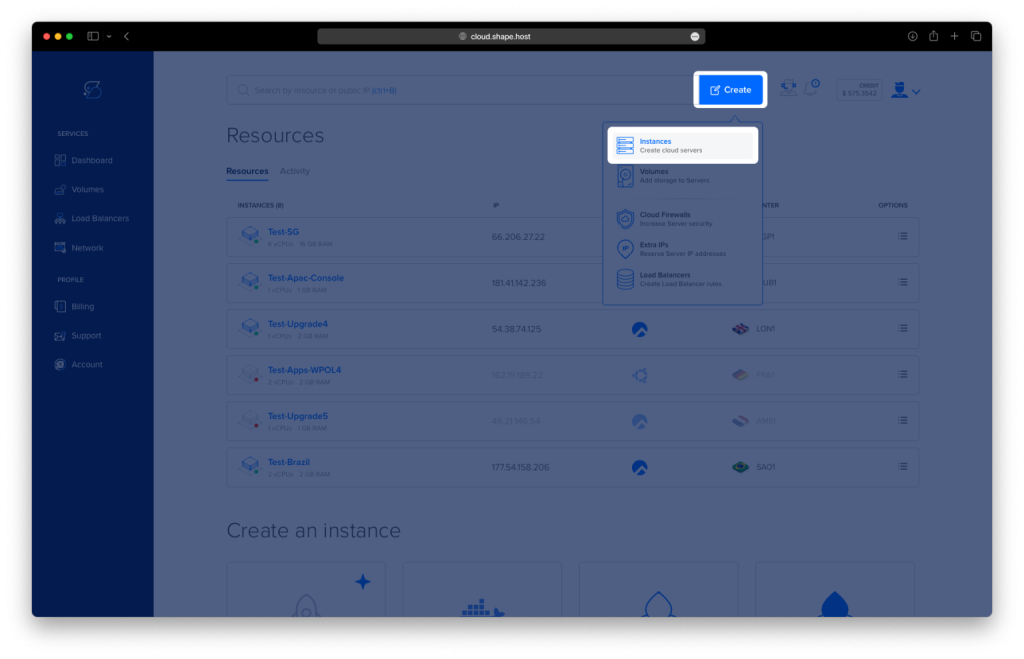
Step 1: Create a Debian 12 VPS on Shape.Host
How to deploy a server on Shape.Host:
Go to https://shape.host and log in or create an account.
Click “Create”.
Choose Instance.
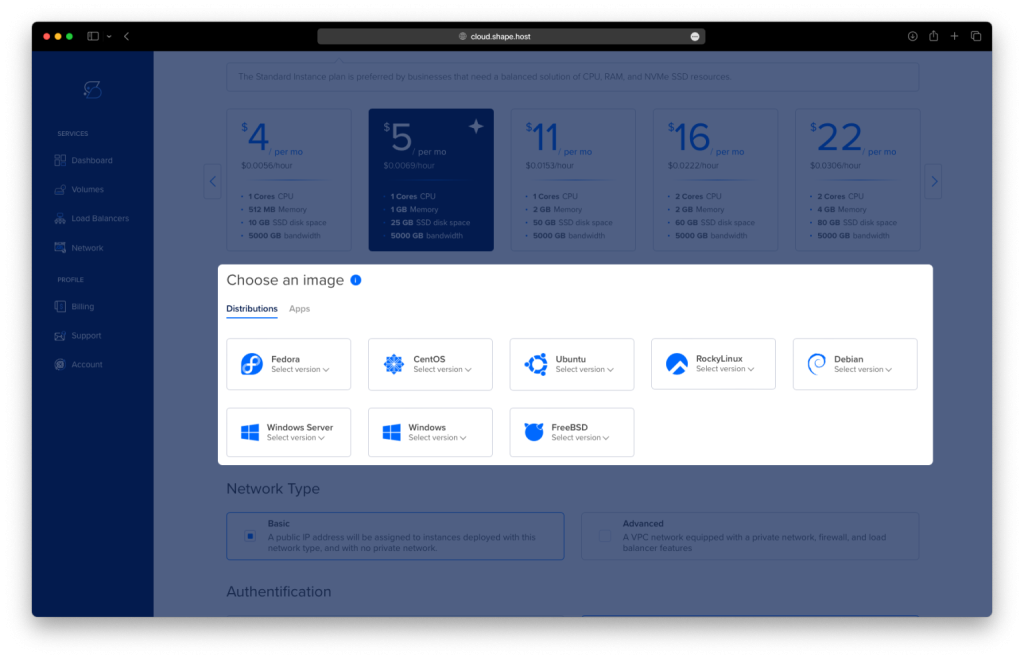
Choose your preferred server location.

Select Debian 12 (64-bit).
Pick a plan with at least 2 CPUs, 4 GB RAM, and 20 GB SSD.
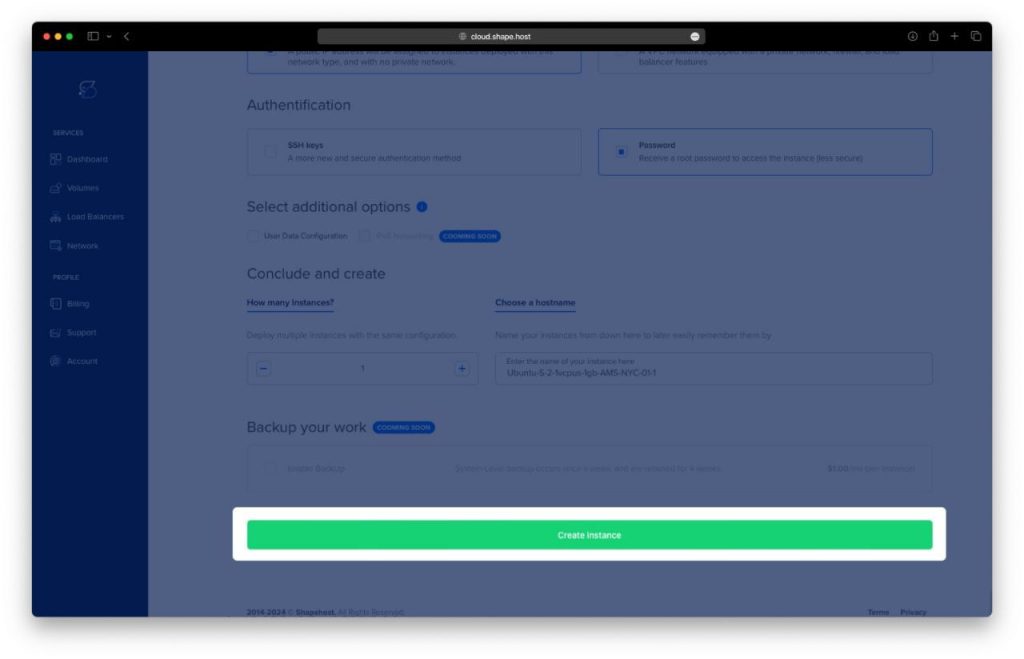
Select a data center near you and click Create Instance.
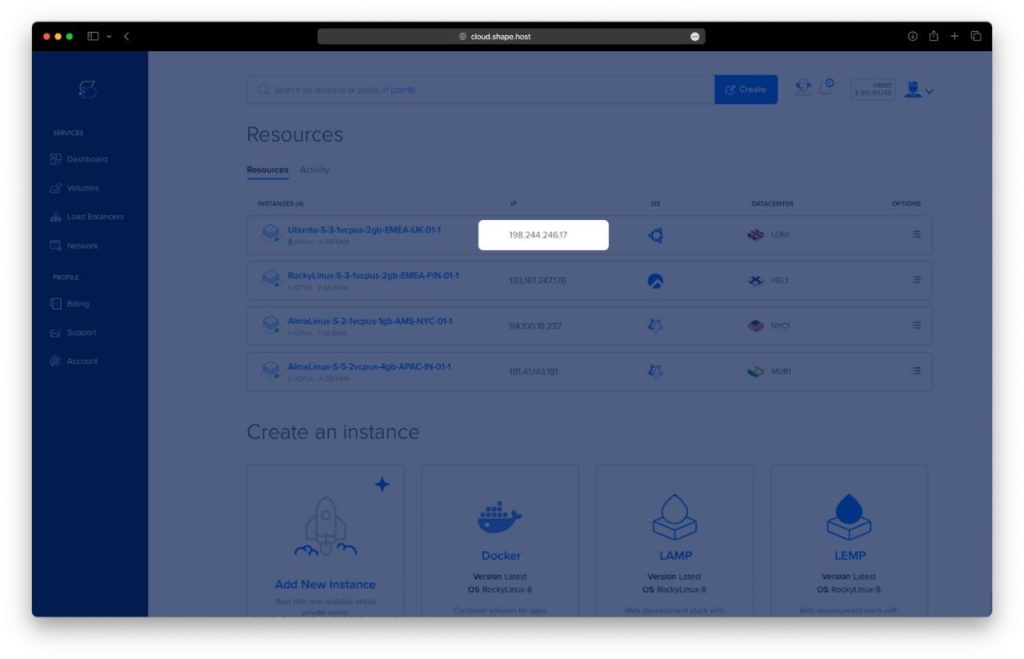
Find your instance’s IP address under the Resources section and use it to access your server.
Step 2: Connect to Your Server
ssh root@your_server_ip
This logs you into your server as root so you can install everything.
Step 3: Update the package list
apt update
Makes sure your server knows about the latest available software.
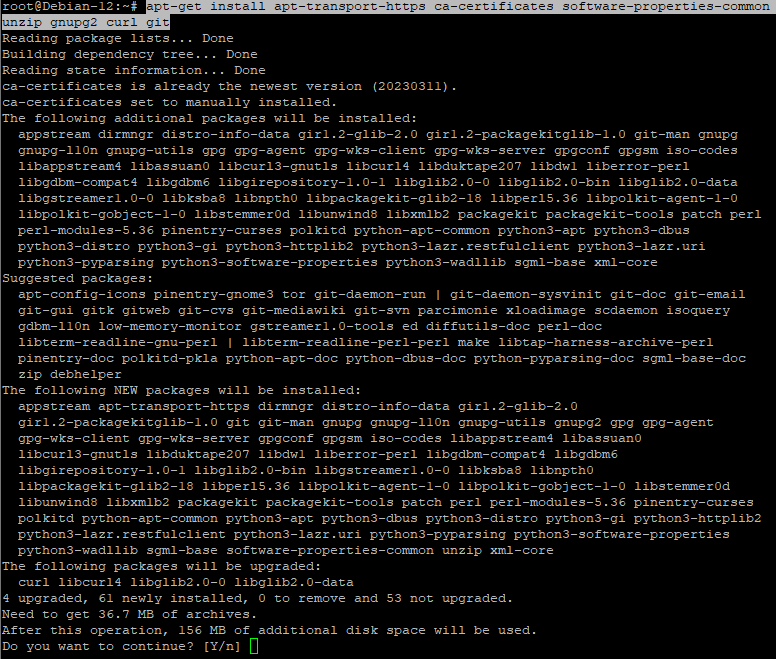
Step 4: Install needed tools
apt-get install apt-transport-https ca-certificates software-properties-common unzip gnupg2 curl git
These are general tools needed for downloading, verifying, and installing other software.
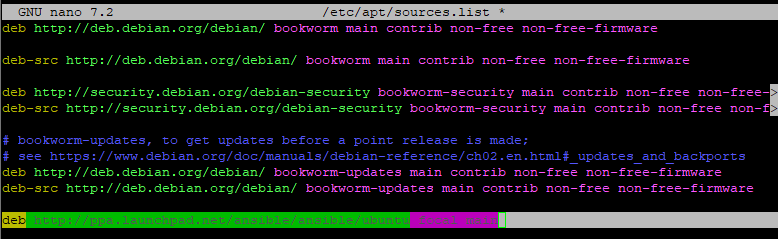
Step 5: Edit sources file (optional)
nano /etc/apt/sources.list
Add the following line:
deb http://ppa.launchpad.net/ansible/ansible/ubuntu focal main
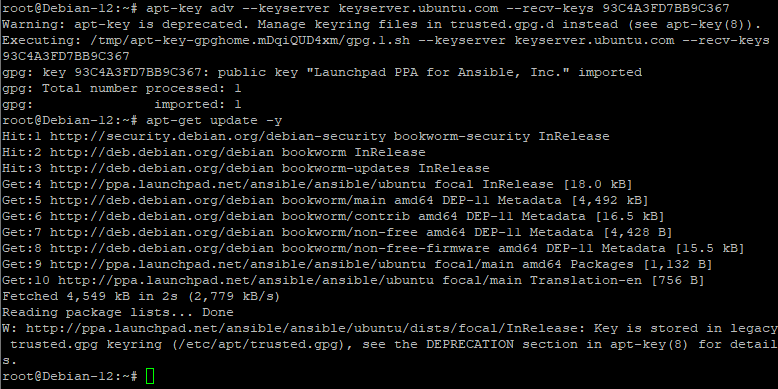
Step 6: Add the Ansible GPG key
apt-key adv --keyserver keyserver.ubuntu.com --recv-keys 93C4A3FD7BB9C367
This allows Debian to trust and install packages from the Ansible repository.
Step 7: Update again
apt-get update -y
Reloads the package list, now including Ansible’s source.
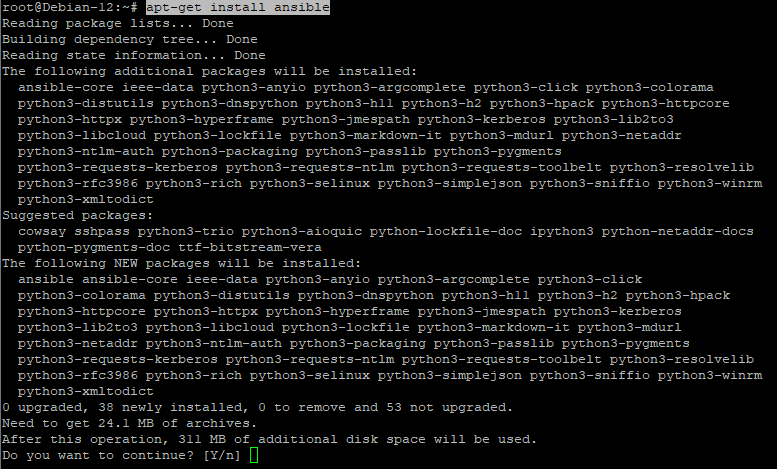
Step 8: Install Ansible
apt-get install ansible
Installs Ansible, the core automation tool we’ll use with AWX.
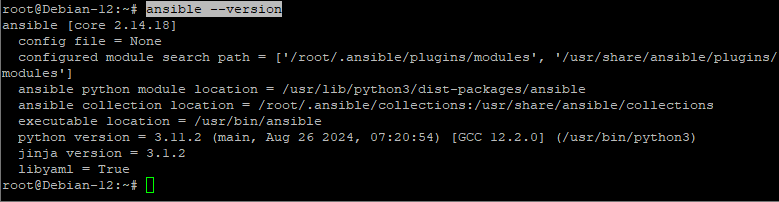
Step 9: Check Ansible version
ansible --version
Just to confirm that Ansible was installed correctly.
Step 10: Add Docker’s GPG key
curl -fsSL https://download.docker.com/linux/debian/gpg | gpg --dearmor -o /usr/share/keyrings/docker-archive-keyring.gpg
This lets your system verify that Docker packages are legit.
Step 11: Add Docker’s official repository
echo "deb [arch=amd64 signed-by=/usr/share/keyrings/docker-archive-keyring.gpg] https://download.docker.com/linux/debian $(lsb_release -cs) stable" | tee /etc/apt/sources.list.d/docker.list
Adds Docker’s software source to your system.

Step 12: Update again to include Docker packages
apt-get update -y
Loads the new Docker packages from the added repository.
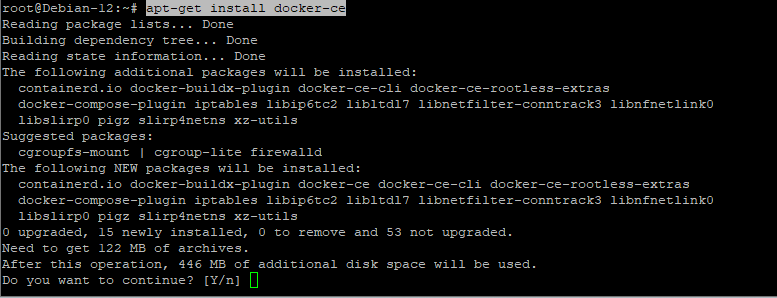
Step 13: Install Docker
apt-get install docker-ce
Installs Docker so you can run containers.
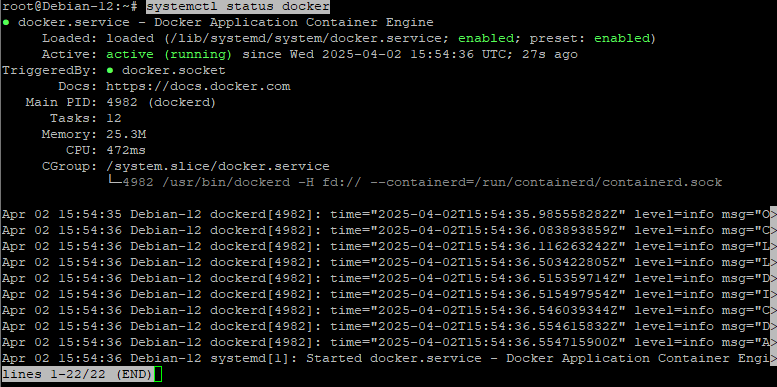
Step 14: Check Docker status
systemctl status docker
Shows if Docker is running correctly.
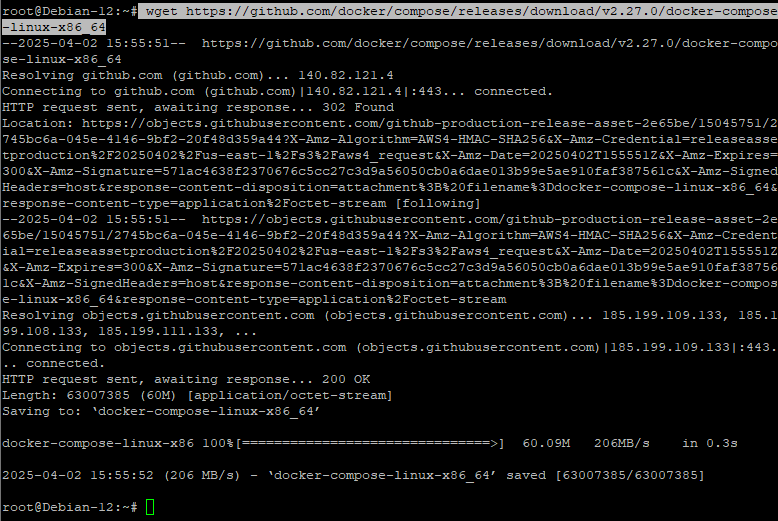
Step 15: Download Docker Compose
wget https://github.com/docker/compose/releases/download/v2.27.0/docker-compose-linux-x86_64
Gets the Docker Compose binary.
Step 16: Move Docker Compose to a system location
mv docker-compose-linux-x86_64 /usr/bin/docker-compose
Makes Docker Compose accessible as a command.
Step 17: Make Docker Compose executable
chmod +x /usr/bin/docker-compose
Gives it permission to run.
Step 18: Check Docker Compose version
docker-compose version
Verifies it’s installed properly.

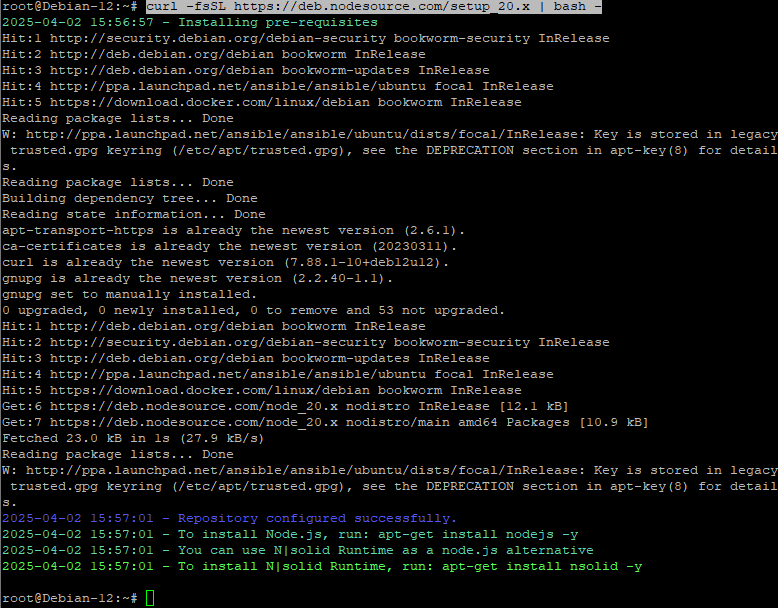
Step 19: Add Node.js setup script
curl -fsSL https://deb.nodesource.com/setup_20.x | bash -
Prepares your system to install Node.js 20.
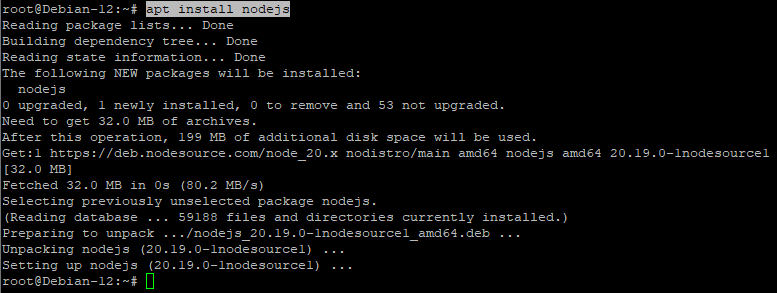
Step 20: Install Node.js
apt install nodejs
Installs Node.js and npm.
Step 21: Check Node and npm versions
node -v
npm -v
Confirms they installed successfully.

Step 22: Update npm
npm install npm --global
Gets the latest npm version.

Step 23: Install Python pip, Git, and pwgen
apt-get install python3-pip git pwgen
These are required for AWX. pwgen will help you create a strong secret key later.

Step 24: Install Docker Compose plugin
apt install docker-compose-plugin
This gives you the modern plugin-based Docker Compose (optional but helpful).

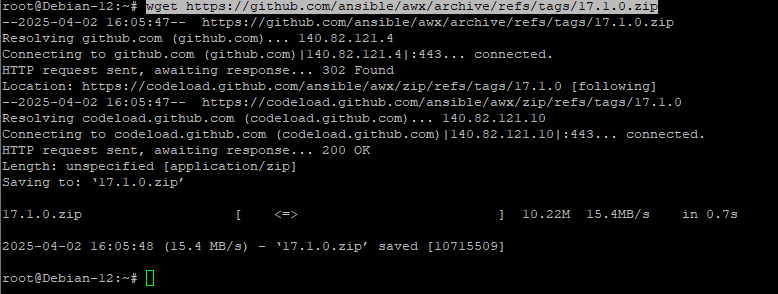
Step 25: Download AWX source code
wget https://github.com/ansible/awx/archive/refs/tags/17.1.0.zip
This gets AWX version 17.1.0 from GitHub.
Step 26: Unzip the AWX archive
unzip 17.1.0.zip
Extracts the installer and files.
Step 27: Go to the installer folder
cd awx-17.1.0/installer/
This is where the install.yml playbook and inventory config file live.
Step 28: Generate a secret key
pwgen -N 1 -s 30
Generates a secure key for AWX to use internally. Save this for the next step.

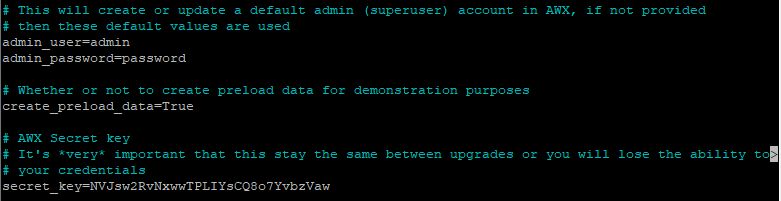
Step 29: Edit the inventory file
nano inventory
Set your admin password and secret key like this:
admin_password=YourPassword
secret_key=TheKeyYouGenerated
You can also change other settings here, like ports and database info.
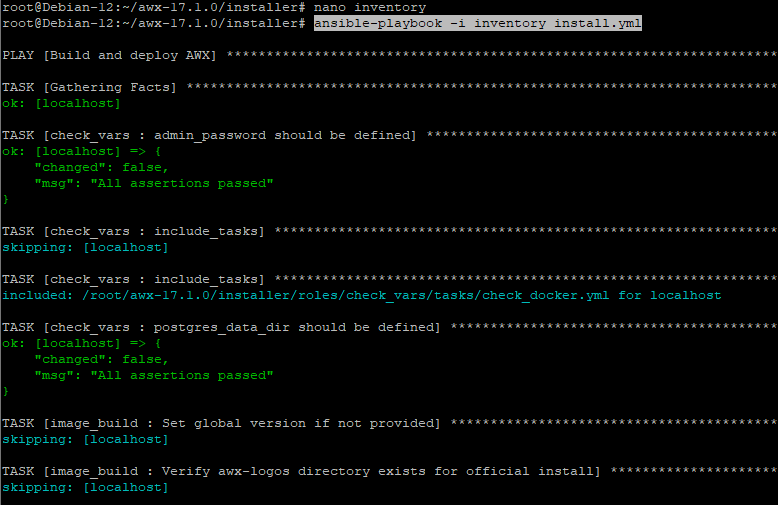
Step 30: Run the AWX installer
ansible-playbook -i inventory install.yml
This command starts the full AWX setup using Docker. It will take a few minutes.
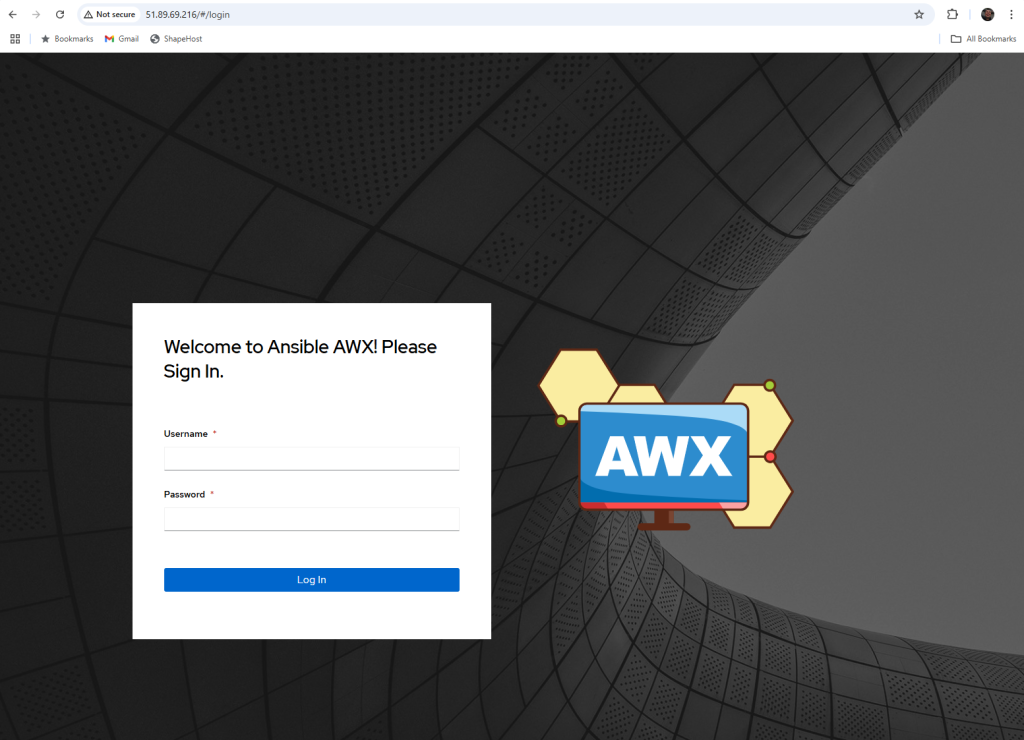
Step 31: Open AWX in your browser
Once the setup finishes, go to:
http://your_server_ip
Login with:
- Username:
admin - Password: the one you set in the inventory file
You’ve installed Ansible AWX on Debian 12, using Docker and Ansible exactly as planned. Now you can manage playbooks, inventories, credentials, and more through a nice web interface.
Need a fast, reliable server for AWX?
Check out Shape.Host — perfect for DevOps tools, automation, and scalable projects.