What is Ansible AWX?
Ansible AWX is the open-source web interface and API for Ansible, designed to help teams automate IT operations using a centralized, visual platform. Developed by Red Hat, AWX is the upstream project for Red Hat Ansible Automation Platform, offering tools to manage playbooks, inventories, credentials, and job workflows.
On Ubuntu 24.04 (Noble Numbat), AWX runs efficiently using Docker, Podman, or Kubernetes, making it a powerful choice for DevOps and system administrators managing modern infrastructure.
Key Features of Ansible AWX
Web-Based Interface and REST API
- Intuitive UI to manage playbooks, inventories, credentials, and schedules.
- RESTful API for integration with external tools and pipelines.
Job Templates and Scheduling
- Create reusable templates for automation tasks.
- Schedule jobs using a built-in cron-like system.
Workflow Automation
- Build visual workflows chaining multiple tasks.
- Supports conditionals, approvals, and parallel execution.
Role-Based Access Control (RBAC)
- Assign granular permissions to users and teams.
- Control access to resources like inventories, credentials, and job templates.
Inventory Management
- Supports both static and dynamic inventories.
- Integrate with public clouds (AWS, GCP, Azure), VMware, OpenStack, and more.
Credential Management
- Securely store SSH keys, API tokens, passwords, and vault credentials.
- Integrates with cloud services and secret stores.
Logging and Auditing
- View job output, logs, and user activity in the UI.
- Export logs for compliance or external analysis.
Why Use AWX on Ubuntu 24.04?
Ubuntu 24.04 is a modern, stable LTS release offering excellent compatibility with AWX components:
- Native support for container runtimes like Docker and Podman.
- Works well with Kubernetes distributions (MicroK8s, Minikube, k3s).
- Easily integrates with other tools like Git, Vault, and monitoring stacks.
- Long-term support makes it ideal for production environments.
Architecture Overview
AWX is a containerized application that includes:
- Web Interface and API Service
- Task Engine for running playbooks
- PostgreSQL for persistent data storage
- Redis for message queuing and caching
- Can be deployed using:
- Docker Compose (development or small teams)
- Kubernetes + AWX Operator (scalable and production-ready)
Use Cases of AWX on Ubuntu 24.04
- Centralized control of all Ansible automation activities
- Collaborative playbook execution for development, QA, and operations
- Continuous delivery via integrations with GitOps and CI/CD tools
- Scheduling and running regular maintenance or compliance tasks
- Managing multi-environment infrastructure with dynamic inventories
Comparison: Ansible CLI vs AWX
| Feature | Ansible CLI | AWX |
|---|---|---|
| User Interface | CLI only | Web UI & REST API |
| Access Control | Manual | Role-based (RBAC) |
| Scheduling | Requires cron | Built-in |
| Multi-user Support | No | Yes |
| Workflow Automation | Manual scripting | Visual workflows |
| Logging and Auditing | Basic logs | Centralized, accessible logs |
| Integration | Manual scripts | API/webhooks support |
System Requirements on Ubuntu 24.04
| Component | Minimum Requirement |
|---|---|
| OS | Ubuntu 24.04 LTS |
| CPU | 2 cores (4+ recommended) |
| RAM | 4 GB minimum (8 GB+ for production) |
| Disk Space | 10 GB+ |
| Container Tool | Docker, Podman, or Kubernetes |
| Ansible | Required for playbook development |
Deployment Options
1. Docker Compose Deployment
- Suitable for testing or single-user environments
- Clone the official AWX GitHub repository and use provided playbooks to deploy containers
- Easier to set up, but less scalable
2. Kubernetes + AWX Operator
- Preferred for production use
- Deploy using the AWX Operator on any Kubernetes cluster
- Supports high availability, scaling, and easier upgrades
Advantages of AWX on Ubuntu 24.04
- Completely open-source and free to use
- Seamless integration with cloud providers, Git, and CI/CD pipelines
- Built-in RBAC, logging, and credential management
- Actively developed with enterprise-ready features
- Supported by Ubuntu’s stable LTS base
Limitations
- No official .deb package — requires container-based deployment
- Learning curve for Kubernetes-based deployment and RBAC configuration
- Can consume significant resources in larger setups
- Backup, upgrades, and scaling require container orchestration knowledge
Ansible AWX on Ubuntu 24.04 offers a powerful, scalable, and modern interface for managing infrastructure automation with Ansible. Whether you’re automating cloud deployments, managing internal IT, or building CI/CD pipelines, AWX provides the tools, visibility, and control needed for effective team collaboration and infrastructure-as-code practices.
Ubuntu 24.04 is a strong platform for AWX deployments, offering long-term support, security, and compatibility with Docker, Kubernetes, and modern DevOps tools.
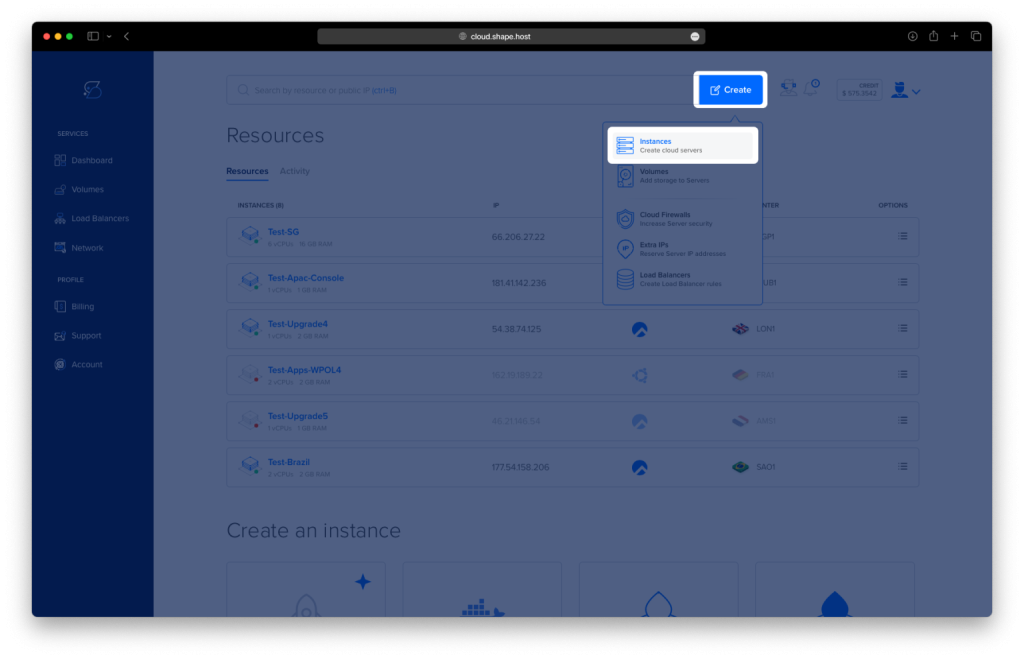
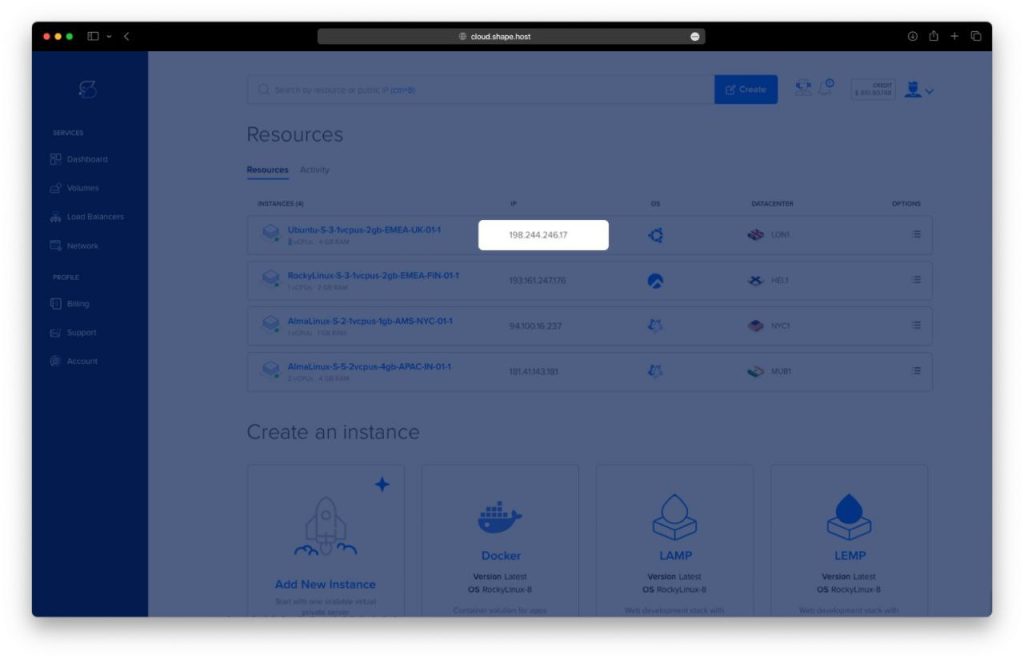
Step 1: Create a VPS on Shape.Host
Before anything else, create your server:
Go to https://shape.host and log into your dashboard.
Click “Create”.
Choose Instance.
Choose your preferred server location.
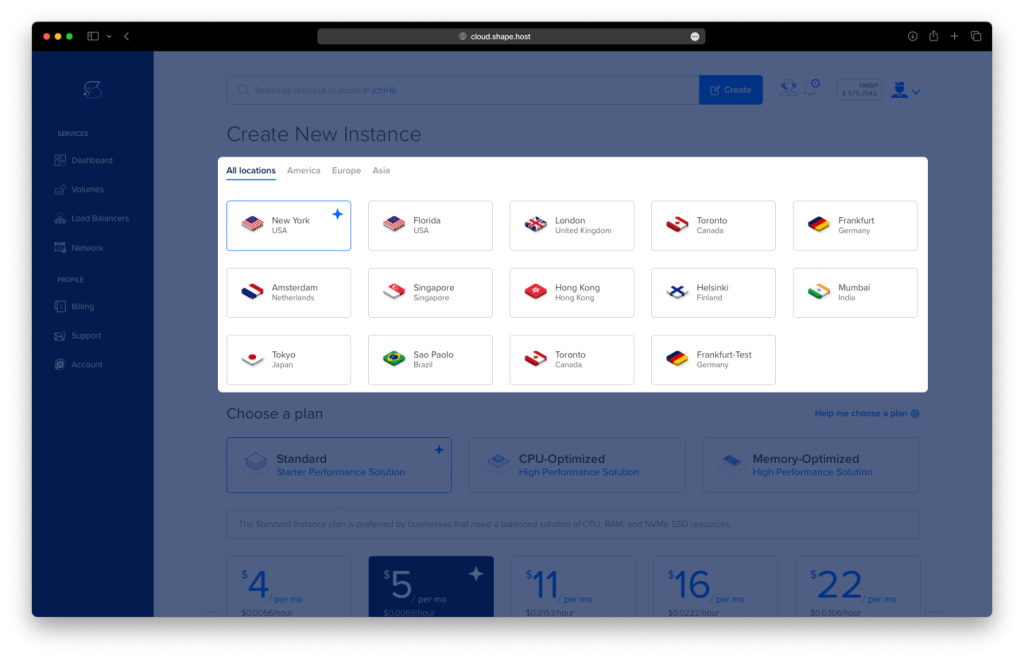
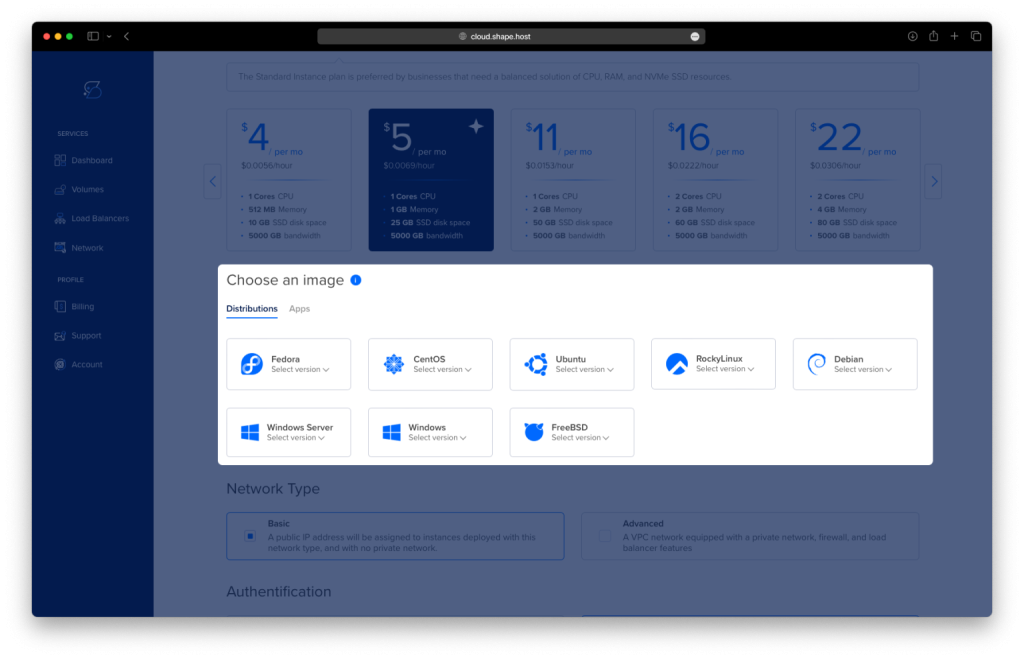
Select Ubuntu 24.04 (64-bit) as your OS.
Pick a plan with at least 2 CPUs, 4 GB RAM, and 20 GB SSD.
Click Create Instance.
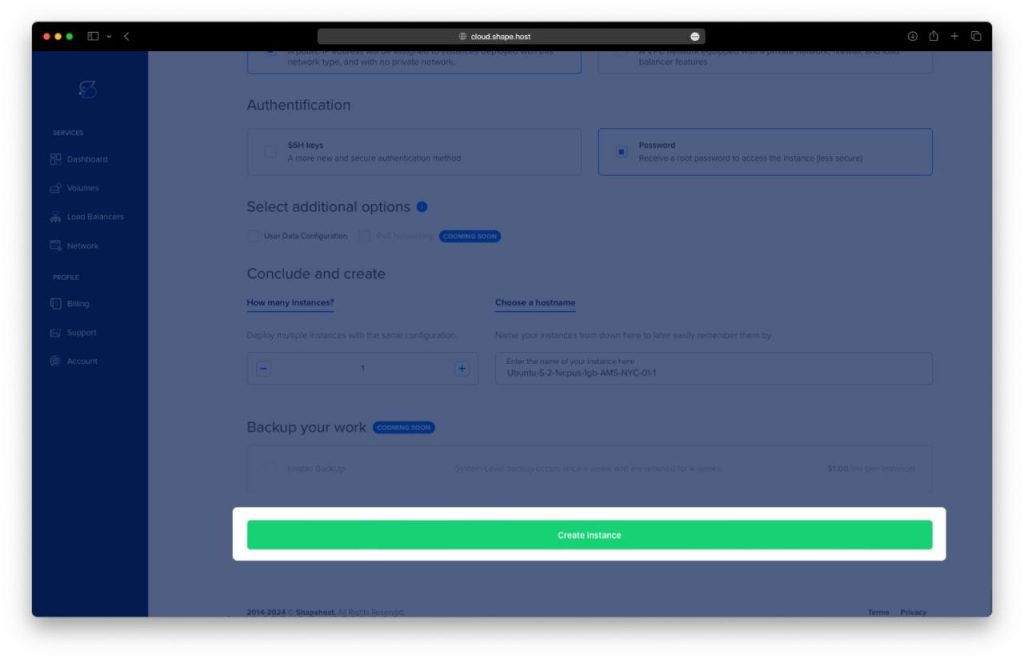
Find your instance’s IP address under the Resources section and use it to access your server.
Step 2: Connect to your VPS
ssh root@your_server_ip
This gives you terminal access to the server.
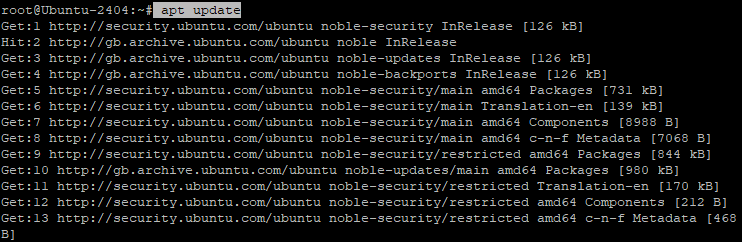
Step 3: Update package lists
apt update
Refreshes the list of available software.
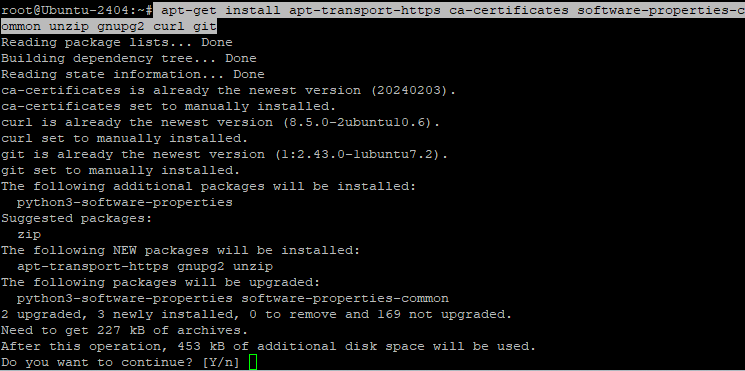
Step 4: Install required tools
apt-get install apt-transport-https ca-certificates software-properties-common unzip gnupg2 curl git
These tools help with secure package downloads, Git, and file handling.
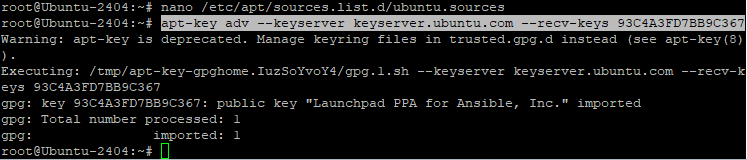
Step 5: Add the Ansible GPG key
apt-key adv --keyserver keyserver.ubuntu.com --recv-keys 93C4A3FD7BB9C367
Allows the system to trust Ansible’s software packages.
Step 6: Update again to include Ansible
apt-get update -y
Loads new trusted packages into the list.

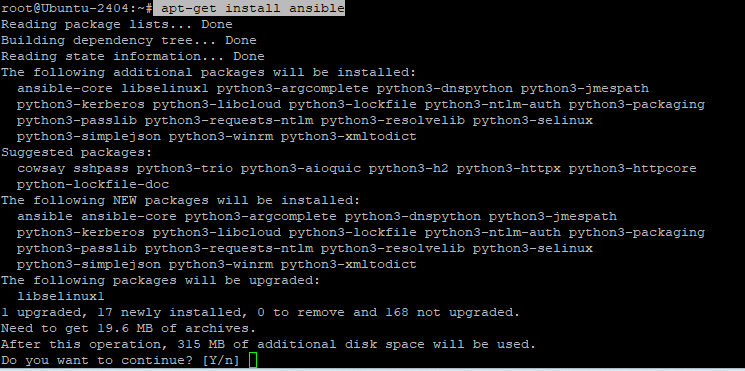
Step 8: Install Ansible
apt-get install ansible
Installs Ansible — the automation tool AWX is built to manage.
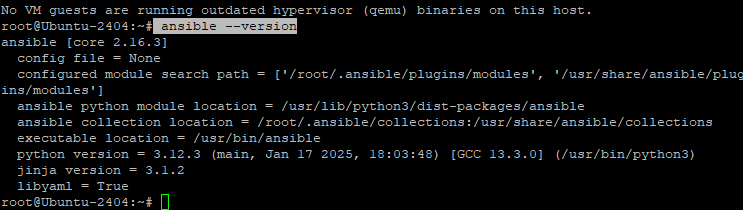
Step 9: Confirm Ansible installed
ansible --version
Checks that it installed and prints the version.
Step 10: Add Docker’s GPG key
curl -fsSL https://download.docker.com/linux/ubuntu/gpg | gpg --dearmor -o /usr/share/keyrings/docker-archive-keyring.gpg
Lets your system trust Docker packages.
Step 11: Add Docker’s repository
echo "deb [arch=amd64 signed-by=/usr/share/keyrings/docker-archive-keyring.gpg] https://download.docker.com/linux/ubuntu $(lsb_release -cs) stable" | tee /etc/apt/sources.list.d/docker.list
Adds Docker’s source to your system.

Step 12: Update again for Docker
apt-get update -y
Pulls in the new Docker repo.
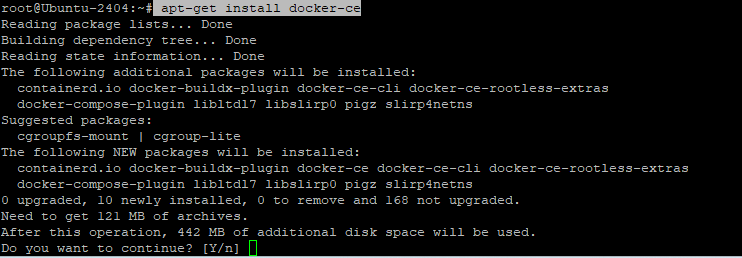
Step 13: Install Docker Engine
apt-get install docker-ce
Installs Docker so you can run containers.
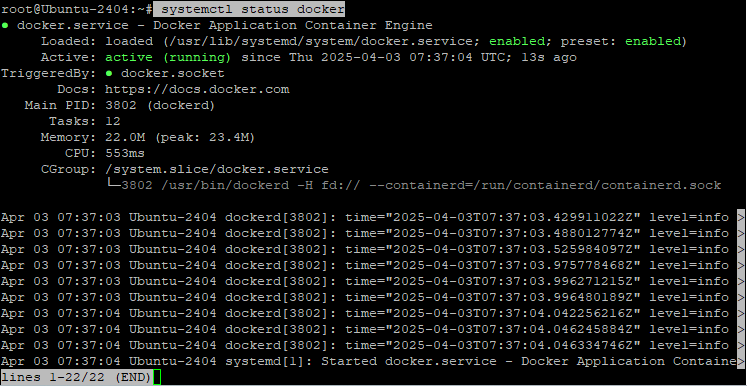
Step 14: Check Docker is running
systemctl status docker
Checks the Docker service status.
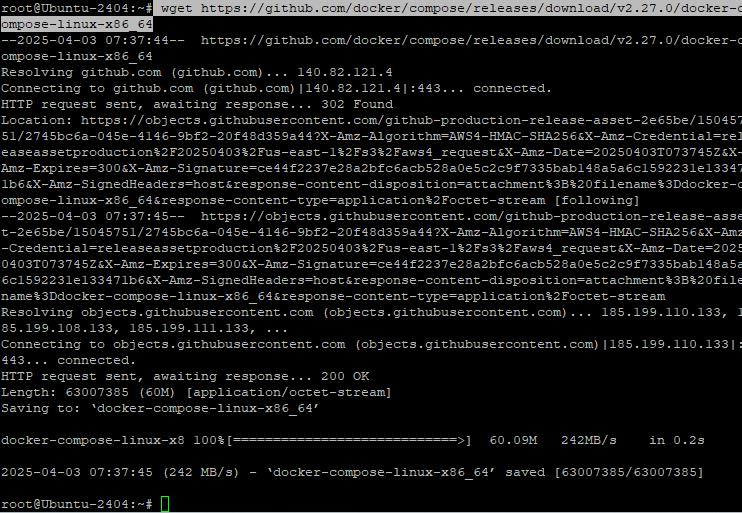
Step 15: Download Docker Compose
wget https://github.com/docker/compose/releases/download/v2.27.0/docker-compose-linux-x86_64
Gets the Docker Compose binary.
Step 16: Move Docker Compose to the system path
mv docker-compose-linux-x86_64 /usr/bin/docker-compose
Puts it in a global location for easier use.
Step 17: Make Docker Compose executable
chmod +x /usr/bin/docker-compose
Gives the file permission to run.
Step 18: Check version
docker-compose version
Confirms it works.

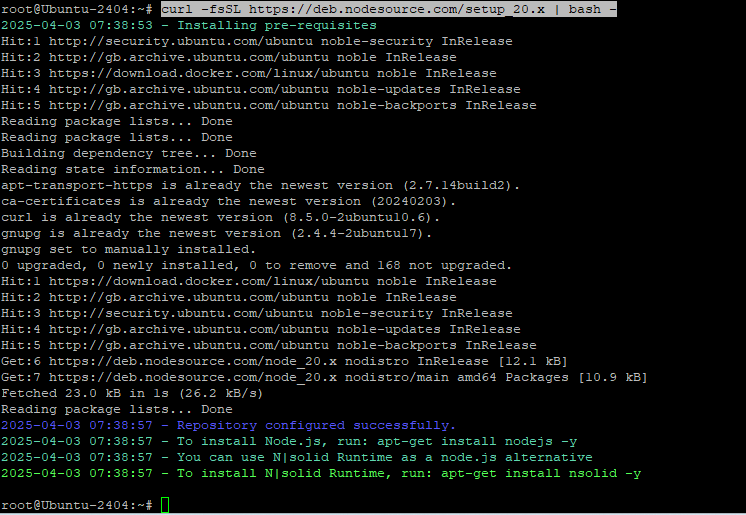
Step 19: Add Node.js 20 setup
curl -fsSL https://deb.nodesource.com/setup_20.x | bash -
Adds the Node.js 20 repo.
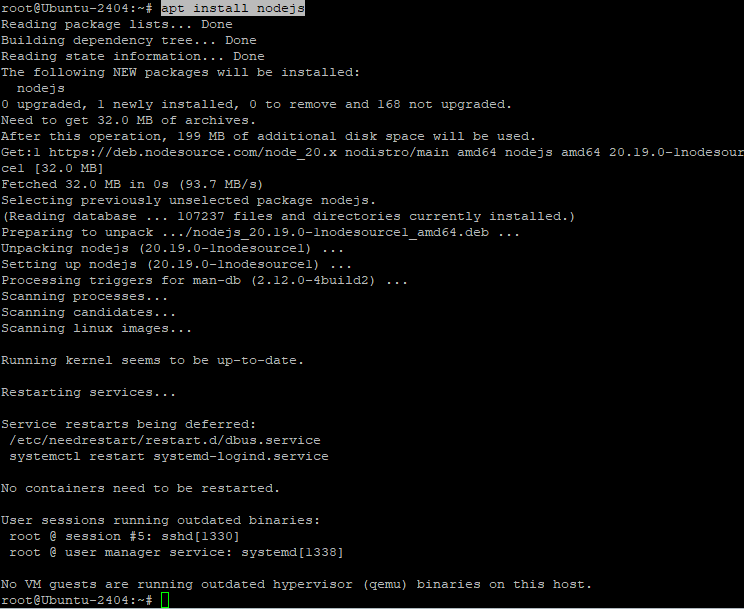
Step 20: Install Node.js
apt install nodejs
Installs Node.js and npm.
Step 21: Confirm Node.js and npm installed
node -v
npm -v

Step 22: Upgrade npm
npm install npm --global
Installs the latest version of npm.

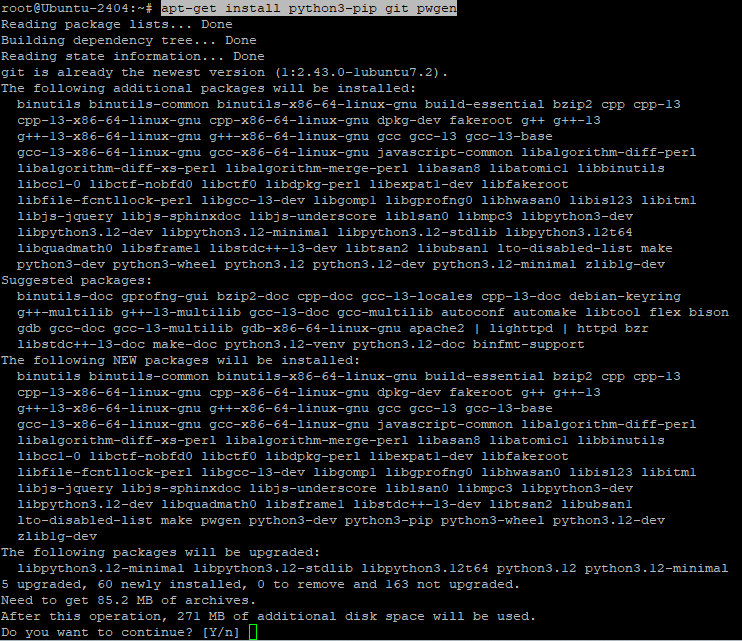
Step 23: Install Python tools, Git, and pwgen
apt-get install python3-pip git pwgen
AWX uses pip; Git is helpful; pwgen is used to generate a secret key.
Step 24: Install Docker Compose plugin
apt install docker-compose-plugin
Provides the plugin version of Compose (used in newer Docker).

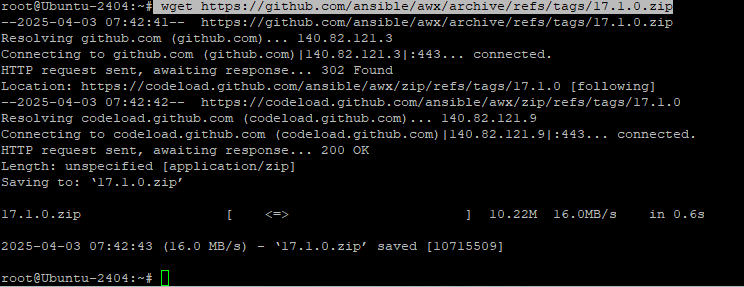
Step 25: Download AWX source
wget https://github.com/ansible/awx/archive/refs/tags/17.1.0.zip
Grabs the AWX installer archive.
Step 26: Unzip the archive
unzip 17.1.0.zip
Extracts the AWX files.
Step 27: Enter the AWX installer folder
cd awx-17.1.0/installer/
This folder contains the playbook and inventory file.
Step 28: Generate a strong secret key
pwgen -N 1 -s 30
This will be needed in the next step. Save it.
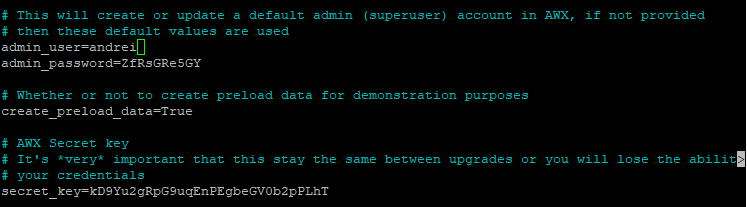
Step 29: Edit the AWX inventory file
nano inventory
Set at minimum:
admin_password=yourpassword
secret_key=yourgeneratedkey
You can also change ports and DB credentials if needed.
Step 30: Run the AWX installation playbook
ansible-playbook -i inventory install.yml
This launches the full AWX setup using Docker. It may take a few minutes.
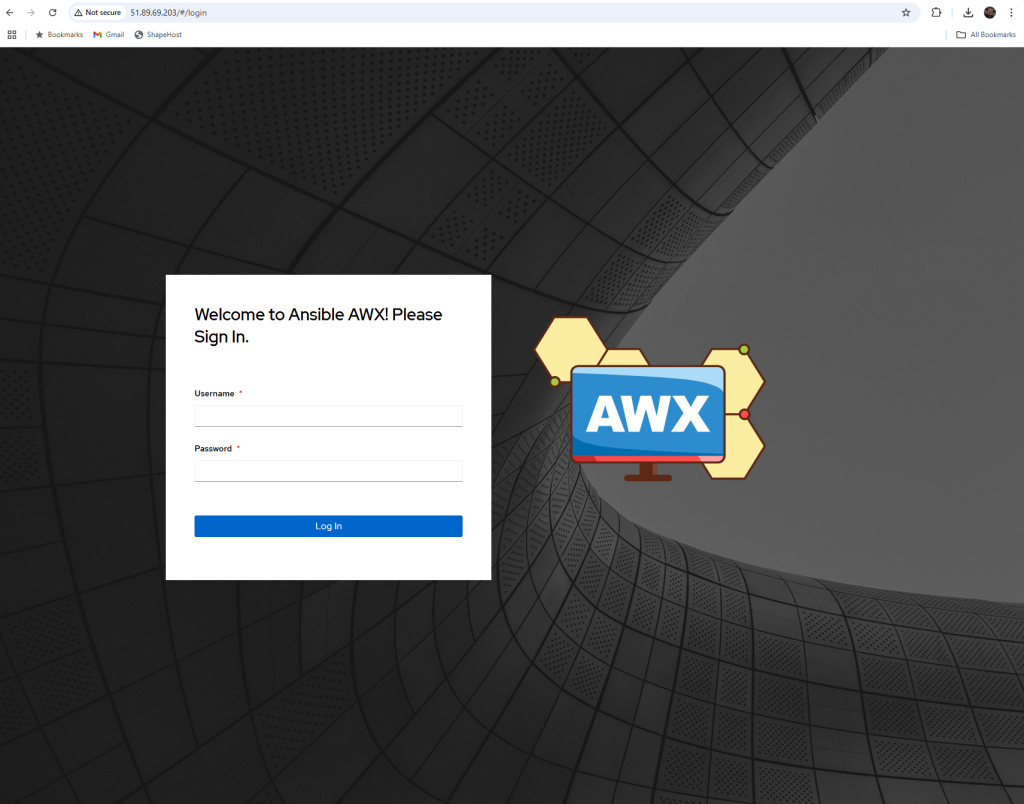
Step 31: Access AWX in your browser
Once complete, go to:
http://your_server_ip:
Log in using:
- Username:
admin - Password: the one you defined in
inventory
This setup was built on a Shape.Host Cloud VPS. If you need:
- Fast provisioning
- Full root access
- Flexible DevOps-ready plans
Visit https://shape.host and launch your own secure automation server in minutes.