Apache Guacamole (Docker) on Rocky Linux 9 (Nginx + SSL)
Apache Guacamole is a clientless remote desktop gateway that supports RDP, VNC, and SSH, all accessible directly through a standard web browser. Because it runs entirely on HTML5, there’s no need for plugins or local clients — once deployed, users can securely access desktops and servers from anywhere using only a browser.
Running Guacamole with Docker packages all its components (the Guacamole web app, the guacd proxy daemon, and optional database backend) into containers, making deployment and upgrades simple. With Rocky Linux 9, a community-driven, RHEL-compatible enterprise distribution, you get a stable, secure, and long-term supported foundation that is trusted in production data centers worldwide.
Architecture Overview
| Layer | Component | Role |
|---|---|---|
| OS | Rocky Linux 9 | RHEL-compatible enterprise OS with long-term support and SELinux |
| Runtime | Docker Engine | Runs Guacamole and its supporting services in containers |
| Application | Apache Guacamole (Web UI) | Provides browser-based remote desktop gateway |
| Proxy Daemon | guacd (in container) | Handles RDP, VNC, and SSH protocols, streams sessions to the browser |
| Database | PostgreSQL/MySQL (optional) | Stores user accounts, roles, and connection configs (persistent) |
| Reverse Proxy | Nginx (recommended) | TLS termination, routing, authentication, and access control |
| TLS | Let’s Encrypt / PKI | Provides secure HTTPS connections for users |
Why Use Apache Guacamole?
- Clientless access – works entirely in the browser, no plugins required.
- Supports multiple protocols – RDP, VNC, SSH in one gateway.
- Centralized management – organize and control multiple systems from a single UI.
- Enterprise security – HTTPS, SELinux, RBAC, optional MFA/SSO.
- Containerized deployment – portable, consistent, and easy to maintain.
Guacamole vs Other Remote Access Solutions
| Feature/Capability | Apache Guacamole | VPN-only Access | Proprietary Tools (AnyDesk, NoMachine) | Native RDP/VNC Clients |
|---|---|---|---|---|
| Client requirements | None (HTML5 browser) | VPN client | Proprietary client software | RDP/VNC client needed |
| Protocols supported | RDP, VNC, SSH | Network tunneling only | Limited/custom protocols | RDP/VNC only |
| Multi-user management | Yes (RBAC + DB) | No | Limited | No |
| Security | TLS + SELinux + RBAC | VPN encryption only | Vendor-dependent | Basic encryption |
Guacamole shines when you need secure, browser-based remote access across multiple systems and protocols without installing any additional software.
Security & Best Practices
- Run Guacamole behind Nginx with SSL for secure access.
- Use Let’s Encrypt or corporate PKI for certificates.
- Harden deployments with SELinux policies and Rocky Linux’s firewall (firewalld).
- Store user accounts and permissions in PostgreSQL or MySQL for persistence.
- Enable MFA/SSO where possible for stronger authentication.
- Regularly update Docker images (
guacamole/guacamoleandguacamole/guacd). - Use Fail2Ban and Nginx rate limiting to prevent brute-force login attempts.
Typical Use Cases
- Secure remote desktop gateway for IT teams and sysadmins.
- Centralized SSH access to Linux servers.
- Browser-based access to Windows desktops via RDP.
- Lightweight, secure alternative to VPN-only solutions.
- Enabling BYOD (Bring Your Own Device) access for remote workers.
1. Create a Shape.Host VPS Instance
Log in at https://shape.host.
Click “Create” → “Instance”.
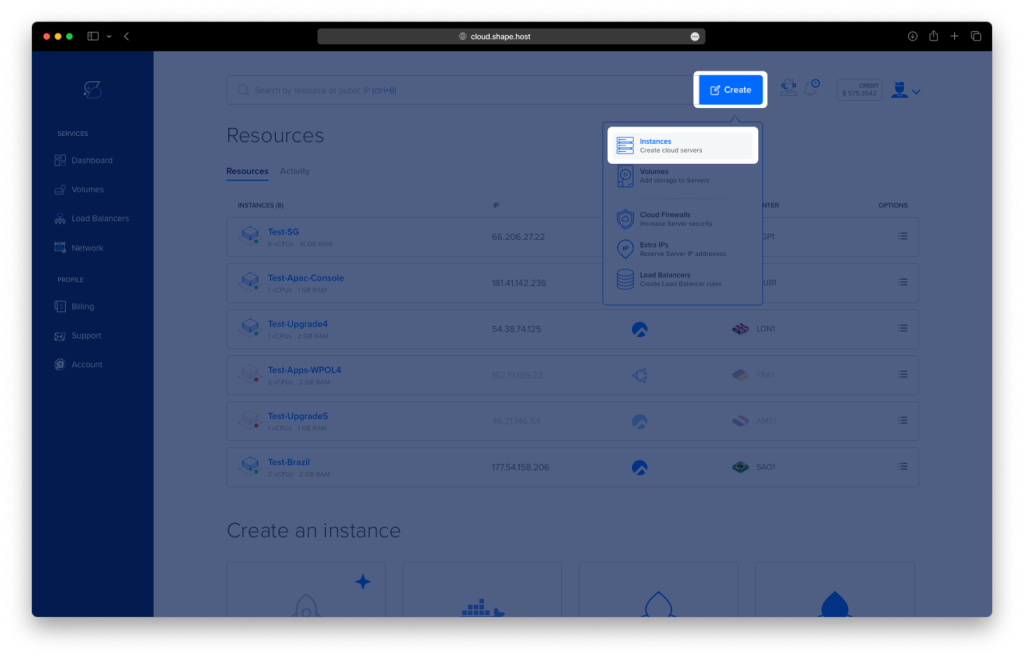
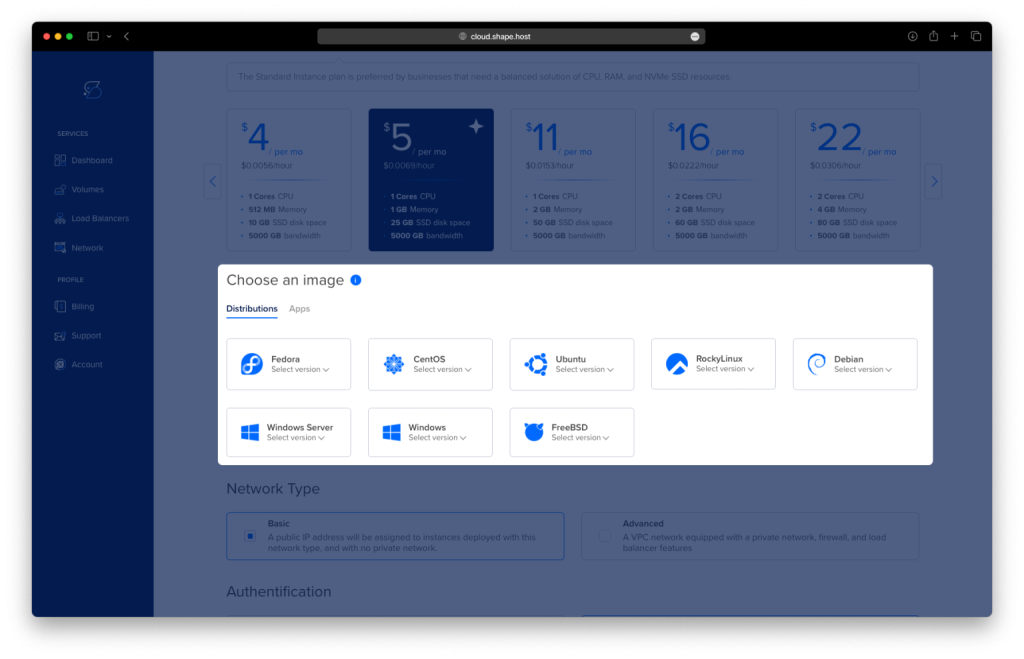
Select the server location closest to your users.

Choose Rocky Linux 9 (64-bit) as the operating system.
Pick a plan with at least 2 CPUs, 4 GB RAM, and 20 GB SSD.
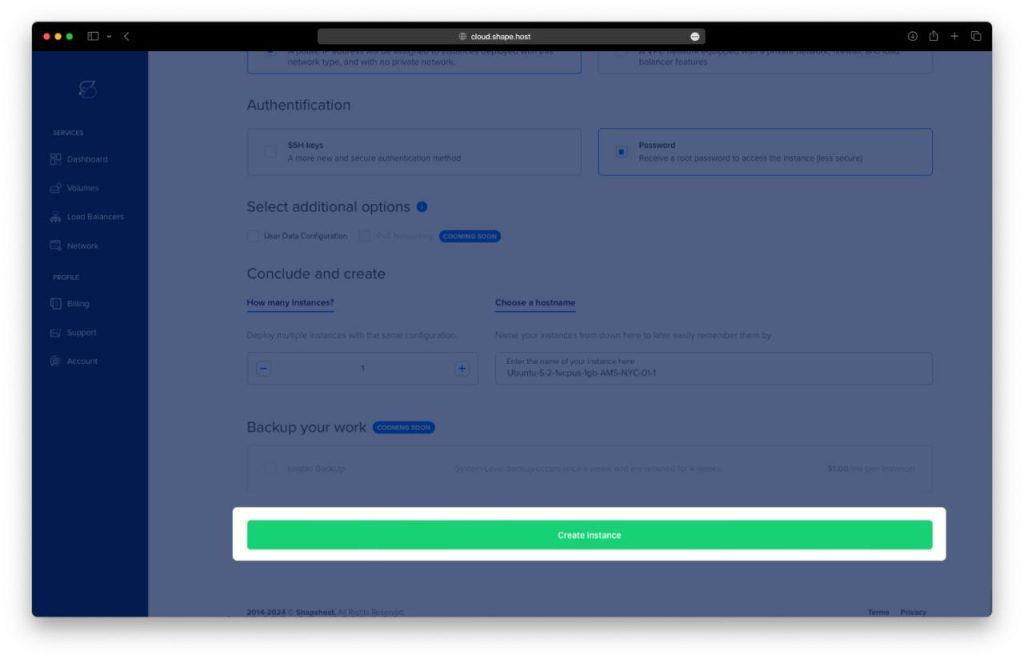
Click “Create Instance”.
Copy the server IP address from the Resources section.

2. Connect to Your VPS
On Linux/macOS
ssh root@your-server-ip
On Windows
- On Windows 10/11 PowerShell:
ssh root@your-server-ip - On older Windows, use PuTTY to log in as root.
3. Update the System and Install Docker
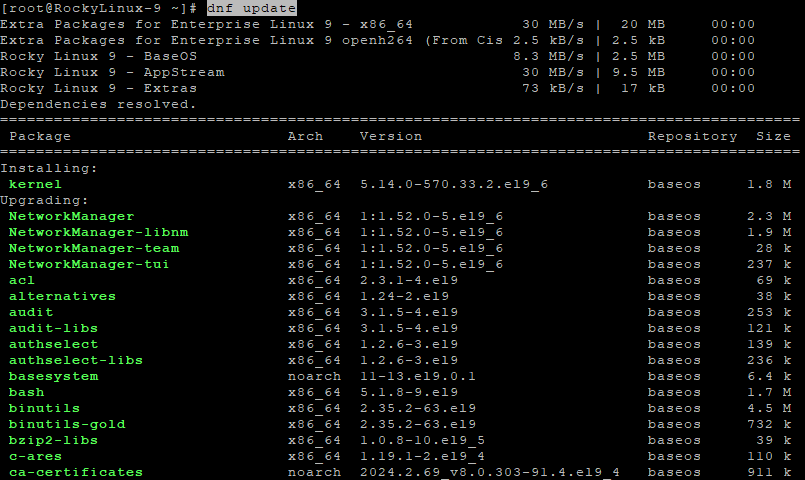
Update packages:
dnf update
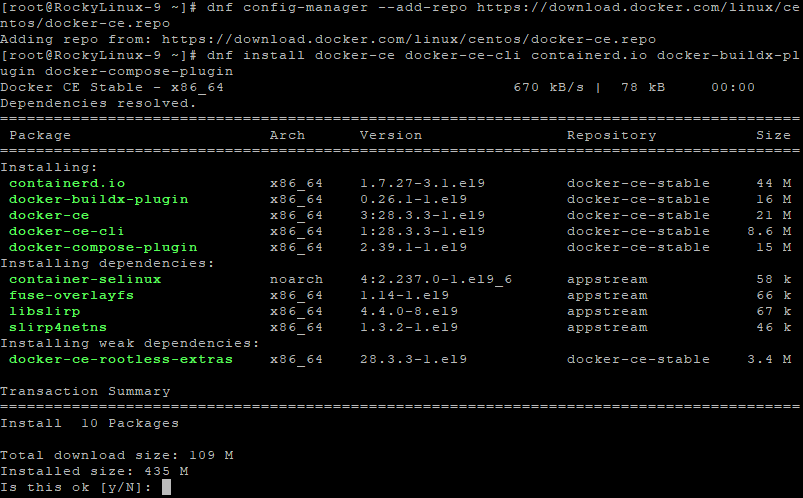
Add Docker repository:
dnf config-manager --add-repo https://download.docker.com/linux/centos/docker-ce.repo
Install Docker CE and plugins:
dnf install docker-ce docker-ce-cli containerd.io docker-buildx-plugin docker-compose-plugin
Enable and start Docker:
systemctl enable --now docker
Check versions:
docker --version
docker compose version

4. Set Up Guacamole with Docker Compose
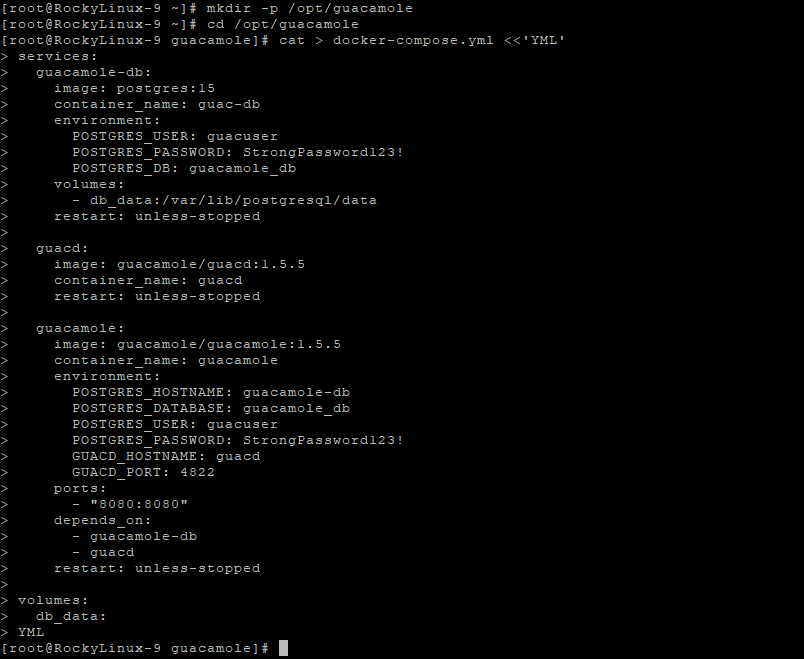
Create working directory:
mkdir -p /opt/guacamole
cd /opt/guacamole
Create docker-compose.yml:
cat > docker-compose.yml <<'YML'
services:
  guacamole-db:
    image: postgres:15
    container_name: guac-db
    environment:
      POSTGRES_USER: guacuser
      POSTGRES_PASSWORD: StrongPassword123!
      POSTGRES_DB: guacamole_db
    volumes:
      - db_data:/var/lib/postgresql/data
    restart: unless-stopped

  guacd:
    image: guacamole/guacd:1.5.5
    container_name: guacd
    restart: unless-stopped

  guacamole:
    image: guacamole/guacamole:1.5.5
    container_name: guacamole
    environment:
      POSTGRES_HOSTNAME: guacamole-db
      POSTGRES_DATABASE: guacamole_db
      POSTGRES_USER: guacuser
      POSTGRES_PASSWORD: StrongPassword123!
      GUACD_HOSTNAME: guacd
      GUACD_PORT: 4822
    ports:
      - "8080:8080"
    depends_on:
      - guacamole-db
      - guacd
    restart: unless-stopped

volumes:
  db_data:
YML
5. Initialize PostgreSQL Database
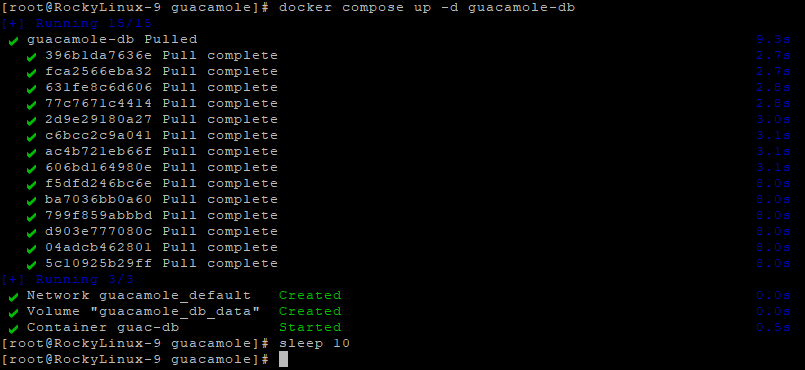
Start database container:
docker compose up -d guacamole-db
Wait for DB initialization:
sleep 10
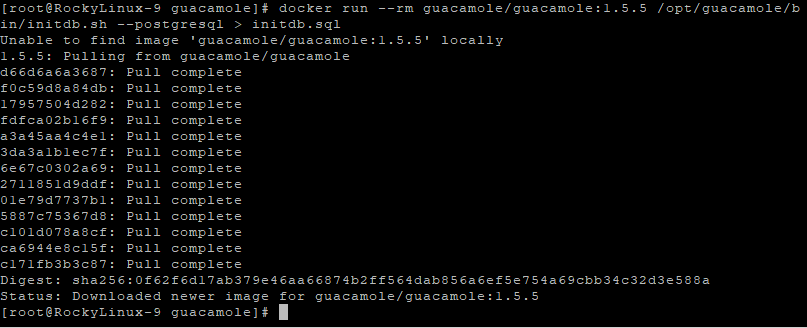
Generate schema:
docker run --rm guacamole/guacamole:1.5.5 /opt/guacamole/bin/initdb.sh --postgresql > initdb.sql
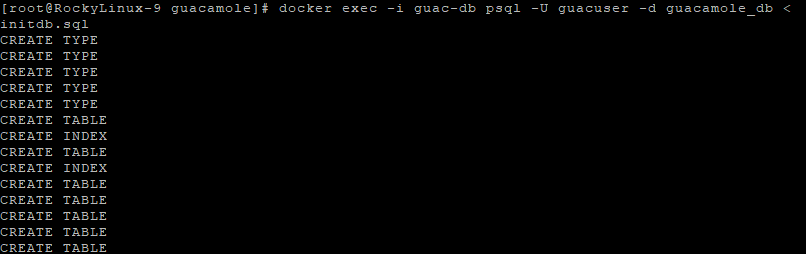
Import schema:
docker exec -i guac-db psql -U guacuser -d guacamole_db < initdb.sql
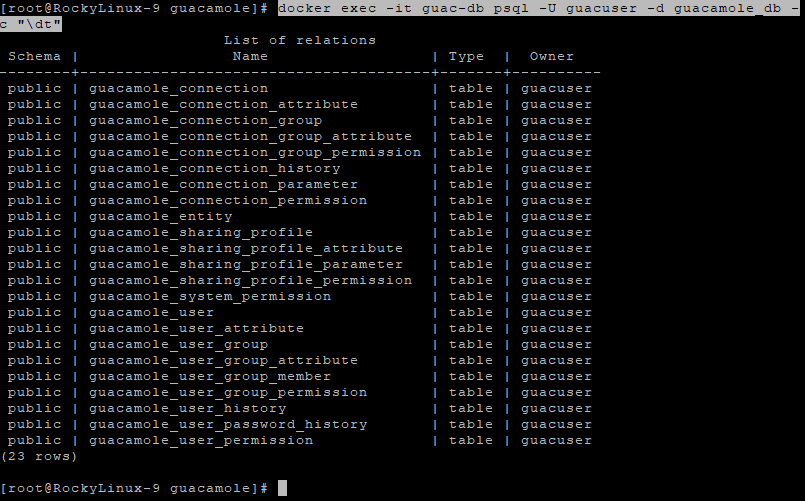
Verify tables:
docker exec -it guac-db psql -U guacuser -d guacamole_db -c "\dt"
6. Start Guacamole Services
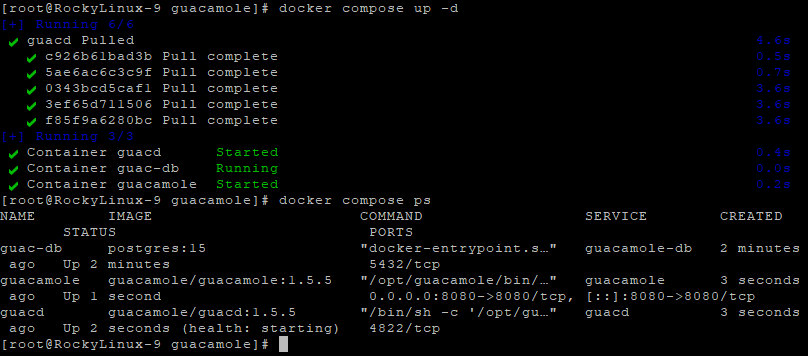
Start containers:
docker compose up -d
Check status:
docker compose ps
View logs:
docker logs guacamole --tail=100
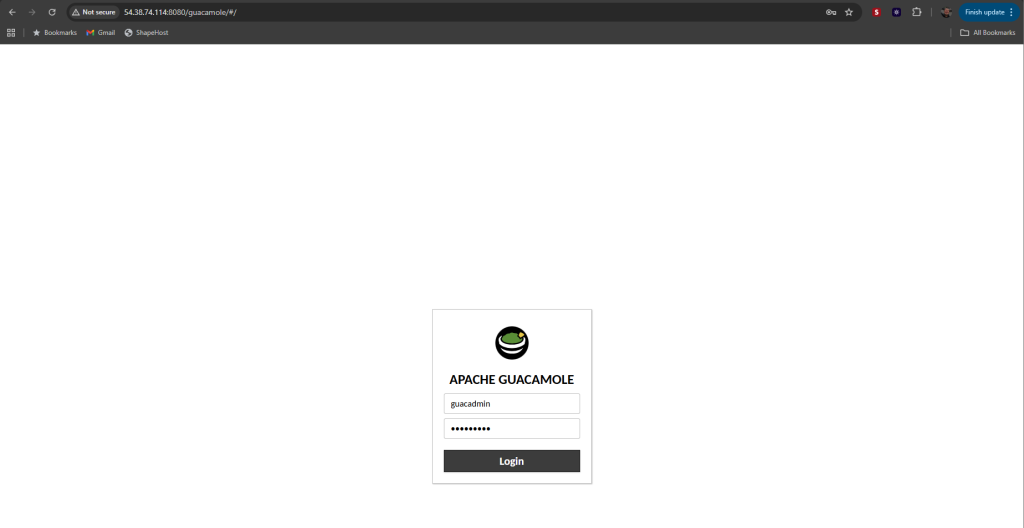
Now access Guacamole at:
http://<server-ip>:8080/guacamole
Default login:
- Username:
guacadmin - Password:
guacadmin
👉 Change this password immediately after first login.
7. Configure Nginx Reverse Proxy
Install Nginx:
dnf install nginx
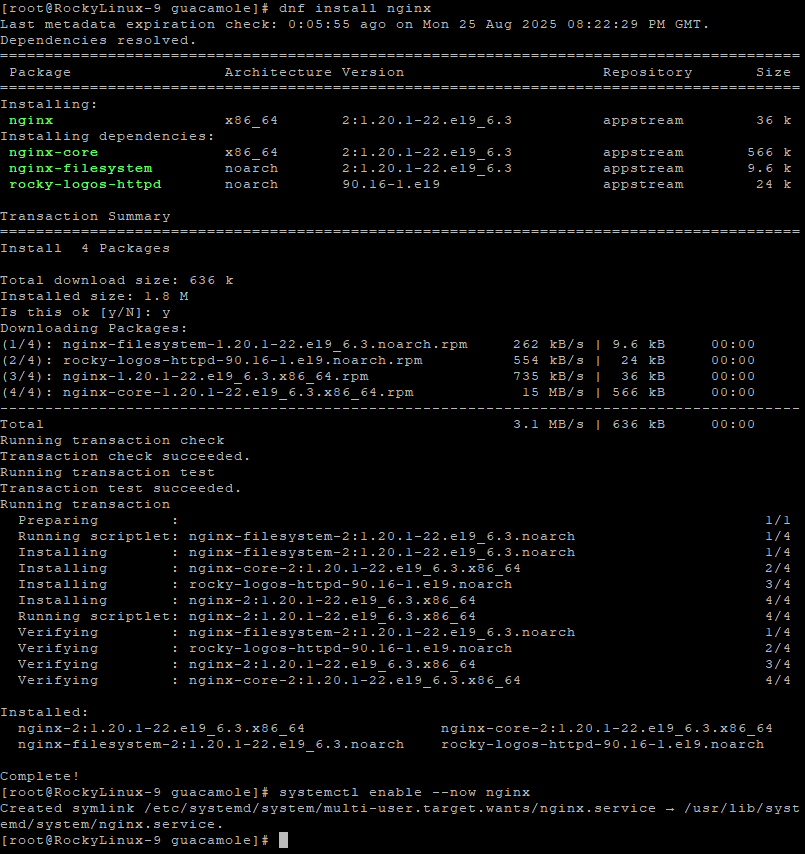
Enable and start Nginx:
systemctl enable --now nginx
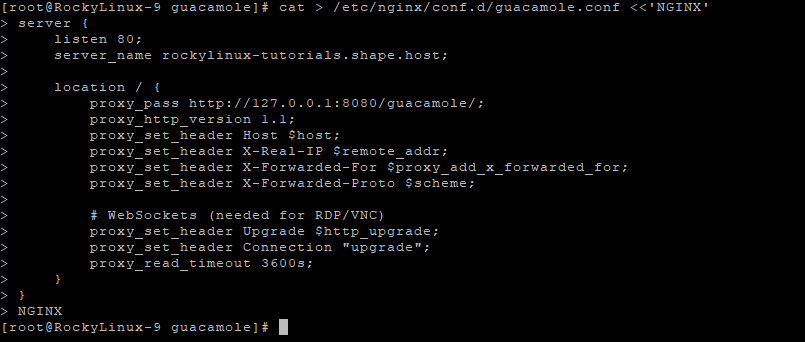
Create config:
cat > /etc/nginx/conf.d/guacamole.conf <<'NGINX'
server {
    listen 80;
    server_name rockylinux-tutorials.shape.host;

    location / {
        proxy_pass http://127.0.0.1:8080/guacamole/;
        proxy_http_version 1.1;
        proxy_set_header Host $host;
        proxy_set_header X-Real-IP $remote_addr;
        proxy_set_header X-Forwarded-For $proxy_add_x_forwarded_for;
        proxy_set_header X-Forwarded-Proto $scheme;

        # WebSockets (needed for RDP/VNC)
        proxy_set_header Upgrade $http_upgrade;
        proxy_set_header Connection "upgrade";
        proxy_read_timeout 3600s;
    }
}
NGINX
Fix long domain names:
printf "server_names_hash_bucket_size 128;\n" > /etc/nginx/conf.d/hash_bucket.conf
Reload Nginx:
nginx -t && systemctl reload nginx
8. Configure SELinux and Firewall
Allow Nginx connections:
setsebool -P httpd_can_network_connect 1

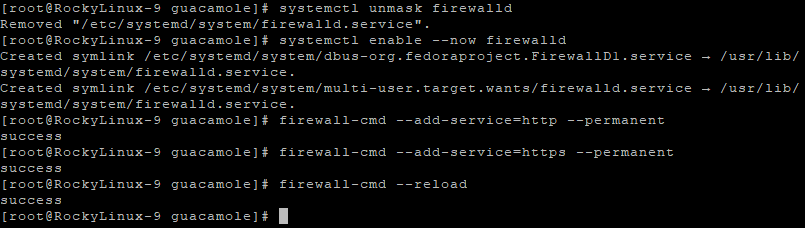
Enable FirewallD:
systemctl unmask firewalld
systemctl enable --now firewalld
Allow traffic:
firewall-cmd --add-service=http --permanent
firewall-cmd --add-service=https --permanent
firewall-cmd --reload
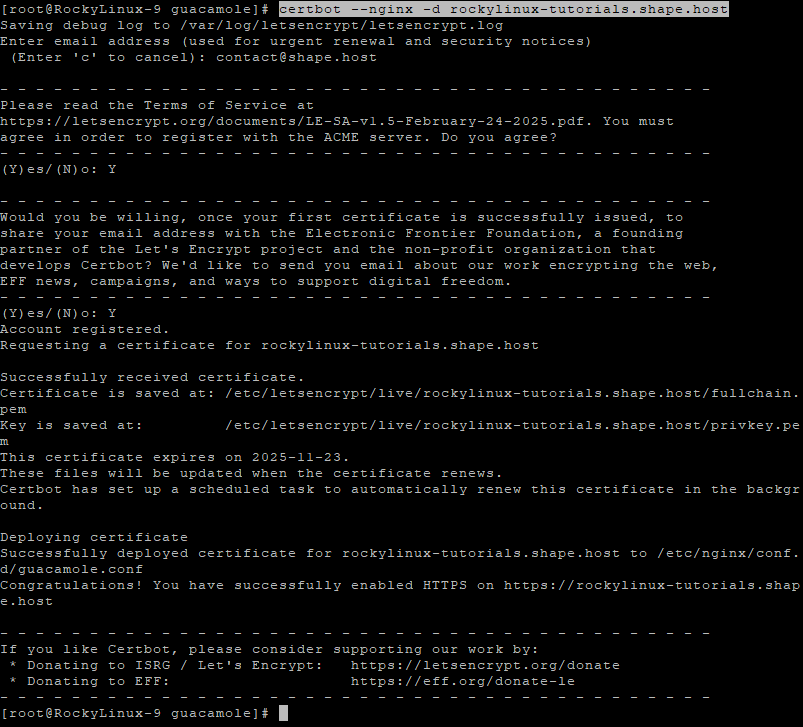
9. Enable SSL with Let’s Encrypt
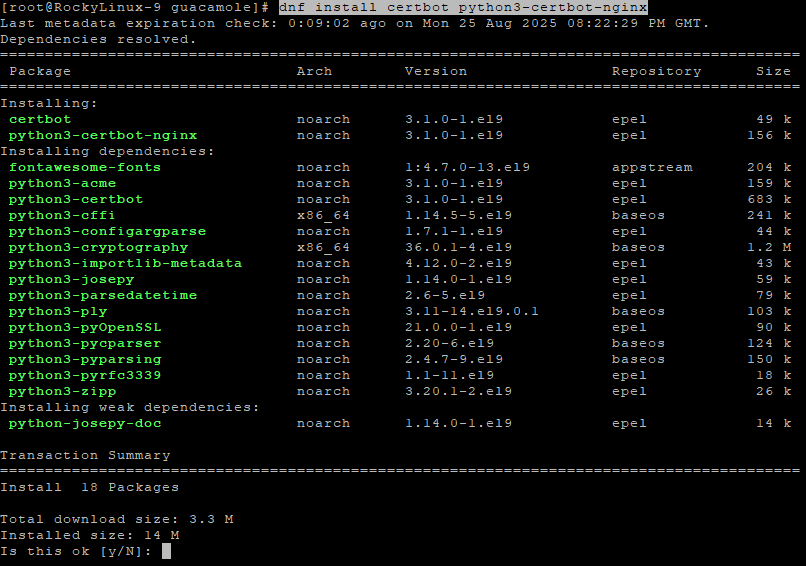
Install Certbot:
dnf install certbot python3-certbot-nginx
Request SSL certificate:
certbot --nginx -d rockylinux-tutorials.shape.host
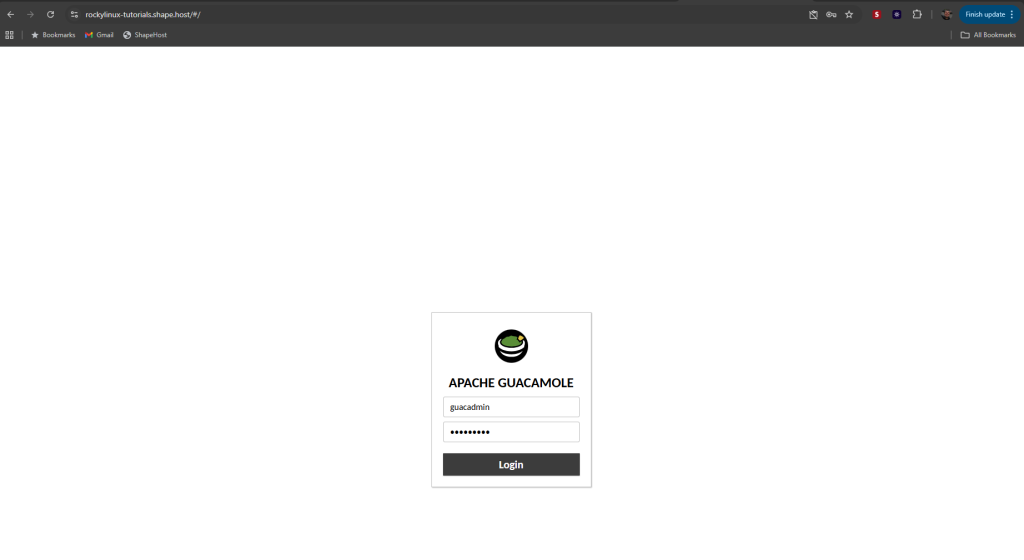
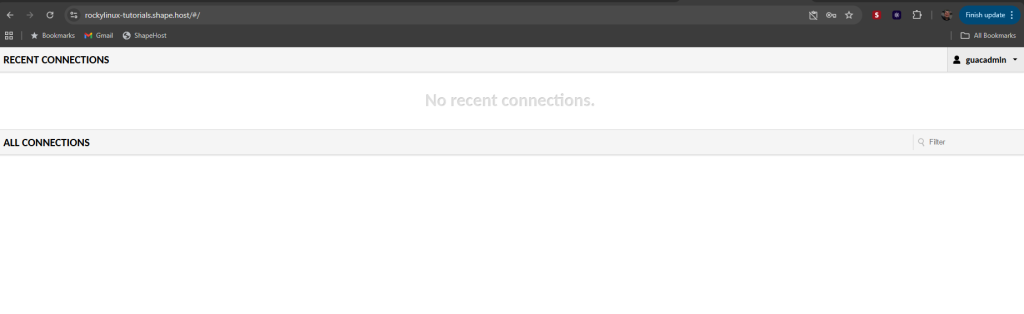
10. Access Guacamole
Finally, open your browser and visit:
https://rockylinux-tutorials.shape.host
Log in with default credentials and update the admin password immediately.
This tutorial was created and tested on a Shape.Host Linux SSD VPS.
With Shape.Host, you get:
- High-performance Cloud VPS globally
- OS options: Rocky Linux, AlmaLinux, Ubuntu, Debian
- Instant scaling of CPU, RAM, and storage
- Built-in backups, snapshots, and monitoring
Start your project today at https://shape.host and deploy Apache Guacamole in minutes.