Flatpress is a lightweight and easy-to-use content management system (CMS) that doesn’t require a database. In this guide, we’ll walk you through the process of installing Flatpress CMS on an Ubuntu 22.04 server and securing it with a Let’s Encrypt SSL certificate.
1. Prepare the Instance
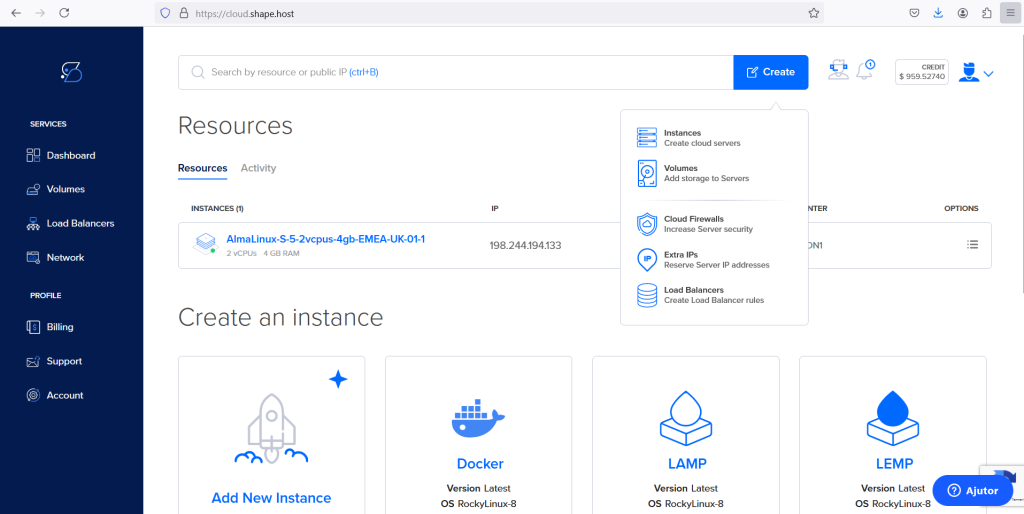
Access the Cloud Dashboard
To begin, access the cloud dashboard by logging into your cloud hosting account. Navigate to the main dashboard, and click on the “Create” button in the top-right corner. Select “Instances” from the drop-down menu to start creating a new cloud server instance.
Select Data Center Location
Next, select the data center location on the “Create New Instance” page. Choose a location that is closest to your target audience or best suits your needs. Examples of locations include New York, Amsterdam, and Singapore.

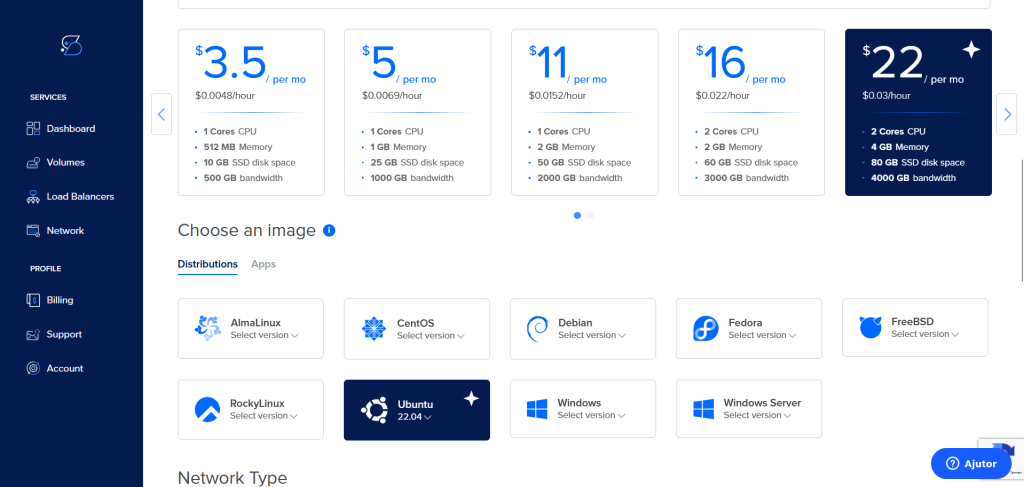
Choose a Plan and Operating System
After selecting the location, choose a hosting plan based on your resource requirements. You can select from options like Standard, CPU-Optimized, or Memory-Optimized plans. For example, you might choose a plan with 2 Cores CPU, 4 GB Memory, and 80 GB SSD storage. Then, scroll down to the “Choose an image” section and select “Ubuntu 22.04” from the list of available distributions.
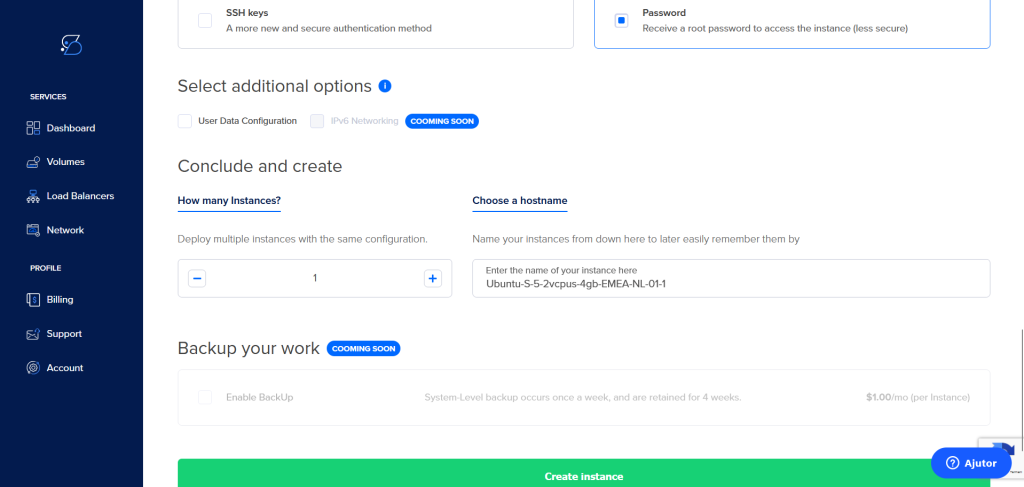
Configure Instance and Finalize Creation
This step involves configuring additional options such as the number of instances, authentication method (SSH keys or password), and hostname. Once everything is configured, click on “Create instance.”
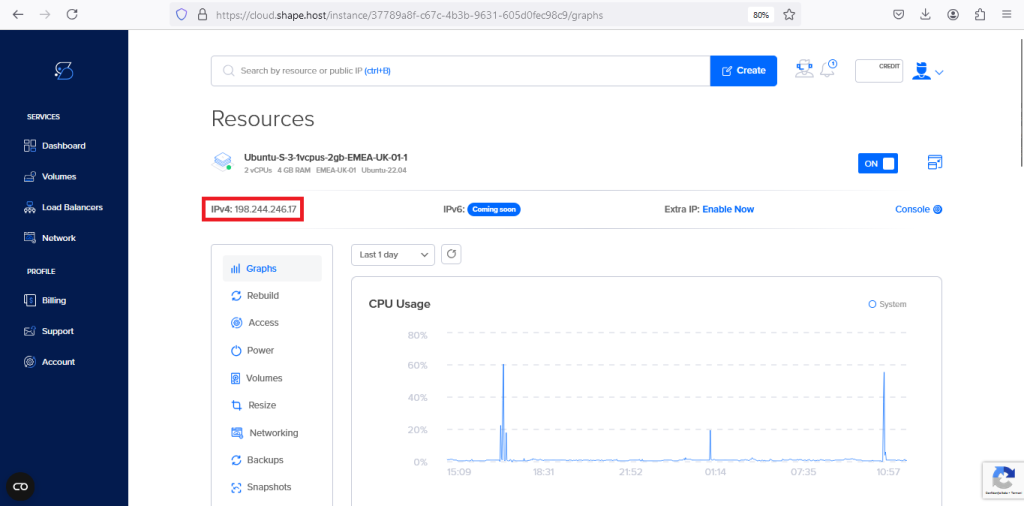
Find the IP Address of Your Instance
After your instance has been created, you can find the IP address by navigating back to the dashboard. This IP address will be needed to connect to your server via SSH.
Connect to Your Instance:
Use SSH to connect to your server instance with the provided IP address. Log in as the root user for initial setup.
ssh root@your-server-ip2. Update and Upgrade Your System
After connecting to your instance via SSH, update and upgrade your system to ensure all packages are up to date. Run the following commands:
apt update -y
apt upgrade -y
3. Install Required Software Properties
Next, install the software-properties-common package, which provides the add-apt-repository command to manage PPAs:
apt install software-properties-common -y4. Add the PHP Repository
Add the Ondrej PHP repository to access the latest versions of PHP:
add-apt-repository ppa:ondrej/php
5. Install Apache, PHP, and Required Extensions
Now, install Apache, PHP 8.0, and all the required PHP extensions for Flatpress:
apt-get install apache2 php8.0 php8.0-mysql php8.0-curl php8.0-cgi libapache2-mod-php8.0 php8.0-mcrypt php8.0-xmlrpc php8.0-gd php8.0-mbstring php8.0 php8.0-common php8.0-xmlrpc php8.0-soap php8.0-xml php8.0-intl php8.0-cli php8.0-ldap php8.0-zip php8.0-readline php8.0-imap php8.0-tidy php8.0-sql php8.0-intl wget unzip -y
6. Start and Enable Apache
Start the Apache service and enable it to start on boot:
systemctl start apache2
systemctl enable apache2
7. Download Flatpress CMS
Download the latest version of Flatpress from GitHub:
wget https://github.com/flatpressblog/flatpress/archive/1.2.1.zip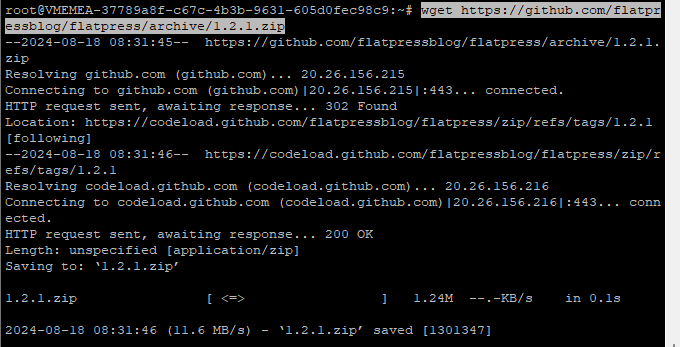
8. Unzip and Move Flatpress Files
Unzip the downloaded Flatpress file and move it to the web root directory:
unzip 1.2.1.zip
cp -r flatpress-1.2.1 /var/www/html/flatpress

9. Set Permissions for Flatpress Directory
Set the appropriate ownership and permissions for the Flatpress directory:
chown -R www-data.www-data /var/www/html/flatpress
chmod -R 775 /var/www/html/flatpress
10. Configure Apache for Flatpress
Create a new Apache configuration file for Flatpress:
nano /etc/apache2/sites-available/flatpress.conf
Add the following configuration inside the file:
<VirtualHost *:80>
    ServerAdmin admin@yourdomain.com
    DocumentRoot /var/www/html/flatpress
    ServerName yourdomain.com
    <Directory /var/www/html/flatpress/>
        Options Indexes FollowSymLinks
        AllowOverride All
        Require all granted
    </Directory>
    ErrorLog ${APACHE_LOG_DIR}/error.log
    CustomLog ${APACHE_LOG_DIR}/access.log combined
</VirtualHost>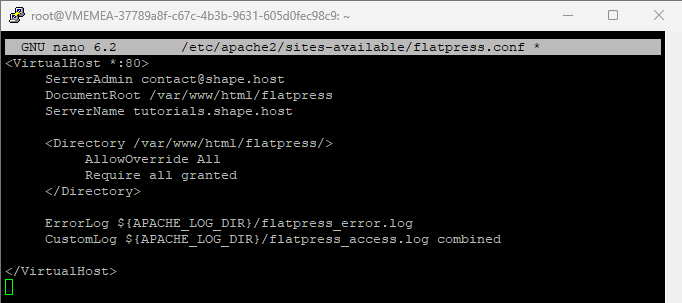
Replace yourdomain.com with your actual domain name.
11. Enable Flatpress Site and Apache Rewrite Module
Enable the Flatpress site configuration and the Apache rewrite module:
a2ensite flatpress
a2enmod rewrite
systemctl restart apache2

12. Restart Apache and Check Status
Restart Apache to apply the changes and check its status to ensure it’s running correctly:
systemctl status apache2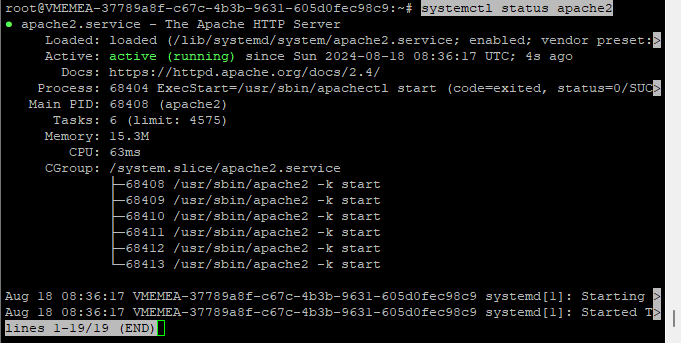
13. Install Certbot for Let’s Encrypt SSL
Install Certbot and the Apache plugin to obtain an SSL certificate:
apt-get install certbot python3-certbot-apache -y
14. Obtain and Install Let’s Encrypt SSL Certificate
Run Certbot to obtain and install a Let’s Encrypt SSL certificate for your domain:
certbot --apache -d example.com
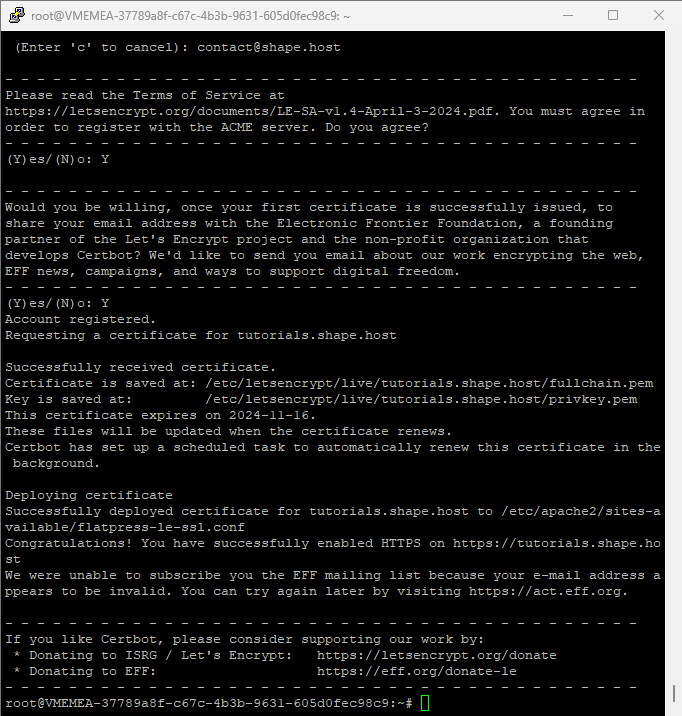
Replace tutorials.shape.host with your actual domain name.
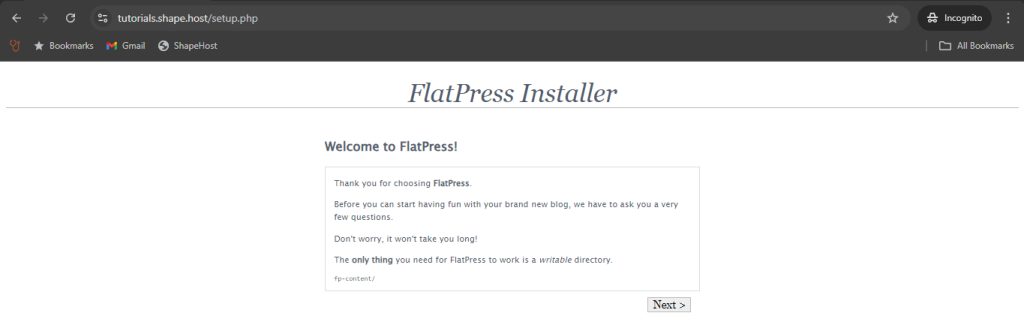
15. Access Flatpress CMS from the Web
After the SSL certificate is successfully installed, you can access Flatpress CMS through a web browser. Open your browser and navigate to https://yourdomain.com (replace yourdomain.com with your actual domain). You should see the Flatpress installation page, where you can follow the on-screen instructions to complete the setup.
Understanding Flatpress and SSL Benefits
Flatpress CMS is a great choice for users looking for a simple, database-free CMS. Securing your Flatpress installation with a Let’s Encrypt SSL certificate ensures that data transmitted between your users and the server is encrypted, providing better security and trustworthiness. Let’s Encrypt SSL certificates are free, automated, and open, making them an excellent option for securing web applications.
By following this guide, you have successfully installed Flatpress CMS on your Ubuntu 22.04 server and secured it with a Let’s Encrypt SSL certificate. This setup ensures that your site is both functional and secure. If you’re looking for reliable cloud hosting services, consider using Shape.host’s Cloud VPS offerings to further enhance your server management experience.