Gradle is a powerful, open-source build automation tool designed for multi-language software development. Known for its flexibility and performance, Gradle is widely used for Java, Kotlin, Groovy, and other projects. With support for both declarative builds and incremental builds, Gradle enables developers to efficiently compile, test, and deploy applications. Running Gradle on Debian 12 offers a stable and secure environment, making it ideal for both individual developers and enterprise teams.
Key Features of Gradle on Debian 12
- Flexible Build Configuration
- Uses Groovy or Kotlin DSL (Domain-Specific Language) for readable, maintainable build scripts.
- Multi-Project Builds
- Efficiently manages multi-module projects, enabling parallel builds and dependency resolution.
- Incremental Builds
- Optimized incremental build system reduces build times by only rebuilding changed components.
- Dependency Management
- Handles library dependencies from public repositories like Maven Central and JCenter, or private repositories.
- Task Automation and Custom Tasks
- Automate repetitive tasks and define custom tasks using Groovy or Kotlin DSL.
- Cross-Language Support
- Build applications in Java, Kotlin, Groovy, Scala, C++, and more, ensuring versatility.
- Continuous Integration (CI) and Deployment
- Easily integrates with Jenkins, GitLab CI/CD, Travis CI, and other CI/CD tools.
- Build Cache and Daemon
- The Gradle Build Cache and Gradle Daemon significantly improve build speed and performance.
- Integration with IDEs
- Seamless integration with popular IDEs like IntelliJ IDEA, Eclipse, Android Studio, and Visual Studio Code.
- Cross-Platform Compatibility
- Runs on Debian 12, as well as Windows, macOS, and other Linux distributions.
Advantages of Using Gradle on Debian 12
- Fast and Efficient: Incremental builds and parallel execution speed up development.
- Flexible Build System: Use Groovy or Kotlin DSL for custom build logic.
- Dependency Management: Simplify library dependencies using repositories like Maven Central and JCenter.
- Cross-Language Support: Build and manage projects in Java, Kotlin, Groovy, Scala, and C++.
- Scalable for Large Projects: Designed for multi-module projects, ensuring efficient builds and clear dependencies.
- Open Source and Cost-Effective: Free to use, with no licensing costs.
Use Cases for Gradle on Debian 12
- Java and Kotlin Application Development
- Build, test, and deploy Java and Kotlin applications with minimal configuration.
- Android App Development
- The default build system for Android Studio, simplifying Android app development.
- Microservices and API Development
- Efficiently build and manage microservices using multi-project builds.
- Web Application Deployment
- Build and deploy web applications using frameworks like Spring Boot and Jakarta EE.
- Multi-Language Projects
- Compile and build projects in Java, C++, Kotlin, and Groovy within a single environment.
- Continuous Integration (CI/CD)
- Integrate with Jenkins, GitLab CI/CD, Travis CI, and other tools for automated builds and deployments.
- Custom Task Automation
- Automate repetitive tasks like code generation, testing, and deployment using custom Gradle tasks.
- Dependency Management for Large Teams
- Simplify dependency management with built-in support for transitive dependencies and version resolution.
Comparison: Gradle vs. Other Build Tools
| Feature | Gradle | Maven | Ant | Make |
|---|---|---|---|---|
| Build Configuration | ✅ Groovy/Kotlin DSL | ⚠️ XML-Based (POM) | ⚠️ XML-Based (Manual) | ⚠️ Makefile (Manual) |
| Incremental Builds | ✅ Optimized (Incremental) | ❌ Full Rebuild Required | ❌ Full Rebuild Required | ✅ Basic Incremental Support |
| Dependency Management | ✅ Built-In | ✅ Built-In | ❌ Manual | ❌ No Built-In |
| Multi-Module Support | ✅ Yes | ✅ Yes | ✅ Yes | ❌ No |
| Performance | ✅ Fast (Parallel Execution) | ⚠️ Slower for Large Builds | ✅ Fast | ✅ Fast |
| IDE Integration | ✅ Seamless with IDEs | ✅ Seamless with IDEs | ⚠️ Basic | ❌ Limited |
| Cross-Language Support | ✅ Java, Kotlin, C++, Groovy | ❌ Java Only | ❌ Java Only | ✅ C/C++ Only |
Why Use Gradle on Debian 12?
- Stable and Secure Platform: Debian 12 provides a reliable environment for building Java, Kotlin, and Android applications using Gradle.
- Performance Optimization: Lightweight and optimized, Debian 12 enhances Gradle’s build speed and reduces resource consumption.
- Flexible Development Workflow: Easily customize build logic using Groovy or Kotlin DSL.
- Cross-Language Support: Build and compile code in multiple languages within a single environment.
- Seamless Integration: Works with popular IDEs, version control systems, and CI/CD pipelines.
Gradle on Debian 12 is the perfect build automation tool for Java, Kotlin, Groovy, and Android development. With its incremental build system, cross-language support, and dependency management, Gradle ensures faster builds, simplified project management, and enhanced productivity. Whether you’re developing mobile apps, enterprise software, or multi-module projects, Gradle on Debian 12 delivers the performance and flexibility you need.
Step 1: Create a Server Instance on Shape.Host
Before installing Gradle, you’ll need a server to host your environment. Here’s how to set up a server instance on Shape.Host:
Log in to Shape.Host: Go to the Shape.Host website and log in to your account. Navigate to the Cloud VPS section.
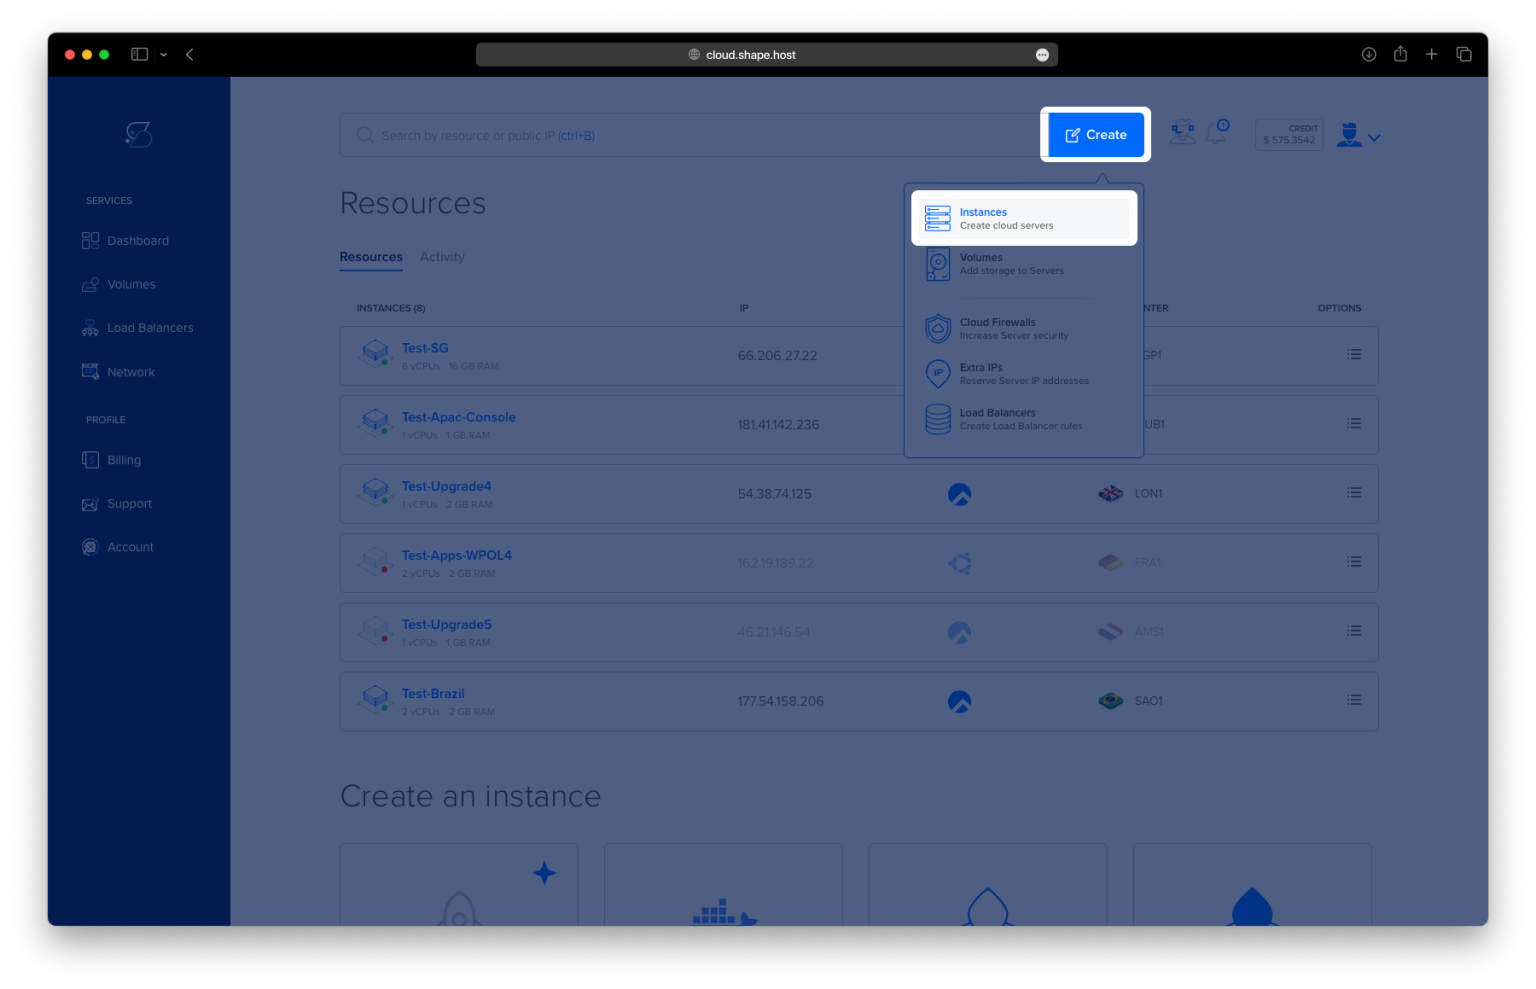
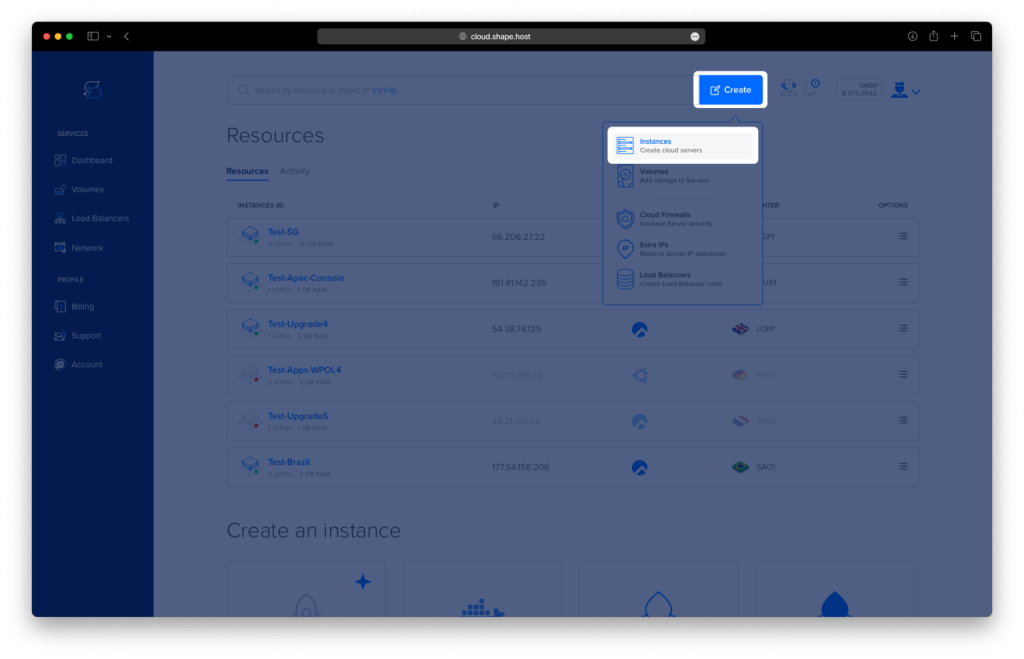
Create a New Instance: Click on “Create” and choose the server type that fits your needs.
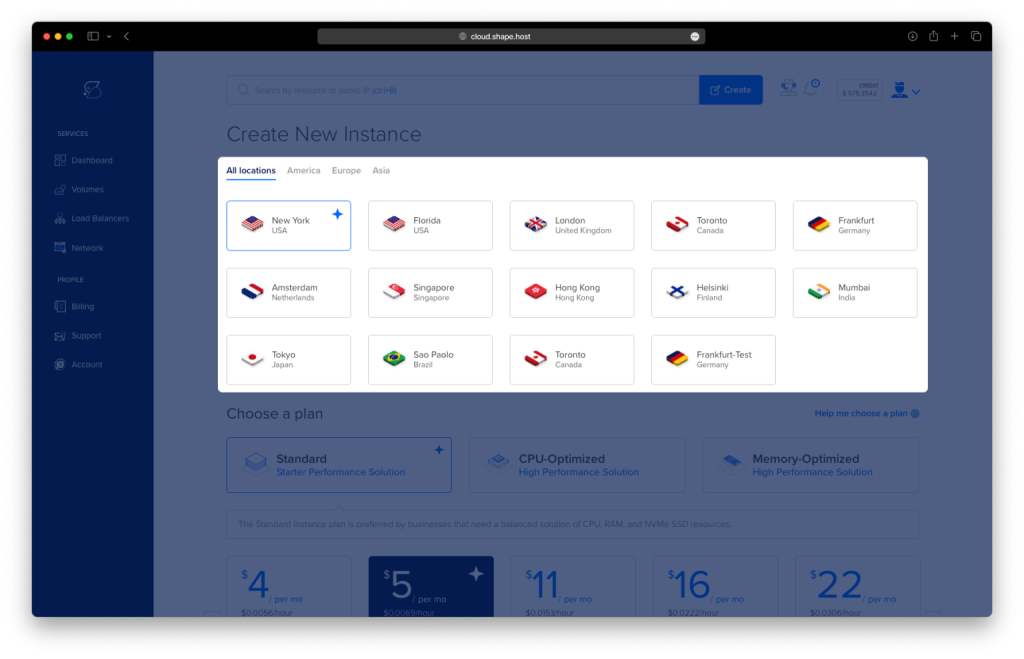
Pick a Data Center: Select a data center location close to your audience for better performance.
Choose a Plan: Pick a hosting plan that matches your project’s requirements and budget.
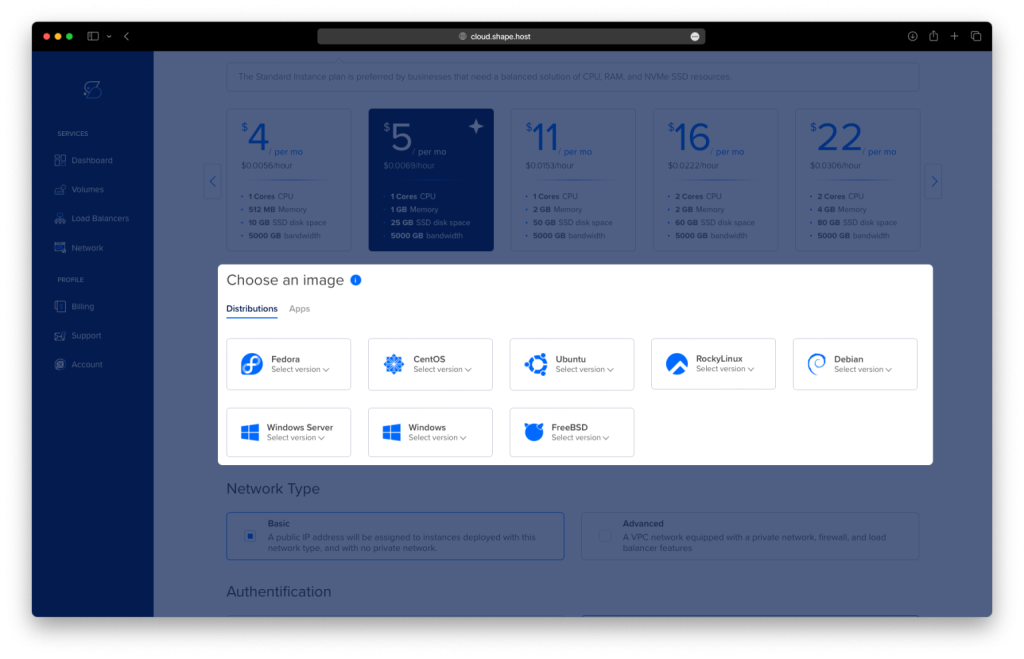
Set the OS: Choose Debian 12 as your operating system.
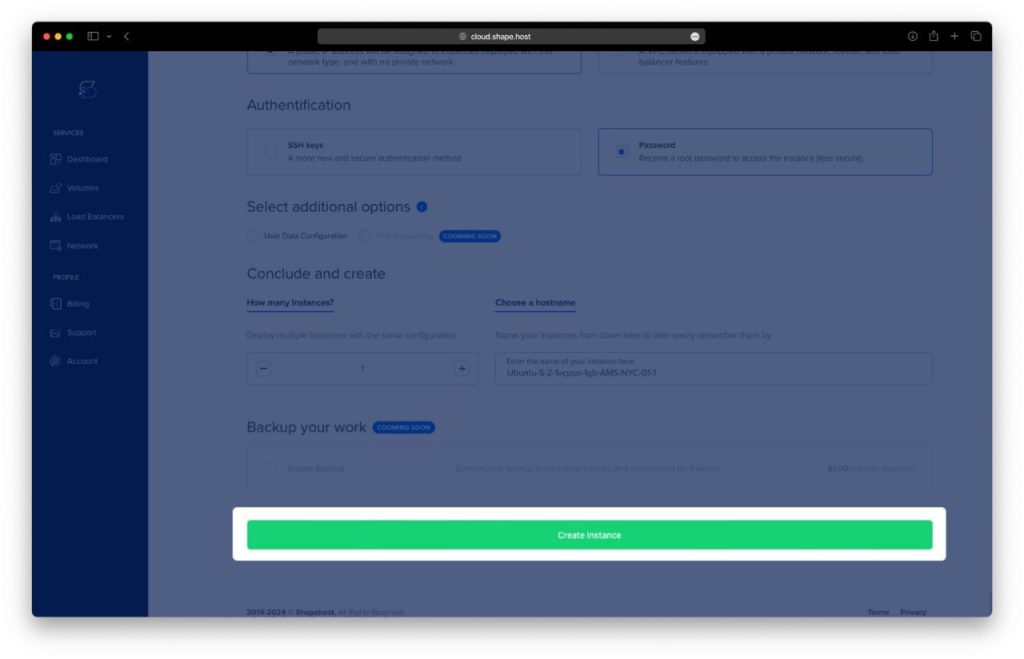
Launch the Server: Review your settings and click “Create Instance” Your server will be ready in a few minutes.
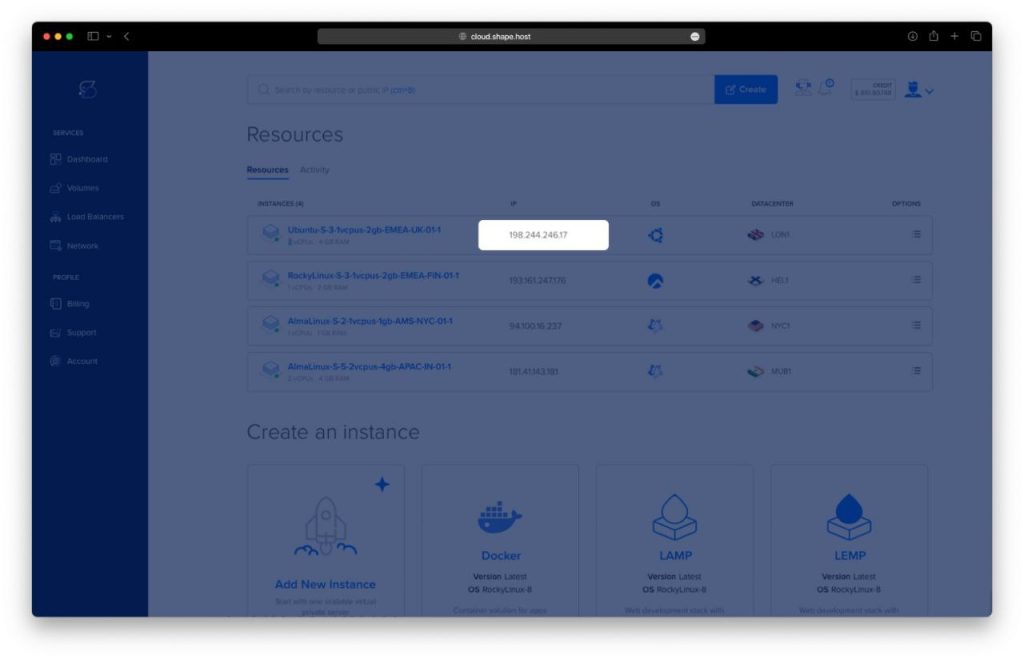
Find your instance’s IP address under the Resources section and use it to access your server.
Step 2: Connect to Your Server
Once your server is ready, you’ll need to connect to it using SSH. Here’s how:
- Linux/macOS: Open your terminal and type:
ssh root@your_server_ipReplace your_server_ip with your server’s IP address.
- Windows: Use an SSH client like PuTTY. Enter your server’s IP address, specify the port (usually 22), and click “Open.” Log in with your username and password.
Step 3: Update Your System
Before installing any software, it’s important to update your system to ensure all packages are up to date. Run the following command:
apt update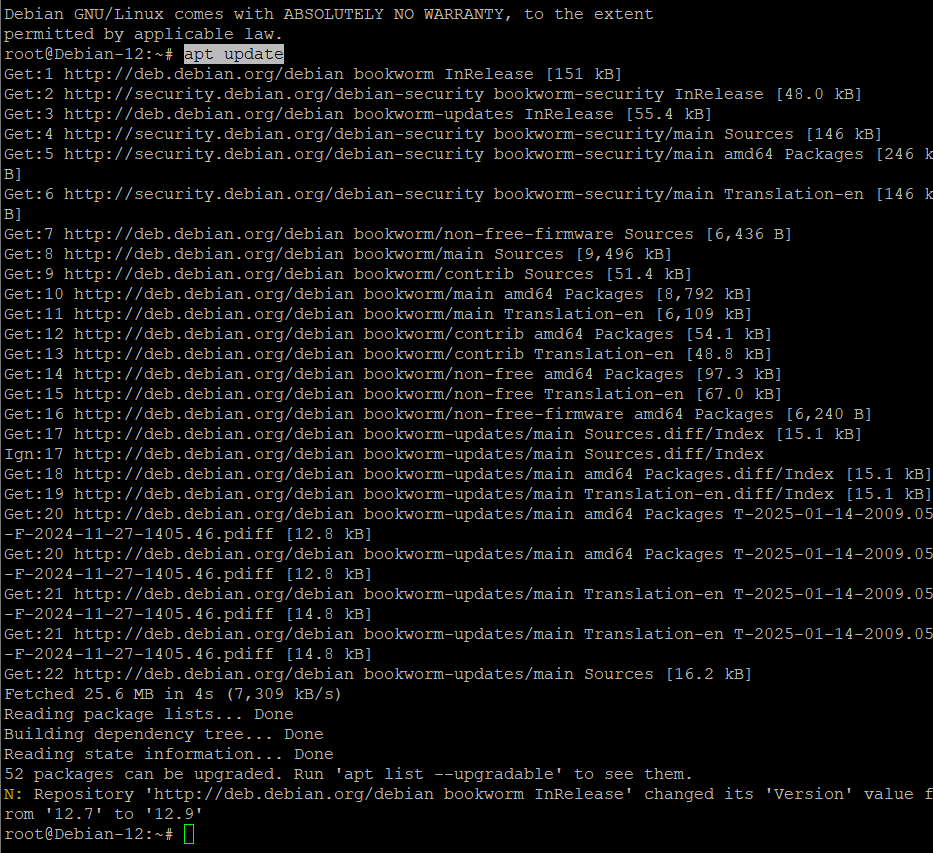
Step 4: Install Java Development Kit (JDK)
Gradle requires Java to be installed. Install the default JDK with:
apt install default-jdk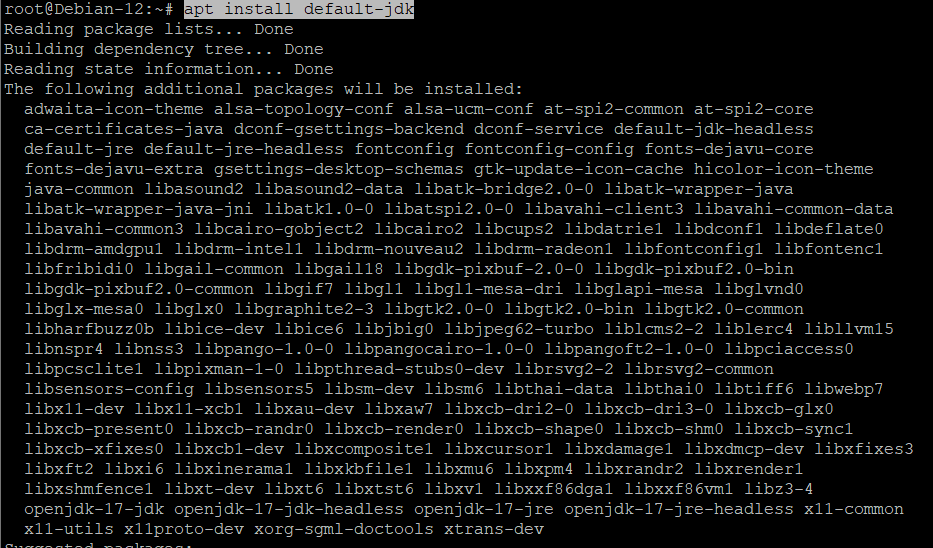
Verify the installation:
java -version
Step 5: Create a Directory for Gradle
Create a directory to store Gradle files:
mkdir /opt/gradle
cd /opt/gradle
Step 6: Download Gradle
Download the Gradle distribution from the official website:
wget https://services.gradle.org/distributions/gradle-8.14-milestone-3-bin.zip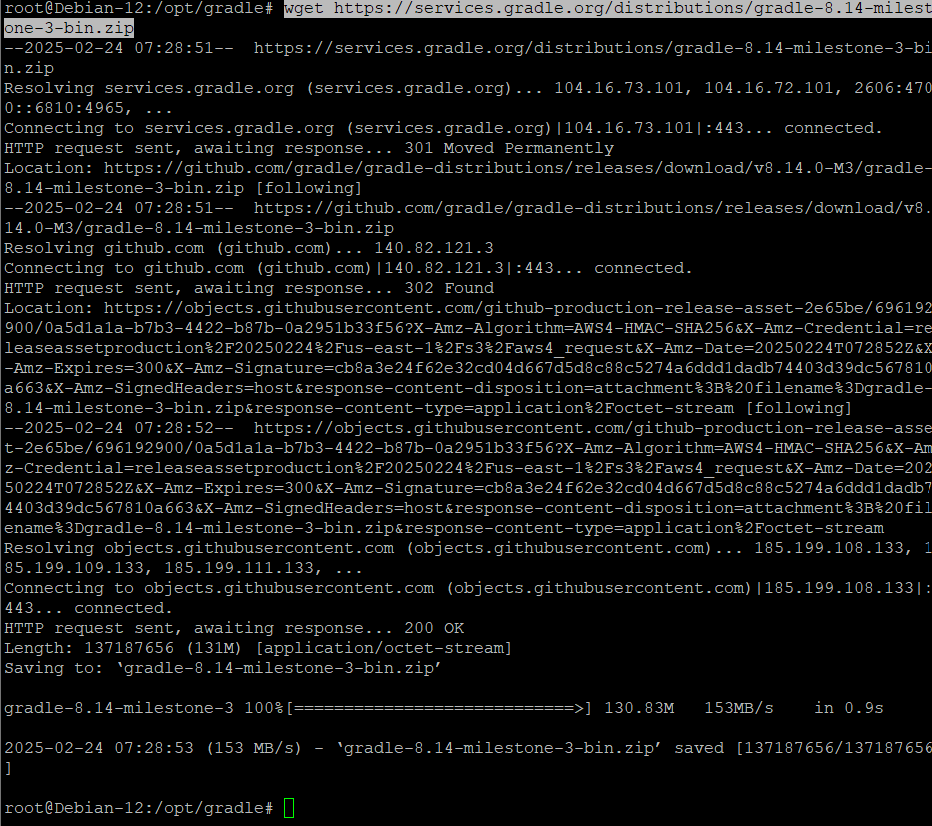
Step 7: Unzip the Gradle Package
Extract the downloaded Gradle package:
unzip gradle-8.14-milestone-3-bin.zip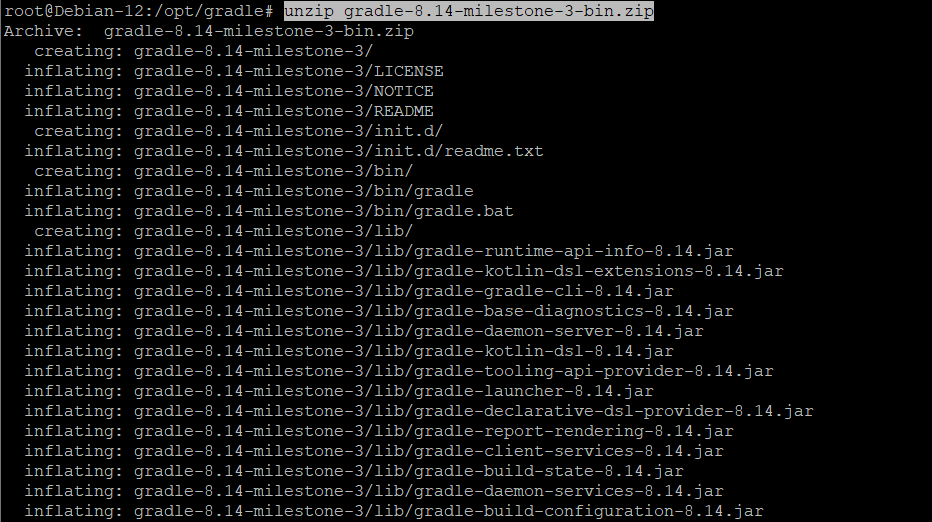
Step 8: Set Up Environment Variables
To make Gradle accessible system-wide, add it to your PATH:
- Create a Gradle Script:
echo "export PATH=/opt/gradle/bin:${PATH}" | tee /etc/profile.d/gradle.sh
- Make the Script Executable:
chmod +x /etc/profile.d/gradle.sh- Apply the Changes:
source /etc/profile.d/gradle.sh
Step 9: Install Gradle via Package Manager (Optional)
If you prefer to install Gradle using the package manager, you can do so with:
apt install gradle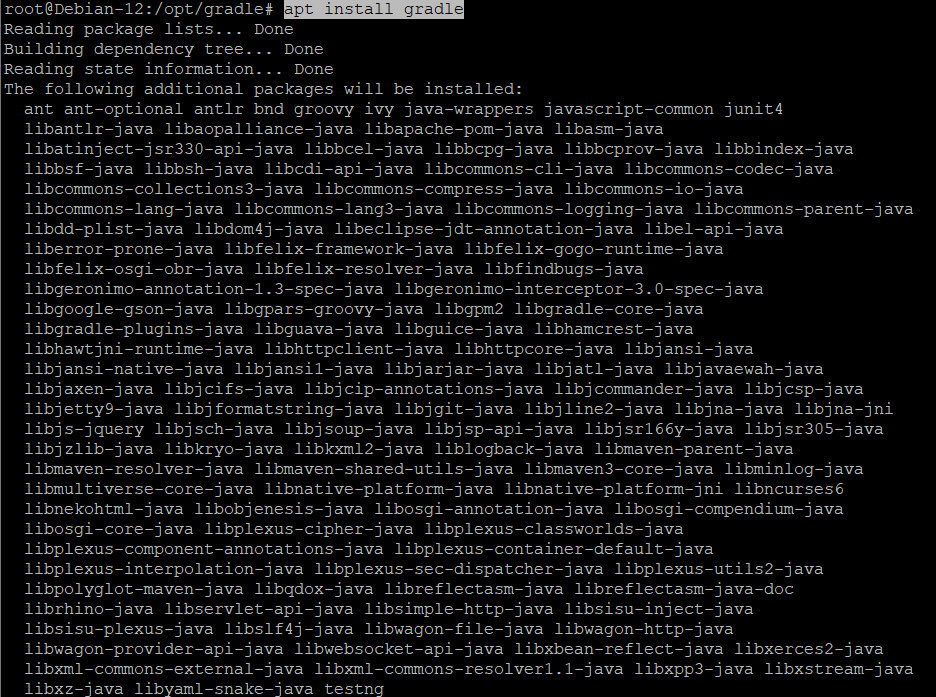
Step 10: Verify the Installation
Check the Gradle version to confirm the installation:
gradle -v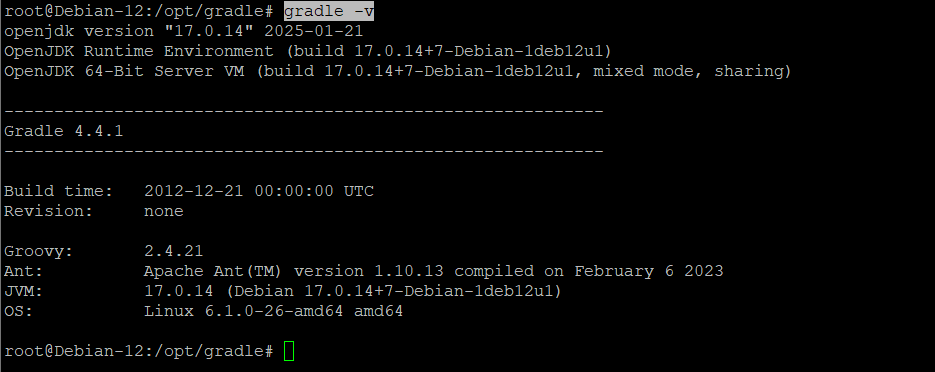
If you’re looking for a reliable hosting solution for your Java projects, consider Shape.Host Linux SSD VPS services. With fast SSD storage, scalable resources, and excellent support, Shape.Host provides the perfect environment for running Gradle and other demanding applications. Visit Shape.Host to learn more and get started today!