Harbor is an open-source container image registry designed to store, manage, and secure Docker images and Helm charts. Developed by VMware and now part of the Cloud Native Computing Foundation (CNCF), Harbor extends the capabilities of Docker’s default registry by adding security, access control, vulnerability scanning, and replication across multiple registries.
Key Features of Harbor
- Private Container Image Registry
- Provides a secure, self-hosted alternative to Docker Hub for storing container images.
- Role-Based Access Control (RBAC)
- Supports user and team-based permissions to control access to repositories.
- Vulnerability Scanning
- Integrates with Trivy and Clair to scan images for security vulnerabilities.
- Content Trust & Image Signing
- Uses Notary for image signing to ensure image integrity and prevent tampering.
- Replication Across Registries
- Synchronizes images across multiple registries, including Docker Hub, AWS ECR, and Azure Container Registry.
- Authentication & LDAP Integration
- Supports authentication via LDAP, OAuth, and Active Directory.
- Web-Based UI & API
- Provides an intuitive web UI for managing repositories and an API for automation.
- Helm Chart Repository
- Manages and distributes Helm charts for Kubernetes applications.
- Garbage Collection
- Helps reclaim storage space by removing untagged and unused images.
- Multi-Tenancy with Projects
- Enables organizations to separate repositories under different projects.
Advantages of Harbor
- Enhanced Security: Built-in vulnerability scanning and image signing.
- Better Access Control: Role-based user permissions for teams.
- Storage Efficiency: Supports image replication and garbage collection.
- Enterprise-Ready: LDAP/OAuth integration for authentication.
- Flexible Deployment: Can be installed on-premises or in the cloud.
Use Cases for Harbor
- Private Docker Registry: Securely store and manage container images for internal use.
- Multi-Cloud & Hybrid Deployments: Replicate images across multiple cloud providers.
- Kubernetes Integration: Manage Helm charts and deploy containerized applications securely.
- DevSecOps Pipelines: Automate security checks and policy enforcement for container images.
- Enterprise Application Delivery: Control and distribute containerized applications within organizations.
Harbor vs Other Registries
| Feature | Harbor | Docker Hub | AWS ECR | Azure ACR |
|---|---|---|---|---|
| Private Registry | ✅ | ✅ (Limited) | ✅ | ✅ |
| Vulnerability Scanning | ✅ | ❌ | ✅ | ✅ |
| Role-Based Access Control | ✅ | ❌ | ✅ | ✅ |
| Replication Support | ✅ | ❌ | ✅ | ✅ |
| Image Signing (Notary) | ✅ | ❌ | ❌ | ✅ |
| Helm Chart Repository | ✅ | ❌ | ❌ | ✅ |
Harbor provides a more feature-rich and secure alternative to Docker Hub while allowing organizations to maintain full control over their container images.
Why Choose Harbor?
Harbor is the ideal solution for organizations, enterprises, and DevOps teams that need a secure, scalable, and highly available container image registry. It enhances security, ensures compliance, and integrates seamlessly with Kubernetes and cloud-native environments.
Step 1: Create a Server Instance on Shape.Host
Before installing Harbor, you need a server to host your environment. Here’s how to set up a server instance on Shape.Host:
Access Shape.Host: Log in to your Shape.Host account and navigate to the Cloud VPS section.
Launch a New Server: Click on “Create Instance” and select the server type that best suits your project requirements.

Choose a Data Center: Pick a data center location that is closest to your target audience for optimal performance.
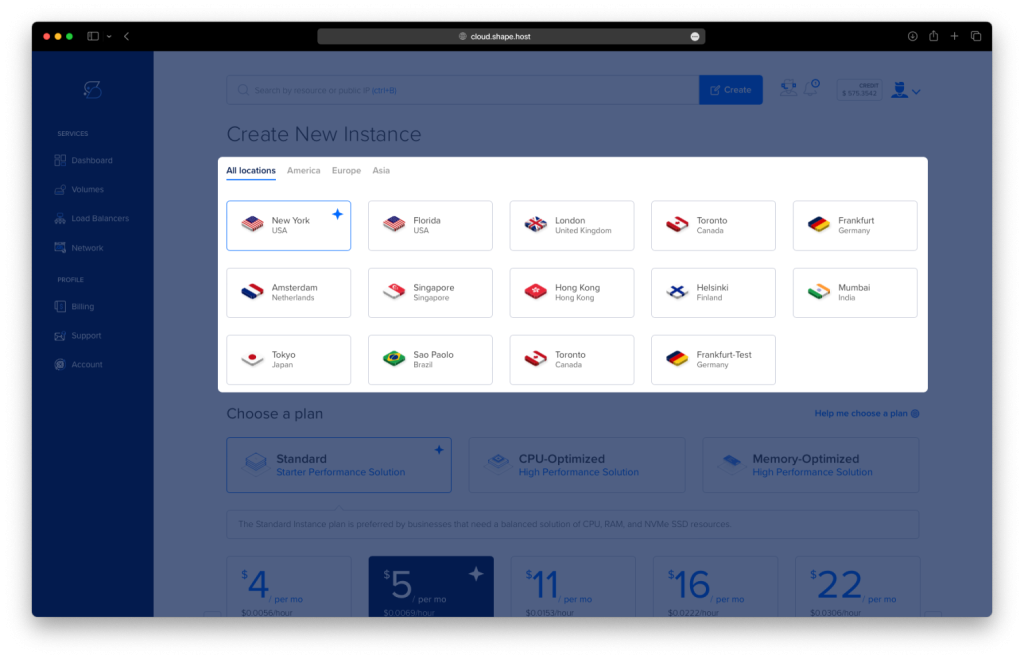
Select a Plan: Choose a hosting plan that aligns with your resource needs and budget.
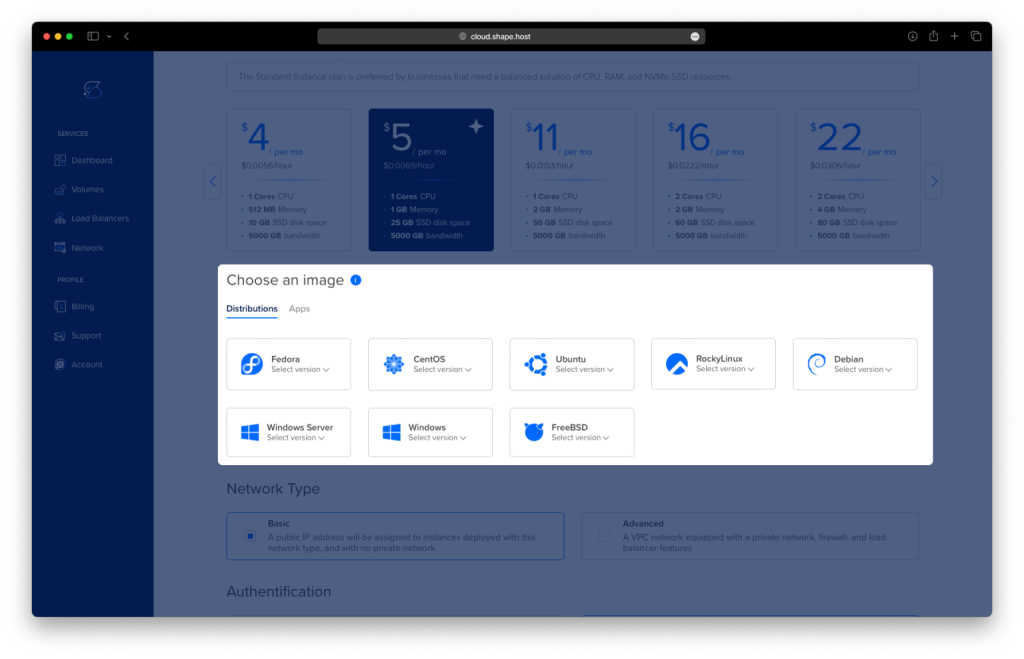
Set the OS: Select Ubuntu 24.04 as your operating system.
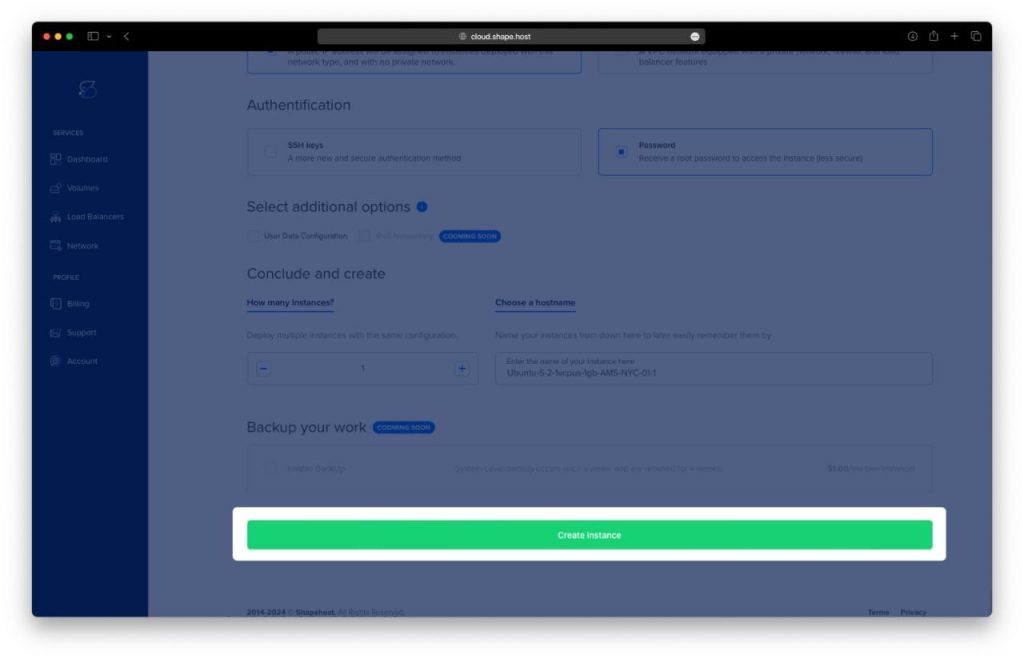
Finalize the Setup: Review your configuration and click “Create Instance” to deploy your instance. Your server will be ready in a few minutes.
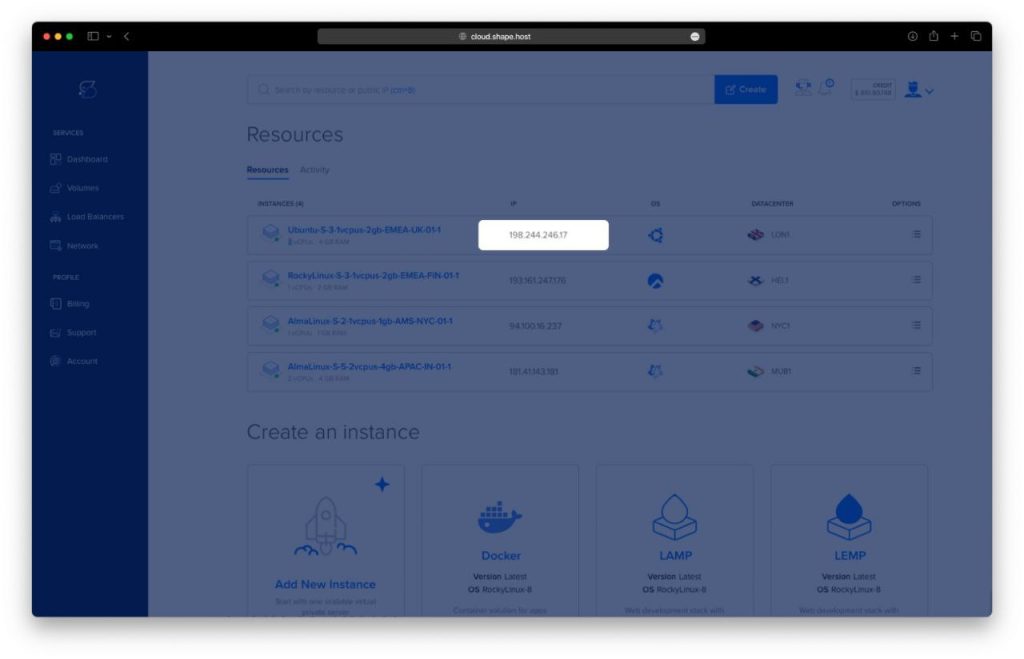
In Dashboard section you will find your Instance IP.
Step 2: Connect to Your Instance
Once your server is ready, you need to connect to it using SSH. Here’s how to do it:
- Linux/macOS: Open your terminal and use the following command:
ssh root@your_server_ipReplace your_server_ip with the server’s IP address.
- Windows: Use an SSH client like PuTTY. Enter your server’s IP address, specify the port (usually 22), and click “Open.” Log in with your username and password.
Step 3: Update the System
Before installing any software, it’s a good practice to update your system to ensure all packages are up to date. Run the following command:
apt update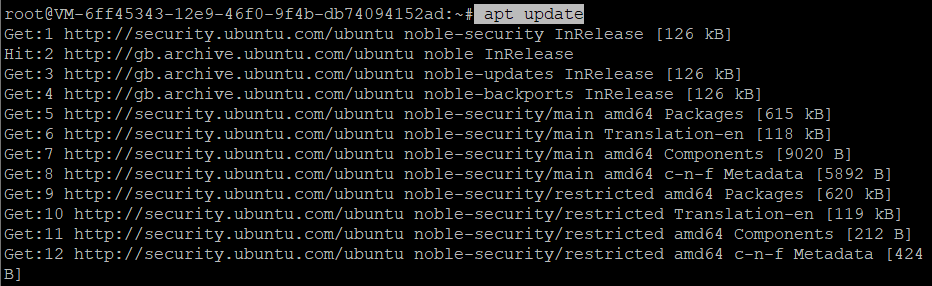
Step 4: Install Docker and Docker Compose
Harbor requires Docker and Docker Compose to be installed. Install them using the following commands:
apt install docker.io docker-compose -y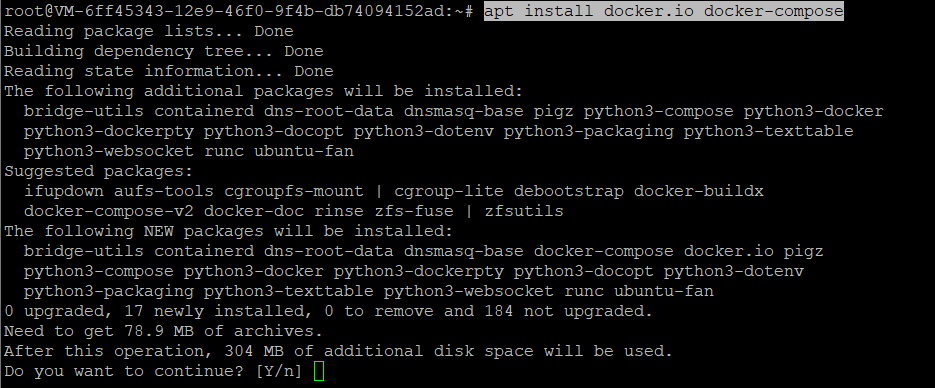
Start and enable the Docker service:
systemctl start docker
systemctl enable docker
Step 5: Install Additional Dependencies
Install unzip and curl, which are required for downloading and extracting Harbor:
apt install unzip curl -y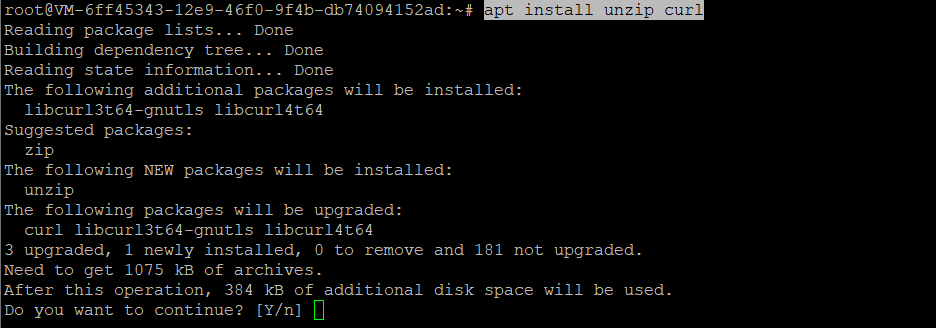
Step 6: Download and Extract Harbor
Download the latest version of Harbor from the official GitHub repository:
wget https://github.com/goharbor/harbor/releases/download/v2.8.2/harbor-online-installer-v2.8.2.tgz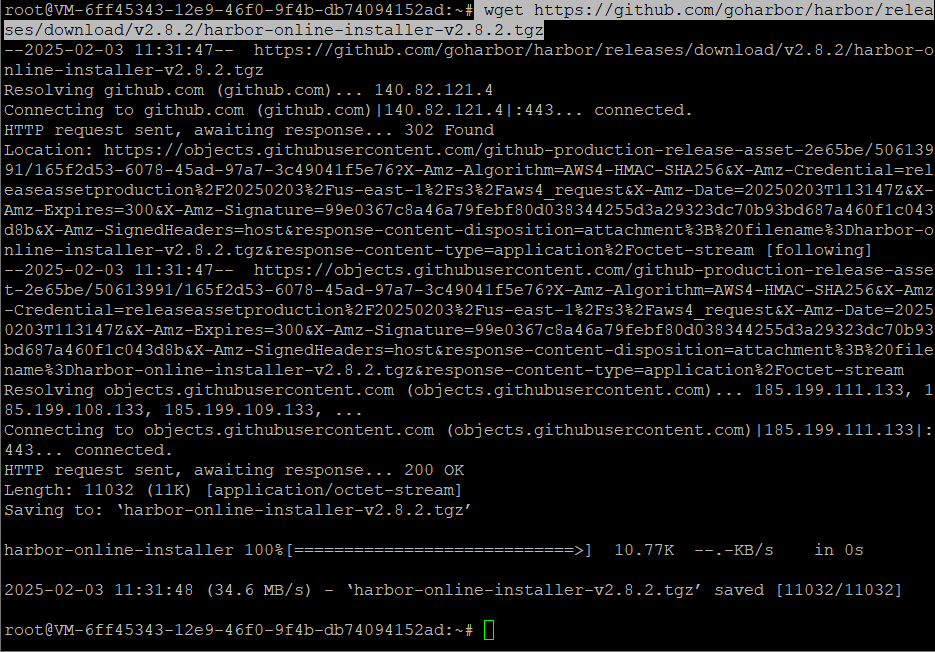
Extract the downloaded file:
tar xzvf harbor-online-installer-v2.8.2.tgz
Navigate to the extracted Harbor directory:
cd harborStep 7: Configure Harbor
Copy the template configuration file to harbor.yml:
cp harbor.yml.tmpl harbor.ymlCreate a directory for SSL certificates:
mkdir -p /data/cert
Generate a self-signed SSL certificate:
openssl req -newkey rsa:2048 -nodes -keyout /data/cert/server.key -x509 -days 365 -out /data/cert/server.crt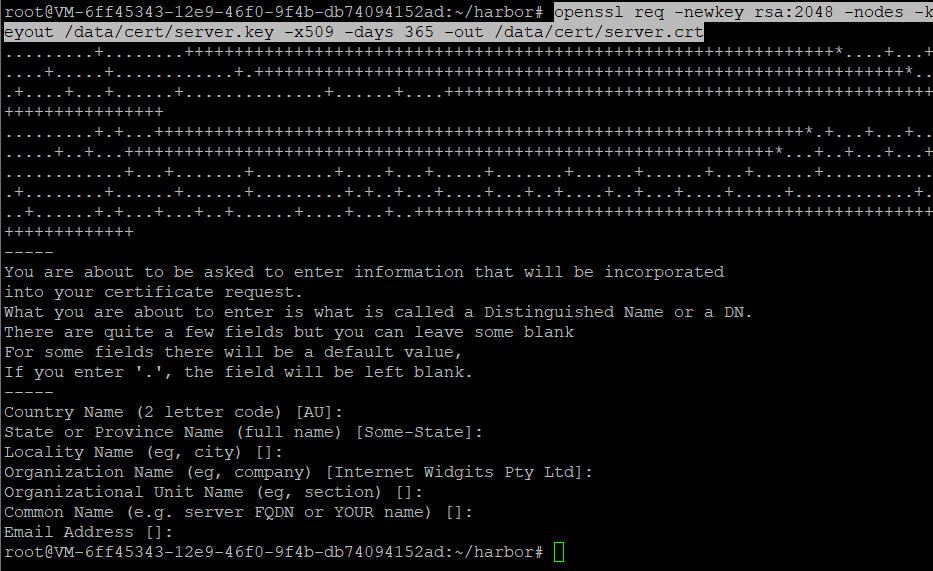
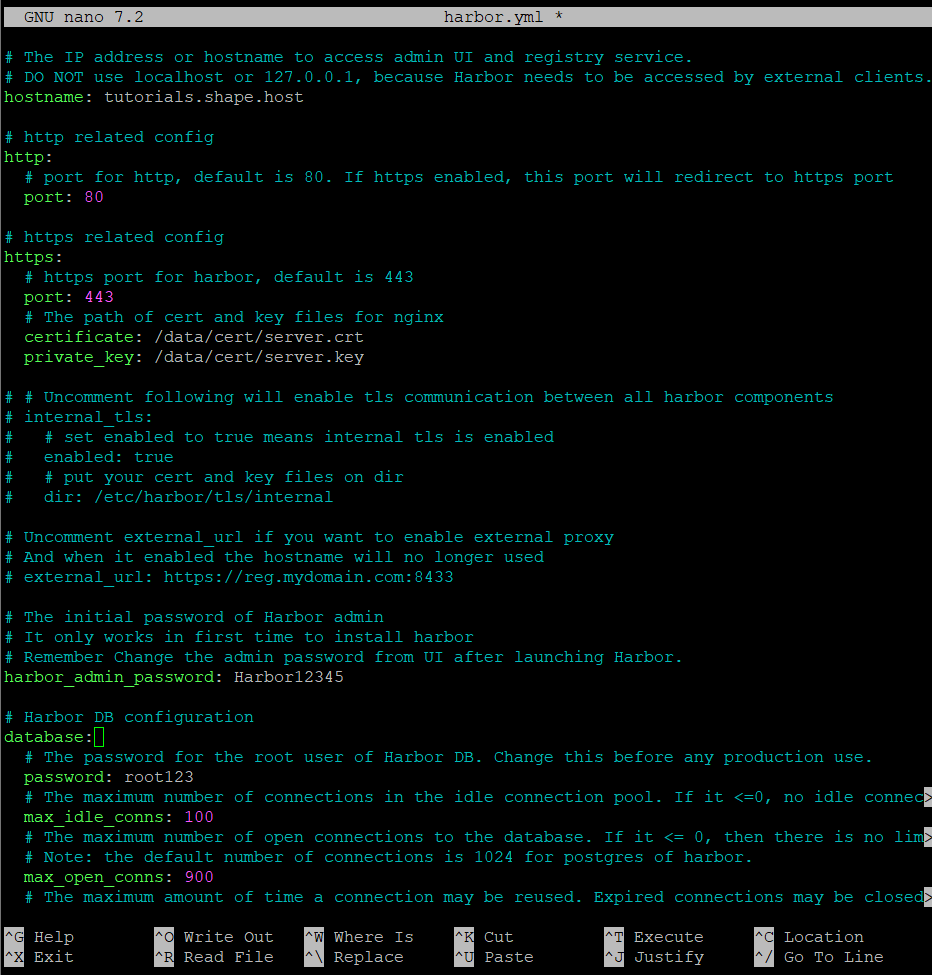
Edit the harbor.yml file to configure Harbor:
nano harbor.ymlUpdate the following sections in the harbor.yml file:
hostname: <your-server-ip-or-domain>

harbor_admin_password: strongpassword

https:
  port: 443
  ssl_cert: /data/cert/server.crt
  ssl_cert_key: /data/cert/server.key
Replace <your-server-ip-or-domain> with your server’s IP address or domain name, and set a strong password for the Harbor admin account.
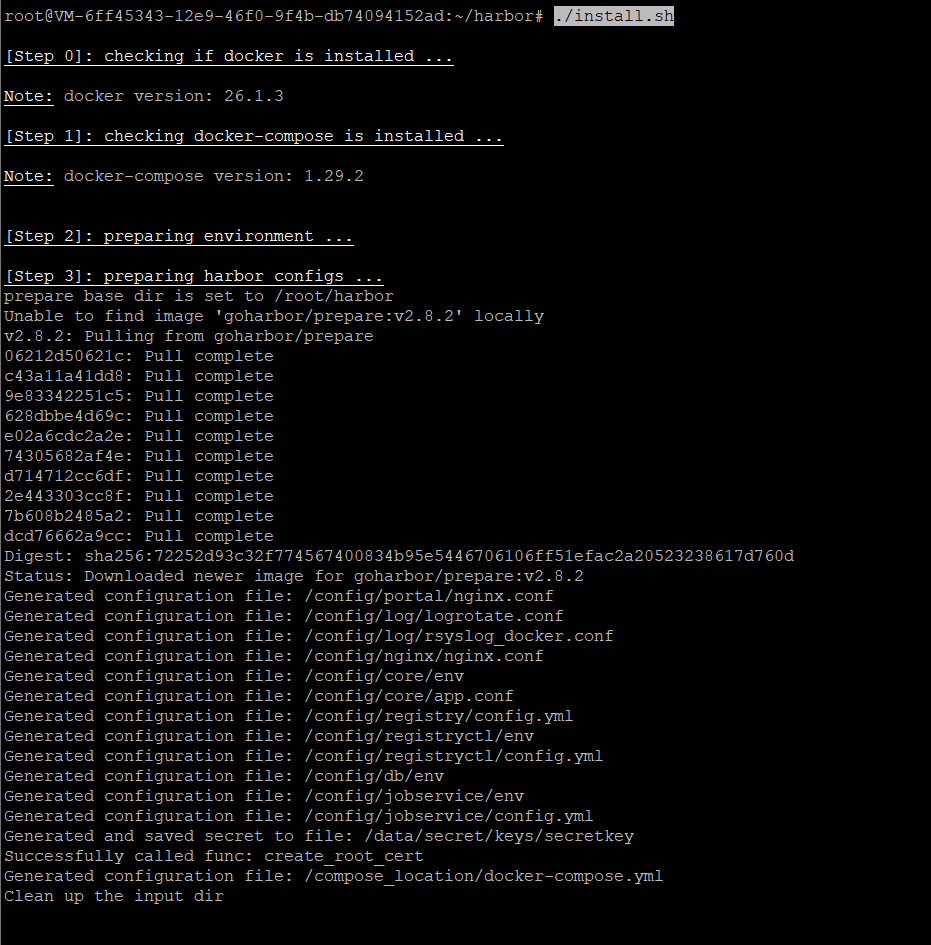
Step 8: Install Harbor
Run the installation script to set up Harbor:
./install.shThis script will download the necessary Docker images and start the Harbor services.
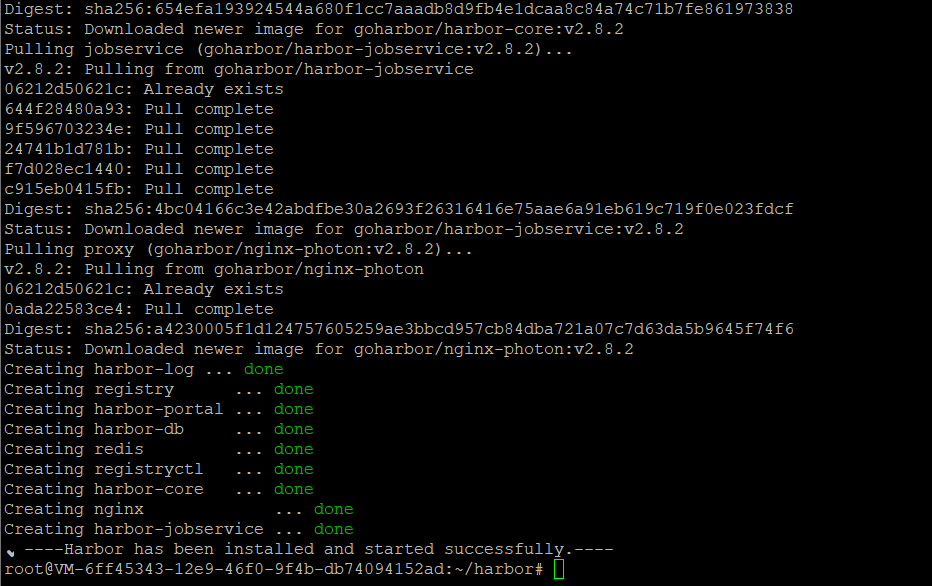
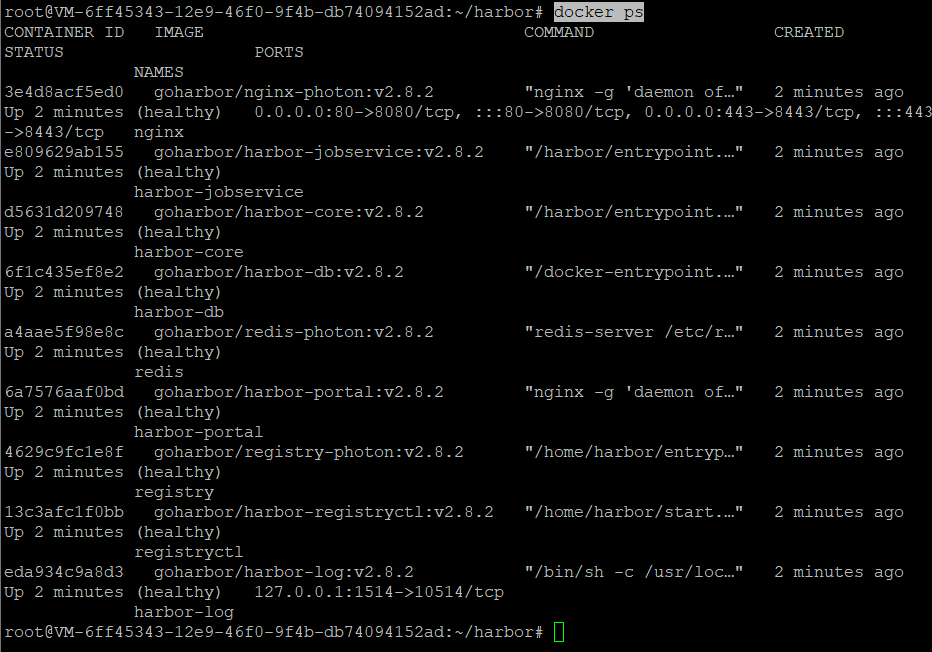
Step 9: Verify the Installation
Once the installation is complete, verify that the Harbor services are running:
docker psYou should see a list of running Docker containers related to Harbor.
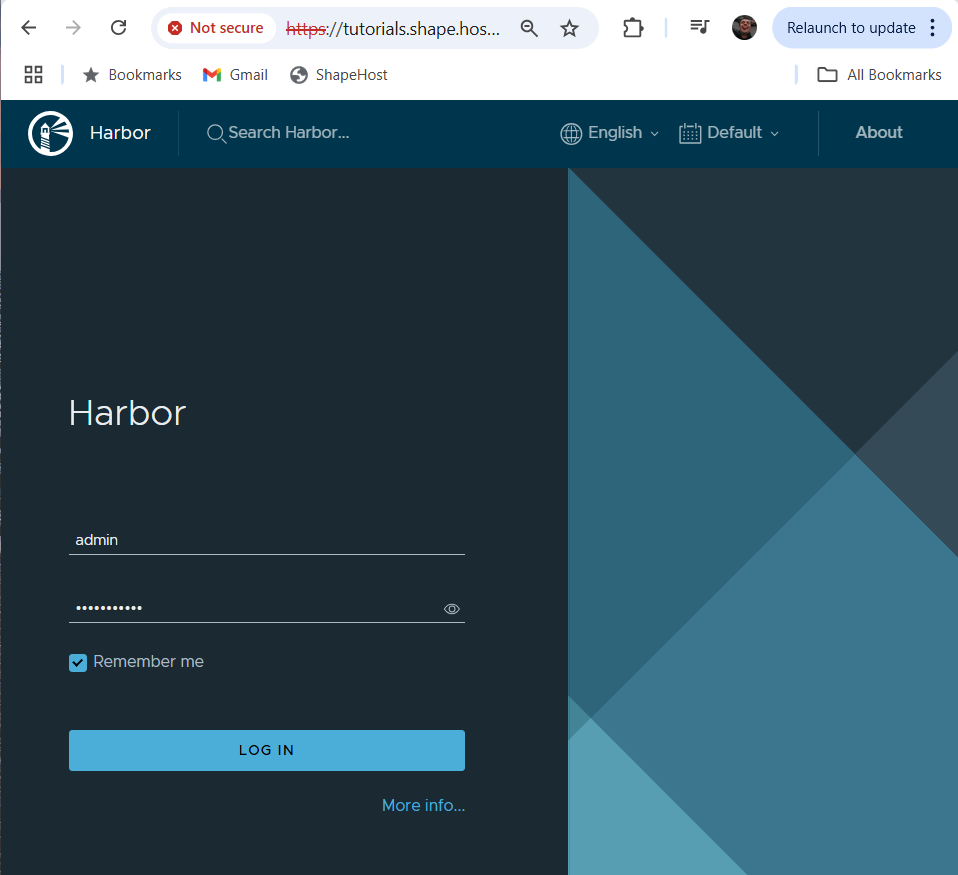
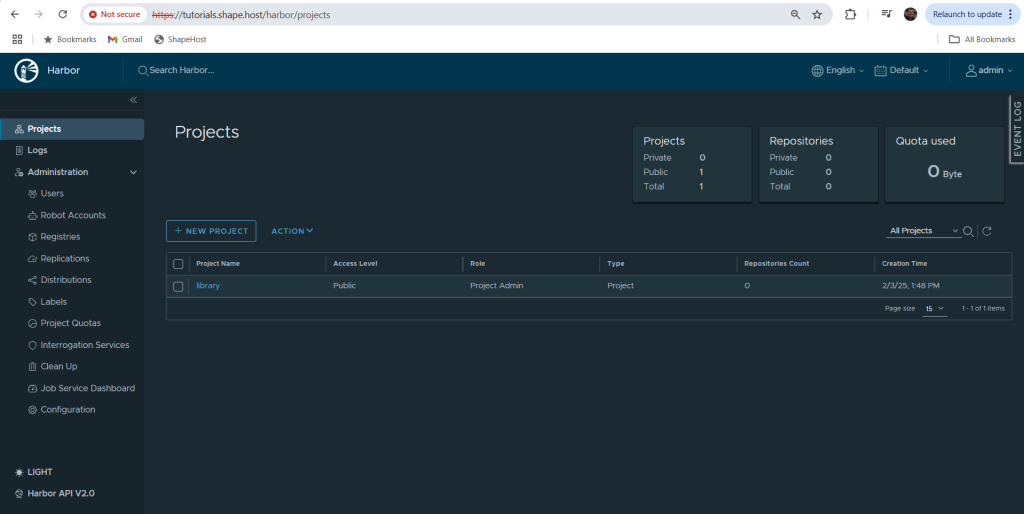
Step 10: Access Harbor
Open your web browser and navigate to https://<your-server-ip-or-domain>. You should see the Harbor login page. Log in using the admin credentials you configured in the harbor.yml file.

If you’re looking for a reliable and high-performance hosting solution for your container registry, consider Shape.Host Linux SSD VPS services. With fast SSD storage, scalable resources, and excellent support, Shape.Host provides the perfect environment for running Harbor and other demanding applications. Visit Shape.Host to learn more and get started today!