PyTorch is an open-source deep learning framework developed by Meta AI (formerly Facebook AI Research). It is widely used in machine learning, artificial intelligence, and deep learning applications due to its flexibility, ease of use, and strong community support. PyTorch provides a Python-based interface and a dynamic computation graph, making it a preferred choice for researchers and developers.
Key Features of PyTorch
- Dynamic Computation Graph
- Unlike static frameworks such as TensorFlow (before TF 2.0), PyTorch allows for on-the-fly model building, enabling more flexibility in research and experimentation.
- GPU Acceleration
- PyTorch supports CUDA, allowing models to run on GPUs for accelerated computations and faster training times.
- Automatic Differentiation with Autograd
- PyTorch’s autograd module enables automatic differentiation, simplifying the process of computing gradients and backpropagation.
- TorchScript for Production Deployment
- TorchScript enables the conversion of PyTorch models into a format optimized for deployment in production environments.
- Extensive Library Support
- PyTorch integrates with popular machine learning and deep learning libraries, such as TorchVision (for image processing), TorchText (for NLP), and TorchAudio (for audio tasks).
- Multi-GPU and Distributed Training
- PyTorch supports DistributedDataParallel (DDP) for efficient multi-GPU and multi-node training.
- Interoperability with NumPy
- PyTorch tensors can be easily converted to and from NumPy arrays, allowing seamless integration with scientific computing workflows.
- Strong Community and Ecosystem
- PyTorch has a large, active community, extensive documentation, and a growing ecosystem of pre-trained models and frameworks.
Advantages of PyTorch
- Ease of Use: Pythonic syntax makes it intuitive for developers and researchers.
- Flexibility: Ideal for rapid prototyping and iterative model development.
- Efficient Debugging: Debugging is simpler compared to static frameworks, as it supports native Python debugging tools.
- Strong Industry Adoption: Used by major companies like Meta, Tesla, and OpenAI for AI research and production.
What You Can Do with PyTorch
- Deep Learning Model Training
- PyTorch is widely used for building neural networks in tasks such as image classification, object detection, NLP, and reinforcement learning.
- Computer Vision Applications
- The TorchVision library provides pre-trained models and utilities for image-related tasks.
- Natural Language Processing (NLP)
- PyTorch is used in NLP tasks like text classification, machine translation, and speech recognition, with libraries such as Hugging Face’s Transformers.
- Reinforcement Learning
- PyTorch is a popular choice for training deep reinforcement learning (RL) agents.
- Medical and Scientific Research
- Used in healthcare applications, genomics, drug discovery, and scientific simulations.
- Autonomous Systems and Robotics
- PyTorch is used in AI-driven robotics, self-driving cars, and industrial automation.
Popular Libraries and Tools in PyTorch Ecosystem
- TorchVision – For image processing and computer vision tasks.
- TorchText – For natural language processing (NLP).
- TorchAudio – For speech and audio processing.
- Hugging Face Transformers – Pre-trained models for NLP and AI.
- Detectron2 – A library for object detection and segmentation.
- FastAI – A high-level deep learning library built on PyTorch.
PyTorch vs. Other Frameworks
| Feature | PyTorch | TensorFlow | JAX |
|---|---|---|---|
| Computation Graph | Dynamic | Static (TF 1.x) / Dynamic (TF 2.x) | Dynamic |
| Ease of Use | High | Moderate | Moderate |
| GPU Acceleration | Yes (CUDA) | Yes (TensorFlow-GPU) | Yes (TPU/ GPU) |
| Industry Adoption | Research & Production | Enterprise & Cloud | Research |
| Debugging | Native Python Debugging | TensorBoard Debugging | JIT Debugging |
Why Choose PyTorch?
PyTorch is a powerful and flexible deep learning framework that balances ease of use with scalability, making it ideal for both research and real-world applications. Its dynamic computation graph, GPU support, and integration with Python scientific libraries make it a top choice for AI and machine learning development.
Step 1: Create a Server Instance on Shape.Host
Before installing PyTorch, you need a server to host your environment. Here’s how to set up a server instance on Shape.Host:
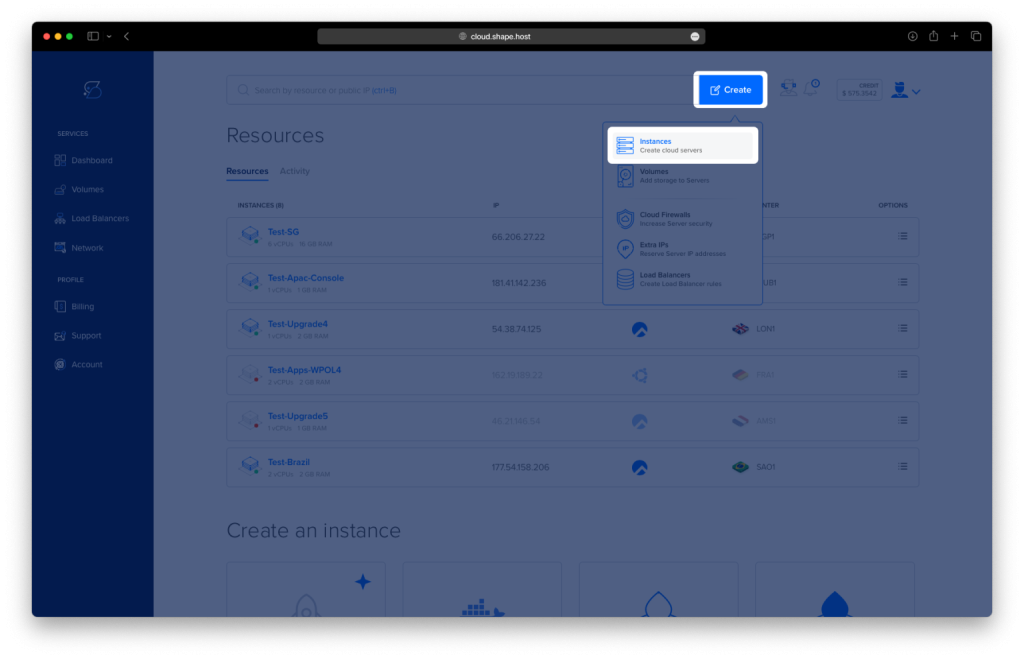
Log in to Shape.Host: Access your Shape.Host account and go to the Cloud VPS section.
Start a New Instance: Click on “Create Instance” and choose the server type that fits your project.
Pick a Location: Select a data center near your audience for better performance.
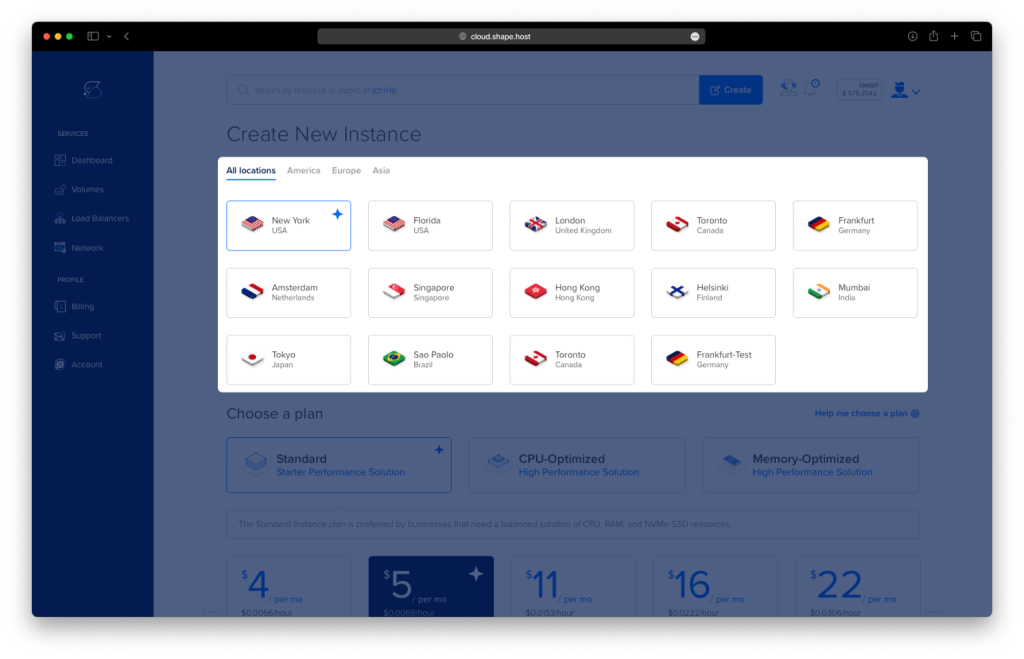
Choose a Plan: Select a hosting plan that matches your resource needs.
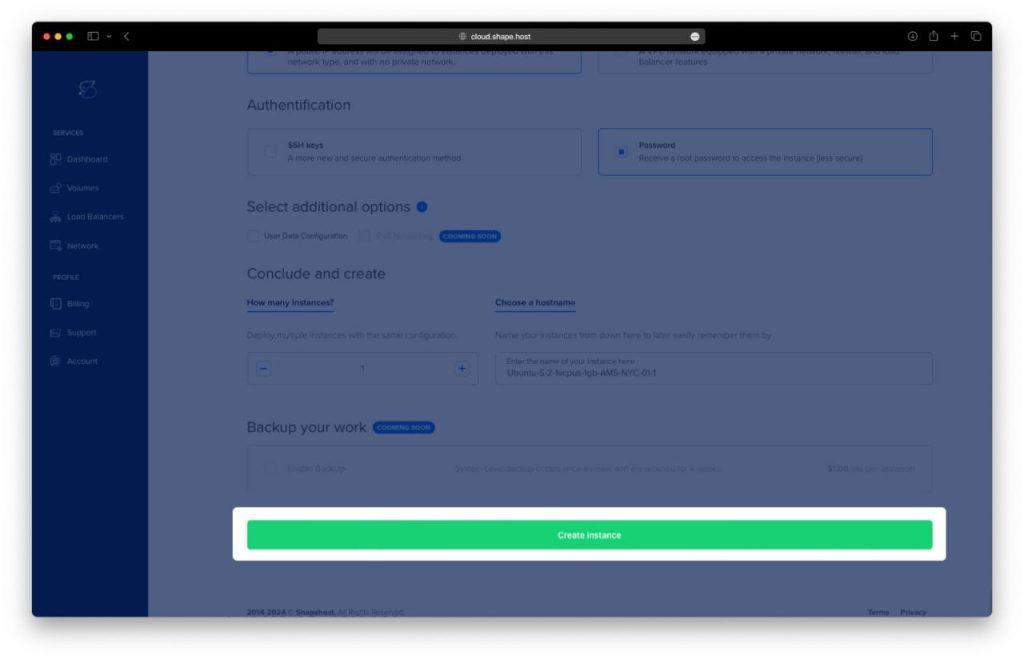
Set the OS: Choose Ubuntu 24.04 as your operating system.

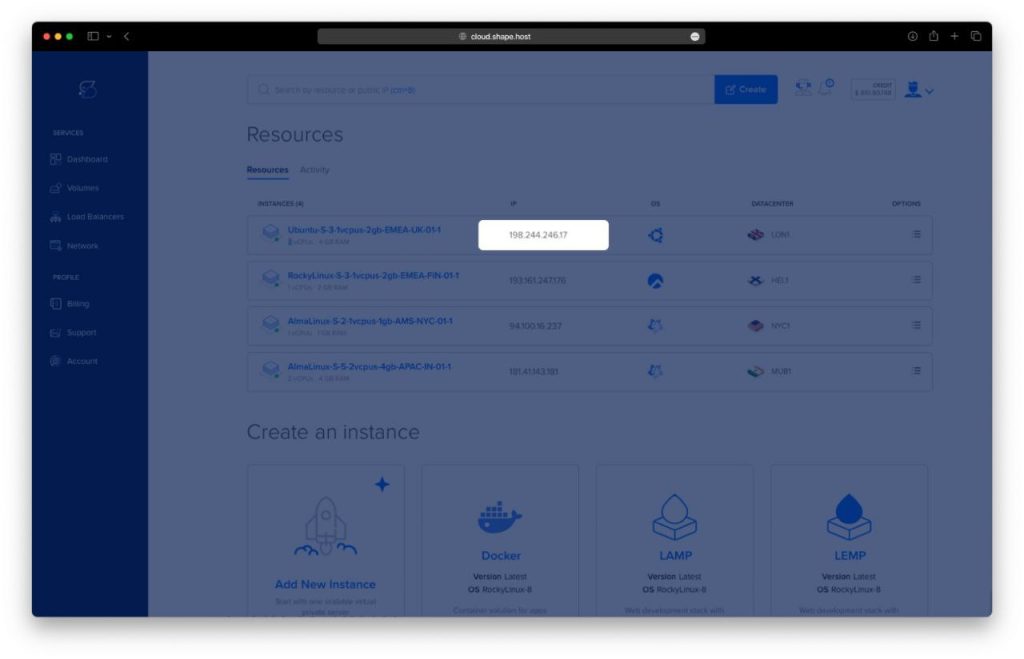
Complete the Setup: Review your settings and click “Create” to launch your instance. It will be ready shortly.
In Dashboard you will find your Instance IP.
Step 2: Connect to Your Instance
Once your server is ready, you need to connect to it using SSH. Here’s how to do it:
- Linux/macOS: Open your terminal and use the following command:
ssh username@your_server_ipReplace username with your server’s username and your_server_ip with the server’s IP address.
- Windows: Use an SSH client like PuTTY. Enter your server’s IP address, specify the port (usually 22), and click “Open.” Log in with your username and password.
Step 3: Update the System
Before installing any software, it’s a good practice to update your system to ensure all packages are up to date. Run the following command:
apt update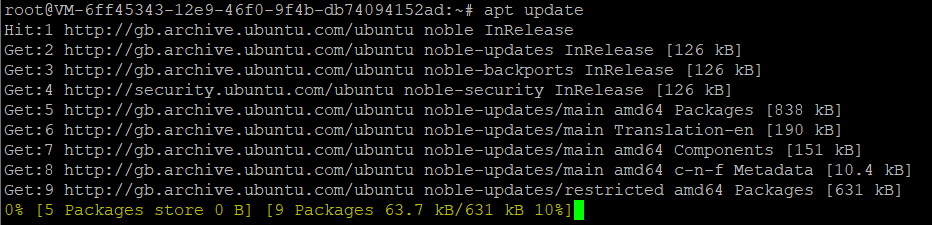
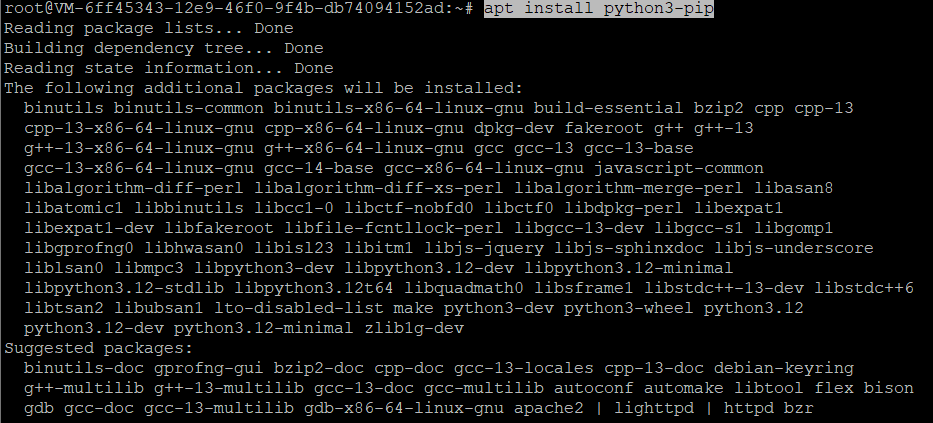
Step 4: Install Python and PIP
PyTorch requires Python and PIP (Python’s package installer). Install them using the following commands:
apt install python3
apt install python3-pip
Step 5: Install Virtualenv
To avoid conflicts between dependencies, it’s recommended to use a virtual environment. Install virtualenv using PIP:
apt install virtualenv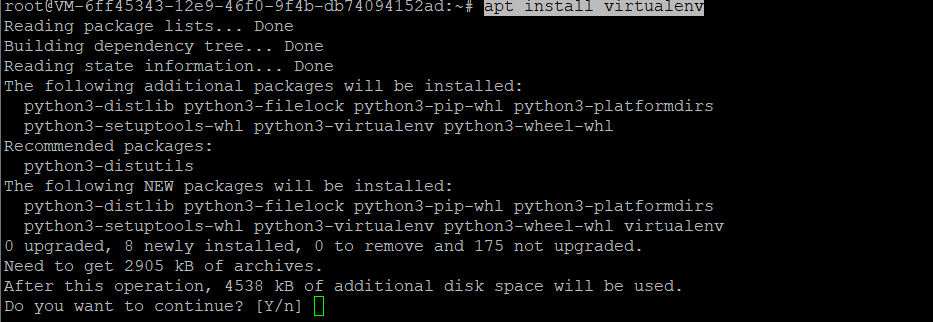
Step 6: Create a Virtual Environment
Create a virtual environment for your PyTorch project:
virtualenv my_project_envThis command creates a directory named my_project_env containing the virtual environment.
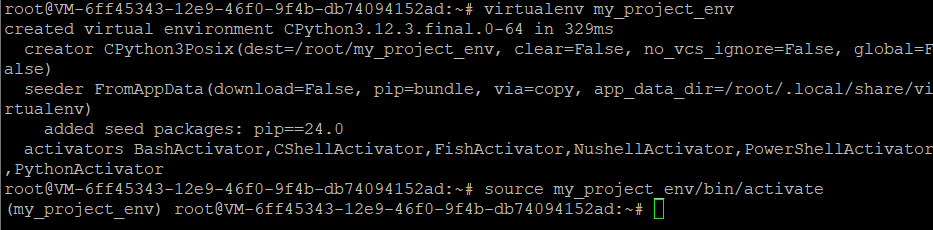
Step 7: Activate the Virtual Environment
Activate the virtual environment using the following command:
source my_project_env/bin/activateOnce activated, your terminal prompt will change to indicate that the virtual environment is active.
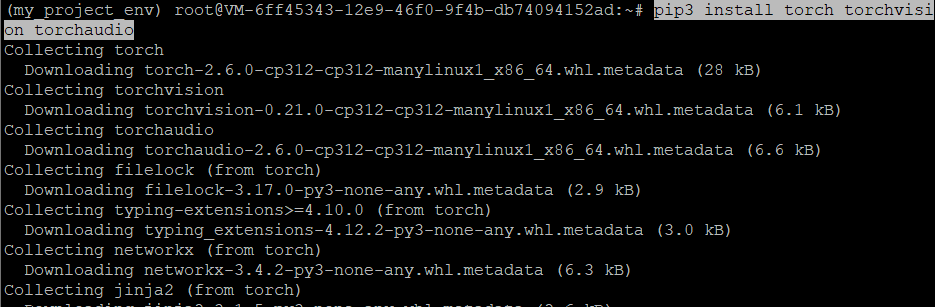
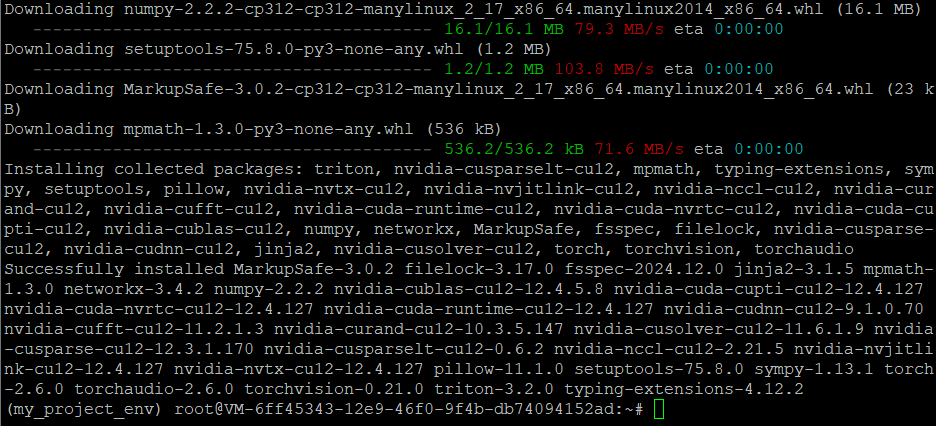
Step 8: Install PyTorch
With the virtual environment activated, install PyTorch, along with torchvision and torchaudio, using PIP:
pip3 install torch torchvision torchaudioThis command installs the latest stable version of PyTorch and its associated libraries.
Step 9: Verify the Installation
To verify that PyTorch is installed correctly, open the Python interpreter:
pythonIn the Python interpreter, run the following commands:
import torch
print(torch.__version__)
If PyTorch is installed correctly, this will print the version of PyTorch installed. For example:
2.0.1Exit the Python interpreter by typing:
exit()
Step 10: Deactivate the Virtual Environment
When you’re done working with PyTorch, you can deactivate the virtual environment by running:
deactivateThis will return you to the system’s default Python environment.
If you’re looking for a reliable and high-performance hosting solution for your machine learning projects, consider Shape.Host Linux SSD VPS services. With fast SSD storage, scalable resources, and excellent support, Shape.Host provides the perfect environment for running PyTorch and other demanding applications. Visit Shape.Host to learn more and get started today!