What is Jenkins?
Jenkins is a powerful, open-source automation server used to implement continuous integration (CI) and continuous delivery (CD). It automates tasks such as building, testing, and deploying software, helping development teams deliver high-quality code more efficiently.
Jenkins is written in Java and is highly modular, featuring a vast library of plugins for source control, build tools, cloud platforms, notifications, and infrastructure automation.
Why Use Jenkins on Debian 12?
Debian 12 “Bookworm” is known for its stability, predictability, and long-term support, making it a solid choice for deploying Jenkins in both development and production environments.
Key advantages of Jenkins on Debian 12:
- Access to OpenJDK 17, fully supported by recent Jenkins versions
- Integration with systemd for process control and monitoring
- Native APT support via the official Jenkins repository
- Compatibility with tools like Git, Docker, Ansible, Maven, and Gradle
- Security-focused package policies and stable plugin behavior
Main Features of Jenkins
| Feature | Description |
|---|---|
| Automation Pipelines | Define build/test/deploy flows using Jenkinsfile (Groovy DSL) |
| Plugin Architecture | Over 1,800 plugins for SCM, deployment, testing, and notifications |
| Web-Based Interface | Accessible dashboard for job control, history, and configuration |
| Source Code Integration | Connect with GitHub, GitLab, Bitbucket, and others |
| Scalability | Supports distributed builds using agents (Linux, Windows, Docker) |
| Security Controls | Integrates with LDAP, SSO, GitHub OAuth, and supports role-based access |
Common Use Cases
- Automating software build pipelines across teams
- Testing code on multiple platforms and environments
- Deploying applications to servers, containers, or cloud providers
- Running static analysis, security scans, and quality checks
- Coordinating DevOps workflows (e.g., with Terraform or Ansible)
- Integrating notifications with Slack, email, or custom channels
Jenkins Architecture on Debian 12
- Jenkins Master: Core server managing job scheduling, plugin management, and UI
- Build Agents: Worker nodes that execute jobs (can be static or dynamic)
- Java Runtime: Jenkins requires Java 11 or newer (Java 17 recommended)
- Systemd Service: Jenkins runs as a systemd-managed service (
jenkins.service) - Web Access: Default port is
8080, accessible via browser for configuration and monitoring - Data Storage: Jenkins data lives in
/var/lib/jenkins, including jobs, configs, and logs
Security Recommendations
- Use HTTPS via Nginx reverse proxy or built-in TLS support
- Limit access using UFW and optionally restrict API usage
- Use strong authentication methods like LDAP, OAuth, or SAML
- Configure RBAC (Role-Based Access Control) via Matrix Authorization Strategy plugin
- Regularly update Jenkins core and plugins to patch vulnerabilities
- Create automated backups of
/var/lib/jenkinsand configuration directories
Performance and Scalability Tips
- Run Jenkins on SSD-backed systems for fast build performance
- Use dedicated build agents for heavy workloads or Docker-based isolation
- Enable parallel execution in pipelines to speed up stages
- Optimize memory allocation in Java options if running large jobs
- Externalize build artifacts and logs to network storage or cloud buckets
Deploying Jenkins on Debian 12 gives teams a reliable, scalable, and secure automation platform for CI/CD workflows. Debian’s reputation for long-term support and its compatibility with modern Java environments make it ideal for managing Jenkins installations in production or internal development environments.
Whether you’re automating builds for a single project or orchestrating enterprise-wide deployments, Jenkins on Debian 12 provides the tools, flexibility, and stability needed to support modern DevOps practices.
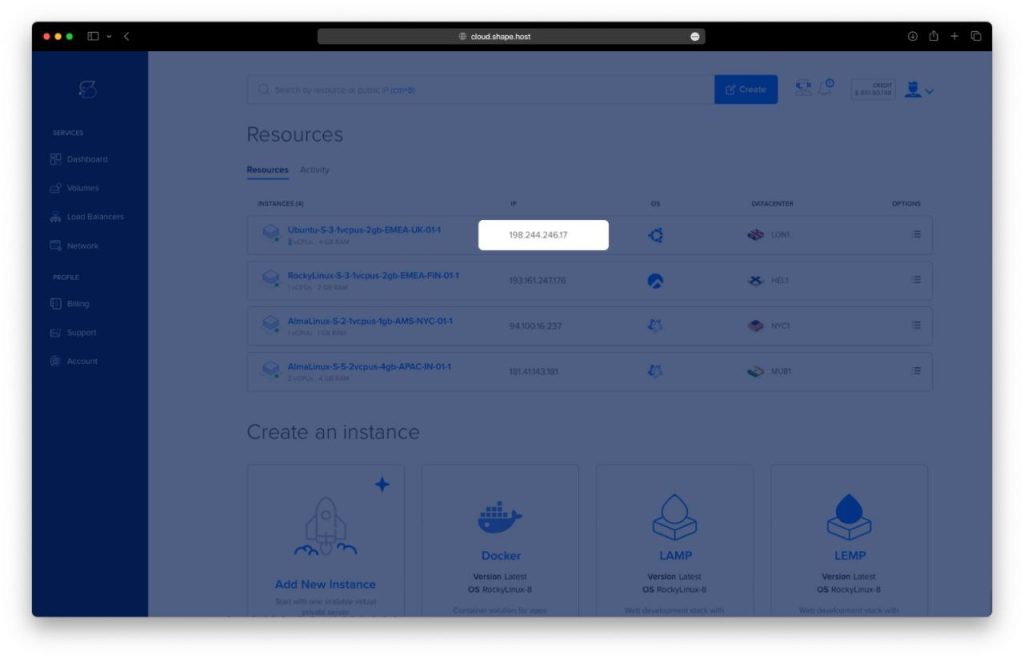
Step 1: Deploy a Debian 12 Server on Shape.Host
Start by creating a clean VPS for Jenkins using Shape.Host:
Go to https://shape.host and log in.
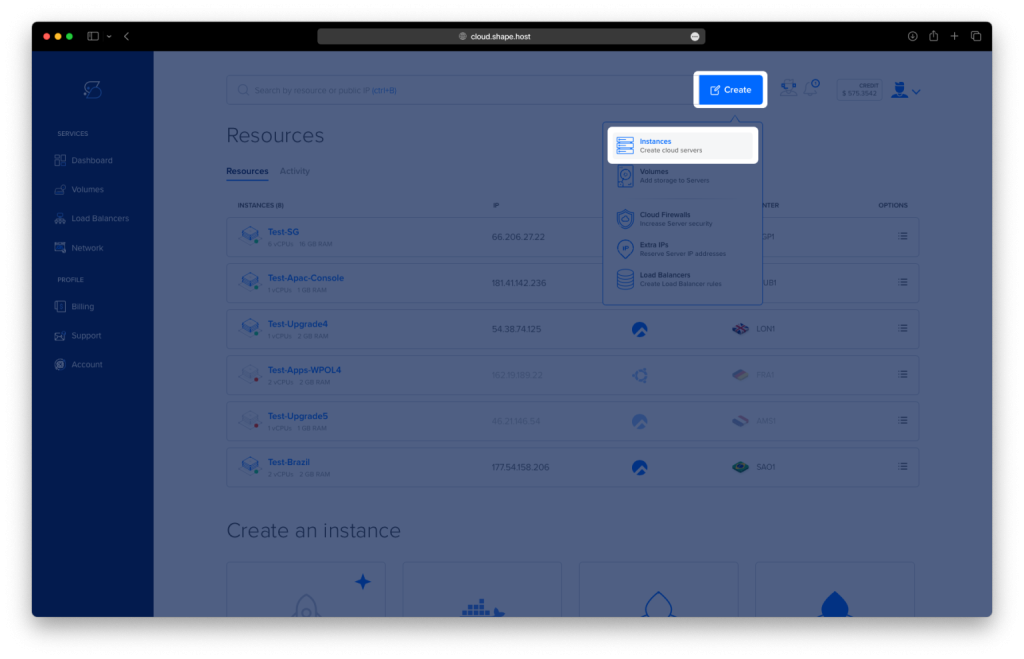
Click “Create”, then choose “Instance”.
Select your preferred data center location.
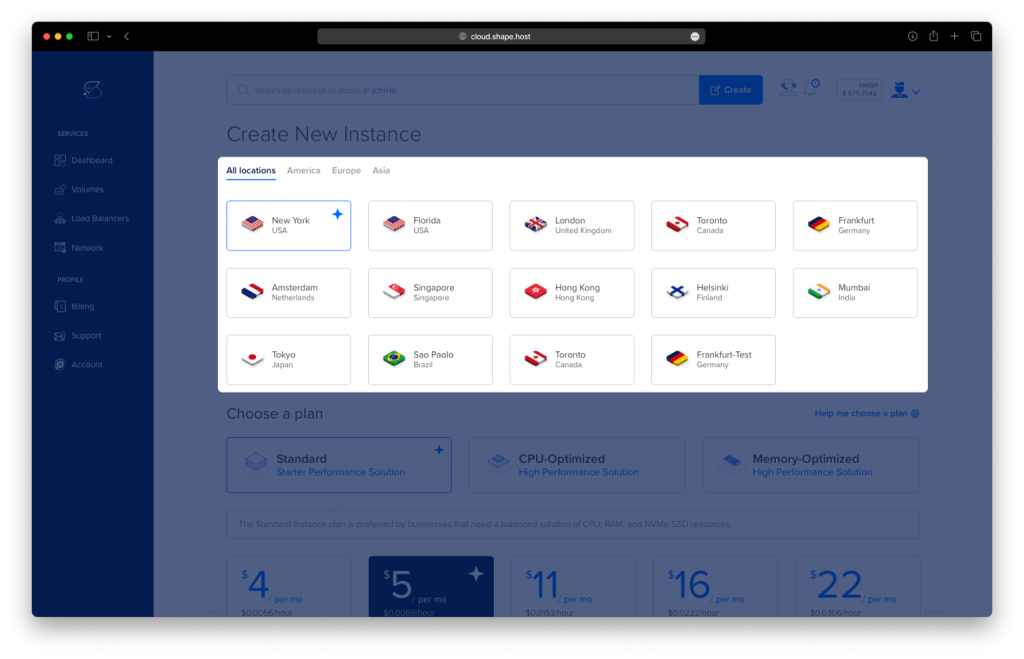
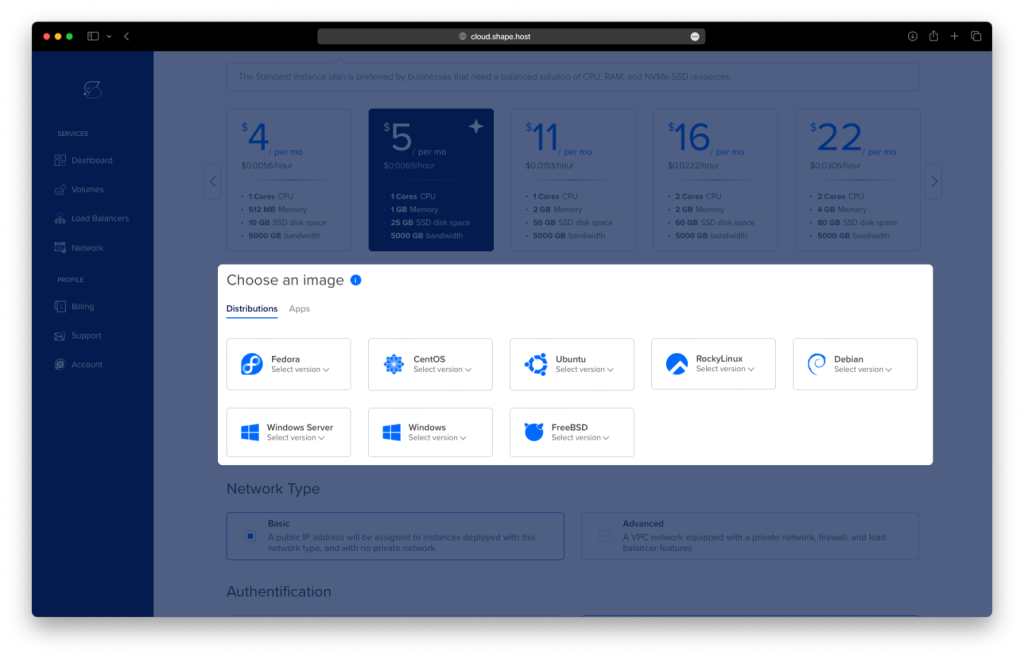
Choose Debian 12 (64-bit) as the operating system.
Pick a plan with at least 2 CPUs, 4 GB RAM, and 20 GB SSD.
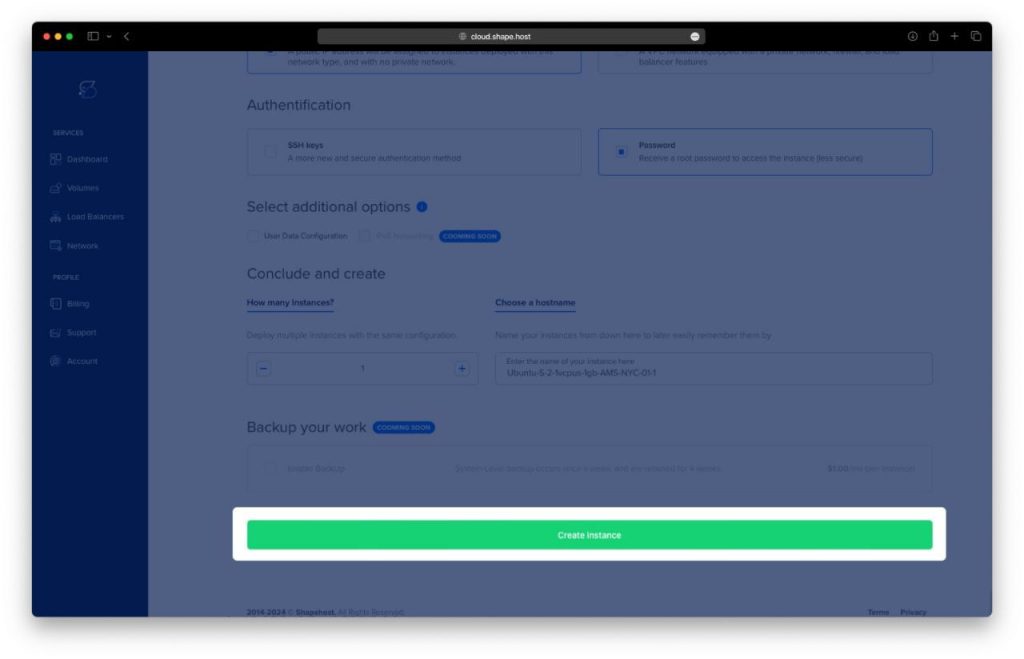
Click “Create Instance”.
Once deployed, copy your server’s IP address from the Resources section.
Step 2: Connect to the Server
From Linux/macOS:
ssh root@your_server_ip
From Windows, use PuTTY to connect to your VPS.
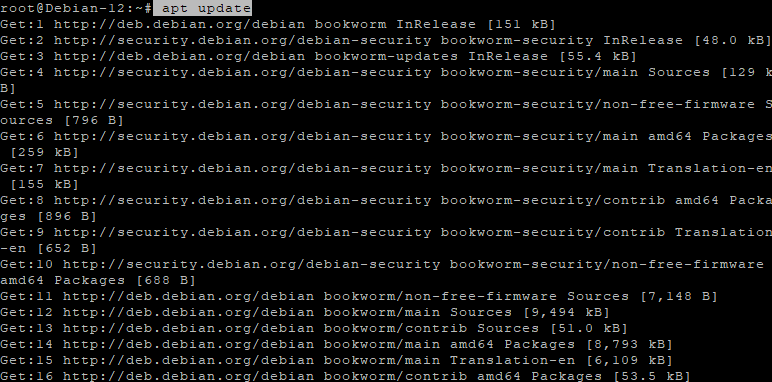
Step 3: Update the System
apt update
This refreshes your local package list with the latest versions from official Debian repositories.
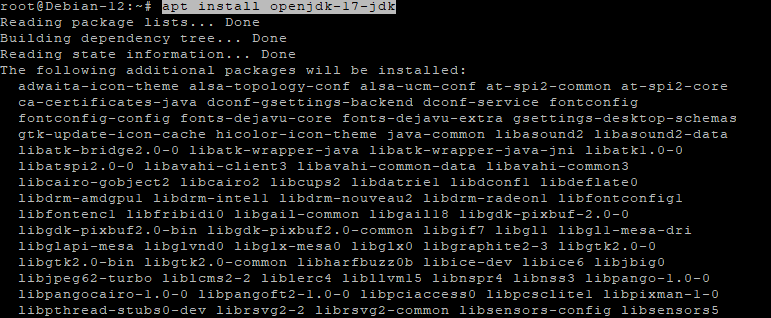
Step 4: Install Java (Required by Jenkins)
apt install openjdk-17-jdk
Jenkins runs on Java. This command installs OpenJDK 17, which is supported by Jenkins.
Check that Java installed successfully:
java -version

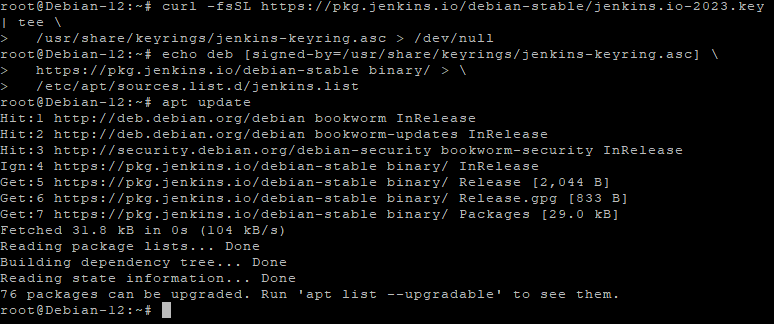
Step 5: Add Jenkins Repository and GPG Key
Import the official Jenkins GPG key to verify package authenticity:
curl -fsSL https://pkg.jenkins.io/debian-stable/jenkins.io-2023.key | tee /usr/share/keyrings/jenkins-keyring.asc > /dev/null
Add the Jenkins package repository:
echo deb [signed-by=/usr/share/keyrings/jenkins-keyring.asc] https://pkg.jenkins.io/debian-stable binary/ > /etc/apt/sources.list.d/jenkins.list
Update again so Debian recognizes the new Jenkins repository:
apt update
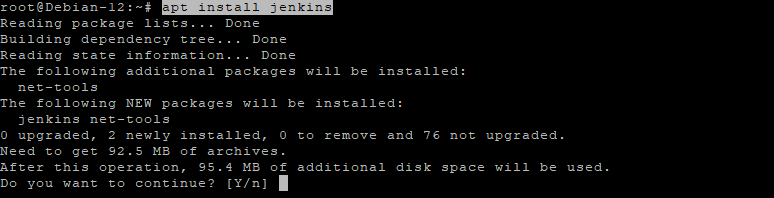
Step 6: Install Jenkins
apt install jenkins
This installs the Jenkins service and sets it up to run on port 8080.
Enable Jenkins to start on boot:
systemctl enable jenkins
Start Jenkins:
systemctl start jenkins
Check that it’s running correctly:
systemctl status jenkins

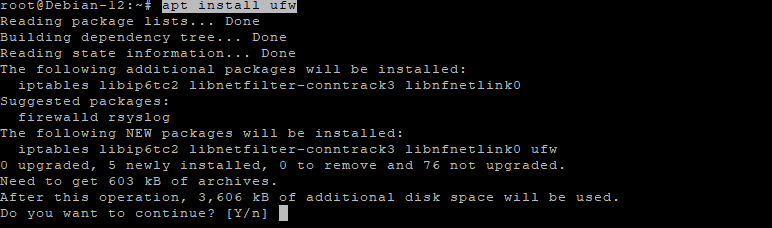
Step 7: Configure Firewall (UFW)
Install Uncomplicated Firewall (UFW):
apt install ufw
Enable the firewall:
ufw enable
Allow port 8080 for Jenkins:
ufw allow 8080
Allow SSH so you don’t lock yourself out:
ufw allow OpenSSH
Reload UFW to apply the rules:
ufw reload

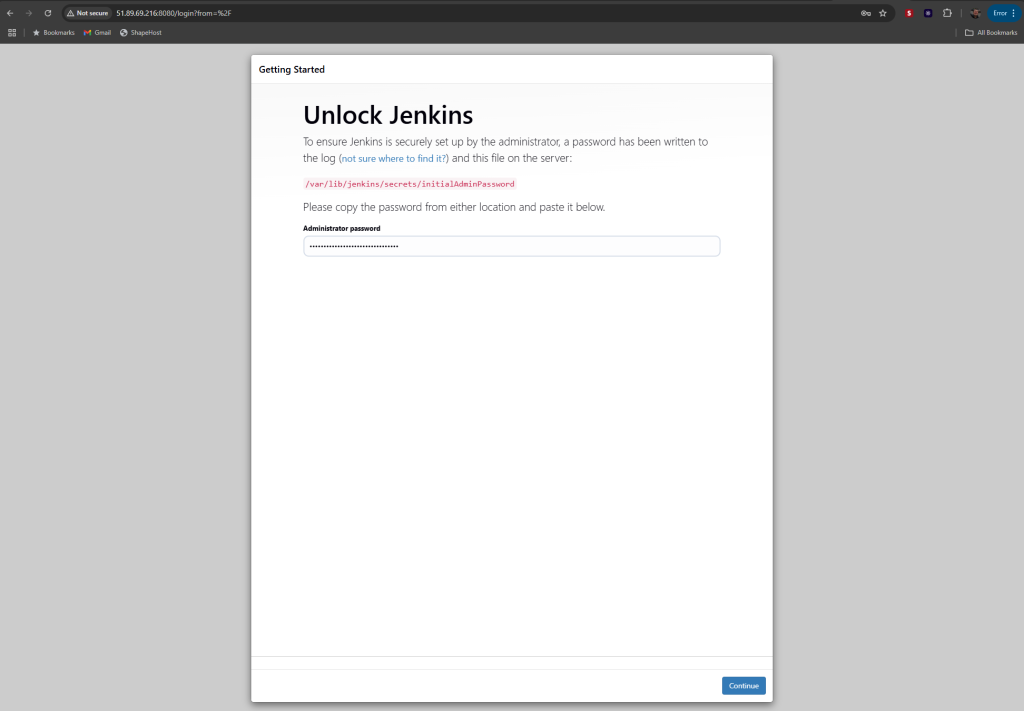
Step 8: Get Jenkins Initial Admin Password
To unlock Jenkins for the first time:
cat /var/lib/jenkins/secrets/initialAdminPassword
Copy the password shown — you’ll paste this into the Jenkins web interface to begin setup.

Step 9: Open Jenkins in the Browser
Go to:
http://your-server-ip:8080
Paste the admin password when prompted, then proceed to install recommended plugins and create your admin user.
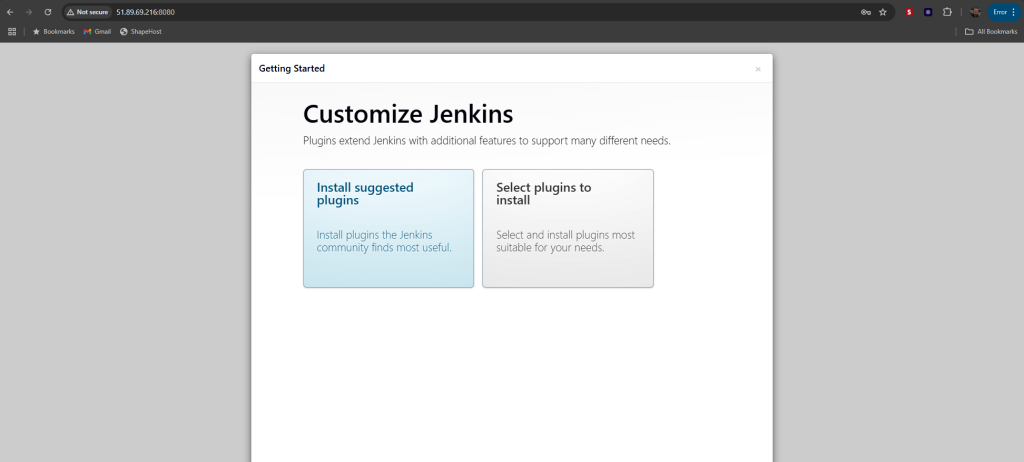
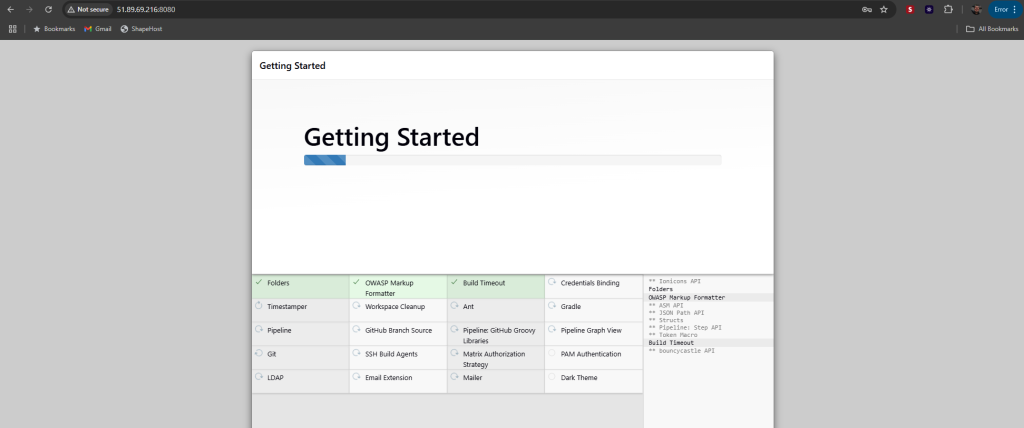
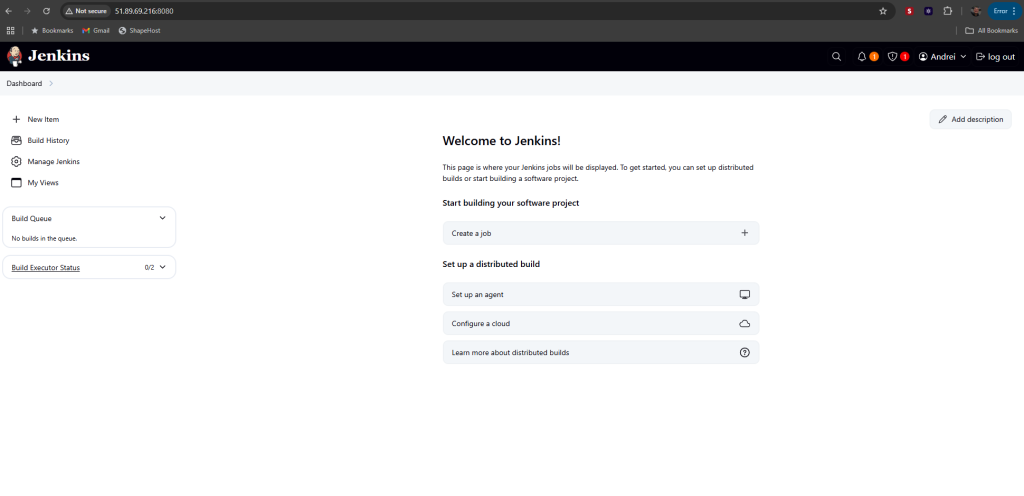
Step 10: Finish Jenkins Setup
Click “Install suggested plugins”
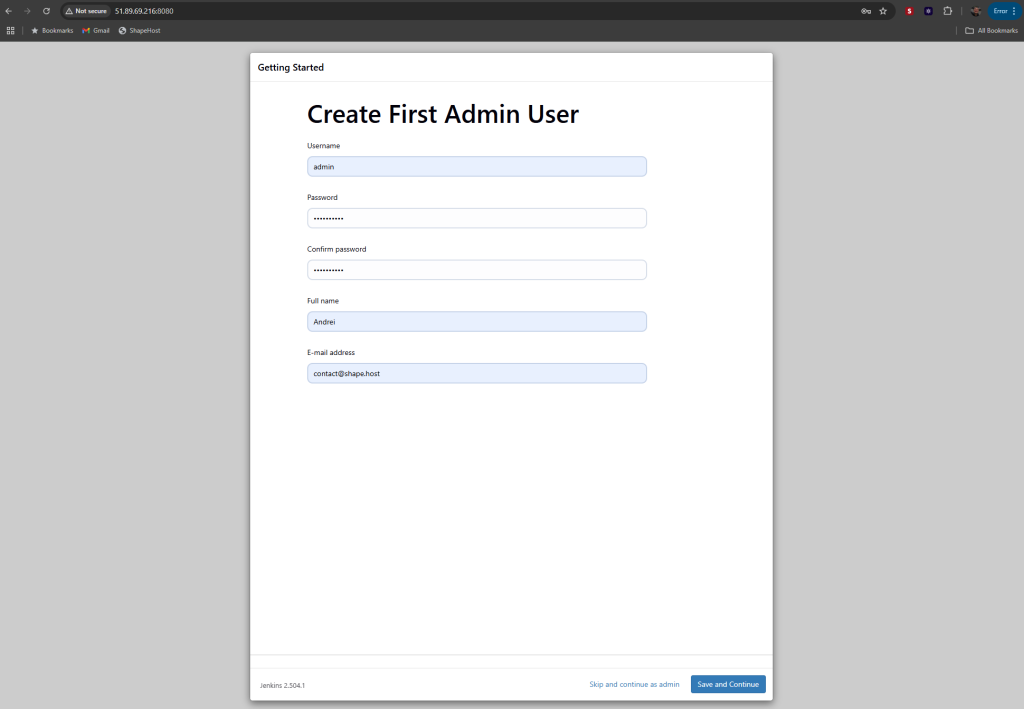
Create your admin user
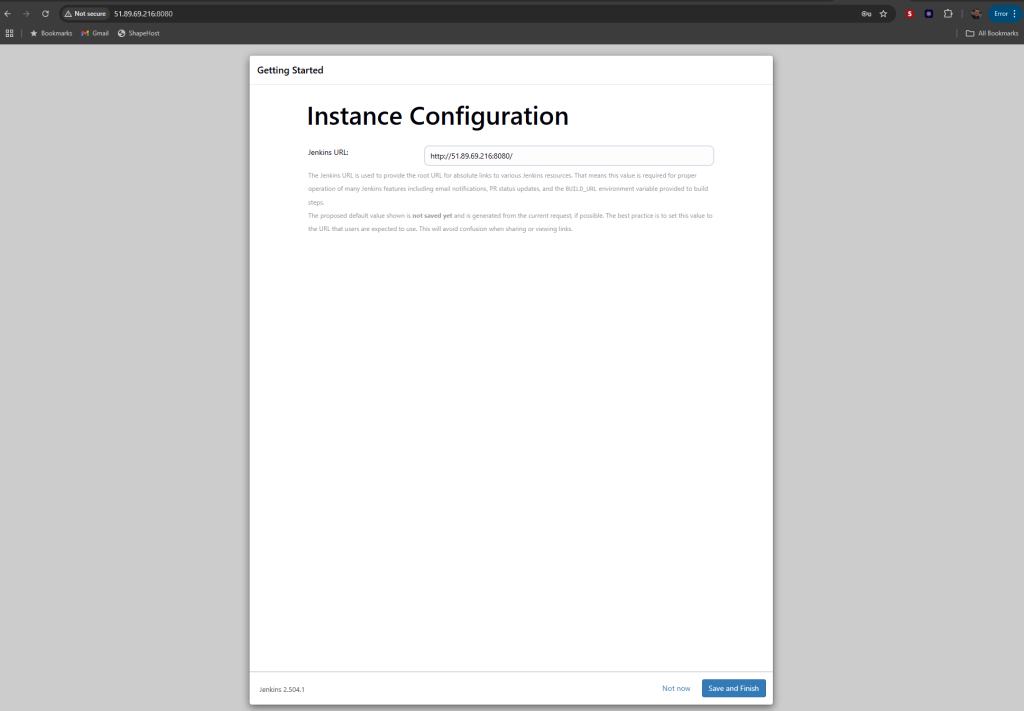
Confirm Jenkins URL (can be IP or domain)
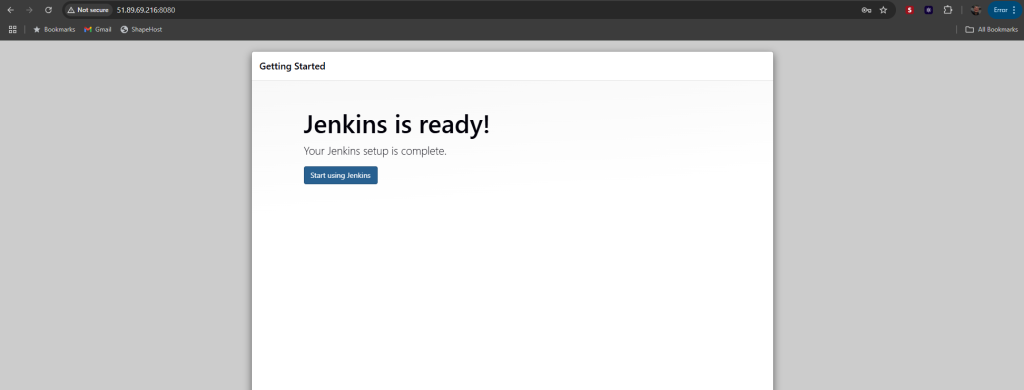
Proceed to dashboard
- Fast Cloud VPS with SSD storage
- Reliable performance for continuous integration
- Full root access
- Scale as your Jenkins workload grows
Get started now at https://shape.host and deploy your Jenkins server with just a few clicks!