Jenkins Pipeline is a powerful continuous integration and continuous delivery (CI/CD) automation tool that allows developers to define and manage workflows using code. It is built on Jenkins, an open-source automation server widely used for building, testing, and deploying applications. Running Jenkins Pipeline on Debian 12 ensures a stable, secure, and optimized environment for automating software development processes.
Key Features of Jenkins Pipeline on Debian 12
- Pipeline as Code
- Define build and deployment processes using Jenkinsfile, a text-based configuration file.
- Declarative and Scripted Pipelines
- Choose between Declarative Pipelines (simplified, structured syntax) or Scripted Pipelines (Groovy-based scripting).
- Automated Build and Deployment
- Automate code compilation, testing, and deployment with version control integration.
- Parallel Execution
- Run multiple tasks in parallel, improving performance and reducing build time.
- Integration with Version Control
- Supports Git, GitHub, GitLab, Bitbucket, and Subversion (SVN) for source code management.
- Extensive Plugin Ecosystem
- Over 1,800 plugins available for integrating with Docker, Kubernetes, AWS, Terraform, and more.
- Artifact Management
- Integrates with Nexus, Artifactory, and Docker Registry for storing build artifacts.
- Built-In Security and Access Control
- Supports role-based access control (RBAC), LDAP, and authentication plugins for secure deployments.
- Cross-Platform Compatibility
- Runs on Debian 12, as well as other Linux distributions, Windows, and macOS.
- Automated Testing and Quality Assurance
- Integrates with testing frameworks like JUnit, Selenium, and SonarQube for quality control.
Advantages of Using Jenkins Pipeline on Debian 12
- Stable and Secure Platform: Debian 12 provides a reliable, secure foundation for running Jenkins.
- Automated Workflow Management: Define and manage complex CI/CD workflows using a single Jenkinsfile.
- Scalability for Large Teams: Supports distributed builds and cloud-based execution.
- Improved Deployment Speed: Automates build, test, and deployment processes, reducing manual effort.
- Integration with Cloud and DevOps Tools: Works seamlessly with AWS, Azure, Google Cloud, Docker, and Kubernetes.
- Efficient Debugging and Monitoring: Provides real-time logs, build history, and failure analysis.
Use Cases for Jenkins Pipeline on Debian 12
- Continuous Integration (CI)
- Automatically build and test code changes with every commit or pull request.
- Continuous Delivery (CD)
- Automate software deployments to testing, staging, and production environments.
- Infrastructure as Code (IaC) Automation
- Deploy Terraform, Ansible, or Kubernetes configurations for infrastructure automation.
- Microservices and Containerized Deployments
- Build and deploy Docker containers and orchestrate with Kubernetes.
- Automated Testing Pipelines
- Run unit tests, integration tests, and security scans in a structured pipeline.
- Multi-Branch Pipelines
- Manage multiple project branches and environments using Jenkins Multibranch Pipeline.
- Mobile App Development Pipelines
- Automate Android and iOS app builds with Gradle, Fastlane, and Xcode.
- Cloud and Hybrid Deployments
- Deploy applications to AWS, Google Cloud, and Azure using cloud plugins.
Comparison: Jenkins Pipeline vs. Other CI/CD Tools
| Feature | Jenkins Pipeline | GitLab CI/CD | GitHub Actions | CircleCI |
|---|---|---|---|---|
| Pipeline as Code | ✅ Yes (Jenkinsfile) | ✅ Yes (.gitlab-ci.yml) | ✅ Yes (YAML-based) | ✅ Yes (config.yml) |
| Parallel Execution | ✅ Yes | ✅ Yes | ✅ Yes | ✅ Yes |
| Plugin Ecosystem | ✅ 1,800+ Plugins | ⚠️ Limited Plugins | ⚠️ Limited Plugins | ⚠️ Limited Plugins |
| Containerized Builds | ✅ Docker & Kubernetes | ✅ Docker Support | ✅ Docker Support | ✅ Docker Support |
| Cloud Integration | ✅ AWS, Azure, GCP | ✅ AWS, GCP, Kubernetes | ✅ AWS, Azure, GCP | ✅ AWS, GCP, Kubernetes |
| Multi-Branch Pipelines | ✅ Yes | ✅ Yes | ✅ Yes | ✅ Yes |
| Self-Hosting Support | ✅ Yes (On-Premise) | ✅ Yes | ❌ No (Cloud-Only) | ⚠️ Limited On-Premise |
Why Use Jenkins Pipeline on Debian 12?
- Stable and Secure Environment: Debian 12 provides long-term support (LTS), making it ideal for production CI/CD workflows.
- Highly Customizable: Jenkins Pipelines allow custom scripts, integrations, and advanced workflow automation.
- Scalable Architecture: Supports distributed builds across multiple nodes.
- Cost-Effective: Free and open-source with no licensing costs, unlike cloud-based alternatives.
- Enterprise-Ready: Trusted by large enterprises and DevOps teams worldwide.
Jenkins Pipeline on Debian 12 provides a powerful, flexible, and scalable CI/CD solution for automating build, test, and deployment workflows. With its Pipeline as Code approach, parallel execution, and strong plugin ecosystem, Jenkins is the preferred choice for DevOps teams, enterprises, and cloud-native applications. Whether deploying web applications, mobile apps, or cloud-based services, Jenkins on Debian 12 ensures reliability, efficiency, and security.
Step 1: Set Up a Server on Shape.Host
Before installing Jenkins, you’ll need a server to host your environment. Here’s how to create one on Shape.Host:
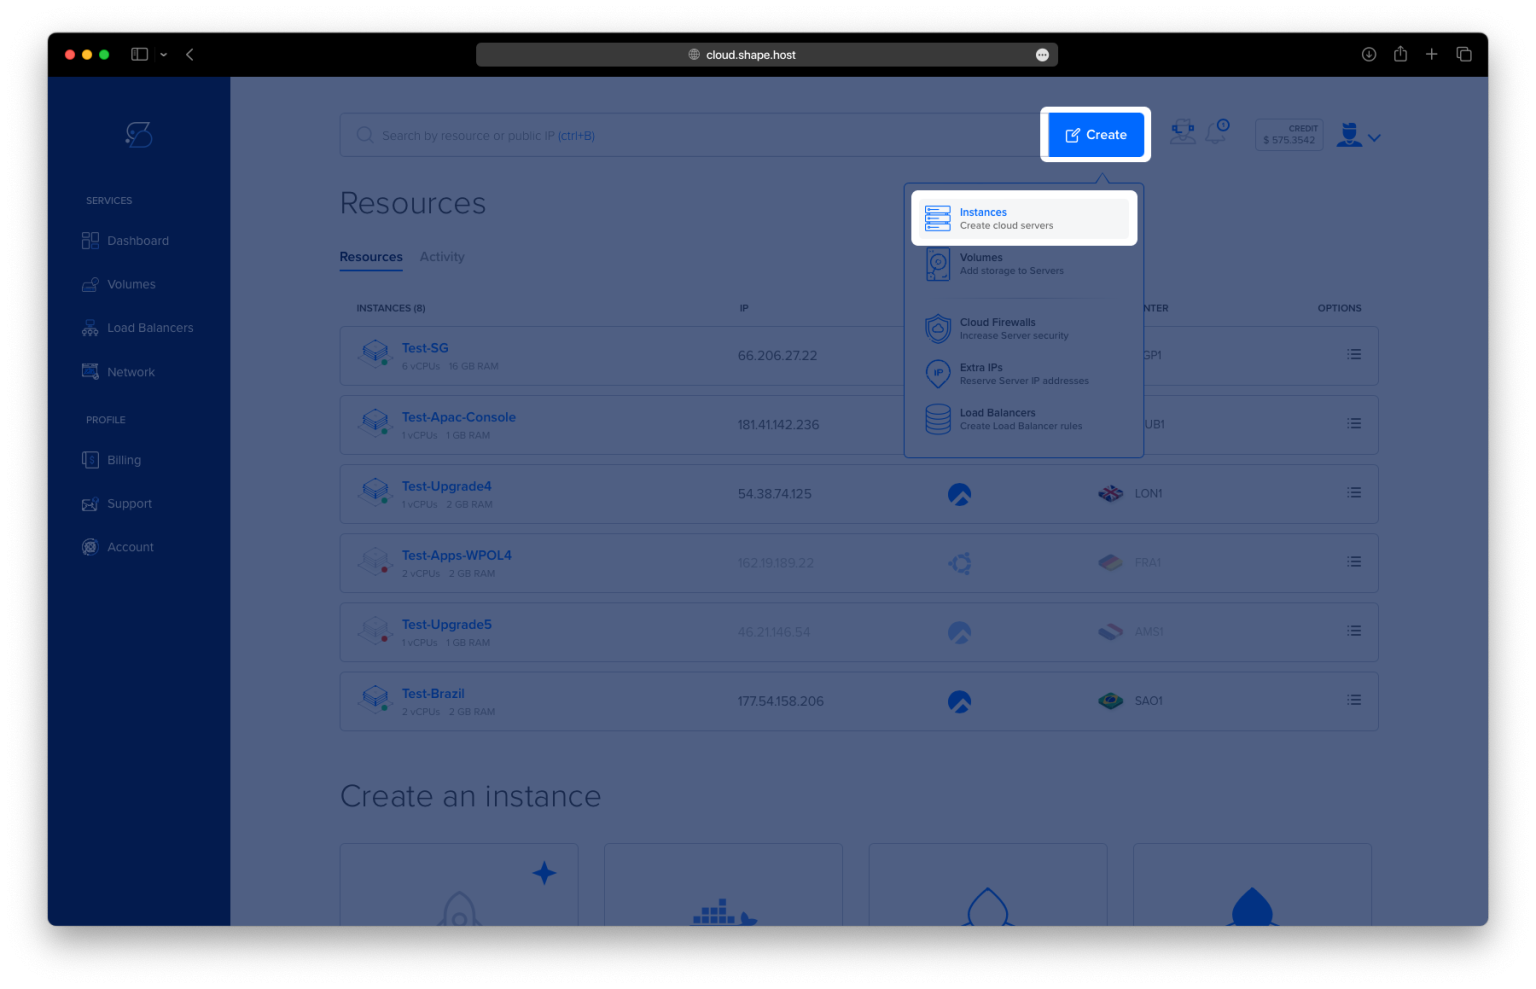
Log in to Shape.Host: Visit the Shape.Host website and log in to your account. Go to the Cloud VPS section.
Create a New Server: Click on “Create” and choose the server type that fits your needs.
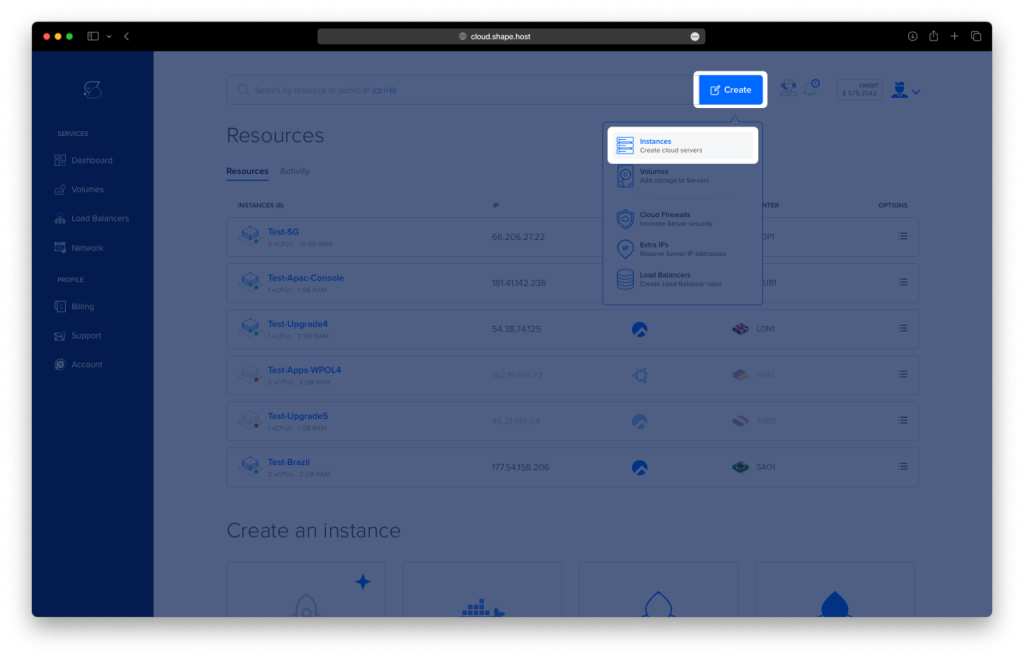
Pick a Data Center: Select a data center location close to your audience for better performance.
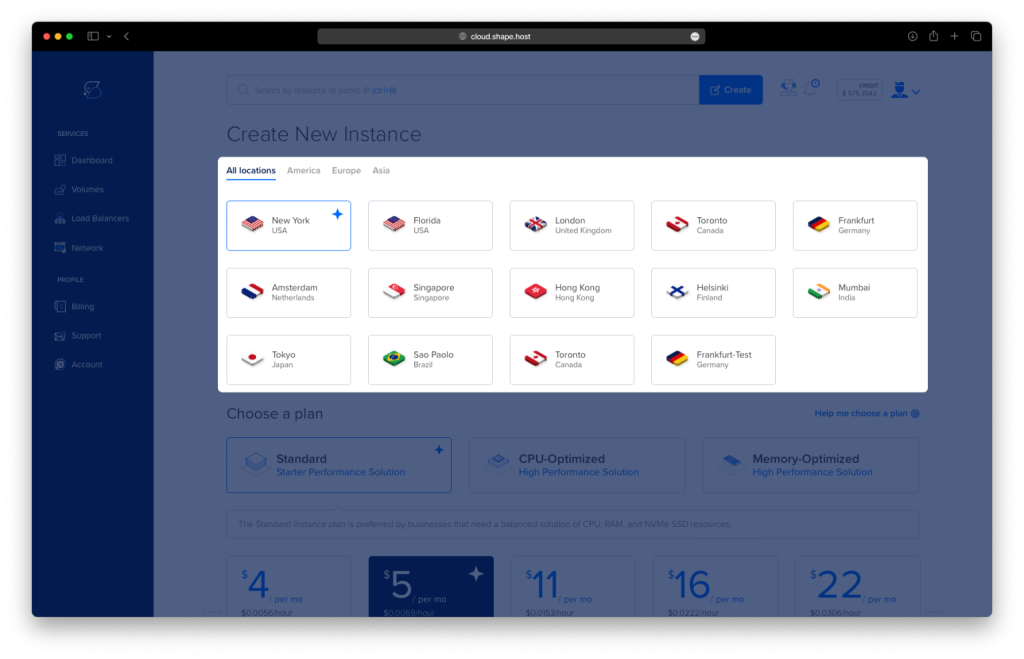
Choose a Plan: Pick a hosting plan that matches your project’s requirements and budget.
Set the OS: Choose Debian 12 as your operating system.
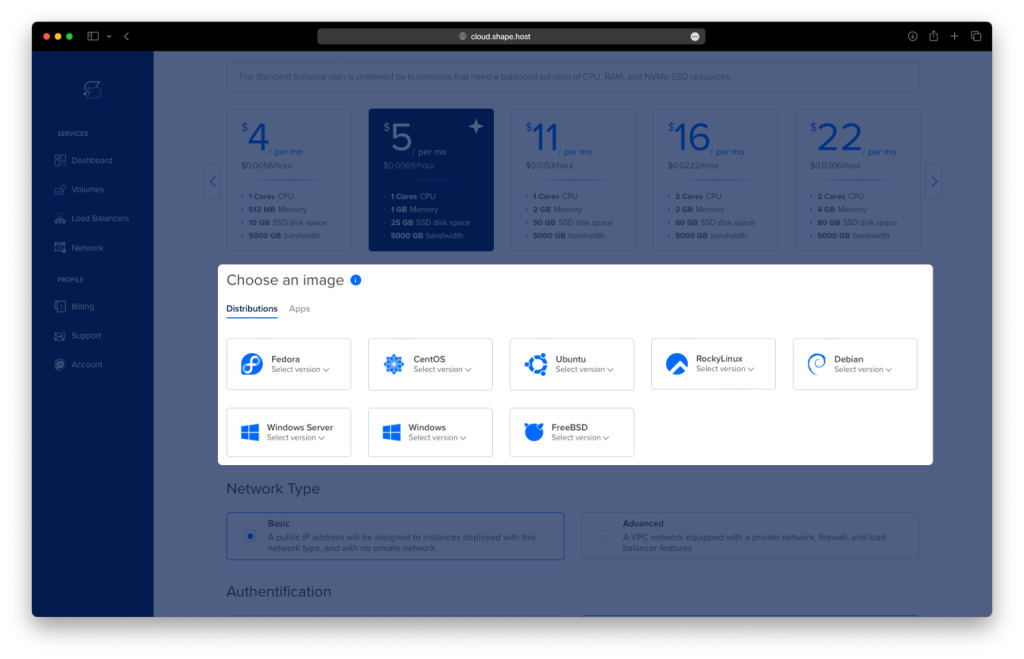
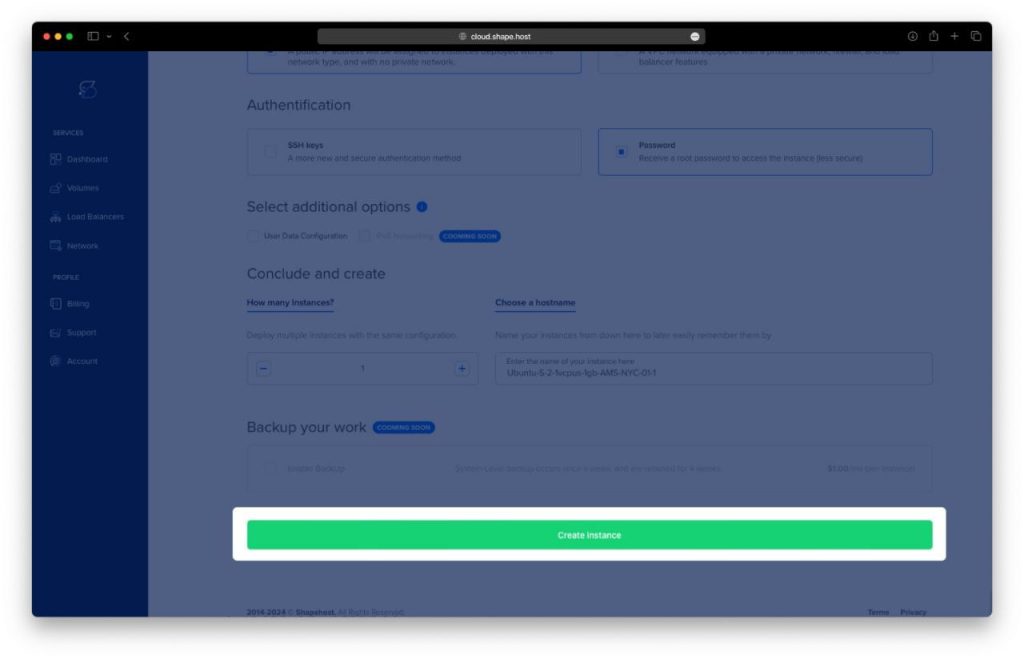
Launch the Server: Review your settings and click “Create Instance” Your server will be ready in a few minutes.
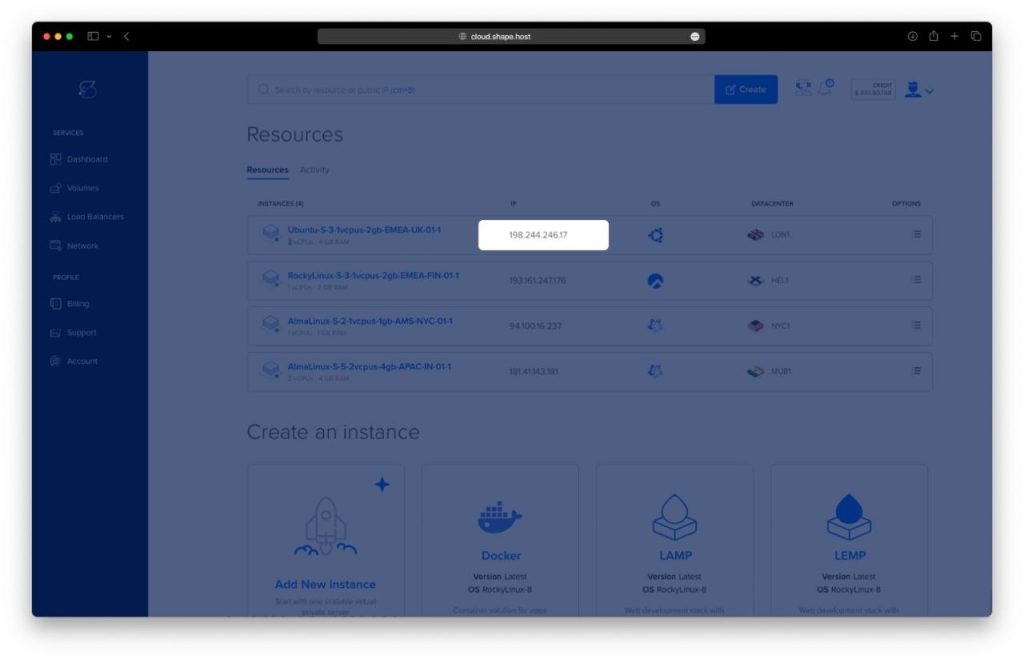
Find the Instance IP: Retrieve the public IP address of your instance from the Shape.Host dashboard.
Step 2: Connect to Your Server
Once your server is ready, connect to it using SSH. Here’s how:
- Linux/macOS: Open your terminal and type:
ssh root@your_server_ipReplace your_server_ip with your server’s IP address.
- Windows: Use an SSH client like PuTTY. Enter your server’s IP address, specify the port (usually 22), and click “Open.” Log in with your username and password.
Step 3: Update Your System
Before installing any software, update your system to ensure all packages are up to date. Run the following command:
apt update && apt upgrade -y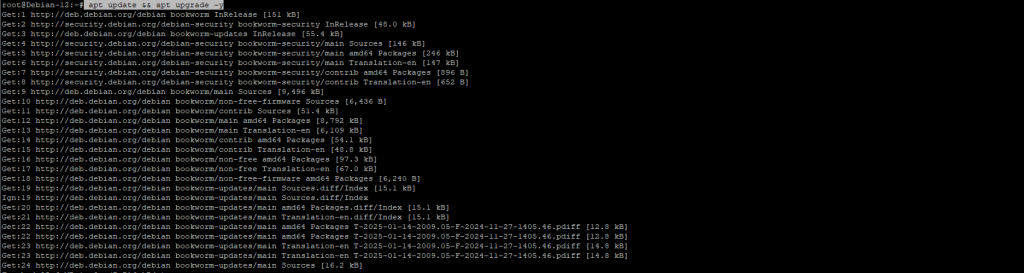
Step 4: Install Java
Jenkins requires Java to run. Install OpenJDK 17, a popular Java runtime, with:
apt install openjdk-17-jdk fontconfig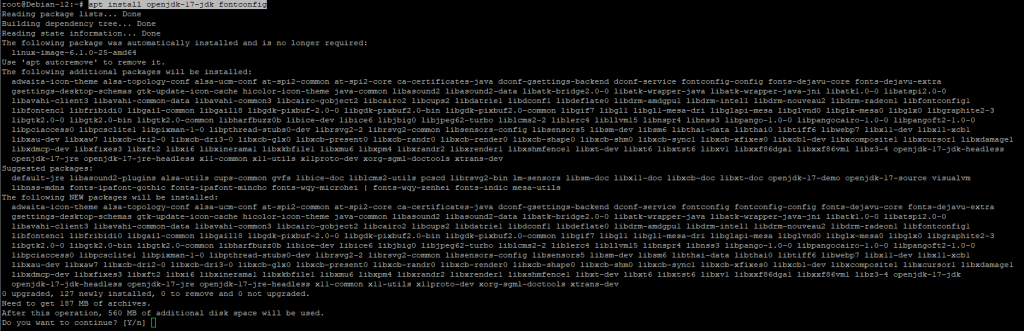
Verify the installation:
java -version
You should see output similar to:
openjdk version "17.0.8" 2023-07-18
OpenJDK Runtime Environment (build 17.0.8+7-Debian-1deb12u1)
OpenJDK 64-Bit Server VM (build 17.0.8+7-Debian-1deb12u1, mixed mode, sharing)
Step 5: Add Jenkins Repository
Jenkins provides an official repository for Debian. Add it to your system:
- Download the Jenkins GPG Key:
wget -O /usr/share/keyrings/jenkins-keyring.asc https://pkg.jenkins.io/debian-stable/jenkins.io-2023.key- Add the Jenkins Repository:
echo "deb [signed-by=/usr/share/keyrings/jenkins-keyring.asc] https://pkg.jenkins.io/debian-stable binary/" | tee /etc/apt/sources.list.d/jenkins.list > /dev/null
- Update Package Lists:
apt update
Step 6: Install Jenkins
Install Jenkins using the following command:
apt install jenkins
Step 7: Start and Enable Jenkins
Start the Jenkins service and enable it to run automatically on boot:
systemctl start jenkins
systemctl enable jenkins
Check the status of Jenkins to ensure it’s running:
systemctl status jenkins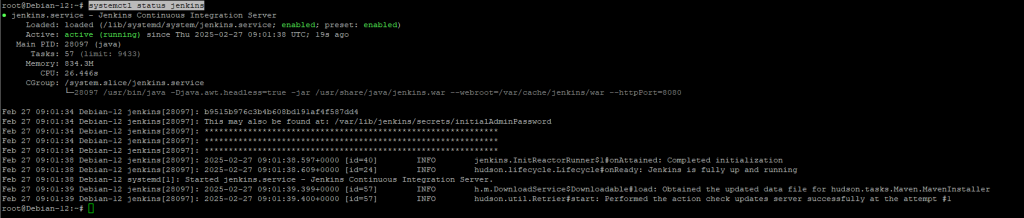
Step 8: Access Jenkins Dashboard
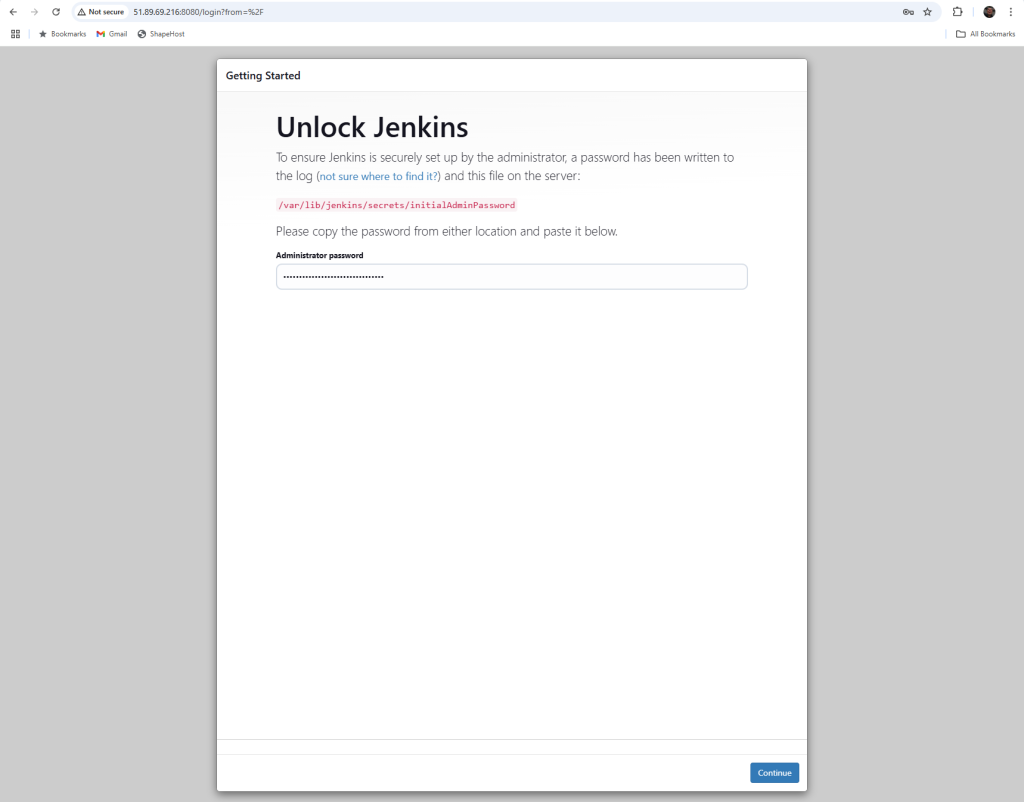
Jenkins runs on port 8080 by default. Open your browser and navigate to:
http://your_server_ip:8080You’ll be prompted to unlock Jenkins. To retrieve the initial admin password, run:
cat /var/lib/jenkins/secrets/initialAdminPasswordCopy the password and paste it into the Jenkins setup page.

Step 9: Complete Jenkins Setup
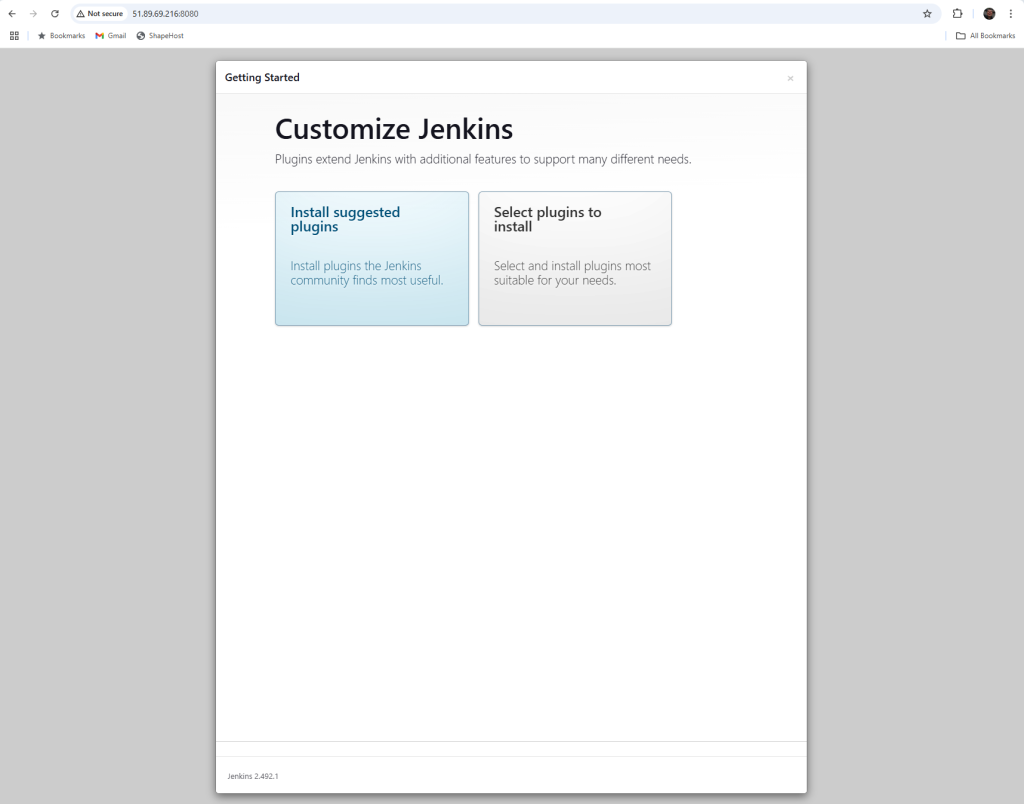
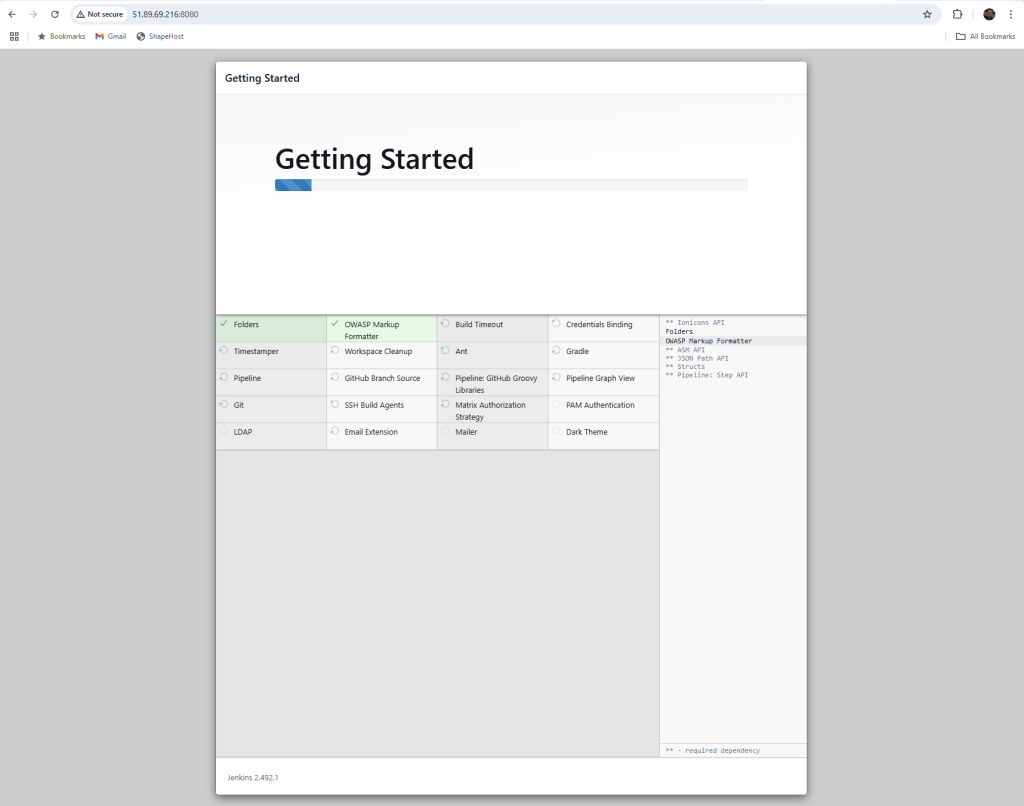
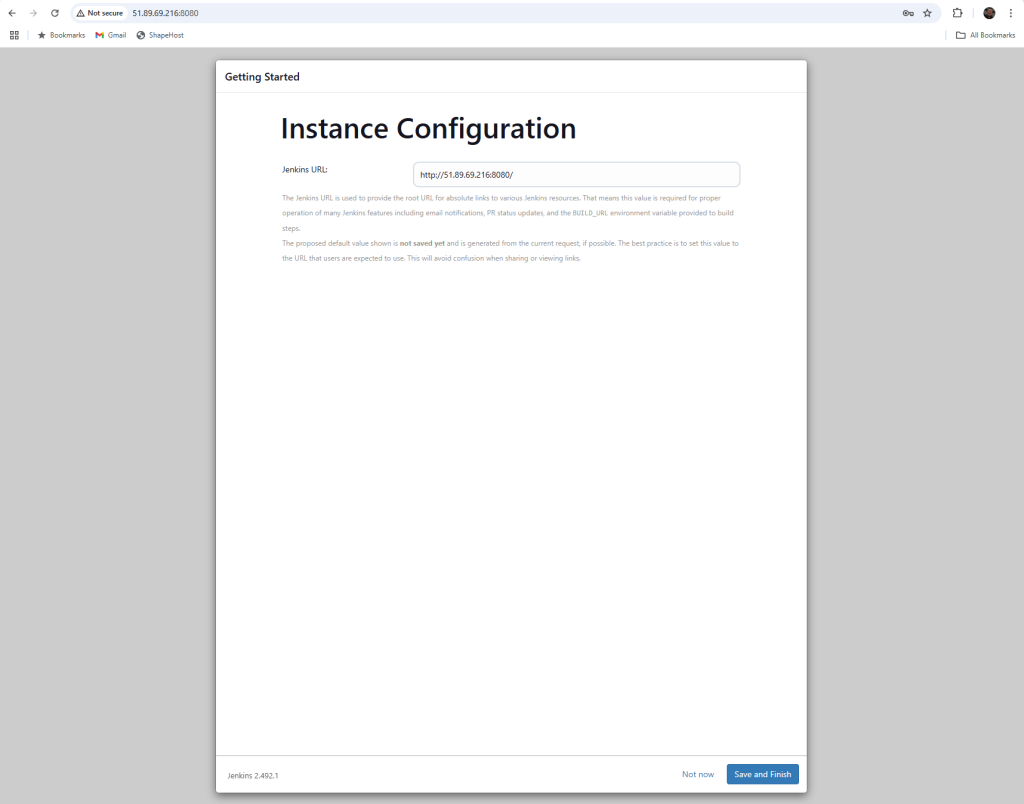
Follow the on-screen instructions to complete the Jenkins setup:
Install Suggested Plugins: Jenkins will install a set of recommended plugins.
Create an Admin User: Set up your admin account with a username and password.
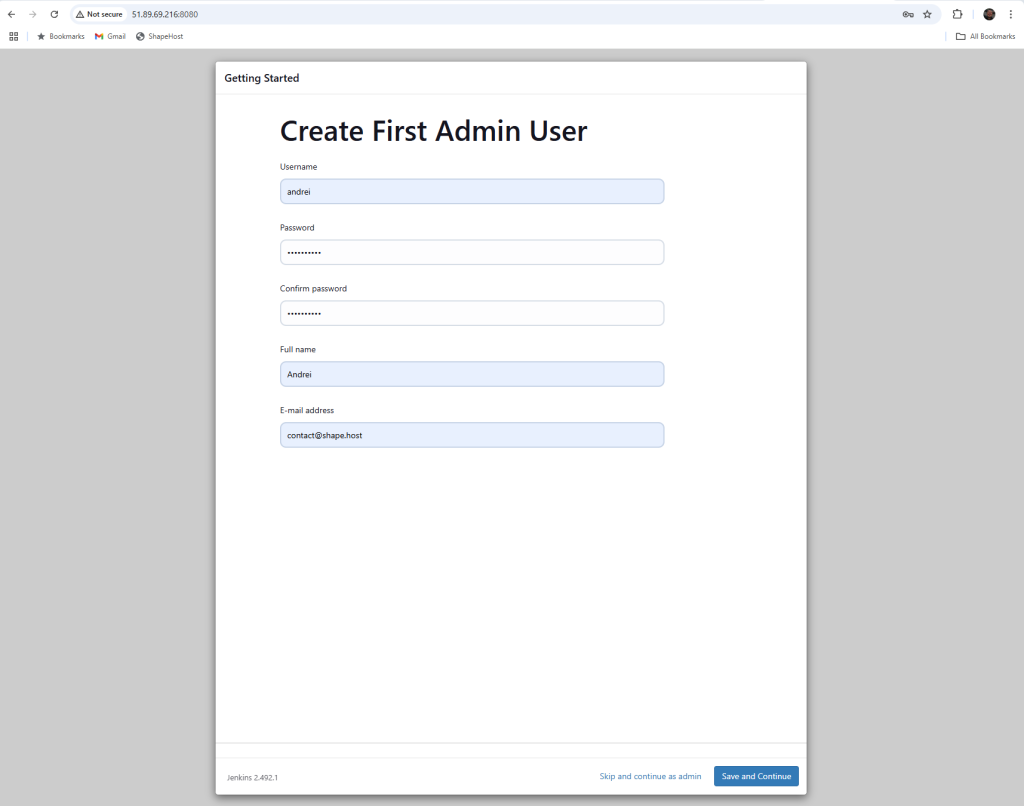
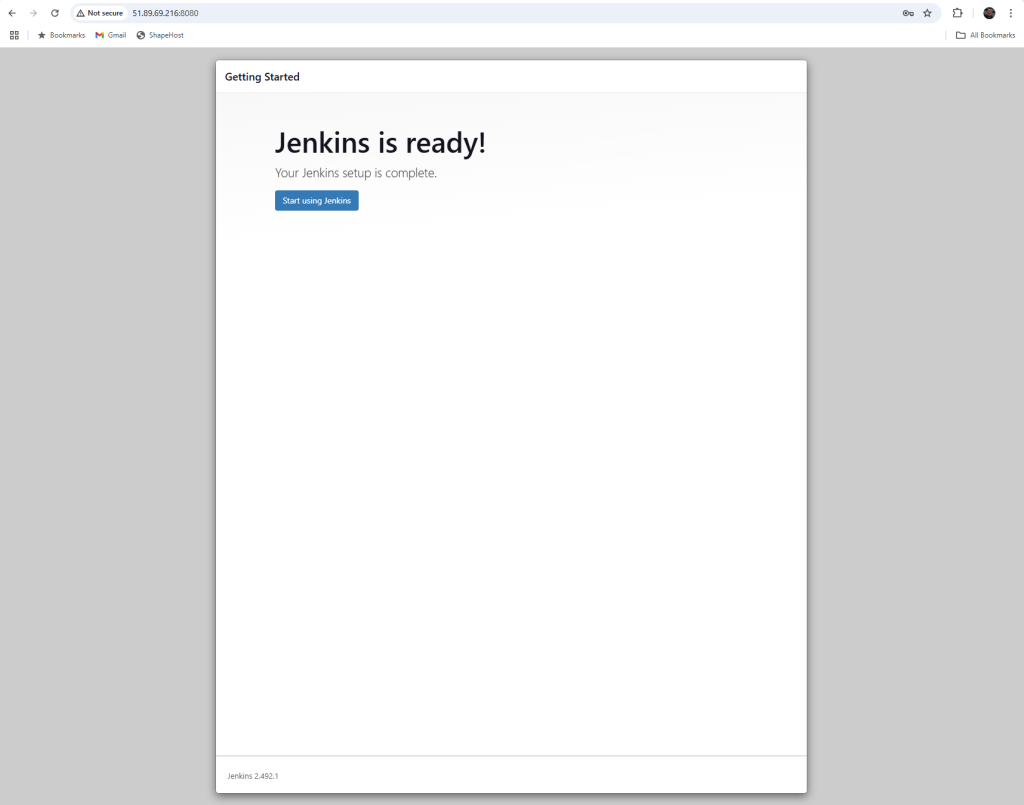
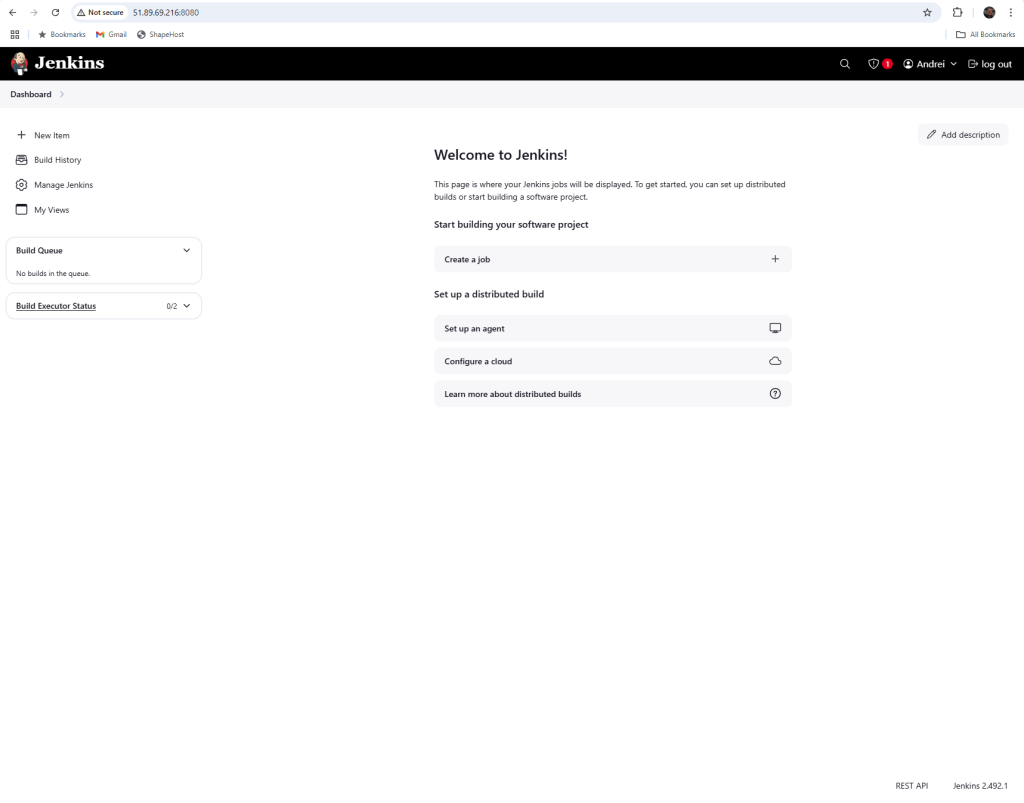
Start Using Jenkins: Once the setup is complete, you’ll be redirected to the Jenkins dashboard.
If you’re looking for a reliable hosting solution for your Jenkins projects, consider Shape.Host Linux SSD VPS services. With fast SSD storage, scalable resources, and excellent support, Shape.Host provides the perfect environment for running Jenkins and other demanding applications. Visit Shape.Host to learn more and get started today!