ntfy (Push Notifications via HTTP) on Ubuntu 24.04 with SSL
ntfy is a lightweight, open-source push notification service over HTTP that allows you to send notifications to phones, desktops, and scripts using simple HTTP requests. Instead of relying on third-party push providers, ntfy lets you self-host your own notification infrastructure, giving you full control over messages, topics, and data privacy.
With ntfy, sending a notification can be as simple as a single curl command. This makes it ideal for system alerts, monitoring, CI/CD pipelines, cron jobs, IoT devices, and DevOps workflows.
Running ntfy on Ubuntu 24.04 LTS (Noble Numbat) provides a secure, modern, and long-term supported base system. Ubuntu 24.04 includes systemd 255, OpenSSL 3, and current Nginx packages, making it an excellent choice for deploying ntfy with HTTPS (SSL) in a production-ready setup.
Architecture Overview
| Layer | Component | Role |
|---|---|---|
| OS | Ubuntu 24.04 LTS | Stable, long-term supported Linux base |
| Application | ntfy server (Go binary) | Push notification server |
| Protocol | HTTP / WebSockets | Message publishing and real-time delivery |
| Reverse Proxy | Nginx | HTTPS termination, routing, rate limiting |
| TLS | Let’s Encrypt / PKI | Secure encrypted access |
| Clients | Mobile, Desktop, CLI | Receive notifications via topics |
ntfy is distributed as a single static Go binary, making it extremely fast, efficient, and easy to operate.
Why Use ntfy?
- Push notifications via simple HTTP calls
- Fully self-hosted – no third-party push providers
- Very lightweight & fast – minimal CPU and memory usage
- Cross-platform clients – Android, iOS, desktop, CLI, web
- Topic-based messaging – publish/subscribe model
- Supports WebSockets & polling
- Authentication & access control – public or private topics
- Perfect for automation and monitoring
ntfy is designed for people who want reliable notifications without complexity.
ntfy vs Other Notification Solutions
| Feature / Capability | ntfy | Pushover | Firebase | Gotify |
|---|---|---|---|---|
| Hosting | Self-hosted | Cloud only | Cloud only | Self-hosted |
| Protocol | HTTP / WebSocket | API | SDK-based | HTTP |
| Privacy | Full control | Cloud-based | Cloud-based | Full control |
| Setup complexity | Very low | Low | High | Medium |
| Clients | Mobile, desktop, CLI | Mobile | Mobile | Mobile/web |
| Cost | Free, open-source | Paid | Free / Paid | Free |
ntfy stands out for its simplicity, flexibility, and DevOps-friendly design.
Security & Best Practices on Ubuntu 24.04
- Run ntfy behind Nginx with HTTPS enabled.
- Bind ntfy to 127.0.0.1 and expose only Nginx publicly.
- Use TLS certificates (Let’s Encrypt recommended).
- Enable authentication and access control for private topics.
- Store credentials and tokens in configuration files or environment variables.
- Enable UFW and allow only ports 80 and 443.
- Add rate limiting in Nginx to prevent abuse.
- Keep Ubuntu and ntfy updated regularly.
- Use systemd to manage ntfy as a service with automatic restarts.
Typical Use Cases
- Server monitoring alerts (CPU, disk, memory, downtime)
- CI/CD notifications (build success/failure)
- Cron job results
- Home-lab and self-hosted service alerts
- IoT device notifications
- Webhook-based automation
- Personal push notifications without cloud services
Deploying ntfy on Ubuntu 24.04 with SSL gives you a fast, secure, and fully self-hosted push notification system — ideal for automation, monitoring, and real-time alerts, all without relying on external providers.
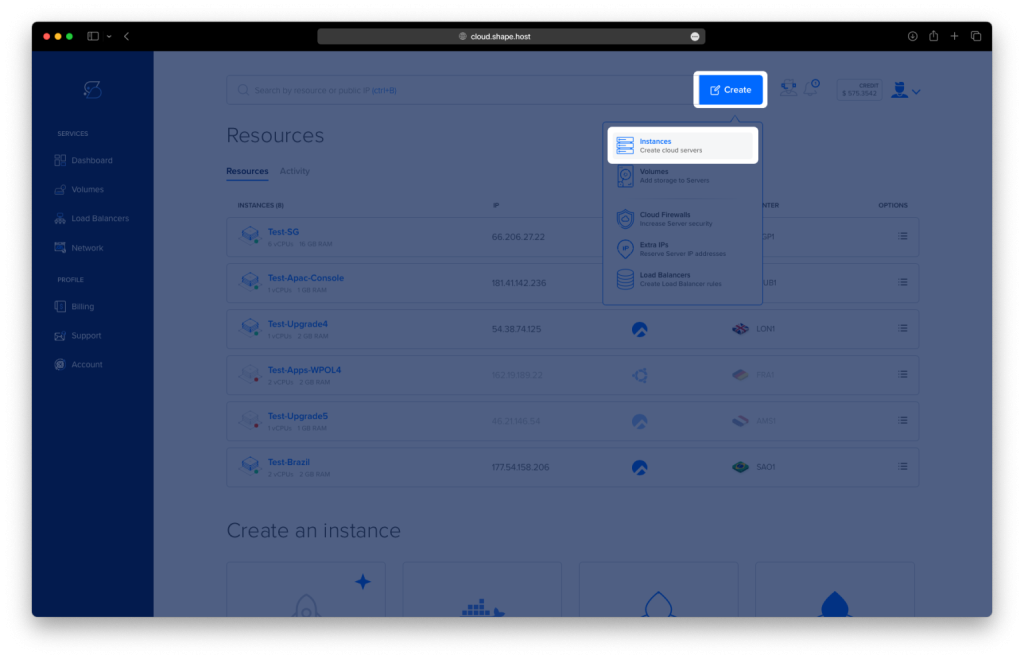
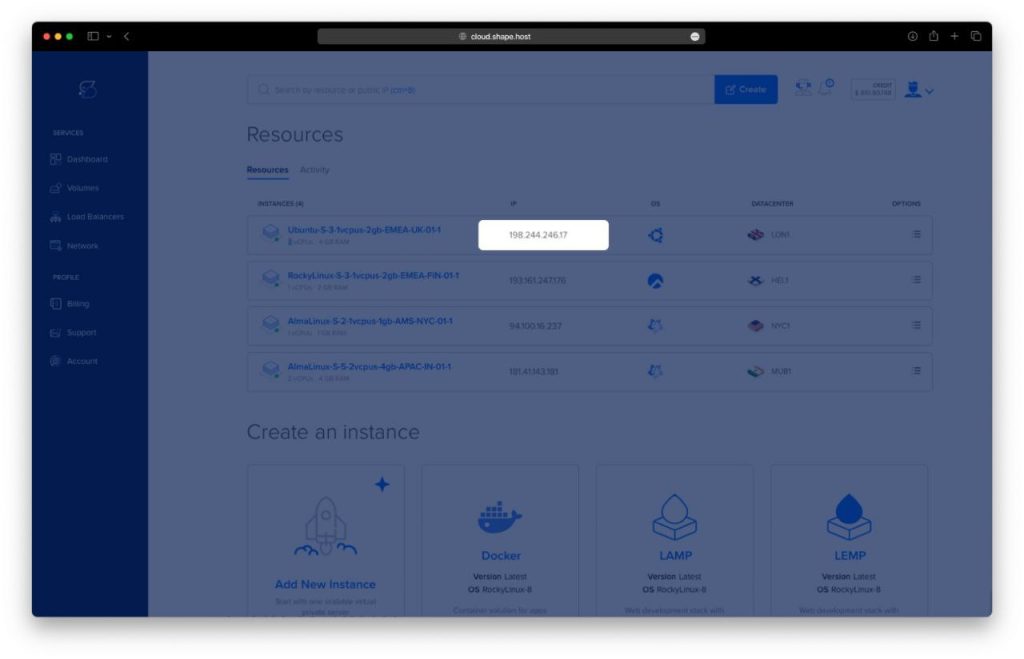
Step 1: Set Up a Server Instance on Shape.Host
To run ntfy reliably, you first need a virtual server.
Go to https://shape.host and log in to your account.
Open the dashboard and click Create.
Choose Instance as the resource type.
Select a data center location closest to your users for better latency.
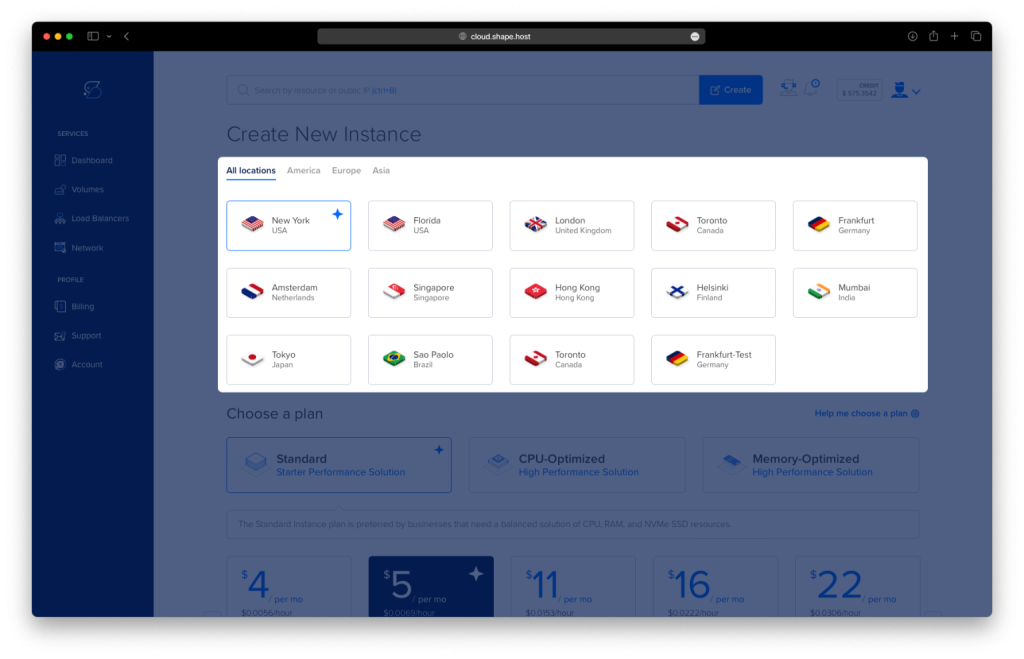
Pick a hosting plan with at least:
2 CPU cores
2–4 GB RAM
20 GB SSD storage
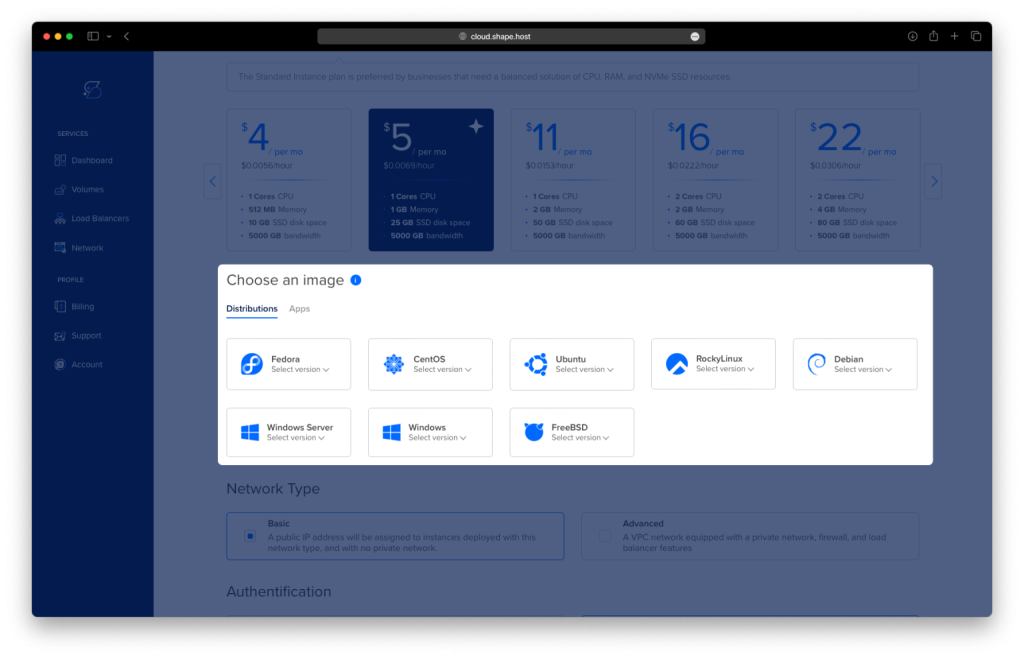
Select Ubuntu 24.04 (64-bit) as the operating system.
Finalize the setup and wait for the instance to be provisioned.
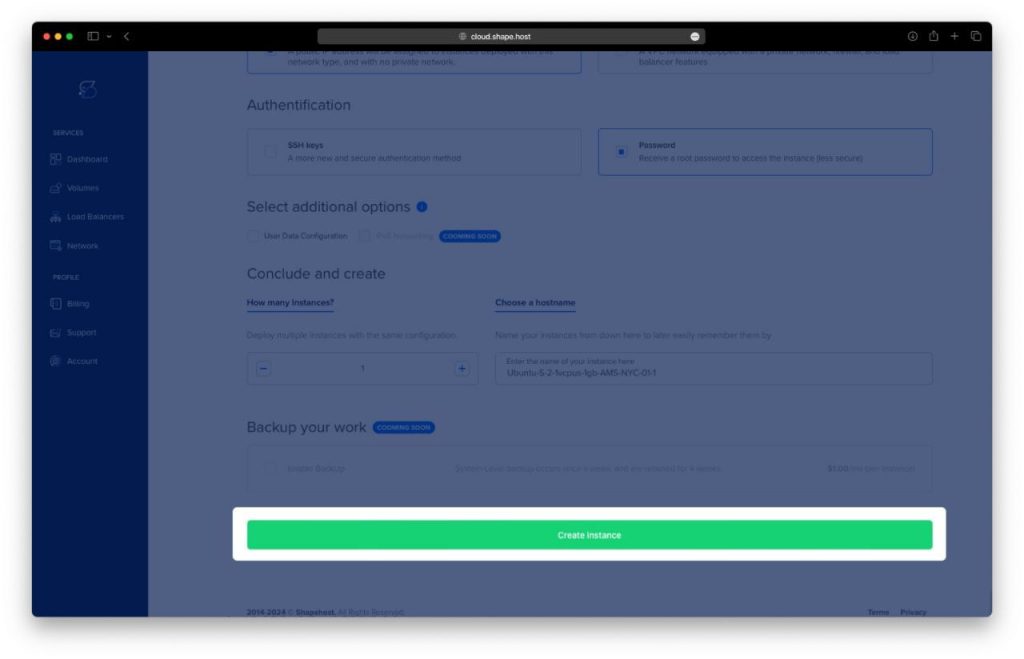
Once ready, note the public IP address of your new server.
Step 2: Connect to Your Instance via SSH
From Linux or macOS
ssh root@YOUR_SERVER_IP
From Windows
- Use PowerShell, Windows Terminal, or PuTTY
- Connect using:
ssh root@YOUR_SERVER_IP
After connecting successfully, you should be logged in as root on Ubuntu 24.04.
Step 3: Install ntfy with Docker and Configure It
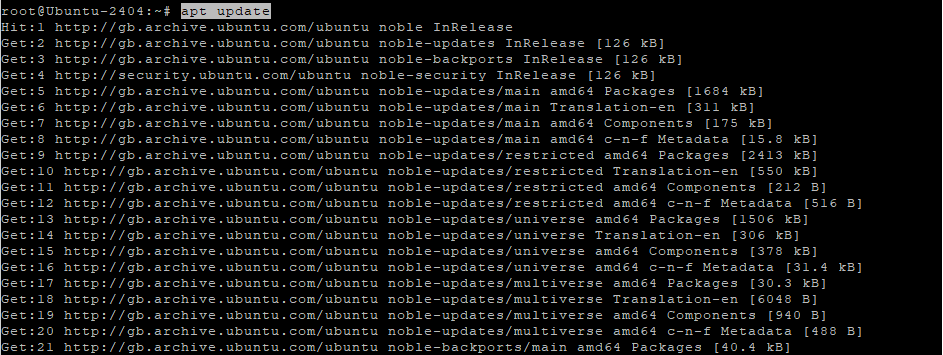
3.1 Update the System
apt update
Updates the local package index.
apt upgrade -y
Upgrades all installed packages to their latest versions.
3.2 Install Required Dependencies
apt install ca-certificates curl gnupg lsb-release
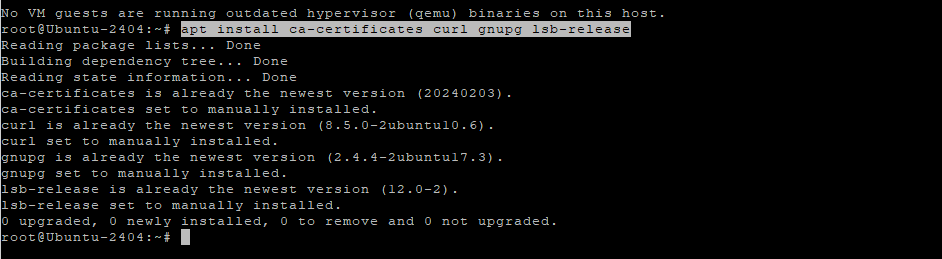
Installs packages required to securely add external repositories.
mkdir -p /etc/apt/keyrings
Creates a directory for trusted repository keys.
3.3 Add Docker Repository and Install Docker
curl -fsSL https://download.docker.com/linux/ubuntu/gpg | gpg --dearmor -o /etc/apt/keyrings/docker.gpg
Downloads and registers Docker’s official GPG key.
echo "deb [arch=$(dpkg --print-architecture) signed-by=/etc/apt/keyrings/docker.gpg] https://download.docker.com/linux/ubuntu $(lsb_release -cs) stable" > /etc/apt/sources.list.d/docker.list
Adds the Docker repository for Ubuntu 24.04.
apt update
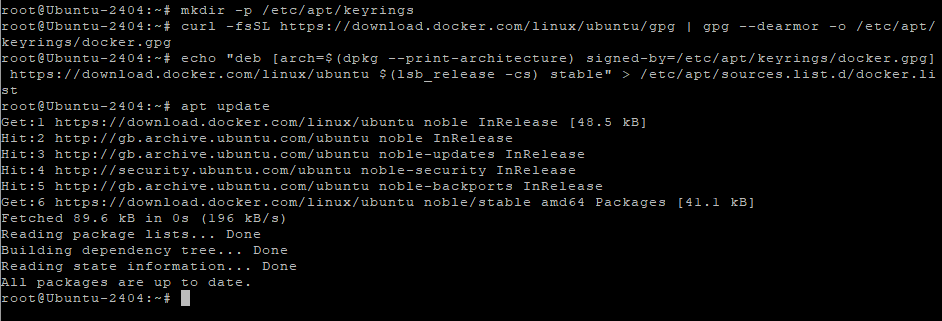
Refreshes the package list to include Docker packages.
apt install docker-ce docker-ce-cli containerd.io docker-buildx-plugin docker-compose-plugin

Installs Docker Engine and Docker Compose.
docker --version
Verifies Docker installation.
docker compose version
Verifies Docker Compose plugin installation.
3.4 Prepare ntfy Directories
mkdir -p /opt/ntfy
Creates the main ntfy directory.
cd /opt/ntfy
Moves into the ntfy directory.

Paste the following configuration:
mkdir -p /opt/ntfy/cache
Creates cache directory for ntfy.
mkdir -p /opt/ntfy/config
Creates configuration directory.

3.5 Configure ntfy Server
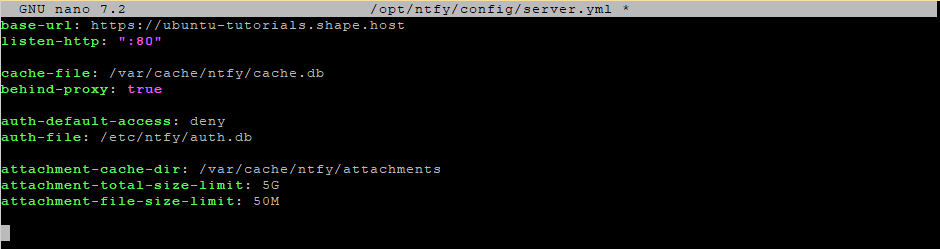
nano /opt/ntfy/config/server.yml
Paste the following configuration:
base-url: https://ntfy.example.com
listen-http: ":80"

cache-file: /var/cache/ntfy/cache.db
behind-proxy: true

auth-default-access: deny
auth-file: /etc/ntfy/auth.db

attachment-cache-dir: /var/cache/ntfy/attachments
attachment-total-size-limit: 5G
attachment-file-size-limit: 50M
This configuration:
- Sets the public base URL
- Enables reverse proxy support
- Secures access by default
- Allows file attachments with defined limits
3.6 Start ntfy with Docker
docker compose pull
Pulls the latest ntfy image.
docker compose up -d

Starts ntfy in detached mode.
docker compose ps
Confirms that the ntfy container is running.

Step 4: Configure Nginx as Reverse Proxy
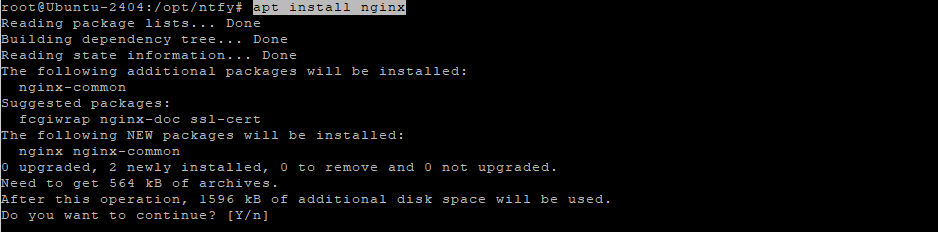
4.1 Install and Check Nginx
apt install nginx
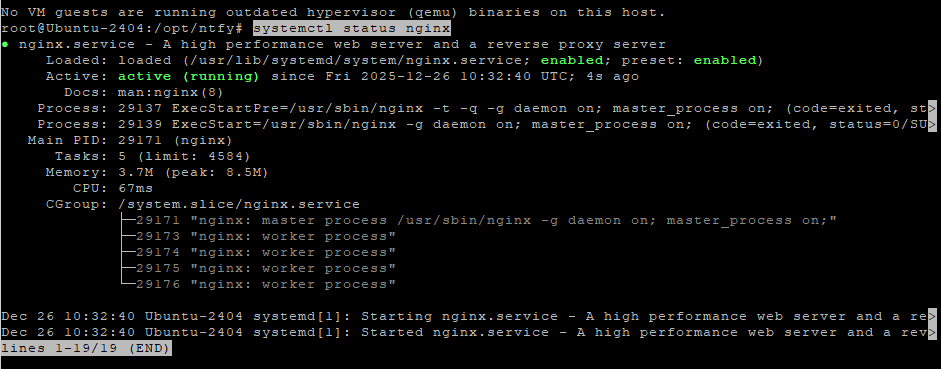
systemctl status nginx
Ensures Nginx is running.
4.2 Create Nginx Virtual Host
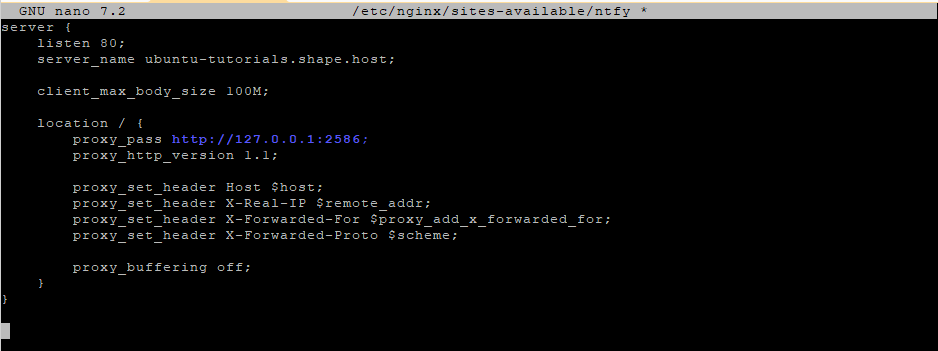
nano /etc/nginx/sites-available/ntfy
Paste:
server {
    listen 80;
    server_name ntfy.example.com;

    client_max_body_size 100M;

    location / {
        proxy_pass http://127.0.0.1:2586;
        proxy_http_version 1.1;

        proxy_set_header Host $host;
        proxy_set_header X-Real-IP $remote_addr;
        proxy_set_header X-Forwarded-For $proxy_add_x_forwarded_for;
        proxy_set_header X-Forwarded-Proto $scheme;

        proxy_buffering off;
    }
}
4.3 Enable the Site
ln -s /etc/nginx/sites-available/ntfy /etc/nginx/sites-enabled/
rm /etc/nginx/sites-enabled/default
nginx -t
Tests Nginx configuration.
systemctl reload nginx
Applies the changes.

Step 5: Enable SSL with Let’s Encrypt
apt install certbot python3-certbot-nginx
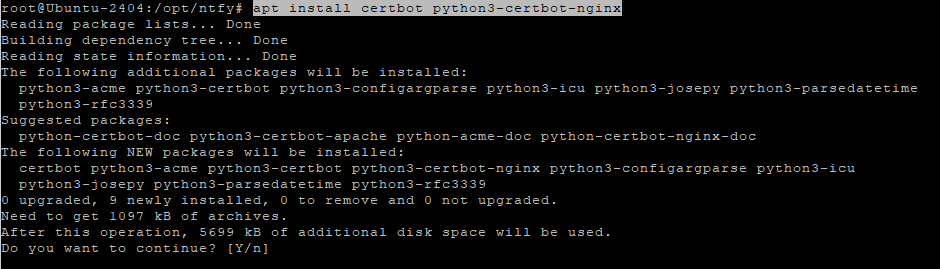
Installs Certbot and Nginx plugin.
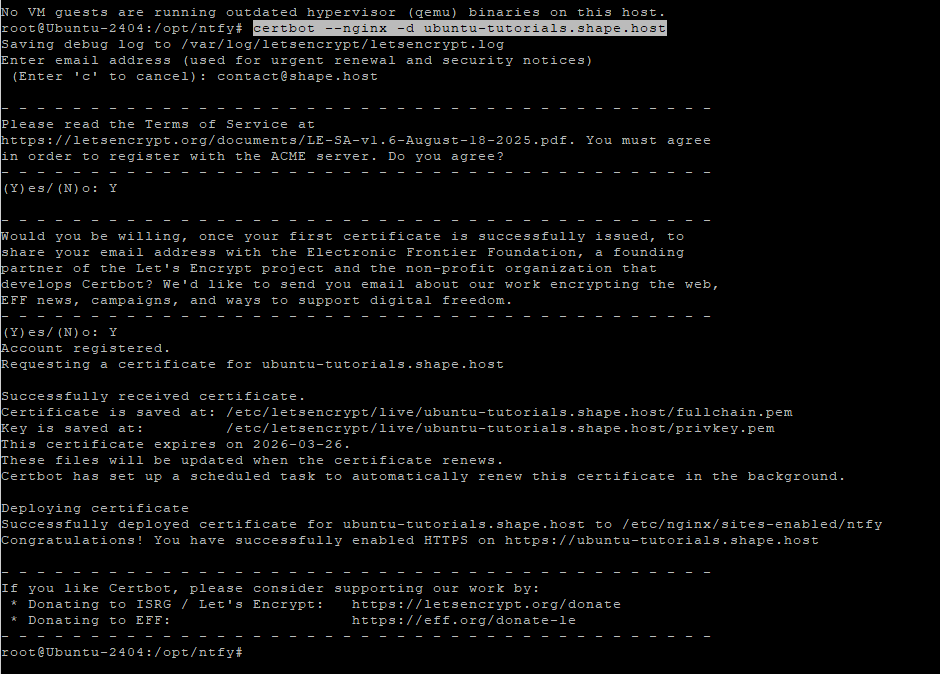
certbot --nginx -d ubuntu-tutorials.shape.host
Replace the domain with your own, for example:
yourdomain.com
Certbot automatically:
- Obtains an SSL certificate
- Configures Nginx for HTTPS
- Enables auto-renewal
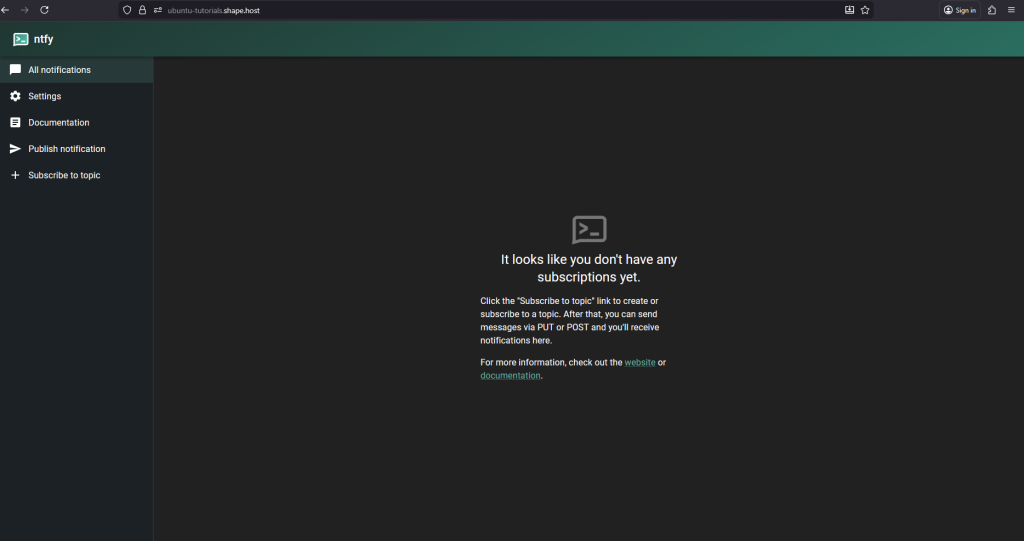
You have installed ntfy on Ubuntu 24.04, deployed it with Docker Compose, secured it behind Nginx, and enabled SSL with Let’s Encrypt. This setup is ideal for production use, offering flexibility, security, and easy scalability.
For a stable, high-performance environment to host services like ntfy, consider Shape.Host Linux SSD VPS—a reliable and scalable hosting solution built for modern self-hosted applications.