OpenEMR on Debian 12 with NGINX
OpenEMR (Open-source Electronic Medical Record) is a full-featured, ONC-certified electronic health records (EHR) and medical practice management software. It supports scheduling, e-prescriptions, billing, patient demographics, document storage, and clinical decision support.
Running OpenEMR on Debian 12 with NGINX provides a reliable, secure, and high-performance platform for clinics, hospitals, or healthcare startups aiming to self-host their medical records system.
Why Choose OpenEMR?
| Feature | Description |
|---|---|
| EHR & EMR Functionality | Supports SOAP notes, clinical decision tools, and custom forms |
| Scheduling | Multi-user calendar with recurring appointments and availability tracking |
| Medical Billing | Includes full billing system with insurance claims and payment tracking |
| Patient Management | Complete demographic records, history, and document management |
| e-Prescribing | Integrated with drug database for electronic prescription management |
| User Roles & Security | Role-based access, password policies, and audit logging |
| Multi-language Support | Offers translations in over 30 languages |
| Community Support | Active open-source community and frequent updates |
Why Use NGINX with OpenEMR on Debian 12?
| Benefit | Explanation |
|---|---|
| Performance | NGINX is event-driven and handles high traffic loads efficiently |
| Secure Communication | Easily integrates with Let’s Encrypt or other SSL/TLS certificates |
| Scalability | Works well in distributed or containerized deployments with load balancing |
| PHP-FPM Integration | Separates PHP execution from web server, improving speed and isolation |
| Debian Stability | Debian 12 provides a rock-solid, long-supported OS for medical-grade applications |
Minimum System Requirements
| Component | Recommended Specification |
|---|---|
| OS | Debian 12 (Bookworm) |
| Web Server | NGINX + PHP-FPM |
| Database | MariaDB or MySQL |
| PHP | PHP 8.2 or newer with extensions: pdo, mbstring, gd, xml, etc. |
| Memory | 2 GB minimum (4 GB+ recommended for production) |
| Disk Space | At least 2–5 GB (depends on usage and patient records) |
Use Cases
- Small Clinics & Private Practices: Manage appointments, charting, and billing from one interface.
- Hospital Networks: Customize OpenEMR to integrate with lab systems or national databases.
- NGOs & Mobile Clinics: Use on lightweight Debian servers or in the cloud for field medical work.
- Medical Education: Set up private environments for training and EMR simulation labs.
Security & Compliance
- OpenEMR on Debian 12 can be configured for HIPAA and GDPR compliance.
- NGINX offers HTTPS via Let’s Encrypt and supports strong TLS configurations.
- Built-in audit logs, user access control, and encryption support make it viable for sensitive environments.
Comparison with Other EMR Platforms
| Platform | Open Source | Billing Support | Prescription Integration | Ideal For |
|---|---|---|---|---|
| OpenEMR | Yes | Yes | Yes | Clinics, Hospitals |
| OpenMRS | Yes | No (limited) | No | Research, NGOs |
| Oscar EMR | Yes | Yes | Yes | Canadian Practices |
| Practice Fusion | No | Yes | Yes | US Cloud-only Clinics |
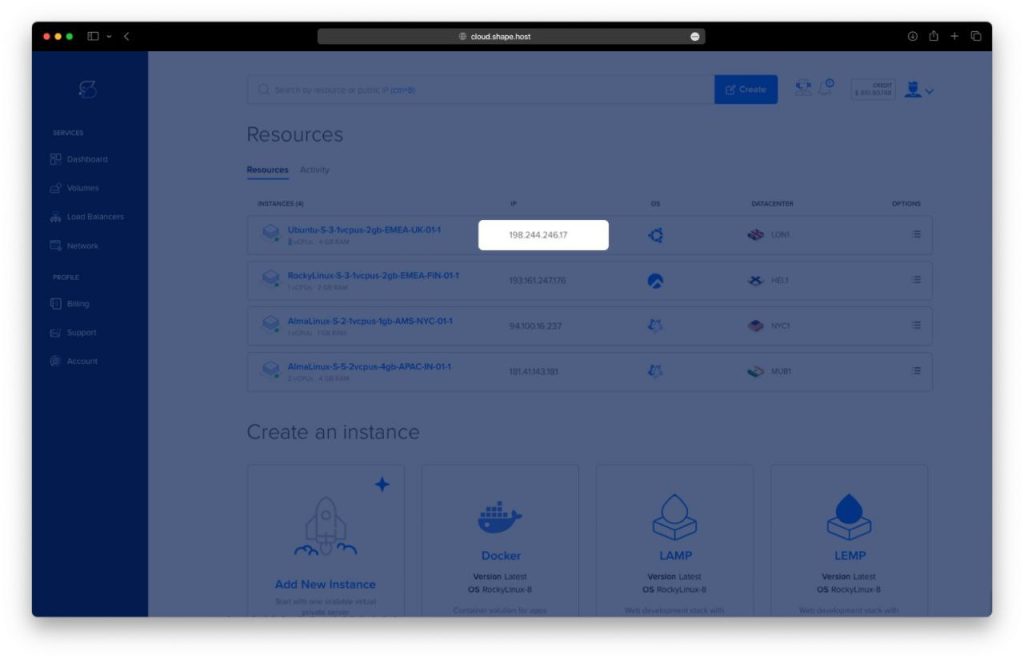
Step 1: Create a Shape.Host Instance
Visit https://shape.host and log in.
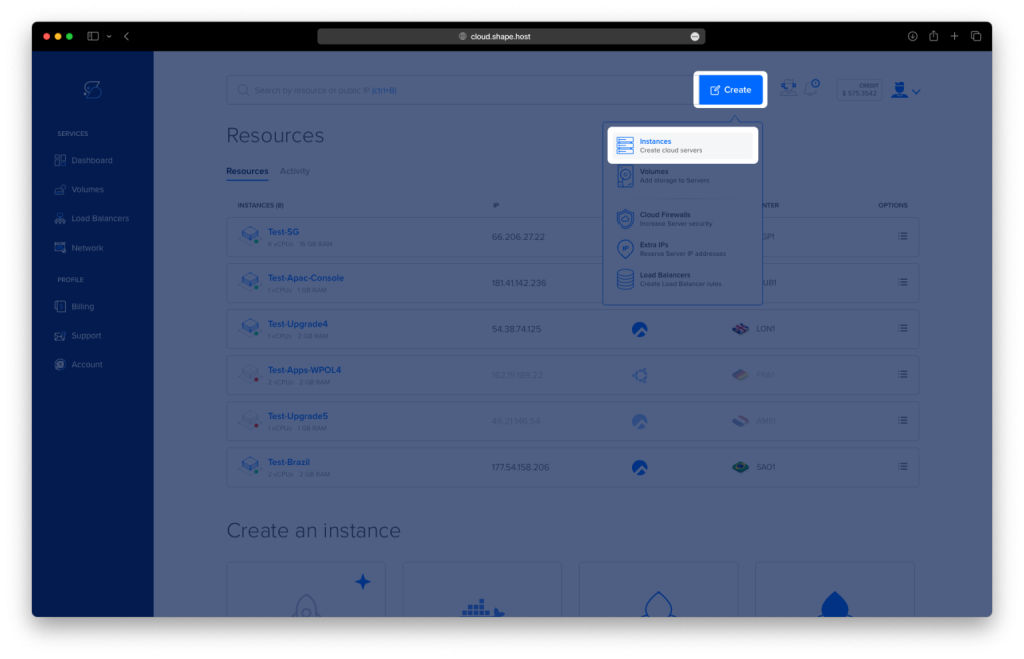
Click “Create”, then select “Instance”.
Choose your desired server location.
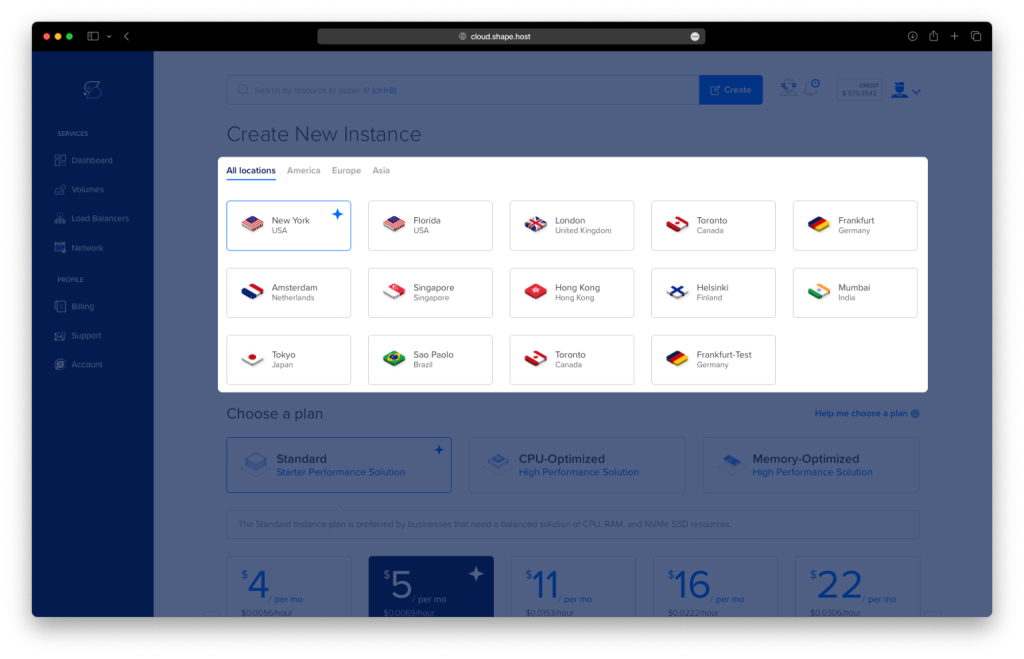
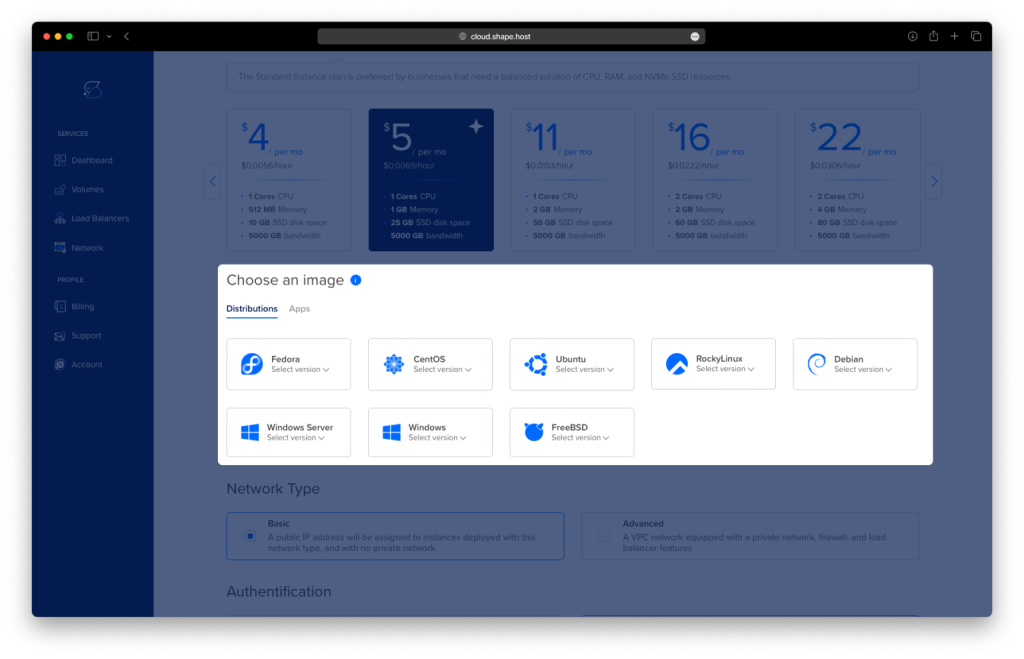
Select Debian 12 (64-bit) as the OS.
Choose a plan with minimum 2 CPUs, 4 GB RAM, and 20 GB SSD.
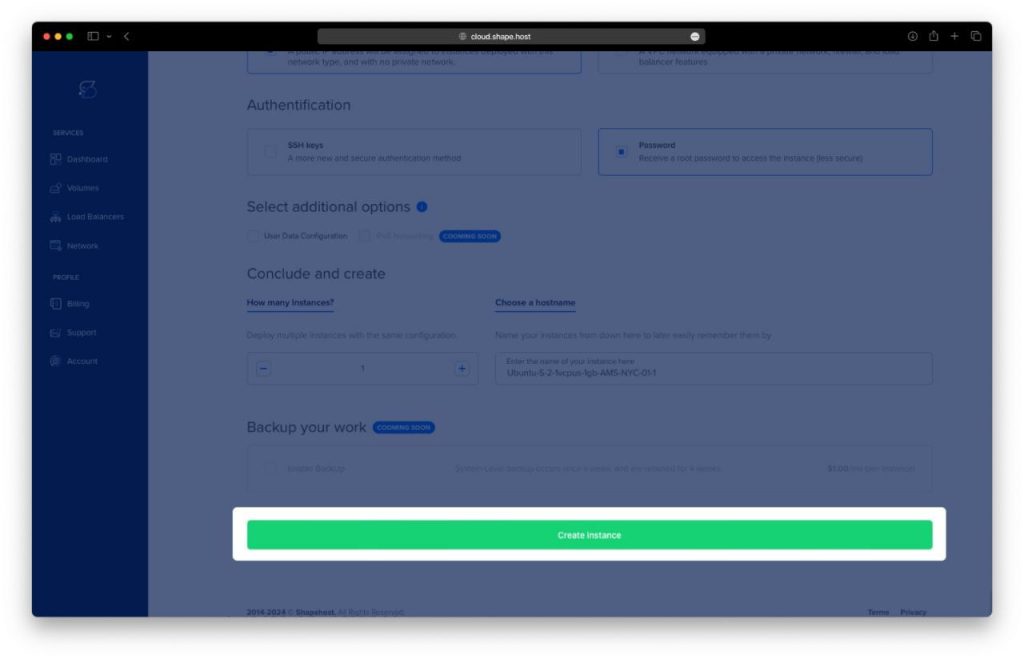
Click “Create Instance”.
After creation, locate the IP address of your instance.
Connect via SSH:
ssh root@your-server-ipOn Windows, use PuTTY.
Step 2: Install Required Packages
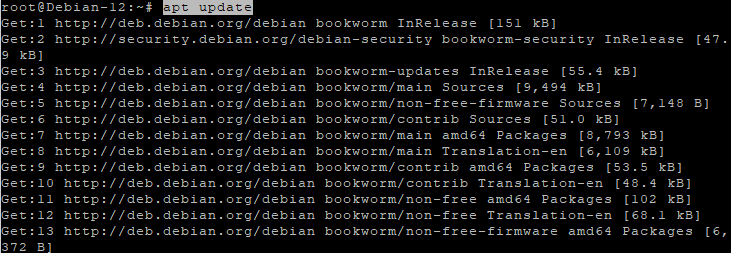
Update package list:
apt update
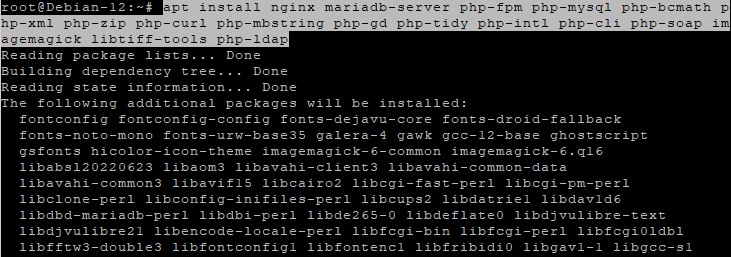
Install NGINX, MariaDB, PHP, and all required extensions:
apt install nginx mariadb-server php-fpm php-mysql php-bcmath php-xml php-zip php-curl php-mbstring php-gd php-tidy php-intl php-cli php-soap imagemagick libtiff-tools php-ldap
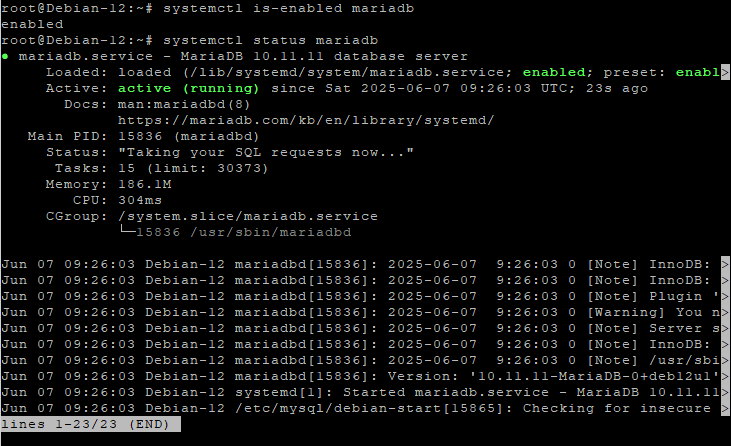
Step 3: Verify Services Are Active
Check MariaDB status:
systemctl is-enabled mariadb
systemctl status mariadb
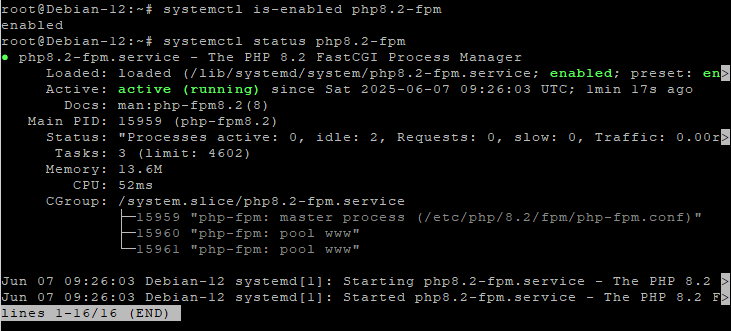
Check PHP-FPM service:
systemctl is-enabled php8.2-fpm
systemctl status php8.2-fpm
Step 4: Configure PHP
Edit PHP settings:
nano /etc/php/8.2/fpm/php.ini
Update these parameters:
max_execution_time = 60
max_input_time = -1
memory_limit = 512M
post_max_size = 30M
upload_max_filesize = 30M
max_input_vars = 3000
mysqli.allow_local_infile = On
Set correct permissions and restart PHP:
chgrp -R www-data /var/lib/php/sessions
systemctl restart php8.2-fpm

Step 5: Secure MariaDB and Create Database
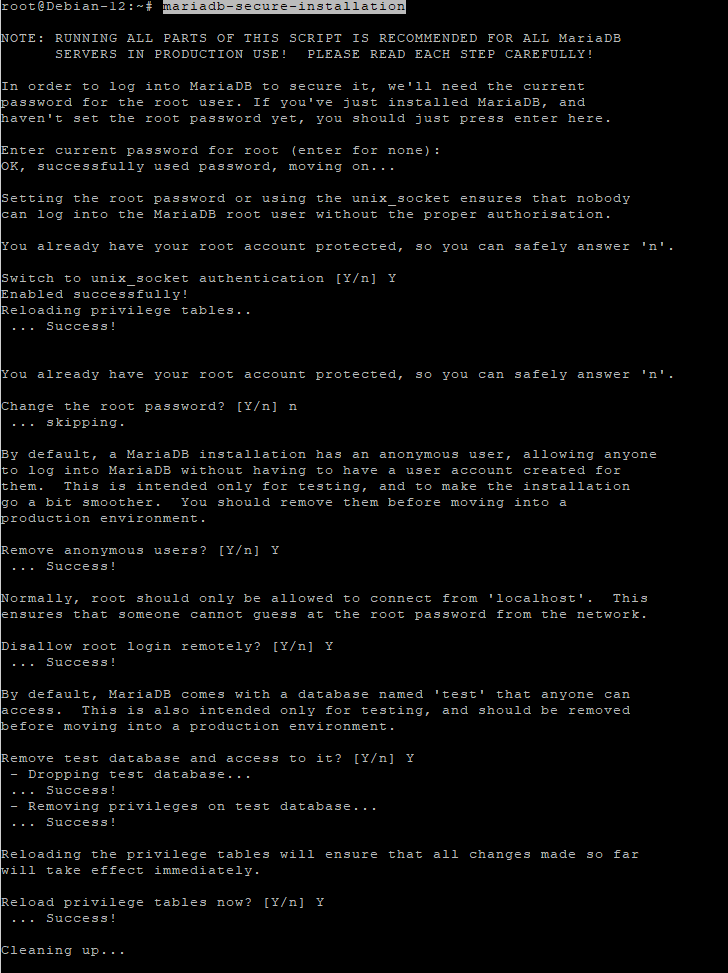
Run the MariaDB secure install script:
mariadb-secure-installation
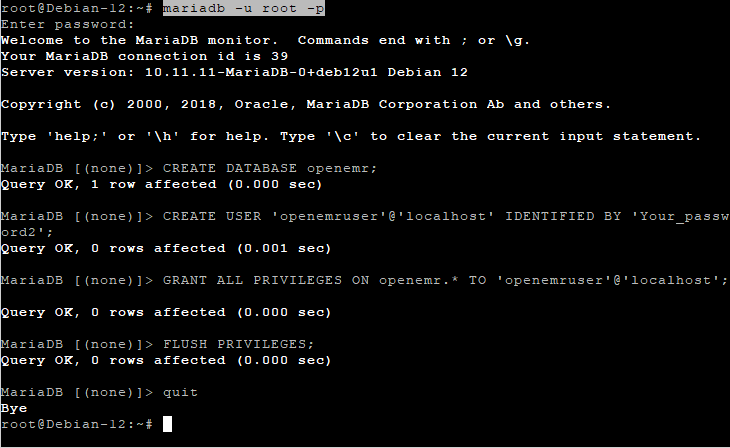
Access MariaDB shell:
mariadb -u root -p
Create the OpenEMR database and user:
CREATE DATABASE openemr;
CREATE USER 'openemruser'@'localhost' IDENTIFIED BY 'Your_password2';
GRANT ALL PRIVILEGES ON openemr.* TO 'openemruser'@'localhost';
FLUSH PRIVILEGES;
QUIT;
Step 6: Download and Extract OpenEMR
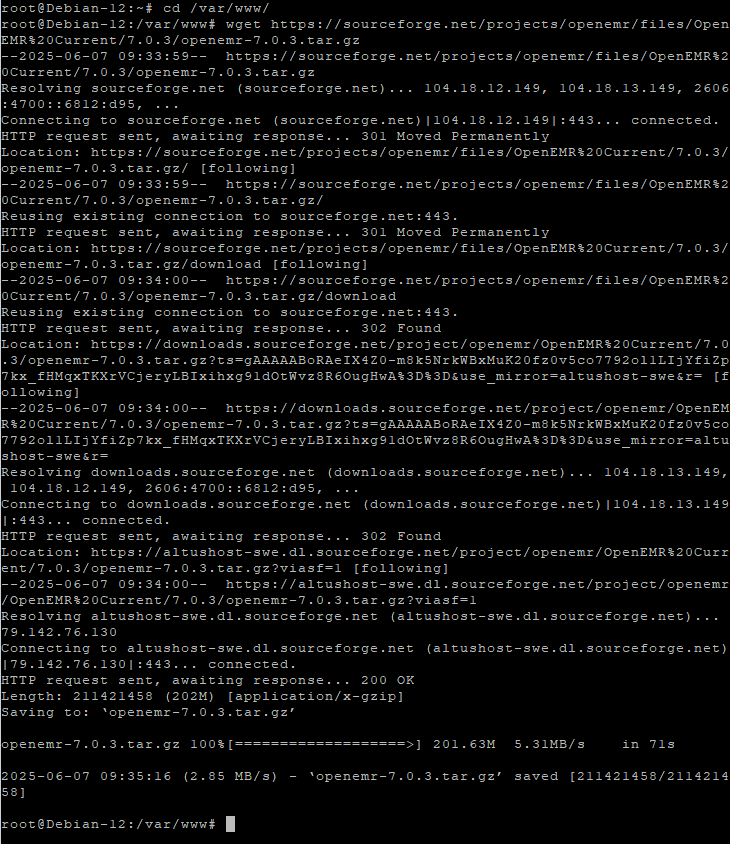
Navigate to web root and download OpenEMR:
cd /var/www/
wget https://sourceforge.net/projects/openemr/files/OpenEMR%20Current/7.0.3/openemr-7.0.3.tar.gz
Extract and rename directory:
tar -pxzf openemr-7.0.3.tar.gz
mv openemr-7.0.3 openemr
Set ownership:
chown -R www-data:www-data /var/www/openemr

Step 7: Configure NGINX
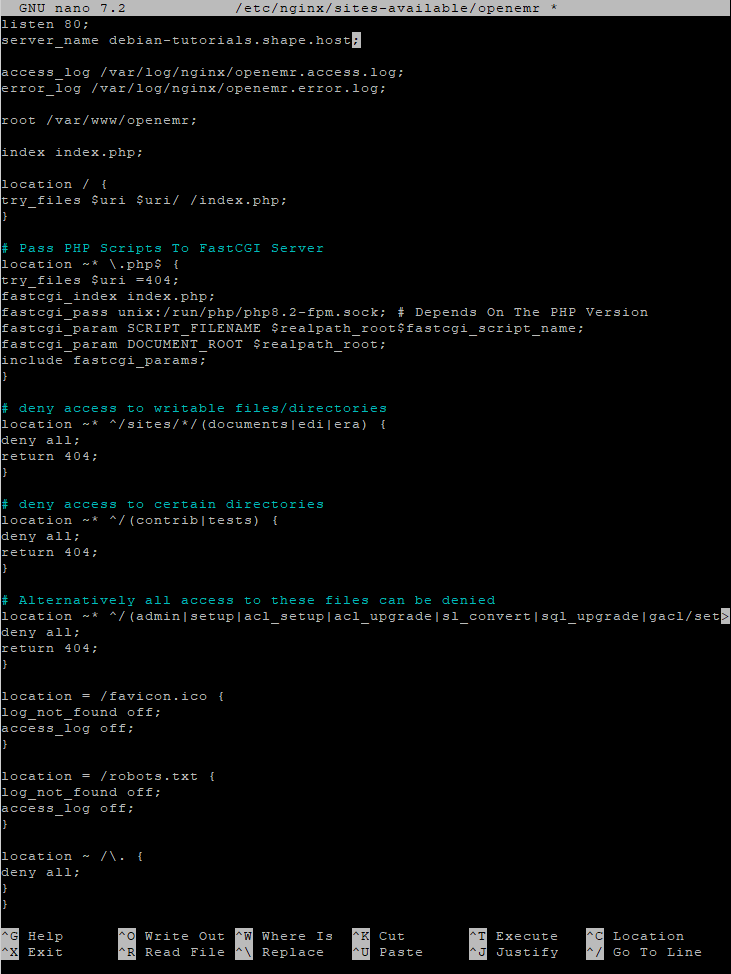
Create NGINX virtual host:
nano /etc/nginx/sites-available/openemr
Paste the config below:
server {
    listen 80;
    server_name your-domain.com;

    access_log /var/log/nginx/openemr.access.log;
    error_log /var/log/nginx/openemr.error.log;

    root /var/www/openemr;
    index index.php;

    location / {
        try_files $uri $uri/ /index.php;
    }

    location ~* \.php$ {
        try_files $uri =404;
        fastcgi_index index.php;
        fastcgi_pass unix:/run/php/php8.2-fpm.sock;
        fastcgi_param SCRIPT_FILENAME $realpath_root$fastcgi_script_name;
        fastcgi_param DOCUMENT_ROOT $realpath_root;
        include fastcgi_params;
    }

    location ~* ^/sites/*/(documents|edi|era) {
        deny all;
        return 404;
    }

    location ~* ^/(contrib|tests) {
        deny all;
        return 404;
    }

    location ~* ^/(admin|setup|acl_setup|acl_upgrade|sl_convert|sql_upgrade|gacl/setup|ippf_upgrade|sql_patch)\.php {
        deny all;
        return 404;
    }

    location = /favicon.ico {
        log_not_found off;
        access_log off;
    }

    location = /robots.txt {
        log_not_found off;
        access_log off;
    }

    location ~ /\.
    {
        deny all;
    }
}
Enable the site and test config:
ln -s /etc/nginx/sites-available/openemr /etc/nginx/sites-enabled/
nginx -t
systemctl restart nginx

Step 8: Enable Firewall and Configure SSL
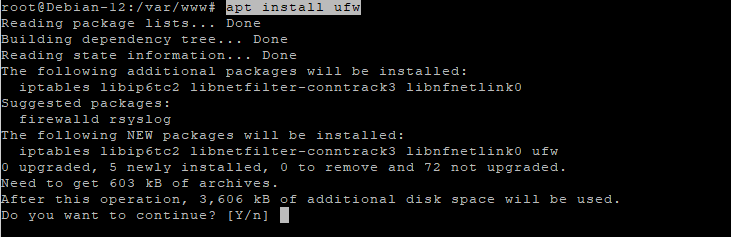
Install UFW and allow traffic:
apt install ufw
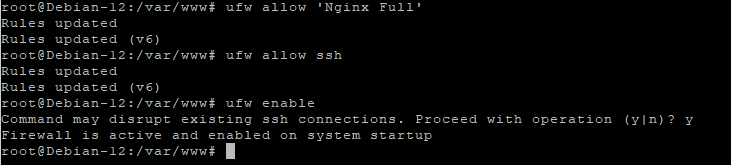
ufw allow 'Nginx Full'
ufw allow ssh
ufw enable
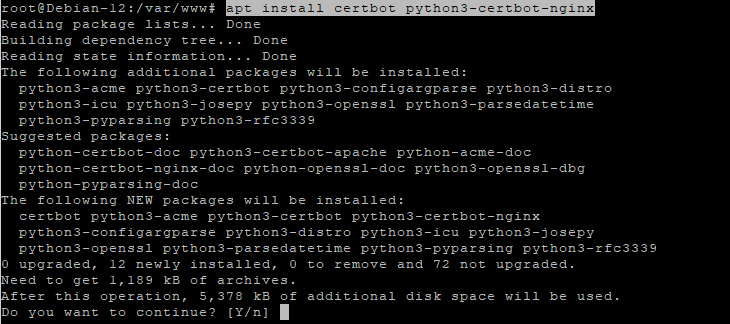
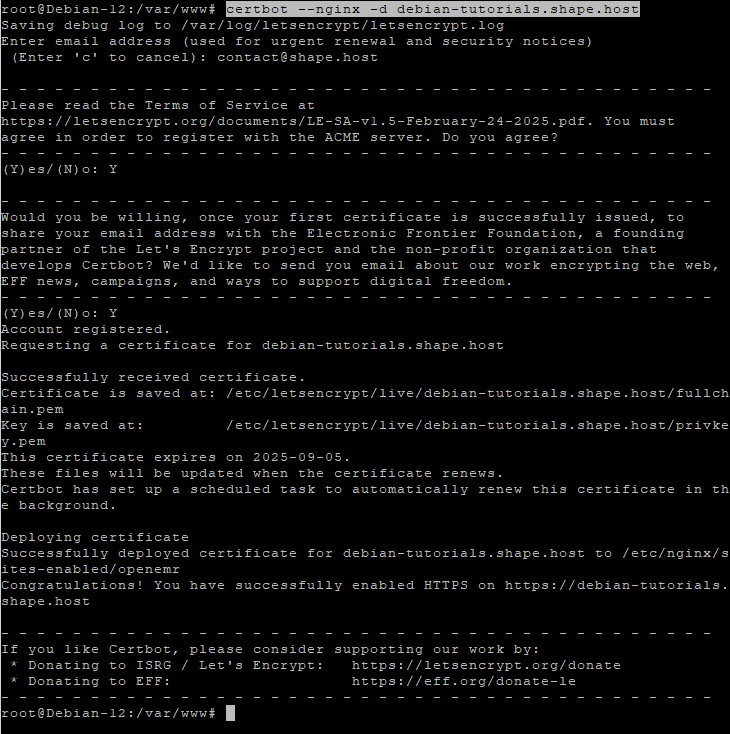
Install Certbot and get SSL certificate:
apt install certbot python3-certbot-nginx
certbot --nginx -d your-domain.com
Step 9: Access Web Installer
Open your browser and visit:
https://your-domain.com
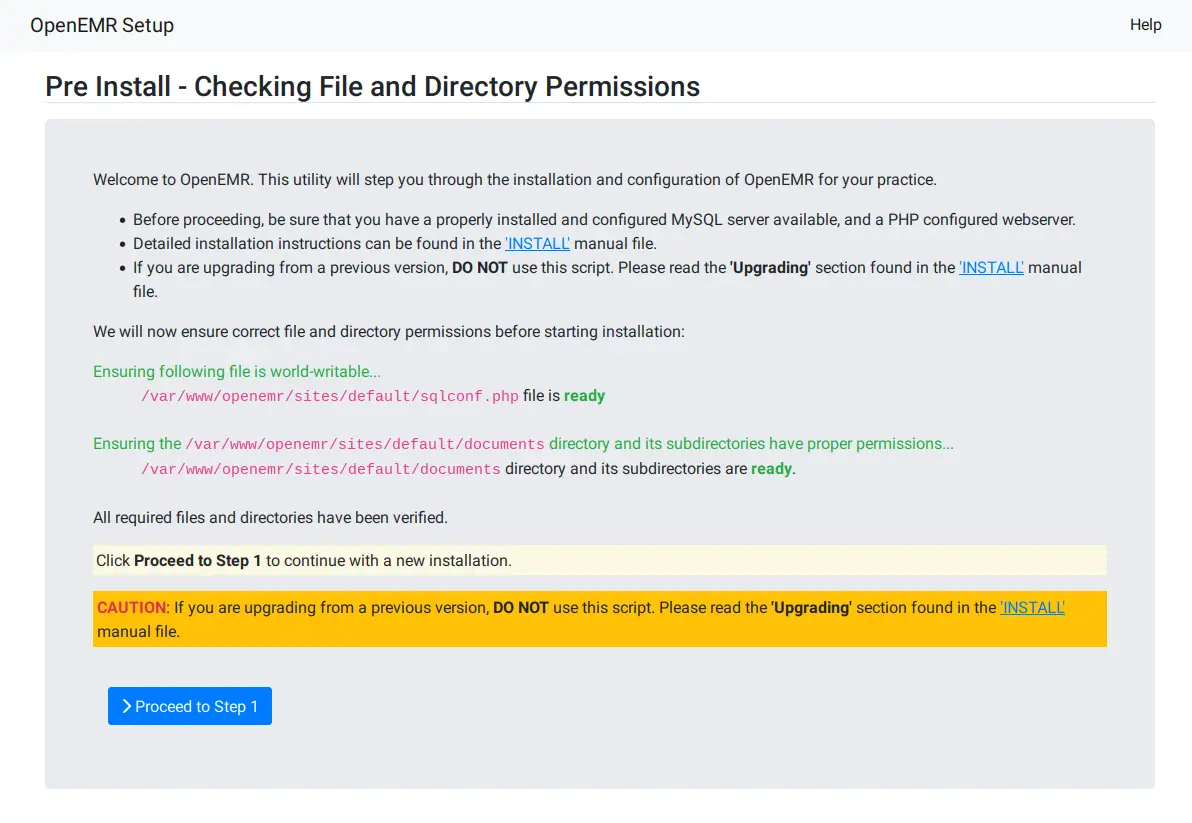
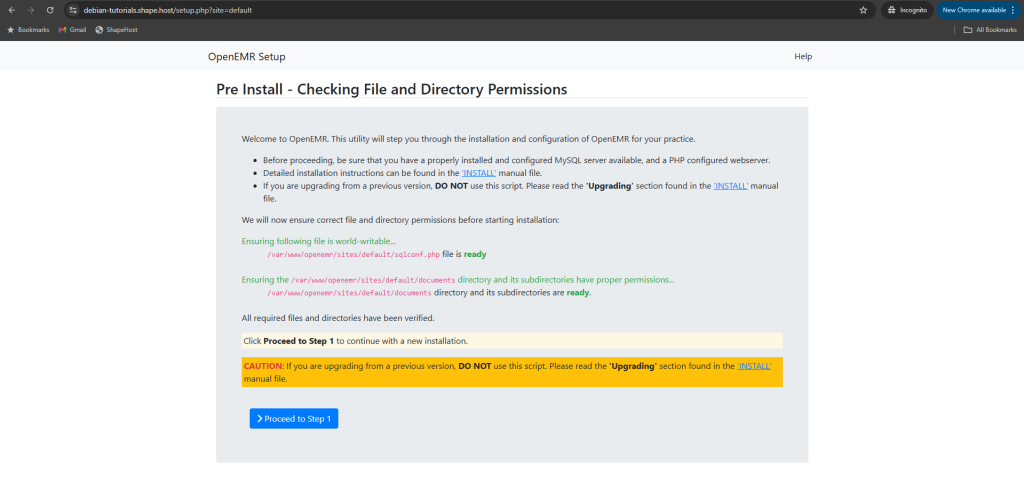
Follow the OpenEMR web installer to complete the setup.
First, the installer will check the permissions of the OpenEMR source code, so make sure you have proper permission.
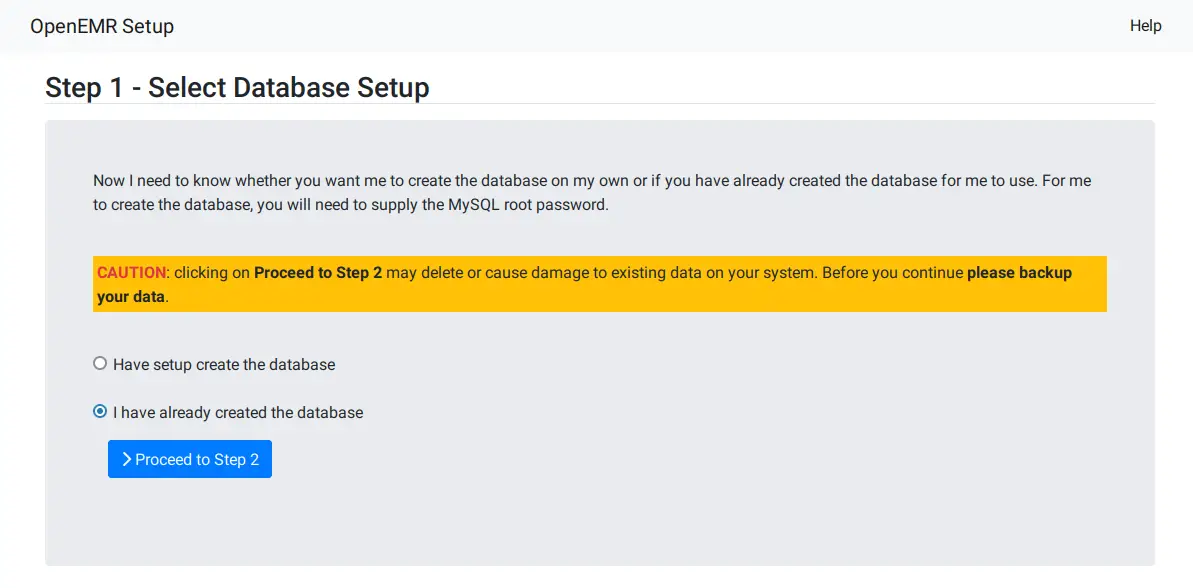
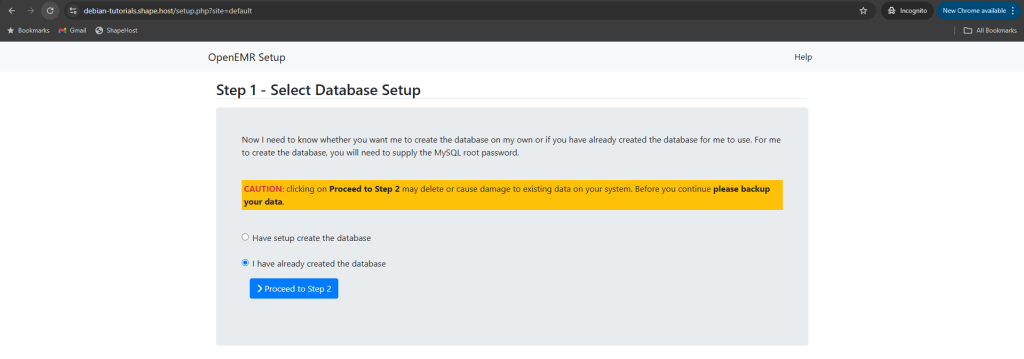
Select the ‘I have created the database‘ option to set up your database integration.
Enter your database details and the new administrator admin for OpenEMR.

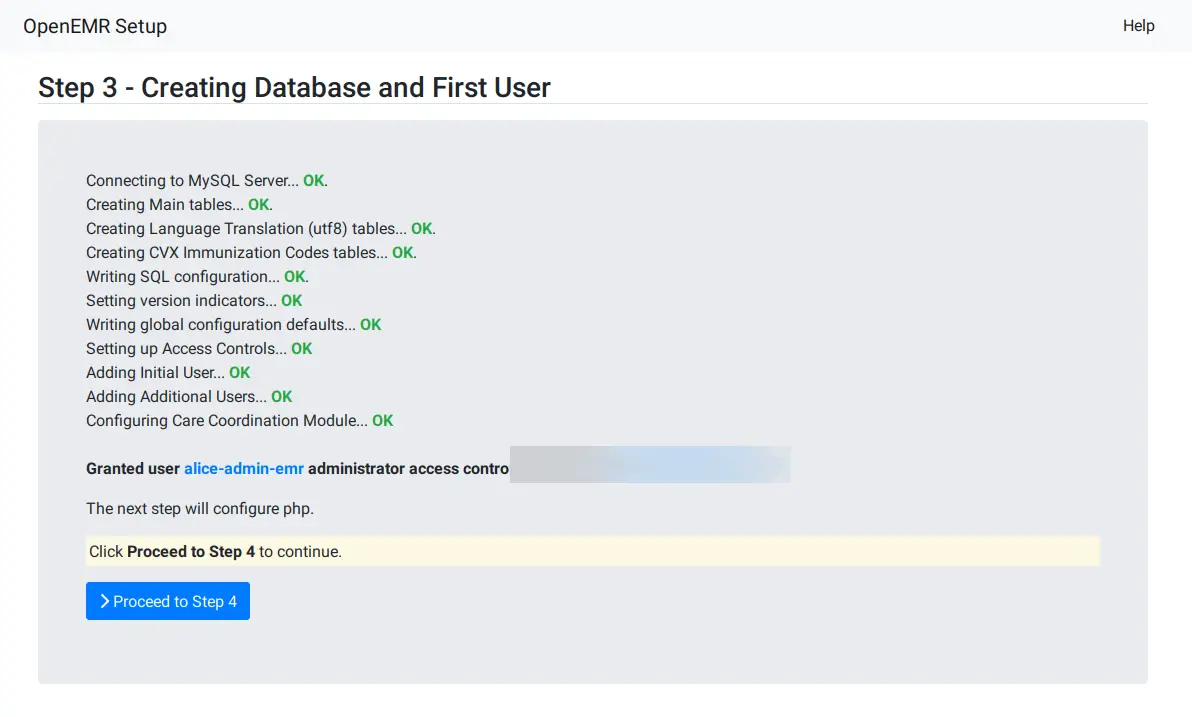
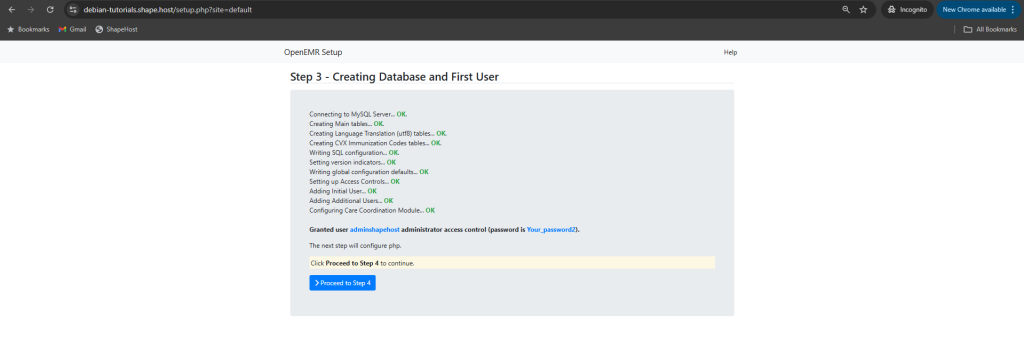
The database initialization will be running and your admin user will be created.
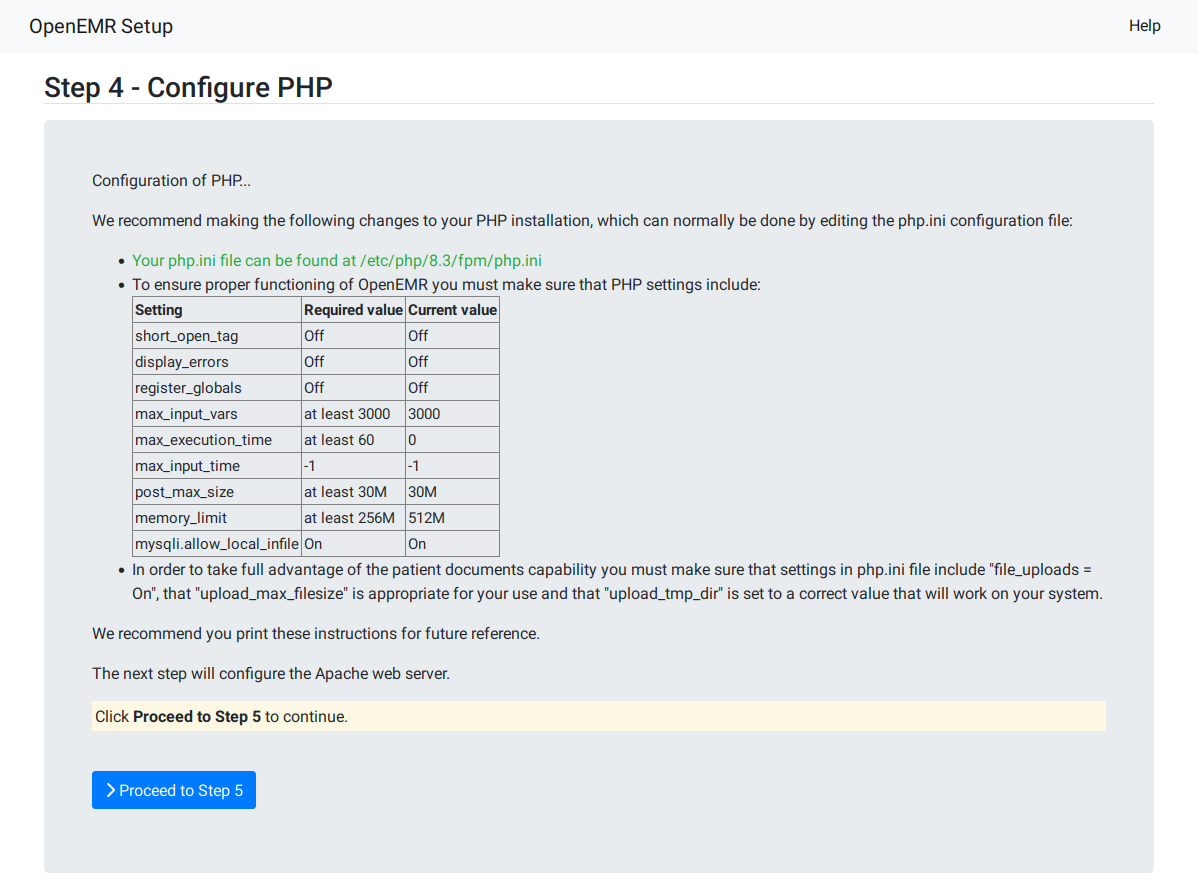
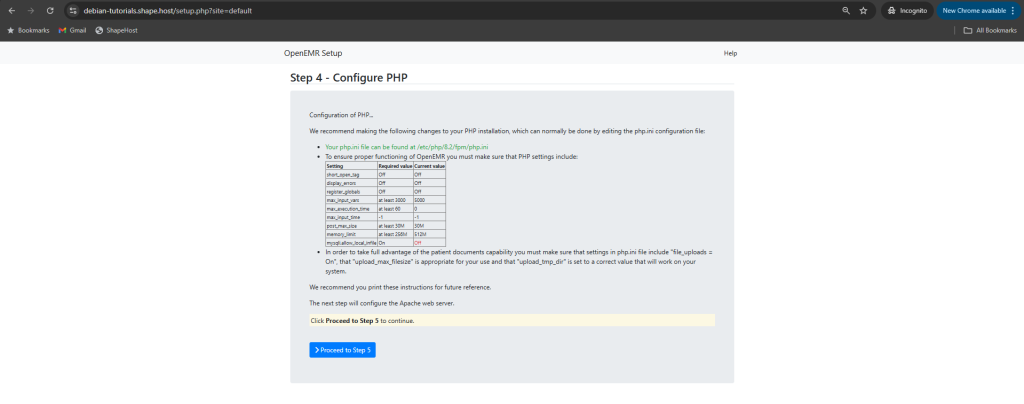
Next, make sure your PHP configuration is met with the OpenEMR requirements.
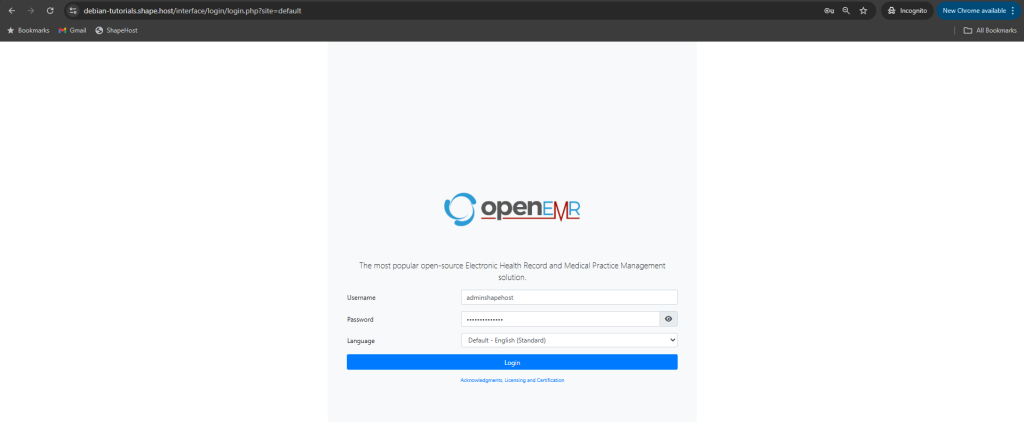
Once the installation is complete, you’ll be redirected to the OpenEMR login page. Type your admin user and password, then click Login.
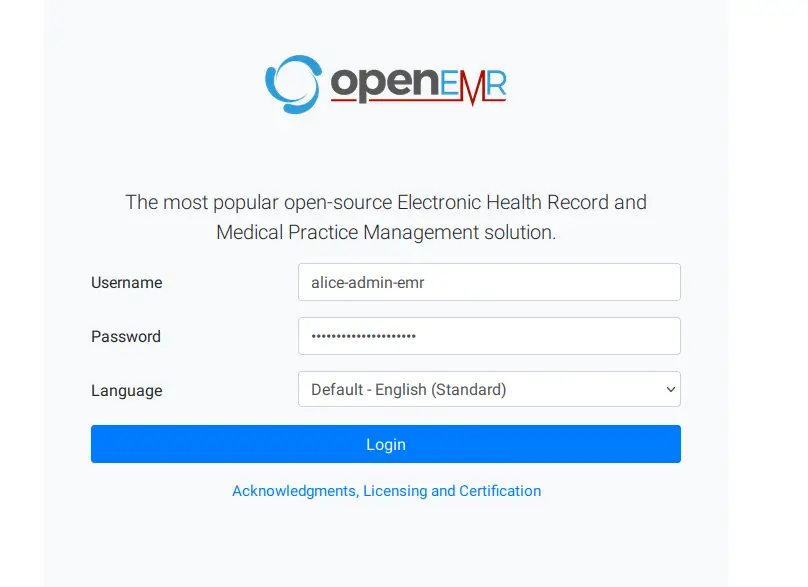
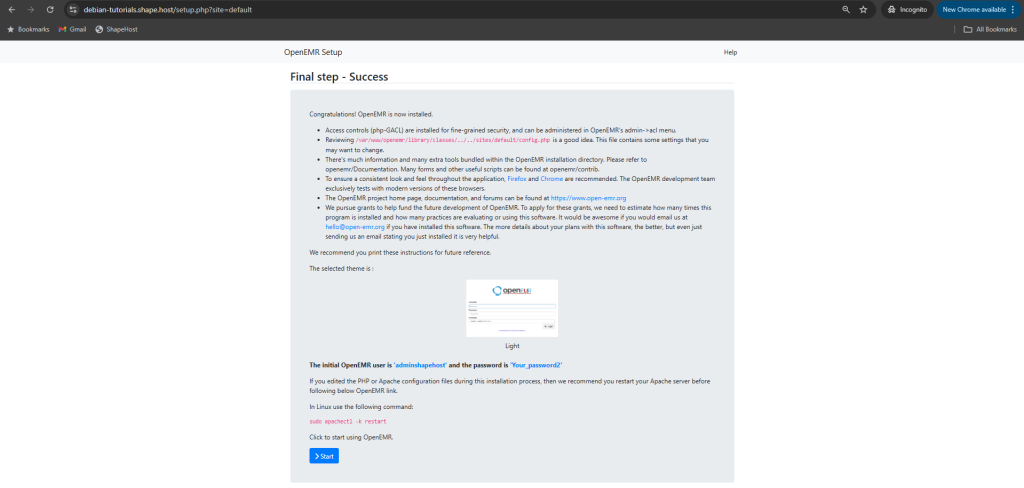
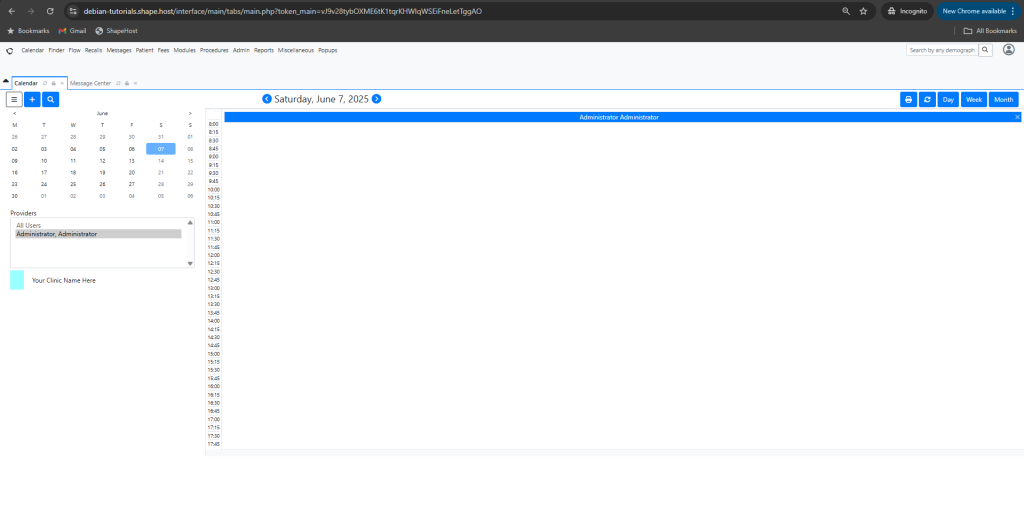
If successful, you’ll see the following OpenEMR dashboard.
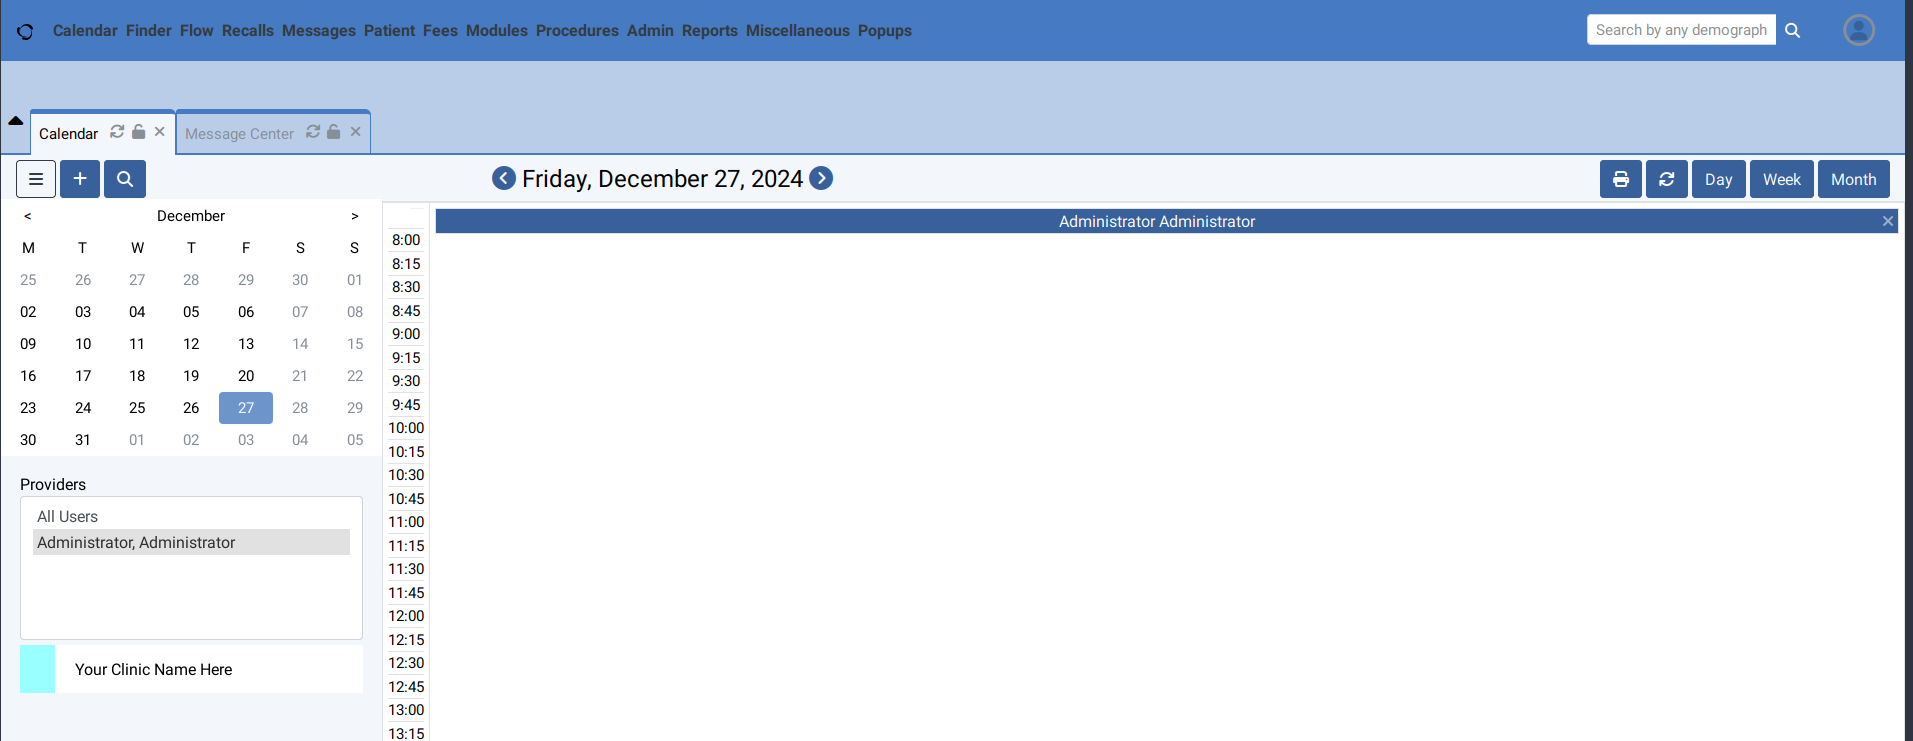
Install and run OpenEMR securely using Shape.Host Linux SSD VPS.
Get started today at 👉 https://shape.host