OpenEMR on Ubuntu 24.04 with NGINX
OpenEMR is a certified open-source electronic medical record (EMR) and medical practice management solution. It supports medical billing, patient scheduling, electronic prescriptions, and health records — making it one of the most comprehensive free EMR systems available.
Deploying OpenEMR on Ubuntu 24.04 with NGINX as the web server provides a high-performance, secure, and modern environment for healthcare IT infrastructures.
Key Features of OpenEMR
| Feature | Description |
|---|---|
| Patient Management | Demographics, medical history, documents, and communication tracking |
| EHR / EMR Functionality | Full clinical charting, SOAP notes, and medical forms |
| Scheduling | Calendar system for appointments and resource allocation |
| Medical Billing | Integrated billing and insurance module with support for X12 837/835 |
| e-Prescribing | Electronic prescriptions, drug interactions, and dosage support |
| Reports and Analytics | Medical, financial, and patient reports |
| Multi-language Support | Over 30 language packs available |
| Access Control and Logging | User roles, audit trails, HIPAA compliance-ready |
Benefits of Using NGINX with OpenEMR on Ubuntu 24.04
| Benefit | Details |
|---|---|
| Performance | NGINX’s asynchronous architecture excels under high concurrent loads |
| TLS/SSL Support | Simple integration with Let’s Encrypt and modern HTTPS configurations |
| Reverse Proxy Ready | Ideal for proxying to PHP-FPM for better performance and isolation |
| Load Balancing | Built-in options for scaling OpenEMR deployments across servers |
| Ubuntu 24.04 Compatibility | Supports PHP 8.3, MariaDB 10.11+, and modern security libraries |
System Requirements (Recommended)
| Component | Specification |
|---|---|
| OS | Ubuntu Server 24.04 LTS |
| Web Server | NGINX + PHP-FPM 8.3 |
| Database | MariaDB or MySQL |
| PHP | PHP 8.1–8.3 with required extensions (pdo, gd, mbstring, etc.) |
| RAM | Minimum 2 GB (4 GB or more for production use) |
| Storage | At least 2 GB for core installation + user data |
Common Use Cases
- Independent Clinics: Use OpenEMR for patient records, billing, and reporting.
- Medical Groups: Centralize operations for multiple physicians or departments.
- Telemedicine Startups: Integrate with custom frontends via APIs for remote healthcare services.
- NGOs and Global Health Programs: Take advantage of multi-language support and cost-free licensing.
Security and Compliance
- HIPAA-ready with logging, access controls, and backup features.
- Supports encrypted communications via NGINX + TLS (Let’s Encrypt or custom certs).
- Audit trail logs ensure accountability and traceability of access and modifications.
Comparison with Other EMR Systems
| EMR System | Open Source | Certification | Customizable | Deployment Type |
|---|---|---|---|---|
| OpenEMR | Yes | ONC-certified | High | Self-hosted |
| OpenMRS | Yes | No | High | Self-hosted |
| MediTracker | No | Yes | Low | SaaS |
| Epic/Allscripts | No | Yes | Very Limited | Enterprise SaaS |
OpenEMR on Ubuntu 24.04 with NGINX is an ideal choice for organizations looking for a powerful, customizable, and cost-effective EMR solution. NGINX enhances performance and scalability, while Ubuntu 24.04 provides long-term support and up-to-date packages for secure operation. This combination supports both small clinics and large-scale healthcare operations seeking control and efficiency in medical data management.
Create and Connect to a VPS on Shape.Host
Create a Cloud VPS Instance
Go to https://shape.host and log in.
Click “Create” → choose “Instance”.
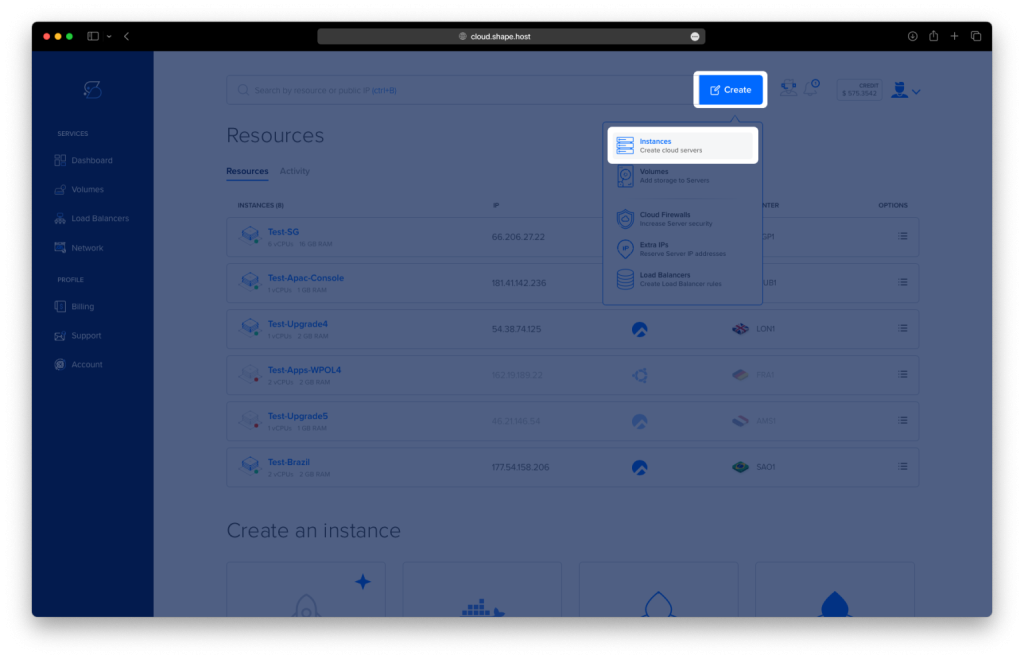
Configure:
Location: Choose any available data center
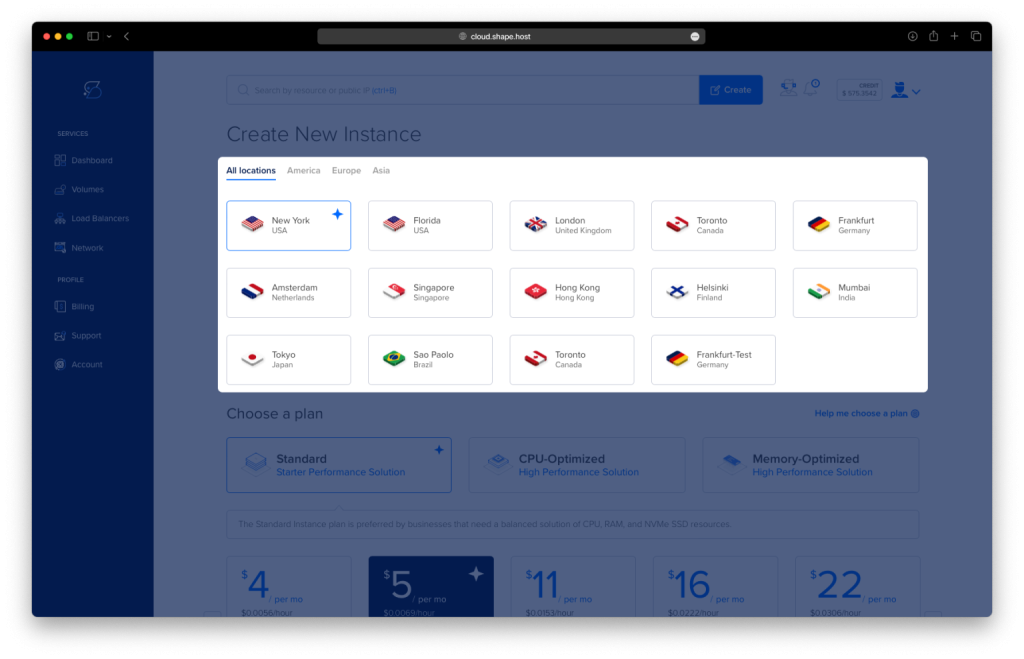
OS: Select Ubuntu 24.04 (64-bit)
Resources: Minimum 2 CPUs, 4 GB RAM, and 20 GB SSD
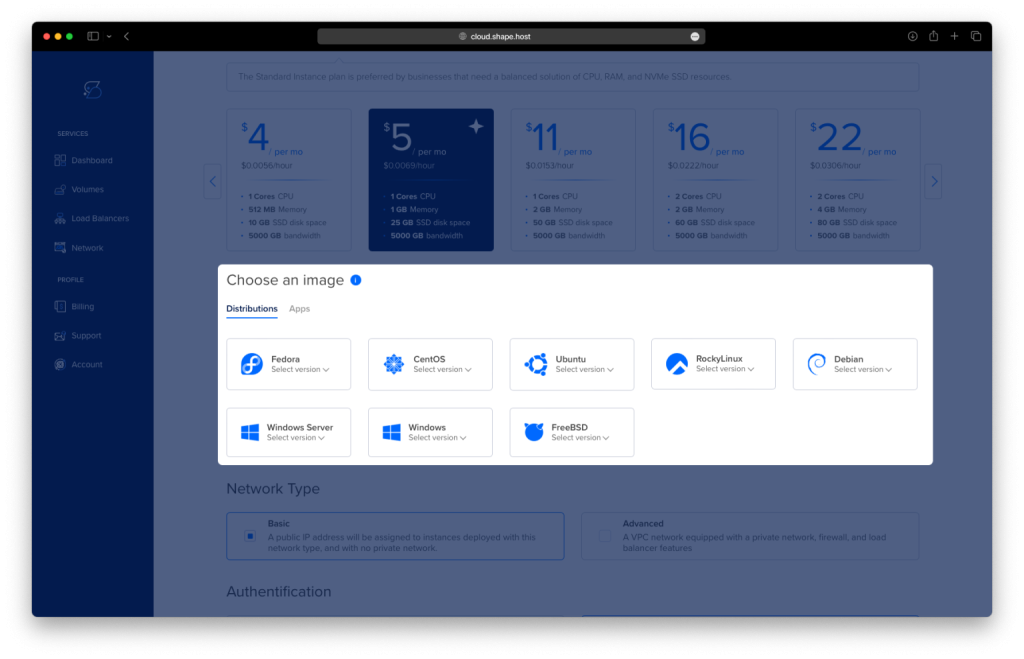
Click “Create Instance”

Once created, copy your instance’s public IP address
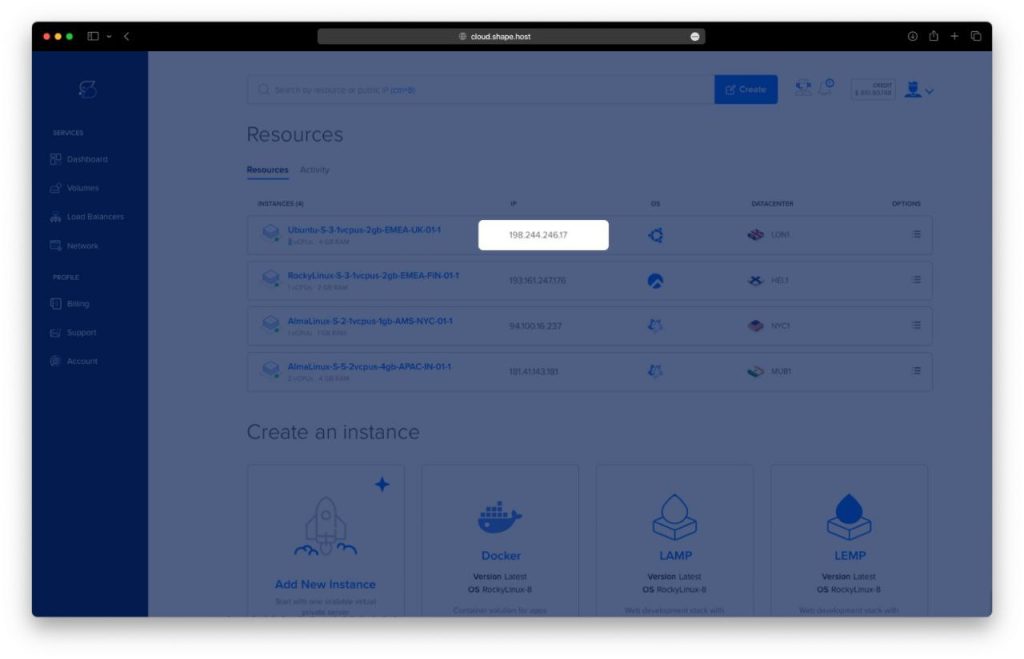
Connect via SSH:
ssh root@your-server-ipOn Windows, use PuTTY.
Connect to the Server
Option 1: SSH (Linux/macOS/WSL)
From your terminal, run:
ssh root@YOUR_INSTANCE_IP
Replace YOUR_INSTANCE_IP with the IP of your VPS.
Option 2: Use PuTTY on Windows
- Download PuTTY: https://www.putty.org
- Open PuTTY and enter your instance IP under “Host Name”
- Leave port as
22, connection type asSSH - Click Open
- When prompted, log in as:
- Username:
root - Password: Provided in instance details or set during deployment
- Username:
You’re now ready to start installing OpenEMR.
Step 1: Update the System
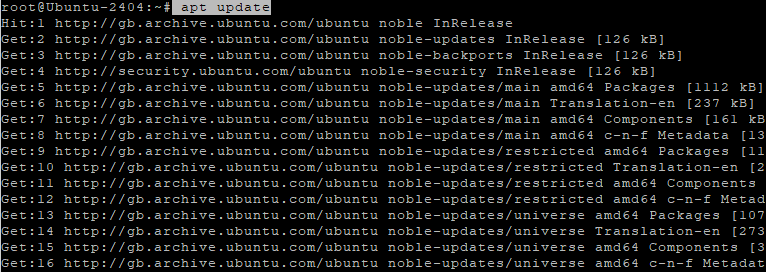
apt update
Updates the local package list so you install the latest versions.
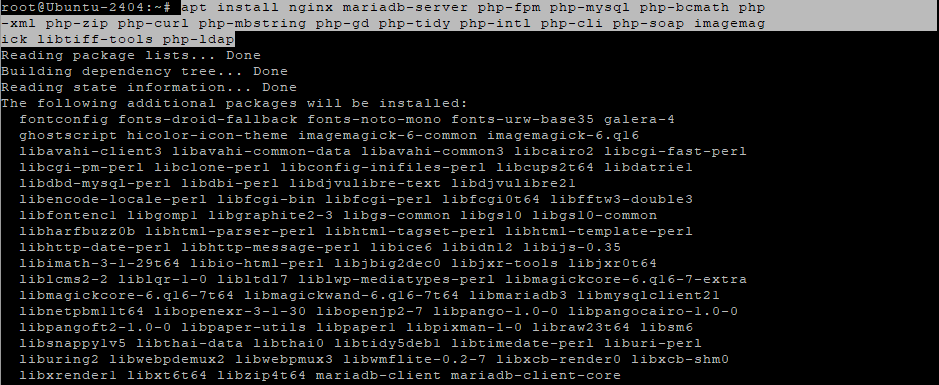
Step 2: Install Required Packages
apt install nginx mariadb-server php-fpm php-mysql php-bcmath php-xml php-zip php-curl php-mbstring php-gd php-tidy php-intl php-cli php-soap imagemagick libtiff-tools php-ldap
Installs the NGINX web server, MariaDB database, and all PHP extensions required by OpenEMR.
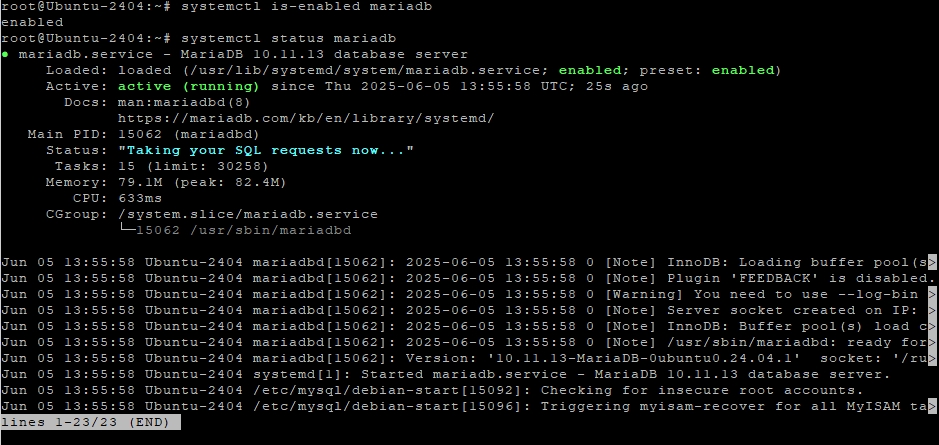
Step 3: Check MariaDB and PHP-FPM Services
systemctl is-enabled mariadb
systemctl status mariadb
Checks that MariaDB is installed and running.
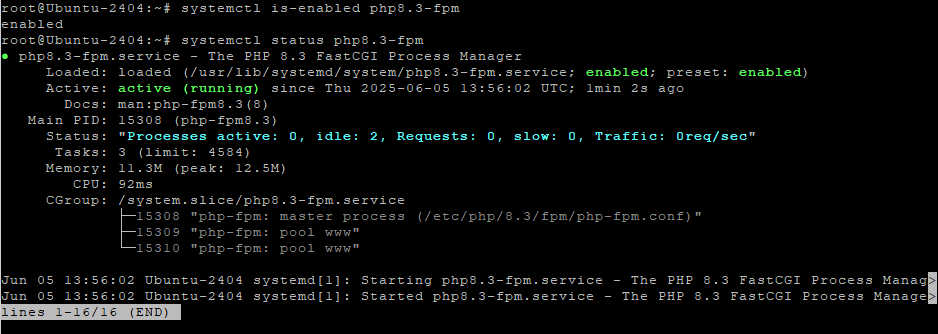
systemctl is-enabled php8.3-fpm
systemctl status php8.3-fpm
Checks PHP-FPM service is active.
Step 4: Tune PHP Settings
nano /etc/php/8.3/fpm/php.ini
Update key settings:
max_execution_time = 60
max_input_time = -1
memory_limit = 512M
post_max_size = 30M
upload_max_filesize = 30M
max_input_vars = 3000
mysqli.allow_local_infile = On
Apply group ownership:
chgrp -R www-data /var/lib/php/sessions
systemctl restart php8.3-fpm

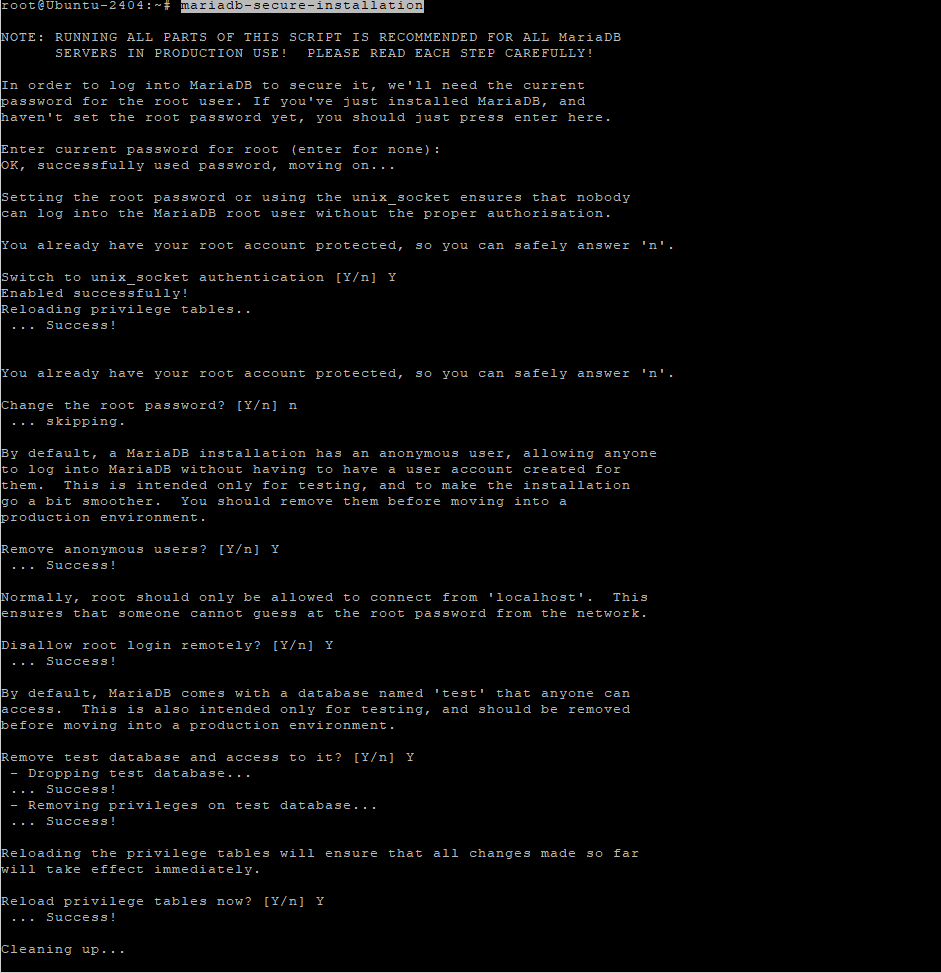
Step 5: Secure MariaDB & Create Database
Run the secure installation:
mariadb-secure-installation
Then enter the MariaDB shell:
mariadb -u root -p
In MariaDB shell:
CREATE DATABASE openemr;
CREATE USER 'openemruser'@'localhost' IDENTIFIED BY 'Your_password2';
GRANT ALL PRIVILEGES ON openemr.* TO 'openemruser'@'localhost';
FLUSH PRIVILEGES;
This sets up the database and credentials OpenEMR will use.

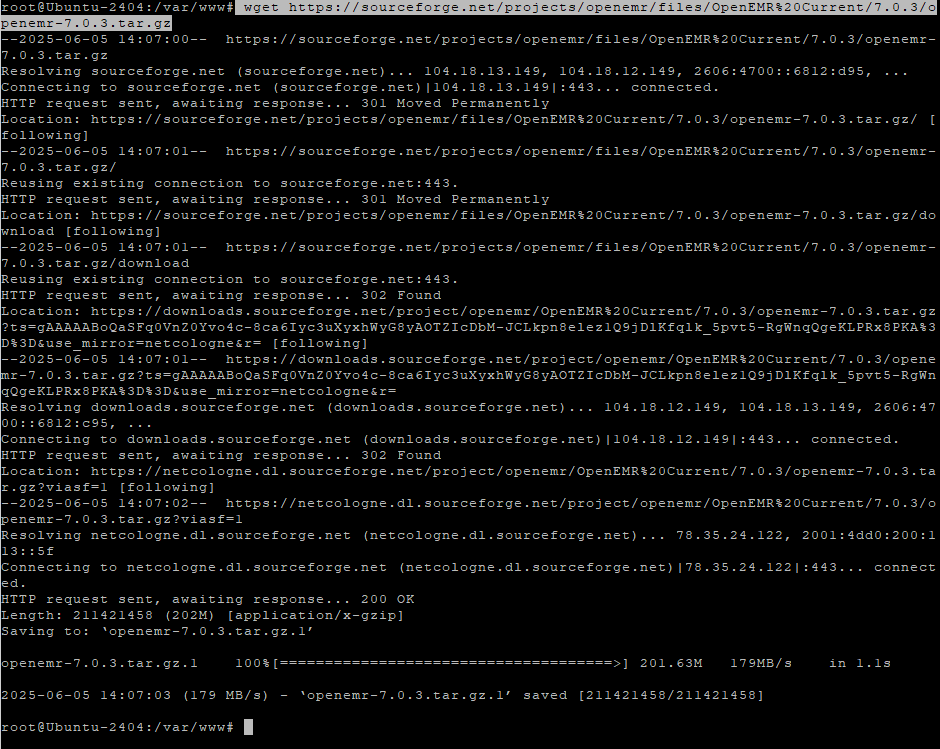
Step 6: Download and Prepare OpenEMR
cd /var/www/
wget https://sourceforge.net/projects/openemr/files/OpenEMR%20Current/7.0.3/openemr-7.0.3.tar.gz
tar -pxzf openemr-7.0.3.tar.gz
mv openemr-7.0.3 openemr
chown -R www-data:www-data /var/www/openemr
Downloads the OpenEMR source and prepares it for NGINX.

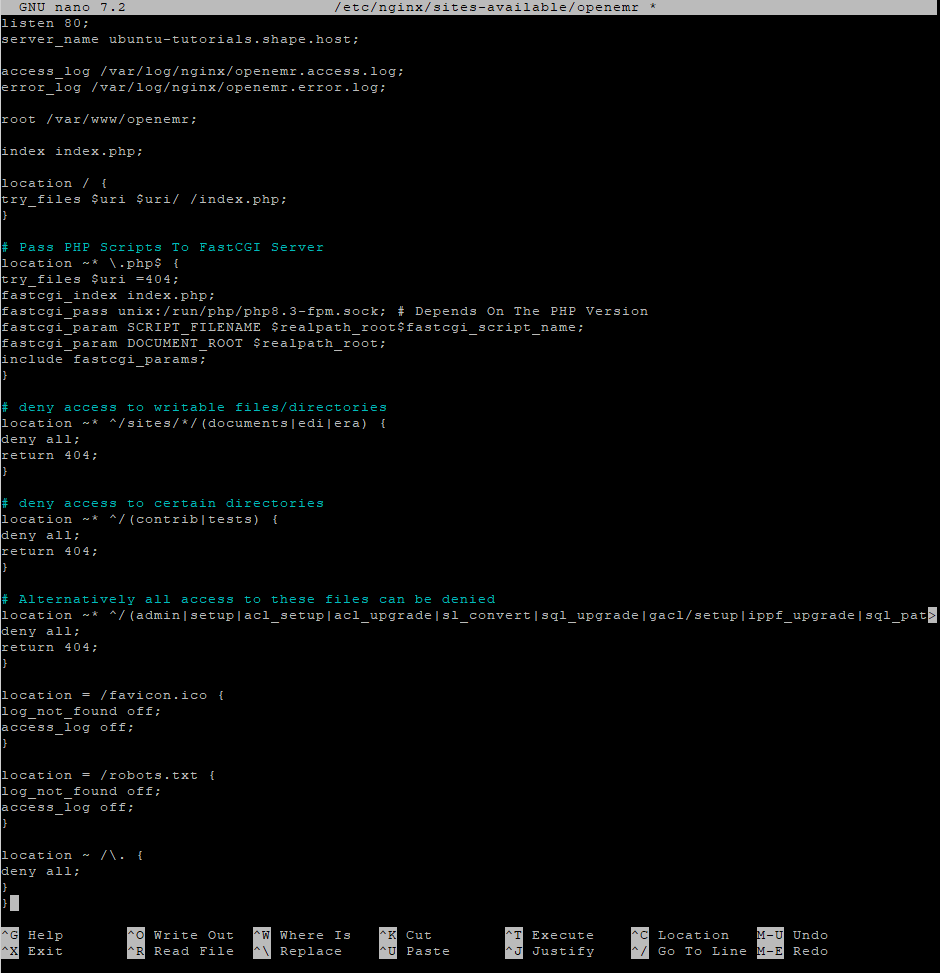
Step 7: Configure NGINX for OpenEMR
nano /etc/nginx/sites-available/openemr
Paste and adjust (especially server_name):
server {
    listen 80;
    server_name example.com;

    access_log /var/log/nginx/openemr.access.log;
    error_log /var/log/nginx/openemr.error.log;

    root /var/www/openemr;
    index index.php;

    location / {
        try_files $uri $uri/ /index.php;
    }

    location ~* \.php$ {
        try_files $uri =404;
        fastcgi_index index.php;
        fastcgi_pass unix:/run/php/php8.3-fpm.sock;
        fastcgi_param SCRIPT_FILENAME $realpath_root$fastcgi_script_name;
        fastcgi_param DOCUMENT_ROOT $realpath_root;
        include fastcgi_params;
    }

    location ~* ^/sites/*/(documents|edi|era) {
        deny all;
        return 404;
    }

    location ~* ^/(contrib|tests) {
        deny all;
        return 404;
    }

    location ~* ^/(admin|setup|acl_setup|acl_upgrade|sl_convert|sql_upgrade|gacl/setup|ippf_upgrade|sql_patch)\.php {
        deny all;
        return 404;
    }

    location = /favicon.ico {
        log_not_found off;
        access_log off;
    }

    location = /robots.txt {
        log_not_found off;
        access_log off;
    }

    location ~ /\. {
        deny all;
    }
}
Enable the config:
ln -s /etc/nginx/sites-available/openemr /etc/nginx/sites-enabled/
nginx -t
systemctl restart nginx

Step 8: Configure Firewall with UFW
ufw allow 'Nginx Full'
ufw allow ssh
ufw enable
Allows traffic for NGINX and SSH.

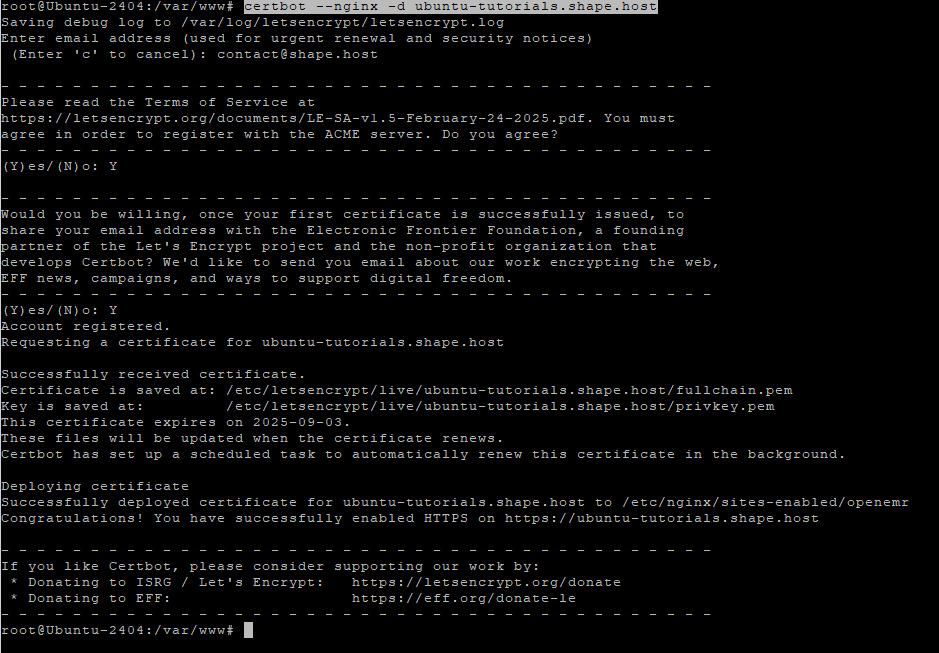
Step 9: Add HTTPS with Let’s Encrypt
apt install certbot python3-certbot-nginx
certbot --nginx -d ubuntu-tutorials.shape.host
Obtains and configures a free SSL cert.

Step 10: Finish Web Setup
Visit:
https://your-domain.com
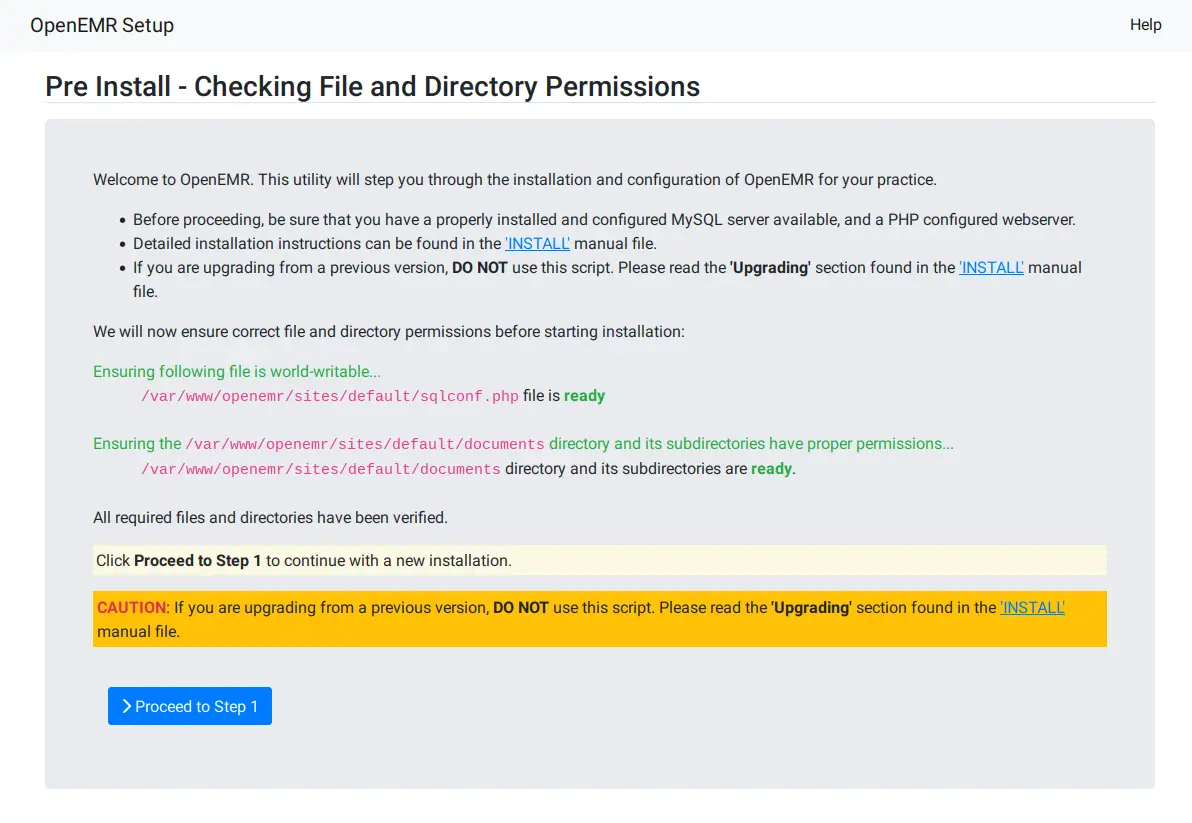
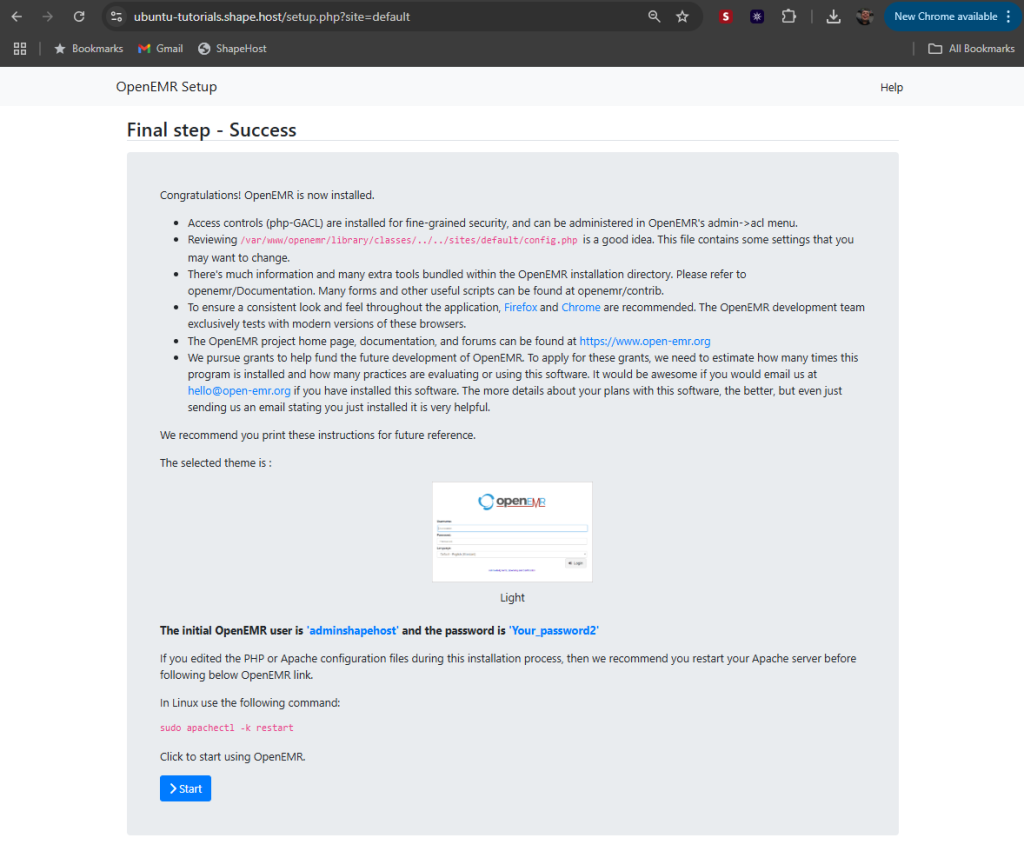
Follow the OpenEMR installer to complete setup.
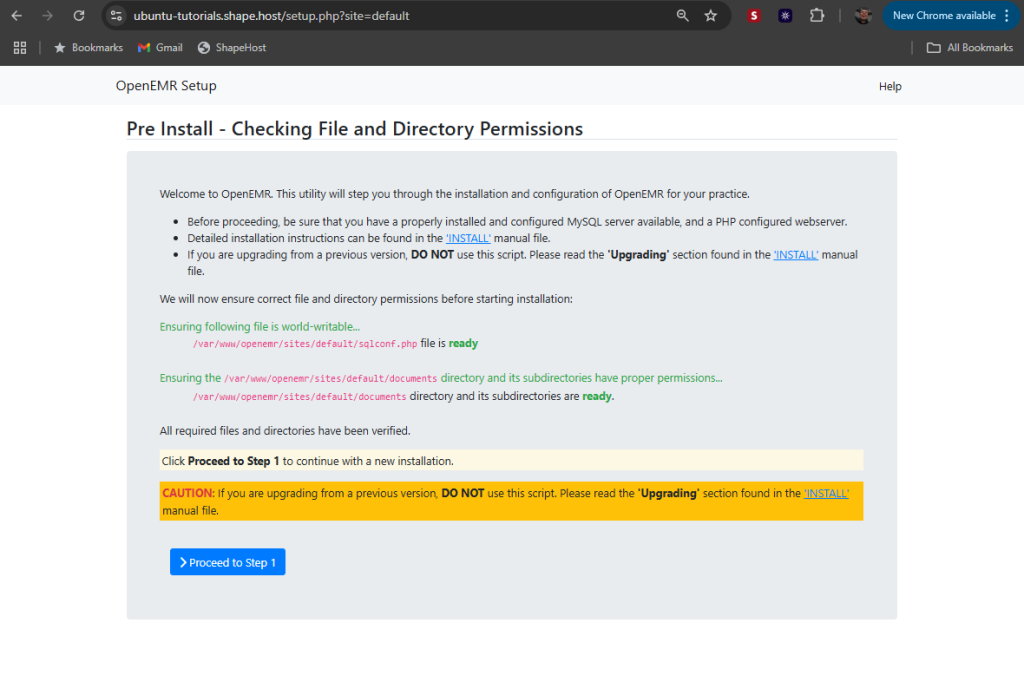
First, the installer will check the permissions of the OpenEMR source code, so make sure you have proper permission.
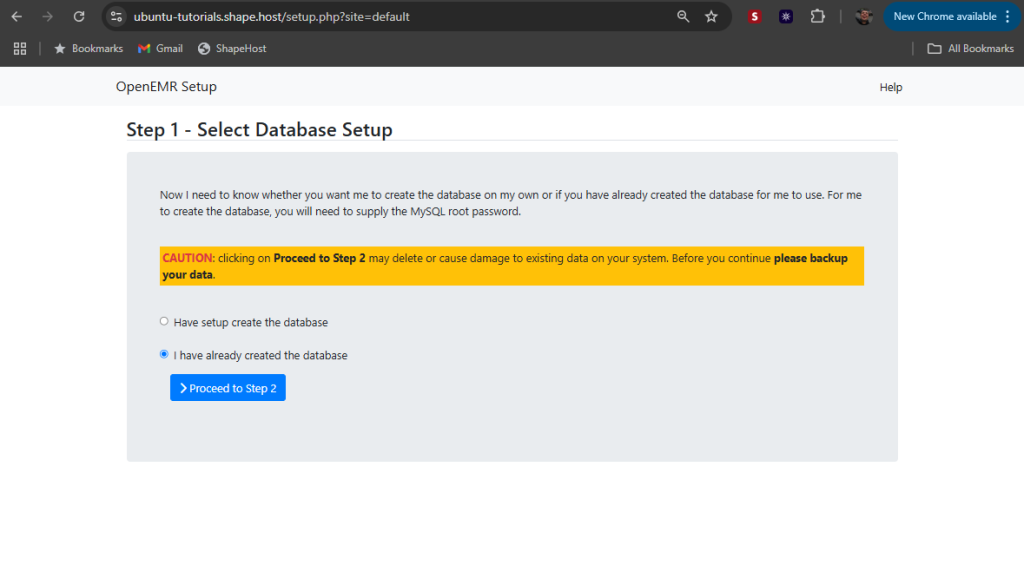
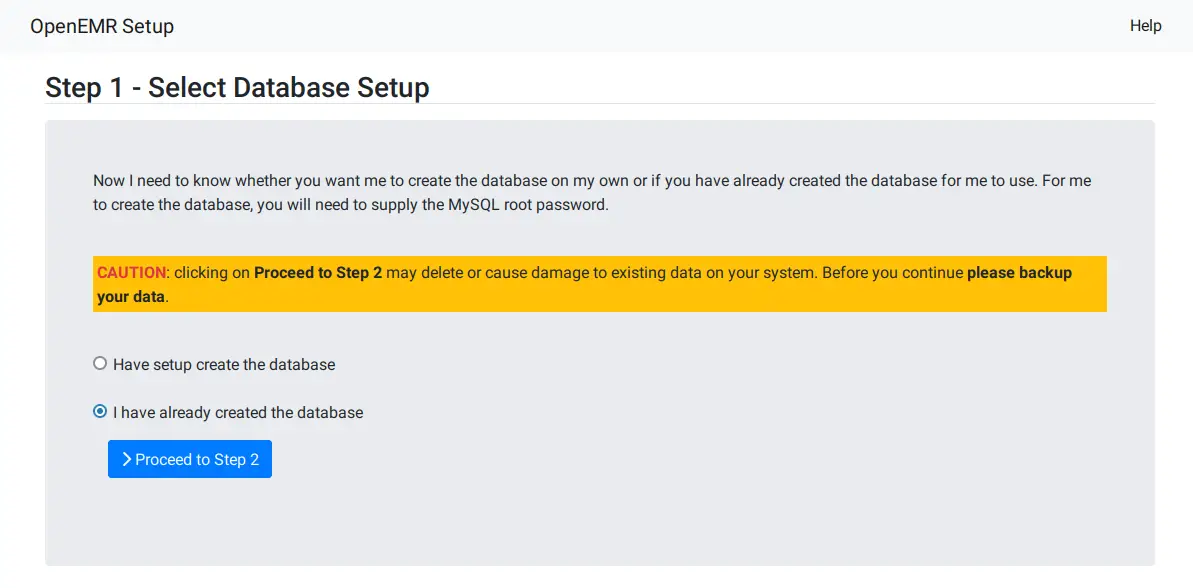
Select the ‘I have created the database‘ option to set up your database integration.
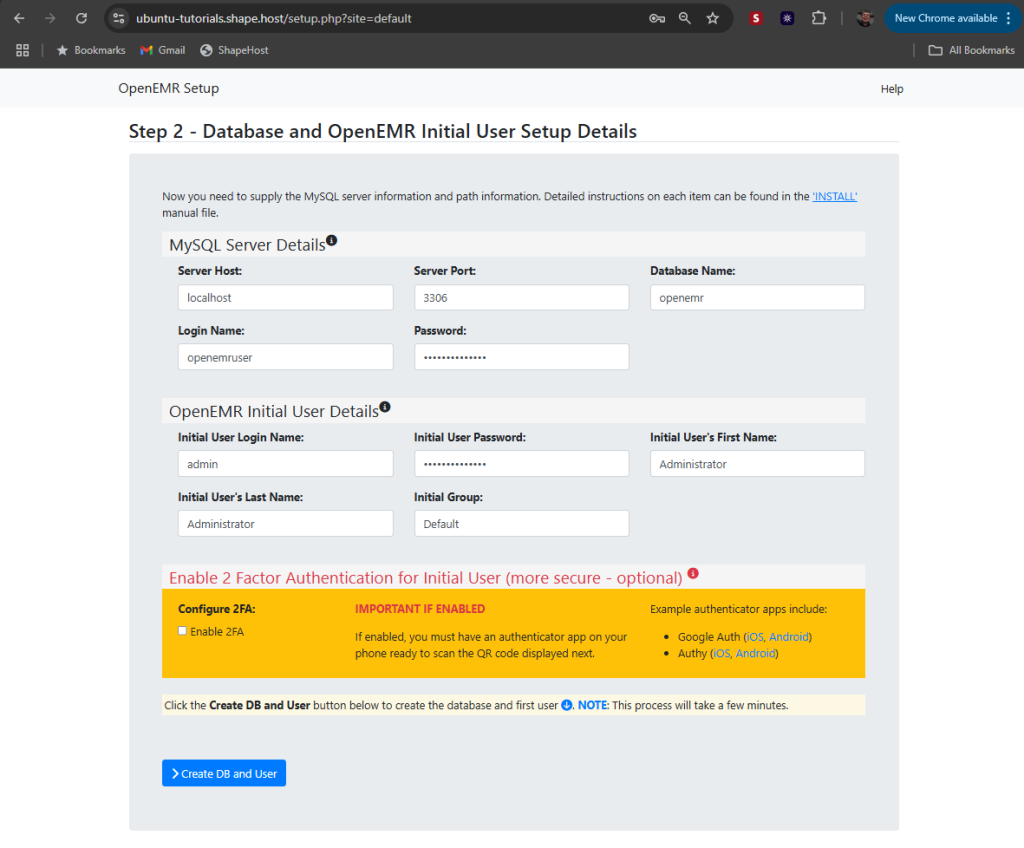
Enter your database details and the new administrator admin for OpenEMR.
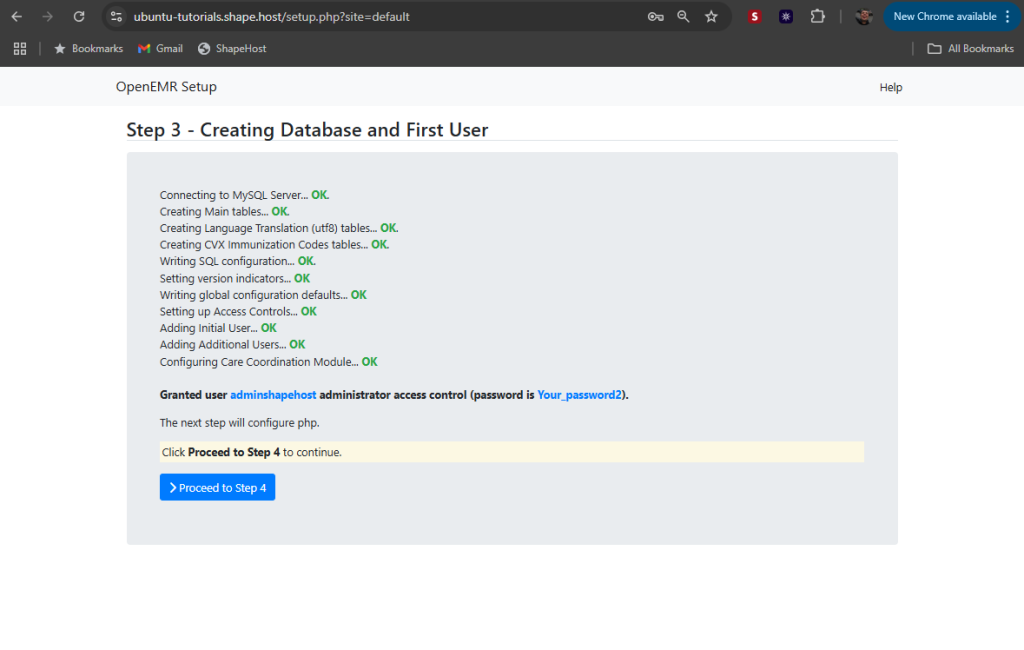
The database initialization will be running and your admin user will be created.
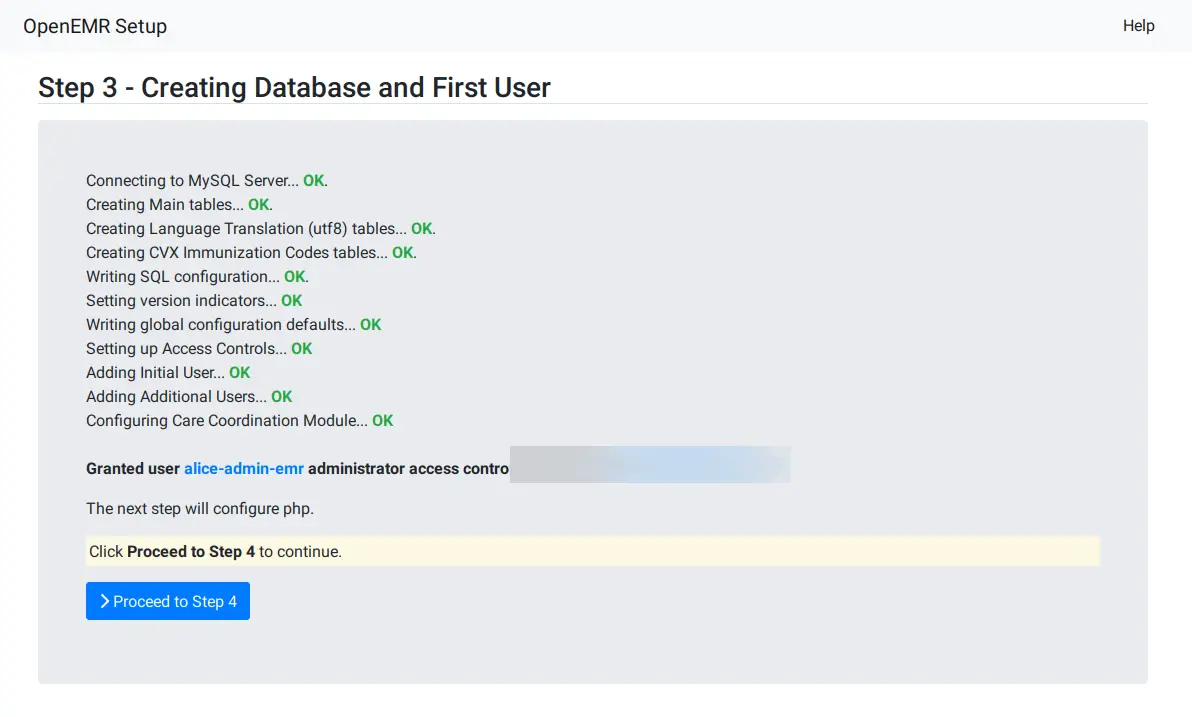
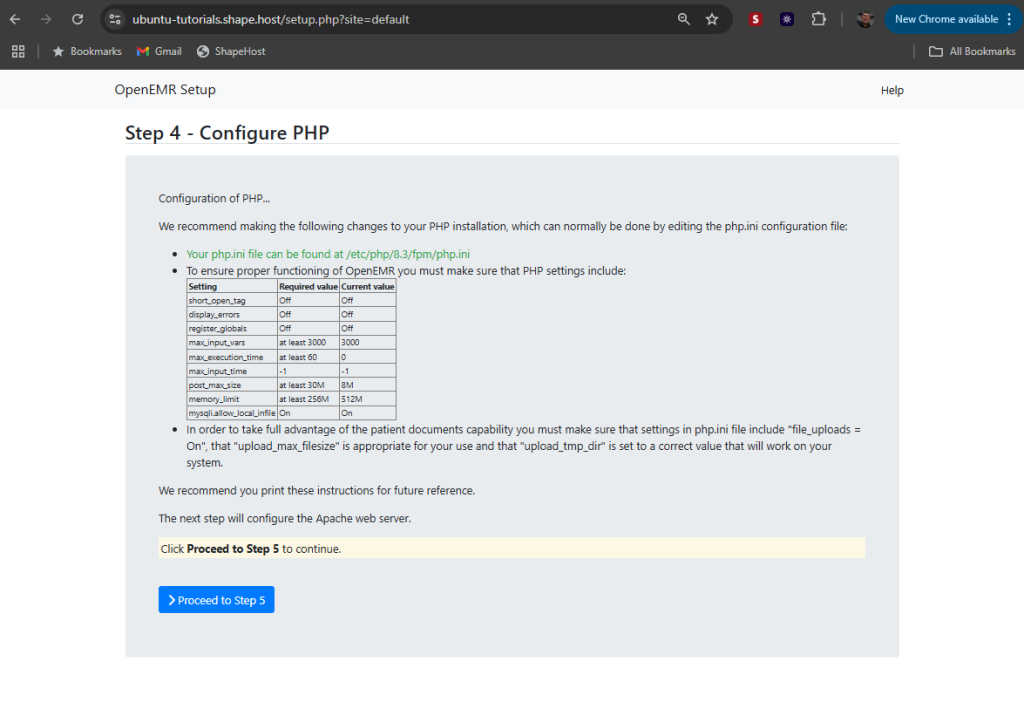
Next, make sure your PHP configuration is met with the OpenEMR requirements.
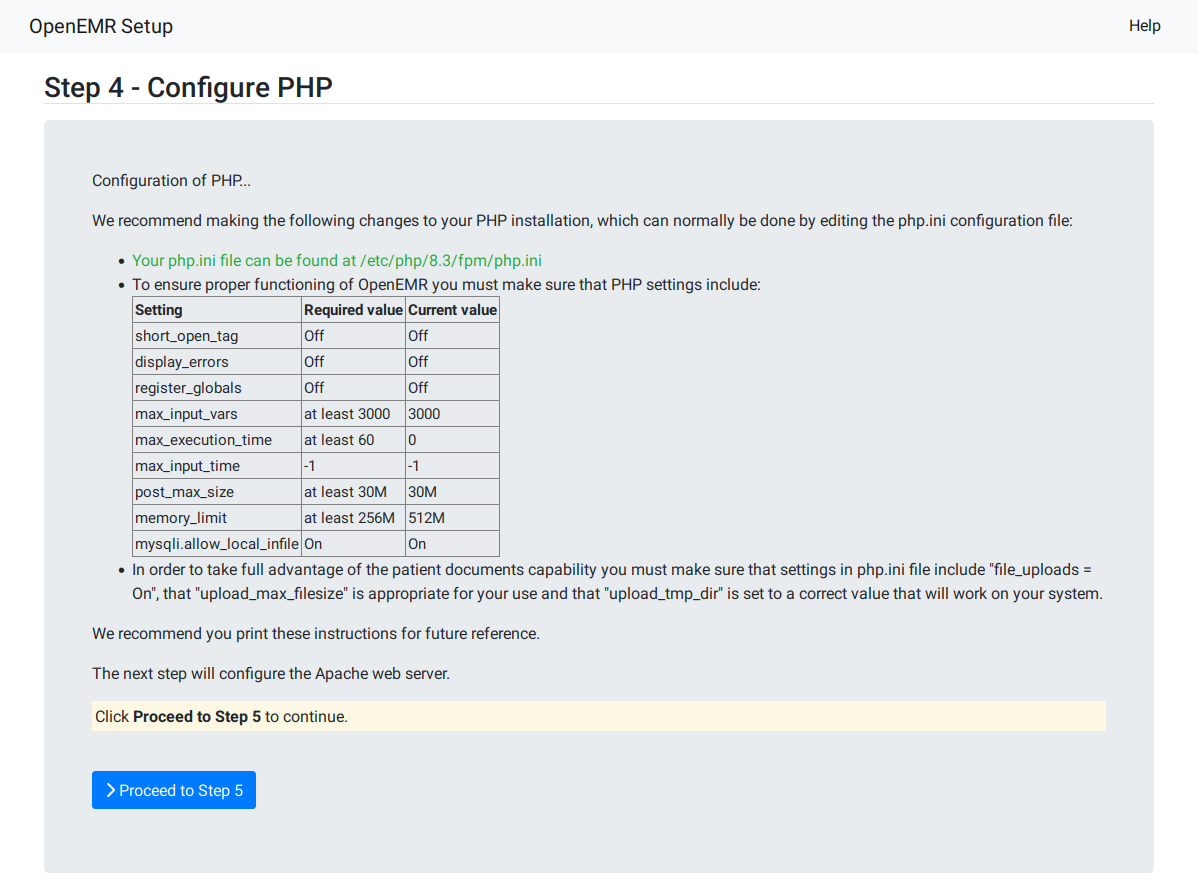
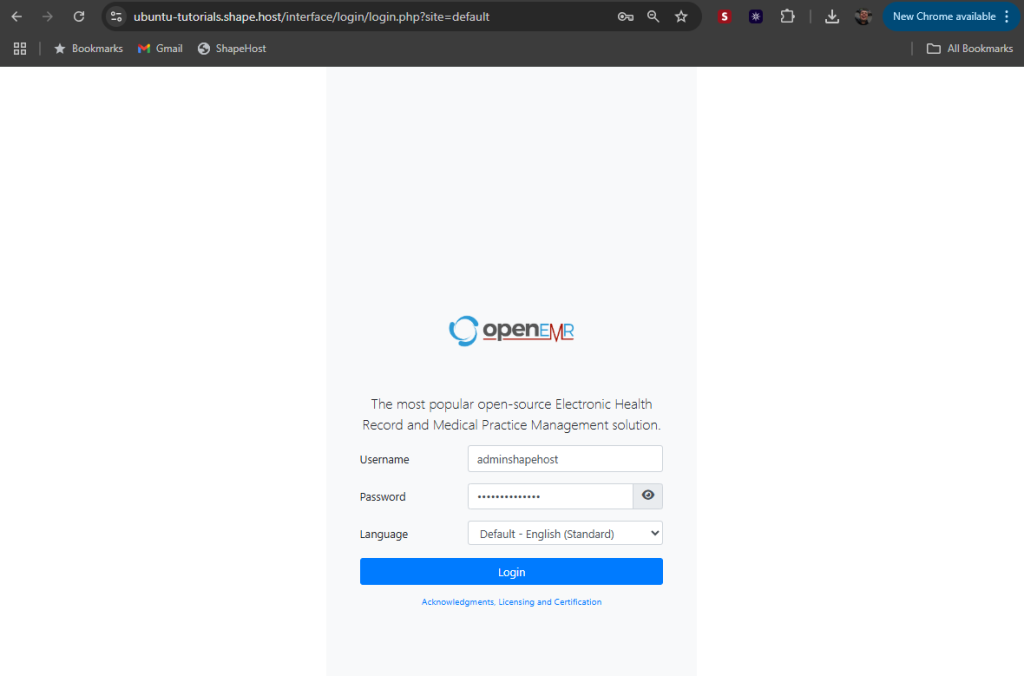
Once the installation is complete, you’ll be redirected to the OpenEMR login page. Type your admin user and password, then click Login.
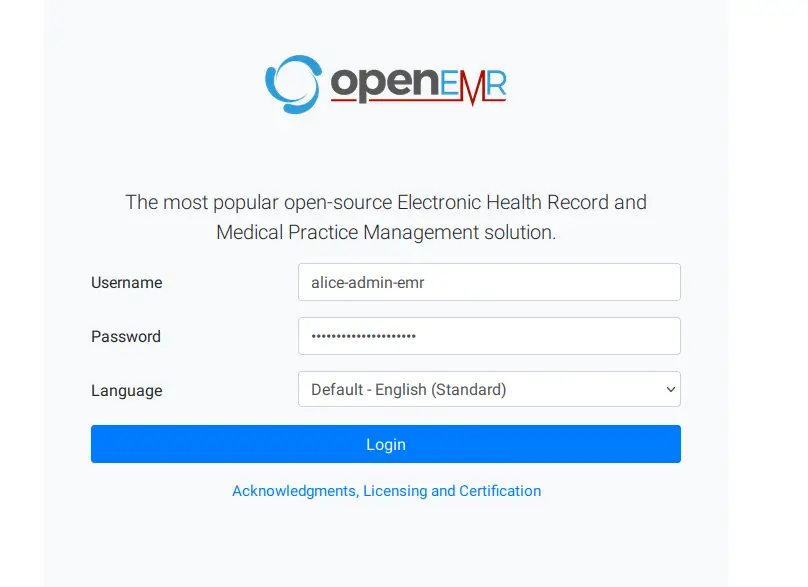
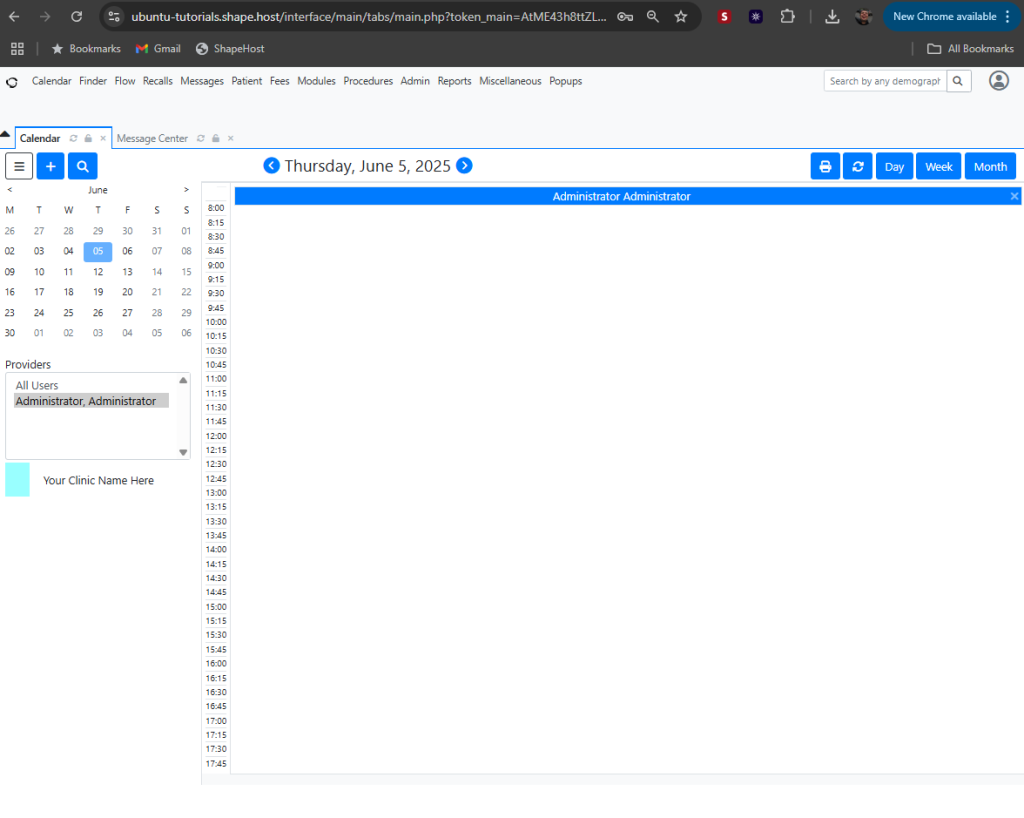
If successful, you’ll see the following OpenEMR dashboard.
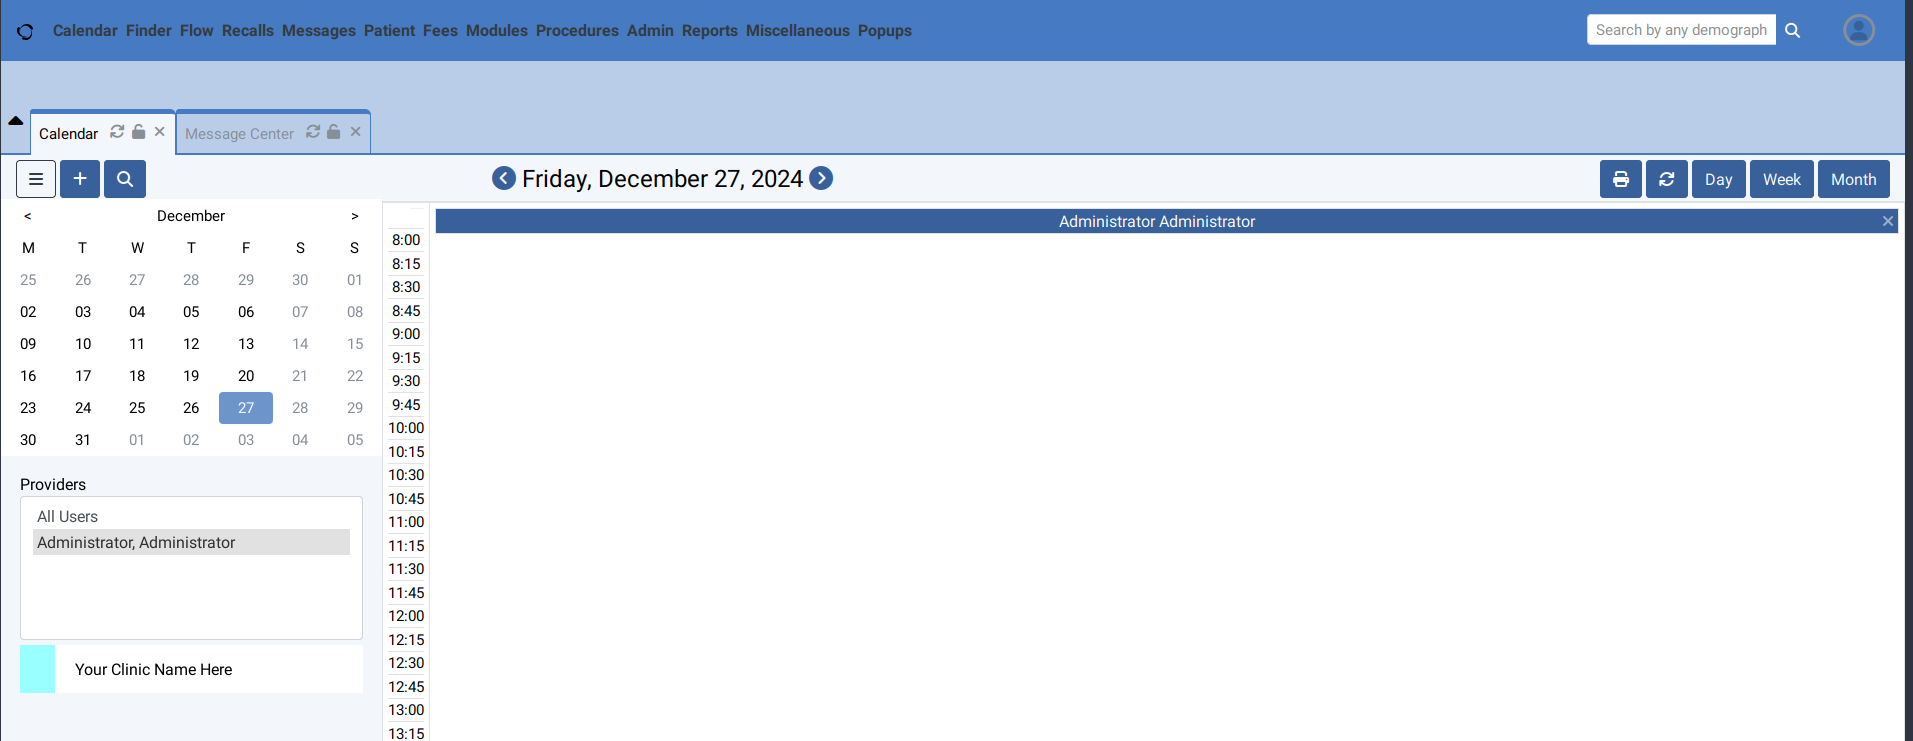
🔹 Fast Cloud VPS servers with SSD & global regions
🔹 Ubuntu 24.04 support with instant deployment
🔹 Affordable plans for medical and healthcare platforms
🔹 Full root access + firewall control
👉 Start building your OpenEMR platform today at https://shape.host