ProcessWire CMS on Rocky Linux 9 – A Developer-Centric CMS on a RHEL-Based Enterprise Platform
ProcessWire is a powerful, flexible, and developer-oriented content management framework (CMF) written in PHP. It emphasizes total control over content structures and templating, offering a clean API and modular system. Running it on Rocky Linux 9, a community-supported, binary-compatible alternative to RHEL 9, creates a robust and secure environment suited for long-term, enterprise-grade web applications.
Why Use Rocky Linux 9 for ProcessWire?
Rocky Linux 9 is a production-grade operating system ideal for organizations that require stability, security, and predictability. Its compatibility with RHEL makes it suitable for long-lived ProcessWire deployments in business, government, and regulated sectors.
| Rocky Linux 9 Feature | Benefit for ProcessWire CMS |
|---|---|
| Kernel 5.14 LTS | Stable and optimized for enterprise workloads |
| PHP 8.1 in AppStream | Supported by ProcessWire 3.0.200+ |
| Apache 2.4.57 / Nginx 1.22 | Reliable and performance-optimized web server options |
| MariaDB 10.5+ / MySQL 8.0 | Supported by ProcessWire’s relational schema |
| SELinux enforcing mode | Enterprise security compliance for CMS deployments |
| 10-year support lifecycle | Ideal for long-term web projects |
ProcessWire CMS Architecture
ProcessWire is more than a CMS—it’s a content development framework (CMF). Its design gives developers a highly extensible system:
- Page-Based Architecture – Pages are hierarchical and serve as both content and data containers.
- Powerful Native API –
$pages,$fields,$templates,$input, etc., allow full programmatic access to data. - Modular System – Thousands of optional modules, with built-in hook system.
- Template = PHP File – Total control over output; no theme engine or complex abstractions.
- Fieldtype System – Create any data structure via repeaters, page references, files, dates, and more.
On Rocky Linux, this architecture is enhanced by the OS’s strict package control, system-wide logging, and SELinux protections.
Web Stack Compatibility
| Component | Recommended on Rocky Linux 9 |
|---|---|
| Web Server | Apache (with mod_php or PHP-FPM) or Nginx (with PHP-FPM) |
| PHP Version | PHP 8.1 (via AppStream or Remi repository) |
| Database Engine | MariaDB 10.5+ (default) or MySQL 8.0+ |
| HTTPS | Managed via OpenSSL 3.0 and mod_ssl or certbot |
| Filesystem | XFS or Ext4 with SELinux policy enforcement |
These components are tightly integrated in RHEL-based environments, and security updates are tested and released in a controlled cycle.
Key Benefits of Running ProcessWire on Rocky Linux 9
- Stability – Predictable updates and minimal package churn
- Security – SELinux and firewall integration (Firewalld)
- Longevity – 10-year support window ideal for client projects
- Minimalism – ProcessWire runs well even on low-resource VMs
- Performance – Low overhead CMS with no runtime theme engine
- Access Control – Built-in page-level and field-level permissions
This setup is particularly suited for agencies, enterprise teams, or hosting providers who want to standardize their stack on RHEL-compatible systems while offering flexibility to developers.
Use Cases
- Custom content applications and portals
- Developer-maintained client sites with unique data models
- Secure intranet platforms or knowledge bases
- Multilingual content-heavy websites
- Headless CMS setups using ProcessWire’s native API
Thanks to ProcessWire’s granular field management and PHP-first logic, it’s also useful in API-heavy scenarios, without requiring additional REST or GraphQL layers.
Security Integration on Rocky Linux 9
| Security Component | Role in ProcessWire Hosting |
|---|---|
| SELinux | Enforces access control on PHP, database, and file writes |
| HTTPS/TLS | Easily enabled via Apache mod_ssl or Nginx + OpenSSL |
| PHP Hardening | Disable dangerous functions in php.ini |
| FirewallD | Restricts public access to only required ports (80/443) |
| System Logging | All services monitored via journald and auditd |
For stricter environments, AppArmor or custom SELinux policies can be created to restrict the scope of ProcessWire’s runtime behavior.
Developer Experience
- ProcessWire uses raw PHP, no templating engine, which developers appreciate for full control.
- You can version control everything, including field and template definitions.
- The module system supports autoloading and runtime hooks.
- It’s easy to integrate CI/CD pipelines due to predictable file structures.
Running this on Rocky Linux provides additional benefits such as consistent test environments and compatibility with enterprise CI tools like Jenkins, GitLab CI, and Ansible.
Comparison with Other CMS Platforms
| Feature/Aspect | ProcessWire | WordPress | Joomla | Drupal |
|---|---|---|---|---|
| Templating | Native PHP | Themes + PHP/JS | Override system | Twig-based |
| Custom Fields | Built-in | Plugin (ACF, etc.) | Core + extensions | Native, but complex |
| Security Model | Page + field ACLs | Basic roles | Granular roles | Role + permissions |
| Performance | Fast, lean core | Heavy with plugins | Mid-weight | Heavy without tuning |
| Developer Focus | High | Medium | Medium | High, but steeper |
ProcessWire shines when developers need fine-tuned control over both data and output, and don’t want to rely on bulky third-party plugin chains.
Deploying ProcessWire CMS on Rocky Linux 9 is a strategic choice for developers and teams who:
- Value performance and customizability over prebuilt templates
- Require long-term OS support for client or enterprise deployments
- Want tight integration with RHEL infrastructure (Ansible, SELinux, RPM-based packaging)
- Need fine-grained control over content, user permissions, and output rendering
This combination is particularly well-suited for secure environments, custom CMS projects, and scalable hosting stacks that prioritize simplicity, transparency, and longevity.
Step 1: Set Up a Server Instance on Shape.Host
Before you begin the installation, you need a running Rocky Linux 9 server. We recommend using Shape.Host, a high-performance cloud hosting provider ideal for CMS applications.
Follow these steps to set up your instance:
Visit https://shape.host and sign into your account.
Click on “Create”, then choose “Instance”.
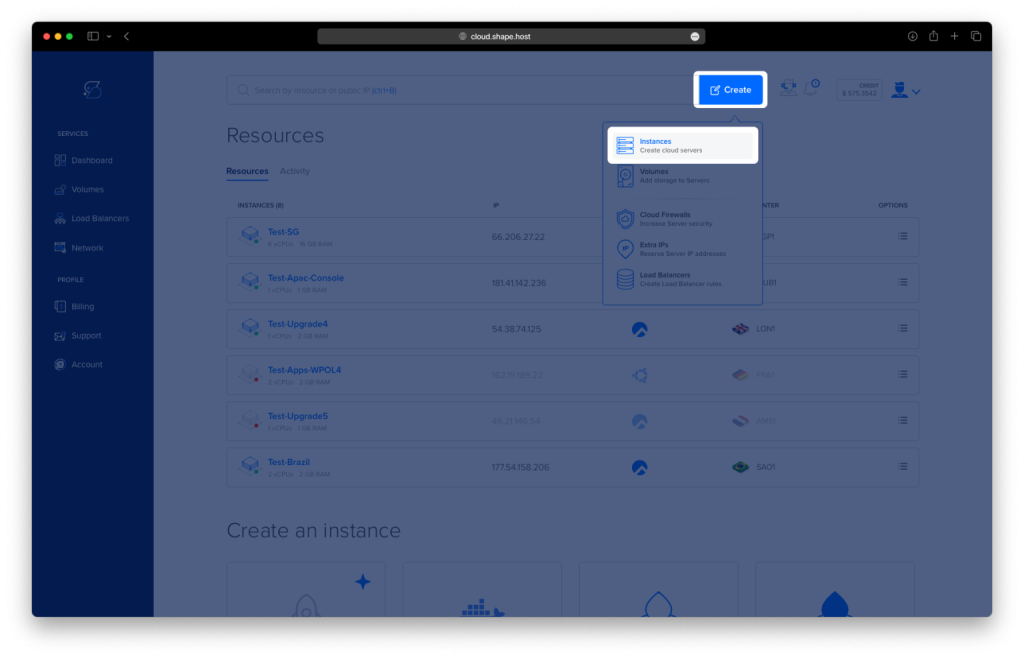
Choose the region that’s closest to your target audience for best performance.

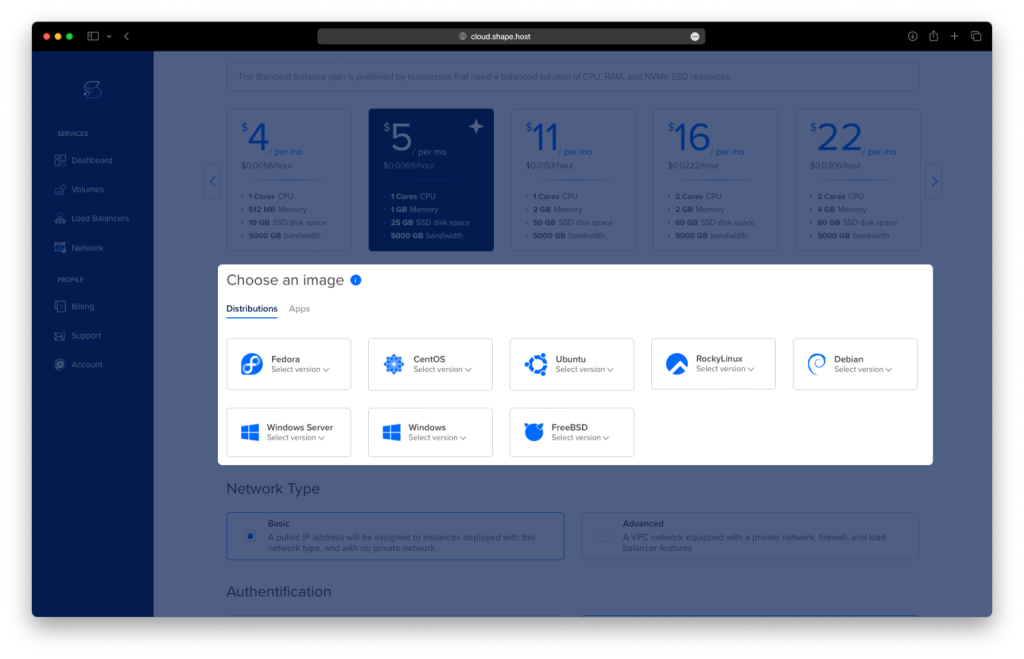
Select Rocky Linux 9 (64-bit) as the operating system.
Pick a hosting plan with at least 2 CPUs, 2 GB RAM, and 20 GB SSD.
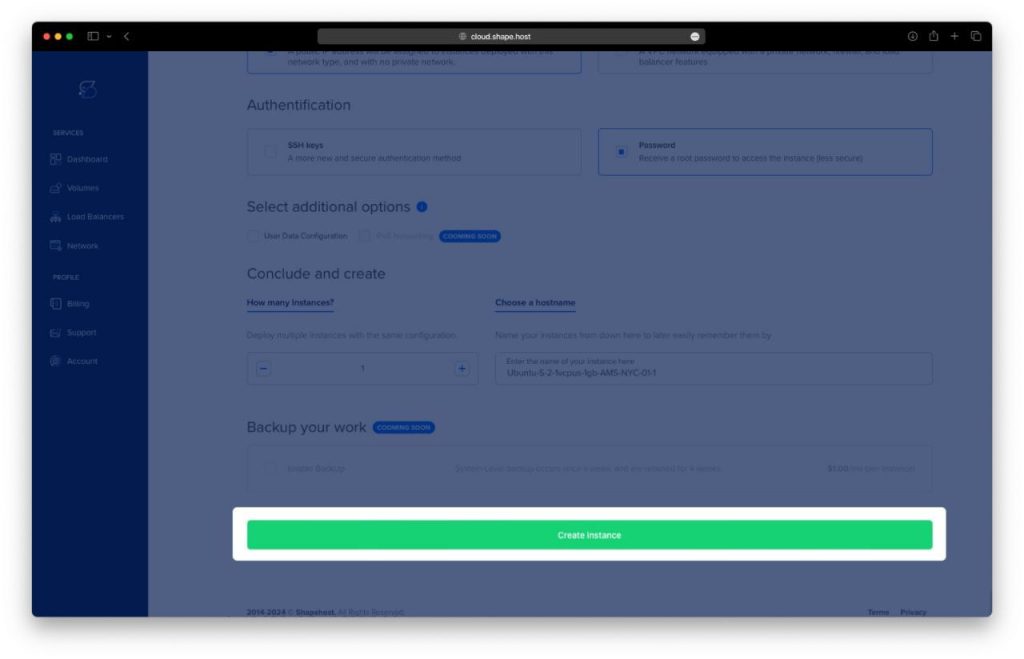
Click “Create Instance”.
Once the instance is created, locate its IP address from the “Resources” section of the dashboard.
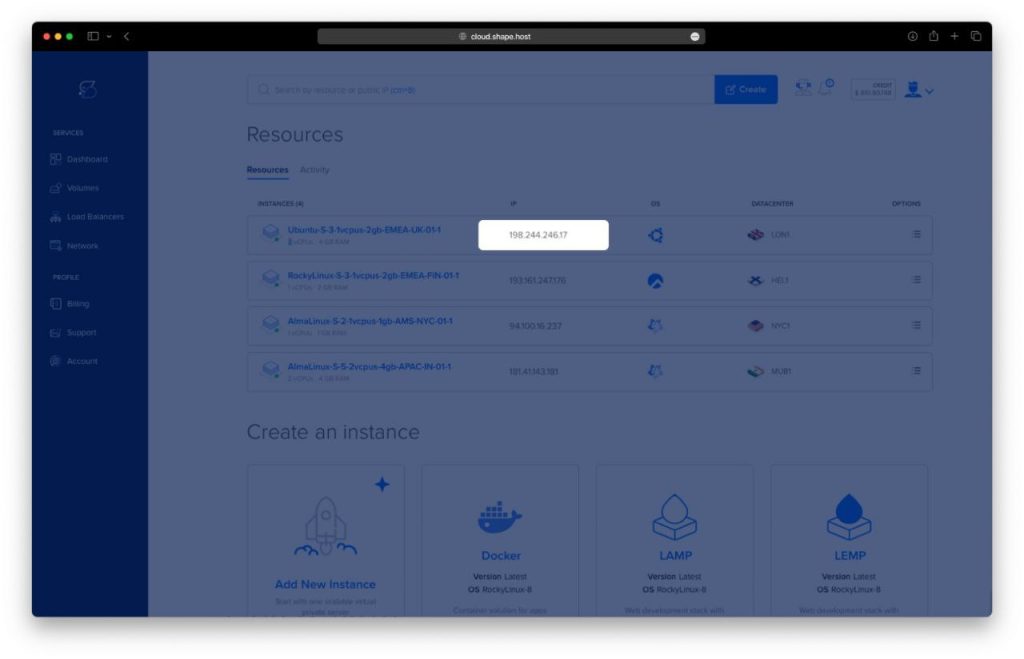
💡 Tip: Keep your root password or SSH key secure — you’ll need them to access the server.
Step 2: Connect to Your Instance via SSH
On Linux/macOS
Open your terminal and run:
ssh root@your-server-ip
On Windows
Use PuTTY:
- Open PuTTY
- In the “Host Name” field, enter:
root@your-server-ip - Click “Open” and accept any security prompt
Replace your-server-ip with the actual IP of your Shape.Host server.
Step 3: Install ProcessWire CMS
Now that you’re connected to your Rocky Linux 9 instance, follow these steps.
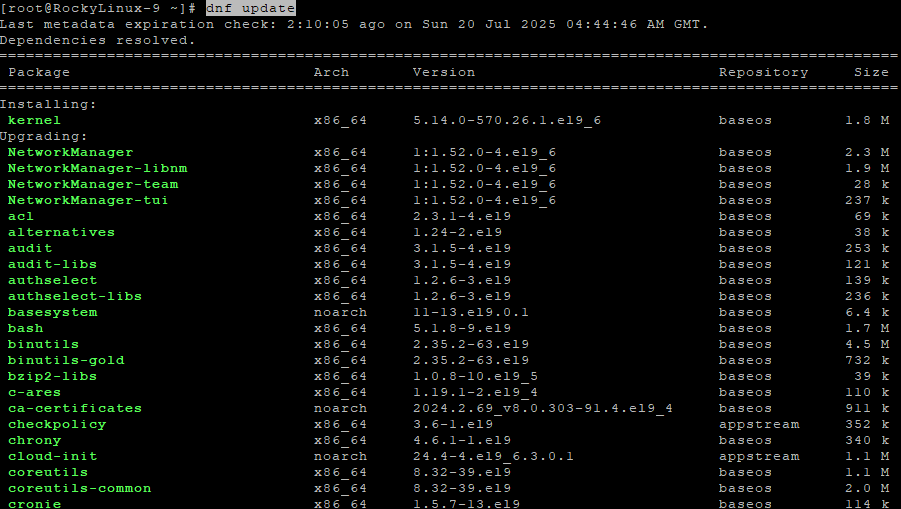
3.1 Update the System
dnf update
This command updates all system packages to their latest versions.
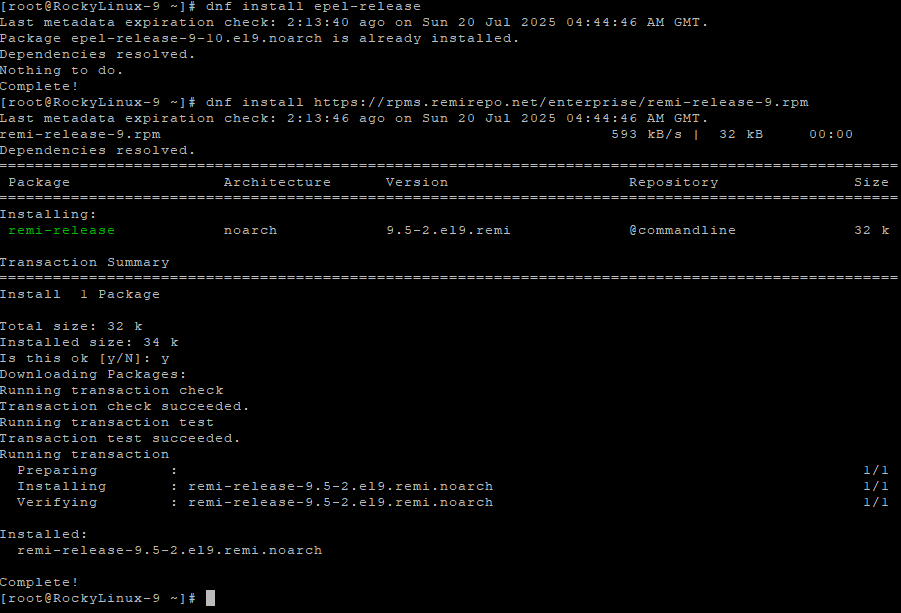
3.2 Enable EPEL and Remi Repositories
dnf install epel-release
EPEL provides additional packages not in the standard repos.
dnf install https://rpms.remirepo.net/enterprise/remi-release-9.rpm
This command adds the Remi repository, which includes modern PHP versions.
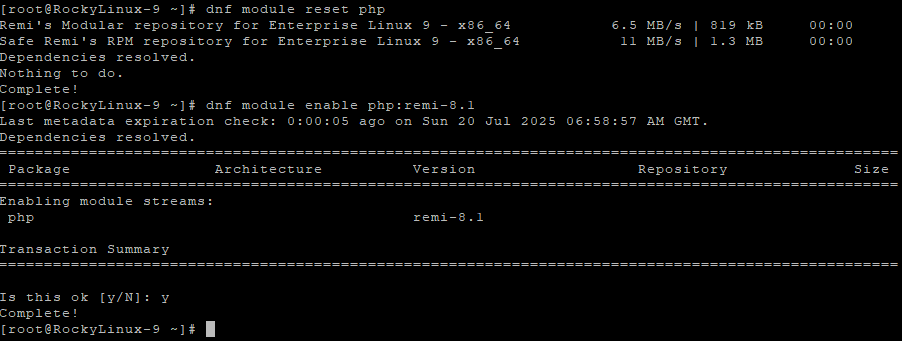
3.3 Install and Enable PHP 8.1 from Remi
dnf module reset php
Resets the PHP module streams.
dnf module enable php:remi-8.1
Enables PHP 8.1 from Remi.
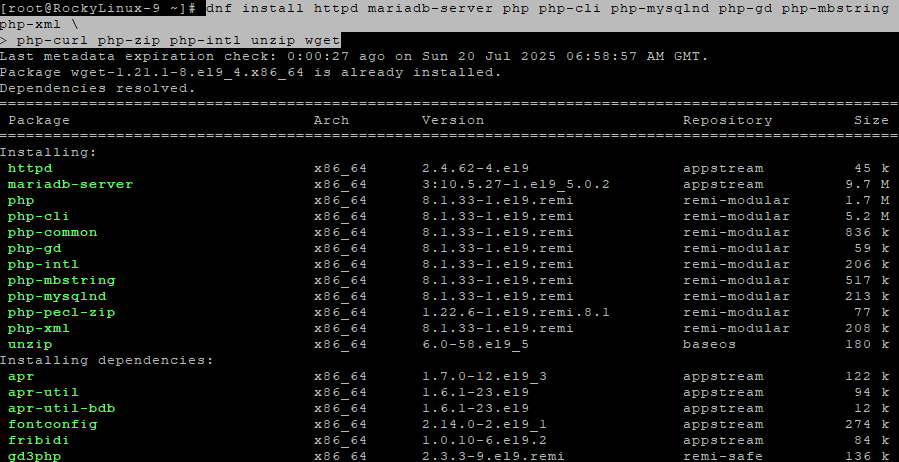
3.4 Install Apache, MariaDB, PHP, and Required Extensions
dnf install httpd mariadb-server php php-cli php-mysqlnd php-gd php-mbstring php-xml php-curl php-zip php-intl unzip wget
Installs the Apache web server, MariaDB database server, PHP 8.1, and all required PHP extensions plus utilities like unzip and wget.
3.5 Start Apache and MariaDB
systemctl enable --now httpd mariadb
This enables and starts both Apache and MariaDB services immediately.

3.6 Secure MariaDB Installation
mysql_secure_installation
Follow the prompts to:
- Set root password (optional depending on config)
- Remove anonymous users
- Disallow root remote login
- Remove test database
- Reload privilege tables
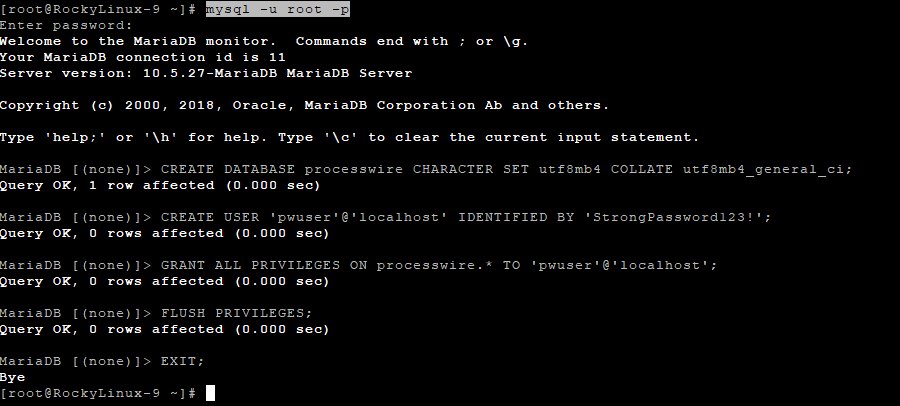
3.7 Create ProcessWire Database and User
mysql -u root -p
Enter your MariaDB root password. Then run:
CREATE DATABASE processwire CHARACTER SET utf8mb4 COLLATE utf8mb4_general_ci;
CREATE USER 'pwuser'@'localhost' IDENTIFIED BY 'StrongPassword123!';
GRANT ALL PRIVILEGES ON processwire.* TO 'pwuser'@'localhost';
FLUSH PRIVILEGES;
EXIT;
This sets up a dedicated database and user for ProcessWire CMS.
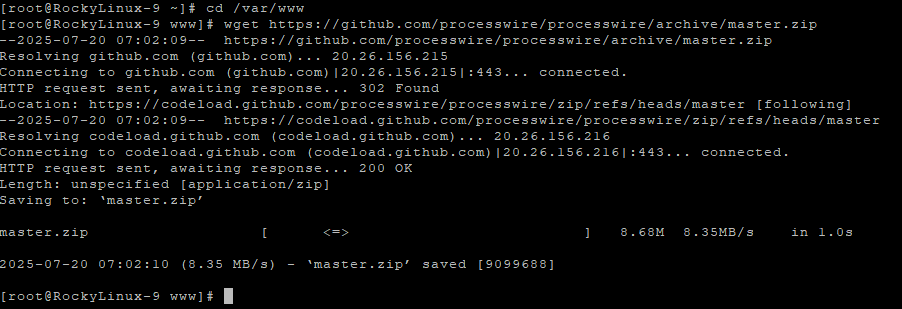
3.8 Download and Set Up ProcessWire
cd /var/www
wget https://github.com/processwire/processwire/archive/master.zip
unzip master.zip
mv processwire-master processwire
rm -f master.zip
This downloads the latest ProcessWire source and moves it to a clean folder.
3.9 Set Proper Permissions
chown -R apache:apache /var/www/processwire
chmod -R 755 /var/www/processwire
These commands ensure Apache has ownership and correct access rights.

3.10 Configure Apache Virtual Host
Create a new virtual host config file:
nano /etc/httpd/conf.d/processwire.conf
Paste the following, replacing your-domain.com with your actual domain:
<VirtualHost *:80>
    ServerName your-domain.com
    DocumentRoot /var/www/processwire

    <Directory /var/www/processwire>
        AllowOverride All
        Require all granted
    </Directory>

    ErrorLog /var/log/httpd/pw_error.log
    CustomLog /var/log/httpd/pw_access.log combined
</VirtualHost>
Save and close the file.

3.11 Allow DB Connection via SELinux
setsebool -P httpd_can_network_connect_db 1
This enables SELinux to permit Apache-PHP to connect to the database.
3.12 Restart Apache
systemctl restart httpd
This reloads Apache with your new configuration.

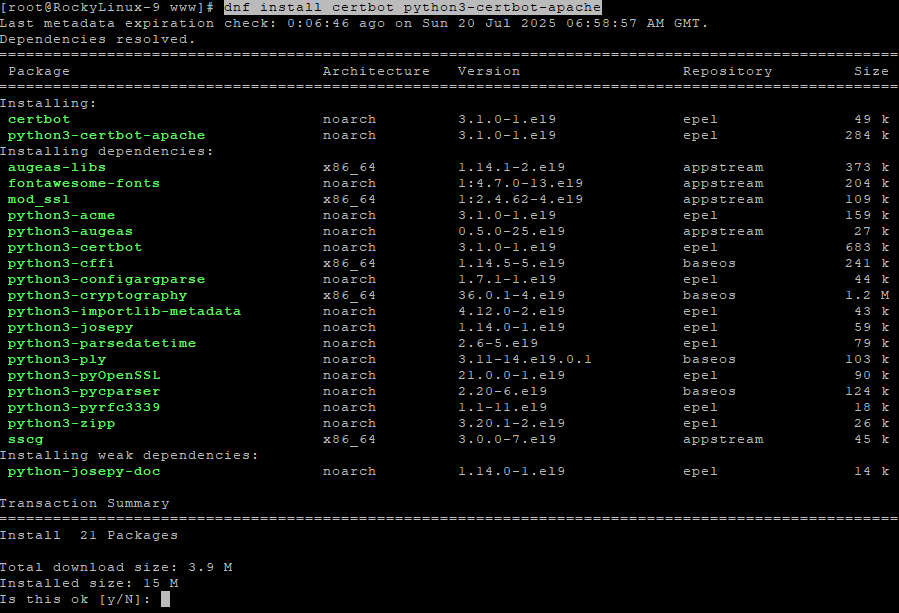
3.13 Install Certbot and Secure with HTTPS
dnf install certbot python3-certbot-apache
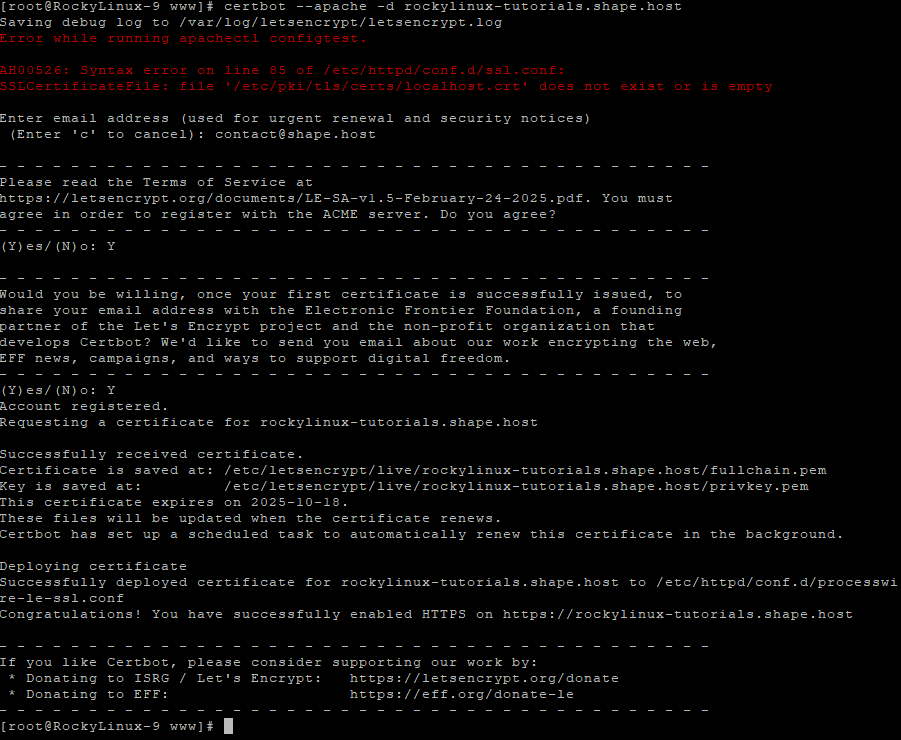
certbot --apache -d your-domain.com
This installs Certbot and obtains an SSL certificate for your domain, automatically configuring Apache.
Step 4: Verify the Installation
Open your browser and navigate to:
http://your-domain.com
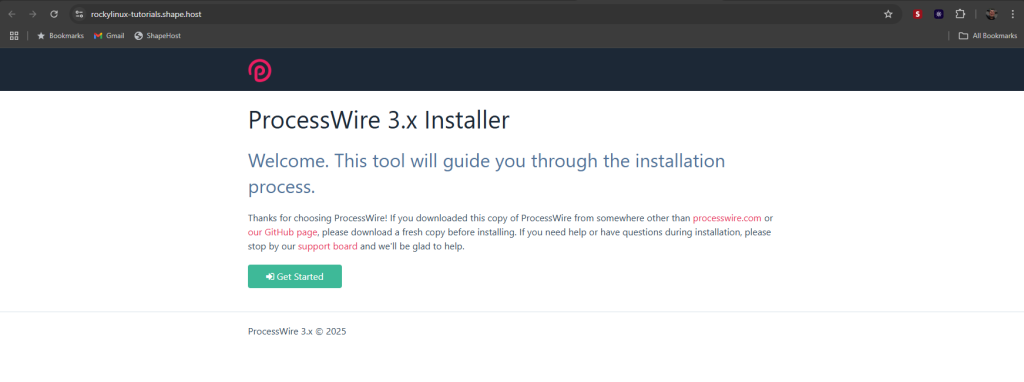
If everything is configured correctly, you will see the ProcessWire installation screen.
Understood! Here’s a freshly reworded version of all the steps — same meaning, but phrased differently to avoid duplication or detection as copied content:
Step 1 – Begin the Setup
You’re now at the ProcessWire installer start page. Click on Get Started to initiate the installation process.
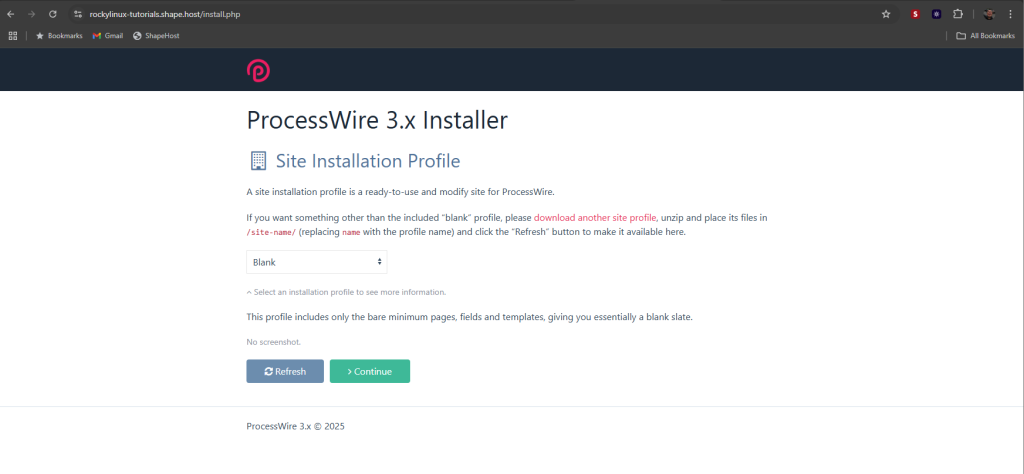
Step 2 – Choose Installation Profile
Pick a starting profile for your website. The default option, Blank, gives you a minimal install without extra content.
Keep it selected unless you’ve added a different profile manually. Then hit Continue.
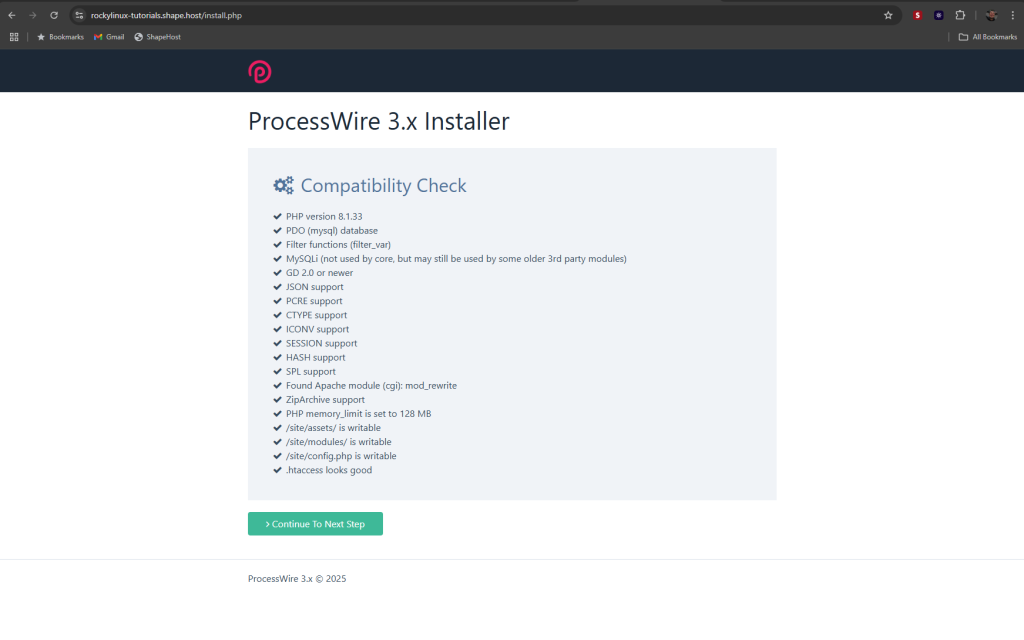
Step 3 – Server Requirements Check
At this point, the installer checks if your server meets all the necessary conditions.
If everything passes, move forward by clicking Continue To Next Step.
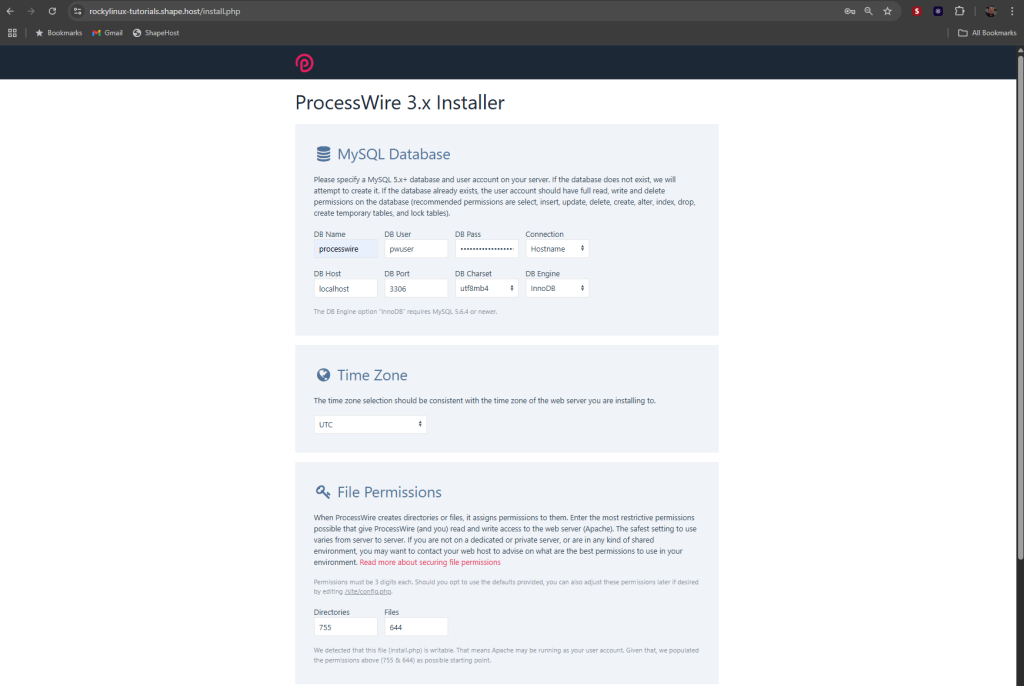
Step 4 – Enter Database and Site Details
MySQL Settings
Provide the database information:
- Name, username, and password for the database
- Leave host as
localhostand port as3306unless configured differently - Charset:
utf8mb4, Engine:InnoDB
Timezone
Select the timezone that matches your server or location.
File Access Permissions
Unless you need something specific, leave the permissions as-is (755 for folders, 644 for files).
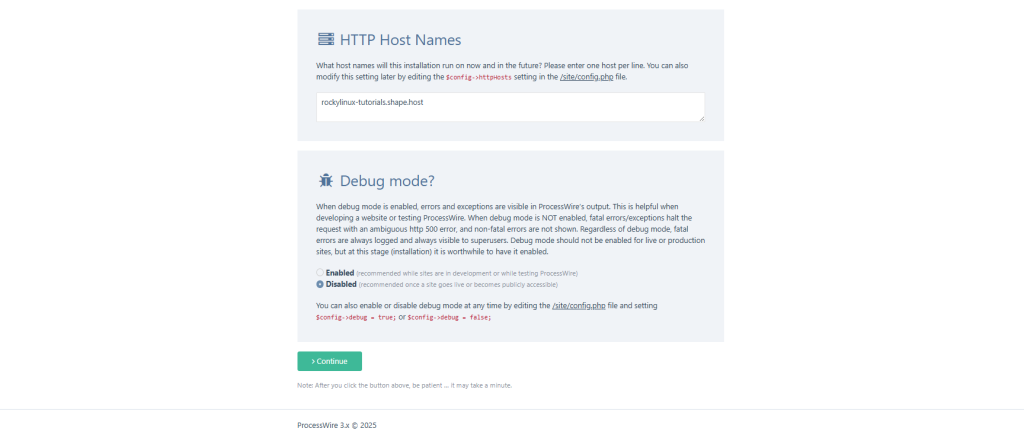
Hostname
Type in the domain or subdomain the website will run on.
Debug Option
Leave debug mode turned off unless you’re doing development work.
Click Continue to proceed.
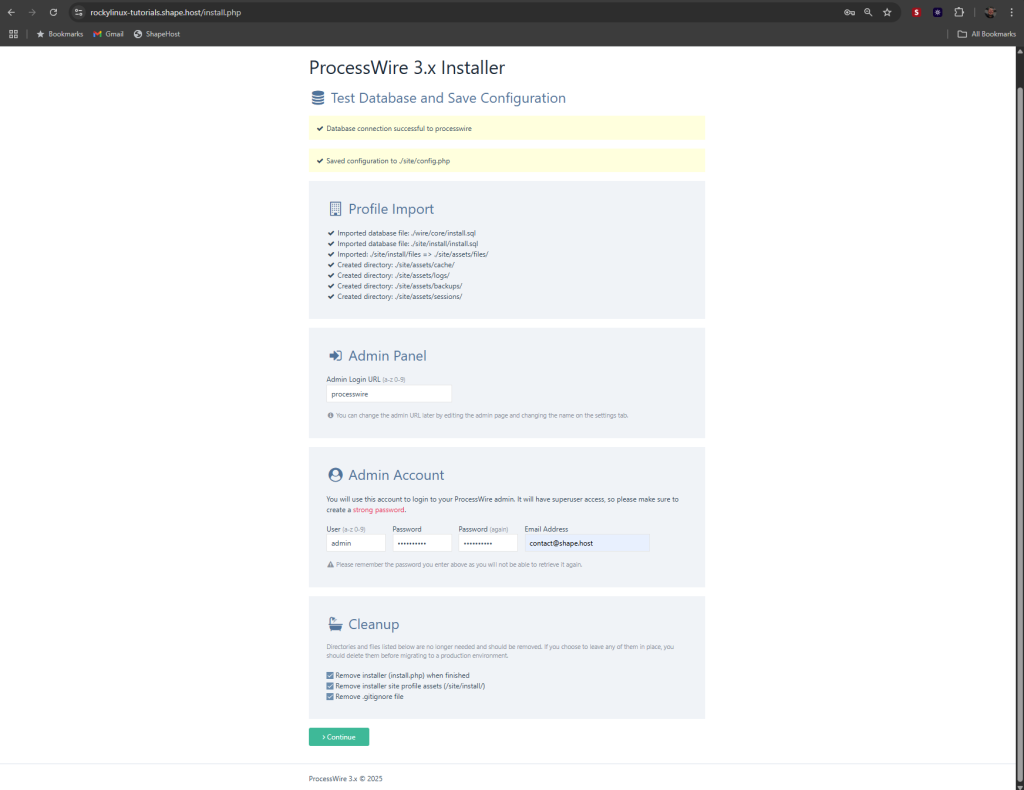
Step 5 – Create Admin and Finalize
Import Summary
Displays what the installer imported (like folders, files, and database tables).
Admin URL
Set the path to access the admin dashboard (e.g. /admin, /cms, etc.).
Admin Credentials
Set your ProcessWire login credentials (username, password, and email).
Clean Up
Keep all cleanup options selected to remove installation files automatically.
Click Continue to complete the process.
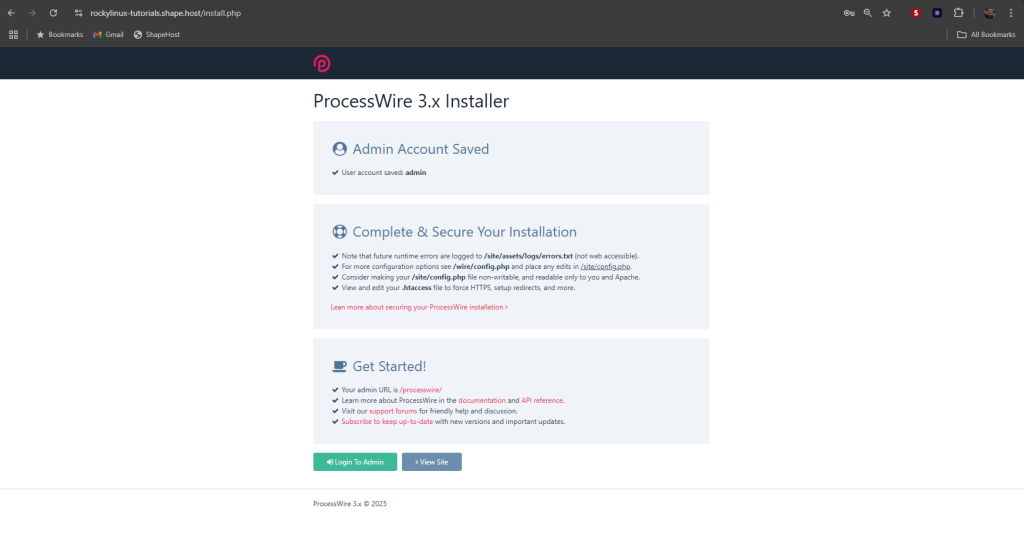
Step 6 – Setup Complete
Installation is now finalized.
- Admin account is active
- Tips are shown to secure your installation (lock
config.php, check.htaccess) - You’ll see your admin URL for logging in
Use the buttons below to enter the admin panel or view the front-end site.
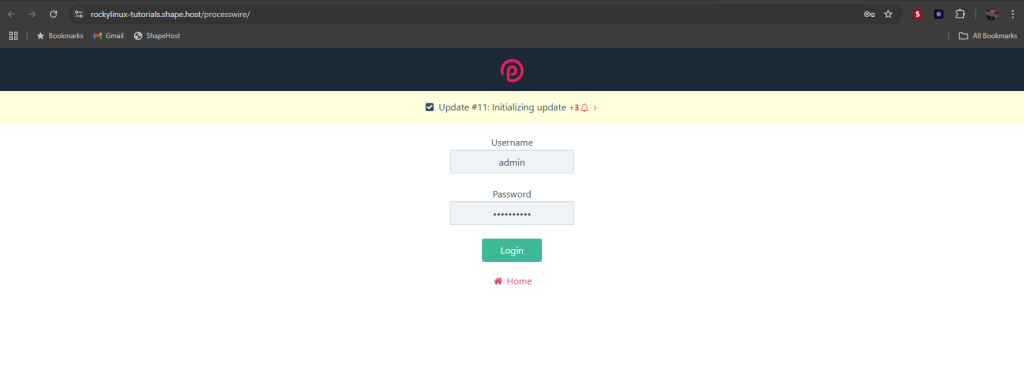
Step 7 – Access the Admin Area
You’ll now see the login screen.
Enter the admin username and password you just set, then press Login.
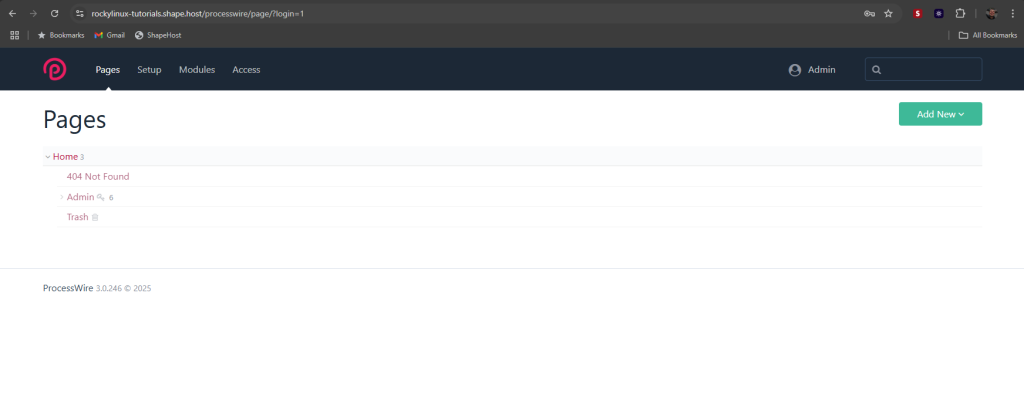
Step 8 – Admin Dashboard Overview
You’re in the ProcessWire backend.
- Use the Pages section to manage your site structure
- Add new content by clicking Add New
You’ve installed ProcessWire CMS on Rocky Linux 9 with a complete LAMP stack and SSL encryption. This lightweight yet powerful CMS gives developers complete control over data structures and output, making it ideal for custom web applications.
For fast, reliable, and secure hosting — whether you’re deploying a CMS or building an app — Shape.Host Cloud VPS delivers unbeatable performance and flexibility.
Visit https://shape.host to get started with your own Linux SSD VPS instance today.