What is WordPress?
WordPress is the world’s most widely used content management system (CMS). It allows users to easily create, manage, and publish websites without needing advanced coding skills. Its popularity is driven by:
- Thousands of themes and plugins
- A user-friendly dashboard
- SEO-optimized structure
- An active developer and user community
Why Use Rocky Linux 9 for WordPress?
Rocky Linux 9 is a community-driven, enterprise-grade replacement for CentOS. Maintained by the Rocky Enterprise Software Foundation, it is designed for long-term stability and is binary-compatible with Red Hat Enterprise Linux (RHEL).
Advantages of using Rocky Linux 9 for WordPress:
- 10 years of support with security updates
- Compatible with modern enterprise hosting environments
- Trusted for production-grade workloads
- Compatible with dnf, SELinux, and systemd services
LAMP Stack Overview on Rocky Linux 9
The LAMP stack (Linux, Apache, MariaDB, PHP) provides the base infrastructure for hosting dynamic web applications like WordPress.
Linux:
Rocky Linux 9 as the host operating system — secure and stable.
Apache HTTP Server:
Handles web traffic and serves WordPress content via HTTP/HTTPS.
MariaDB:
An open-source fork of MySQL, stores all WordPress content (posts, users, settings).
PHP 8.3:
Runs server-side WordPress code, including themes, plugins, and the core CMS logic.
PHP 8.3 is not included by default in Rocky Linux 9 repositories, but can be installed from the Remi repository, which is well-maintained and compatible.
Common Use Cases
- Business websites with high uptime requirements
- E-commerce stores (using WooCommerce)
- University and government portals
- SEO-focused blogs and media platforms
- Enterprise internal portals or intranets
Benefits of WordPress on Rocky Linux 9
| Feature | Benefit |
|---|---|
| Stability | Built on RHEL standards, ideal for critical infrastructure |
| Security | SELinux enabled by default, supports strong system isolation |
| Performance | Optimized for enterprise workloads with PHP 8.3 and MariaDB 10.x |
| Compatibility | Integrates easily with cPanel, WHM, and enterprise hosting tools |
| Long-Term Support | Guaranteed updates through 2032 |
Best Practices for Deployment
- Enable SELinux and configure proper contexts for
/var/www/html - Use dnf module reset to manage PHP streams cleanly
- Secure MariaDB with
mysql_secure_installation - Use Let’s Encrypt with Certbot for HTTPS
- Harden Apache: disable directory listing, limit methods, hide version info
- Use firewalld to allow only required ports (80, 443)
Performance Enhancements
- Enable OPcache with PHP 8.3
- Use caching plugins like WP Super Cache or LiteSpeed Cache
- Use mod_http2 and mod_deflate in Apache for faster page delivery
- Optimize MariaDB with proper indexing and InnoDB configurations
- Set up content delivery networks (CDN) for static files
Security Recommendations
- Set correct permissions:
755for directories,644for files - Protect
wp-config.phpwith Apache directives - Disable XML-RPC if not needed
- Limit login attempts or use 2FA
- Set up automatic backups via
cronor plugins - Restrict
/wp-adminby IP or additional HTTP authentication
PHP 8.3 Notes for Rocky Linux
PHP 8.3 must be installed via Remi’s repository:
- Enable EPEL and Remi repos
- Reset default PHP stream
- Install
php,php-mysqlnd,php-fpm,php-opcache, and other modules
PHP 8.3 improves:
- Just-in-Time (JIT) compilation
- Better memory usage
- Stronger typing and error handling
- Performance for WordPress core and plugins
Deploying WordPress on Rocky Linux 9 with Apache, MariaDB, and PHP 8.3 gives you a secure, stable, and high-performance hosting environment. It’s suitable for developers, businesses, and institutions that require long-term support, enterprise compliance, and powerful PHP performance.
Whether you’re launching a blog or building a scalable e-commerce platform, this LAMP stack provides everything needed for a modern and professional WordPress deployment.
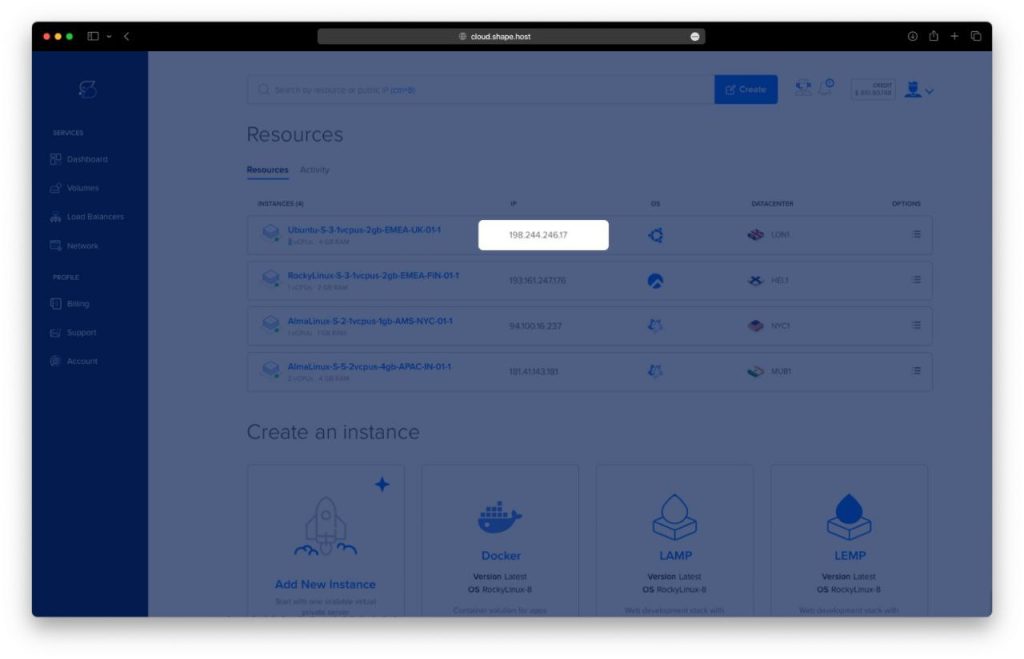
Step 1: Set Up a Server Instance on Shape.Host
To begin, provision a VPS running Rocky Linux 9 on Shape.Host:
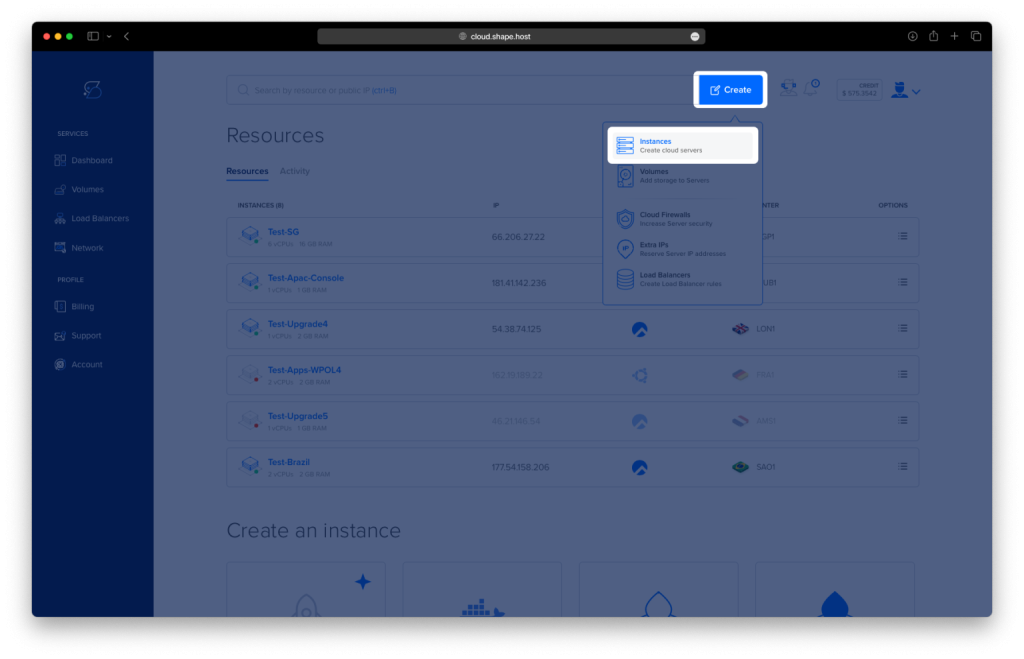
Log in to your Shape.Host account.
Click “Create” then select “Instance”.
Choose your preferred data center location.
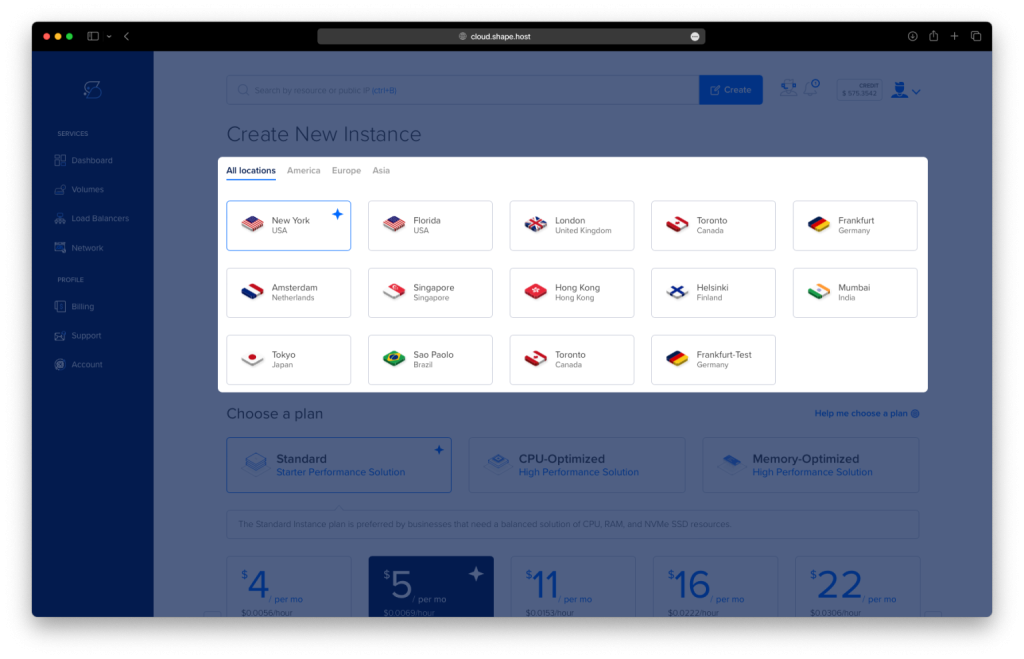
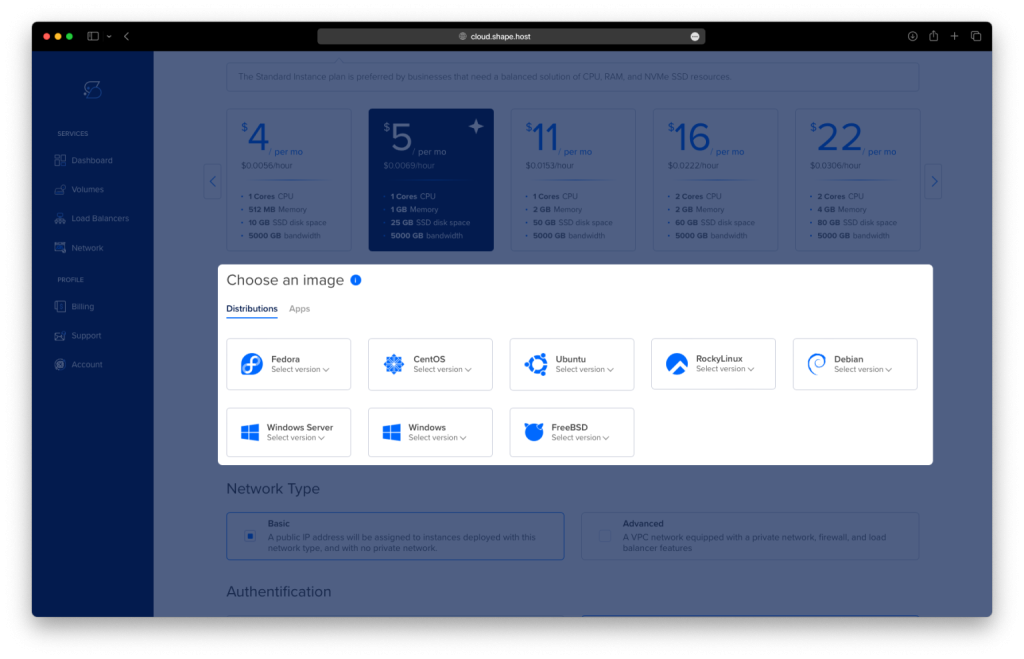
Select Rocky Linux 9 (64-bit) as the operating system.
Choose a plan with at least 2 vCPUs, 4 GB RAM, and 20 GB SSD.
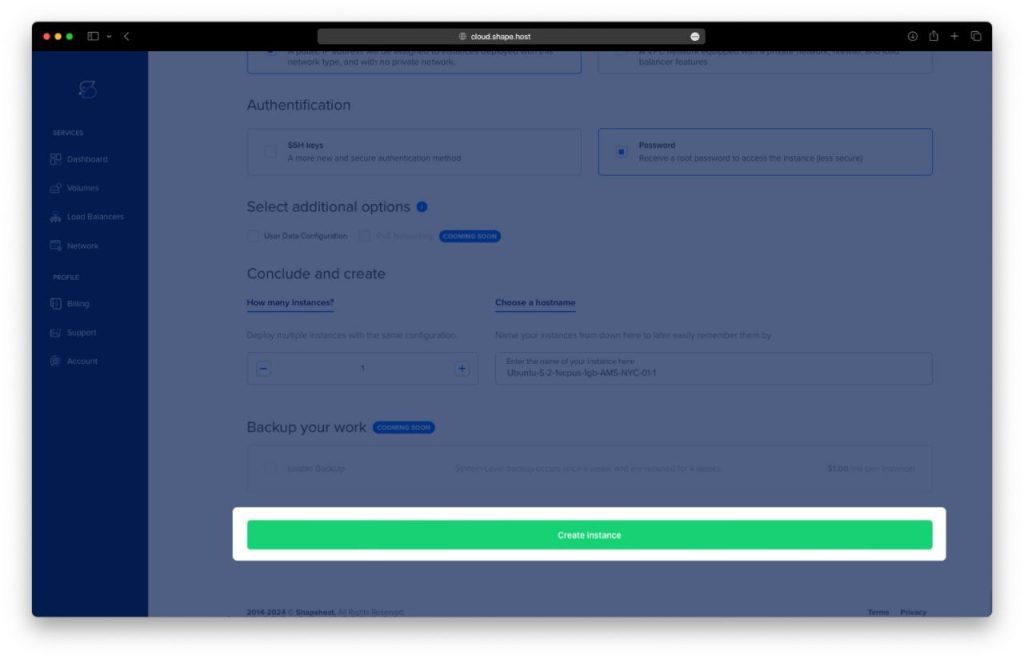
Click Create Instance.
Once it’s active, copy the IP address for SSH access.
Step 2: Connect to Your Server
On Linux/macOS:
ssh root@your_server_ip
On Windows:
Use PuTTY to connect:
- Host Name:
your_server_ip - Click Open, then log in as
root.
Step 3: Install WordPress with LAMP Stack on Rocky Linux 9
1. Update the System
dnf update -y
🔹 Updates all packages to the latest available versions.
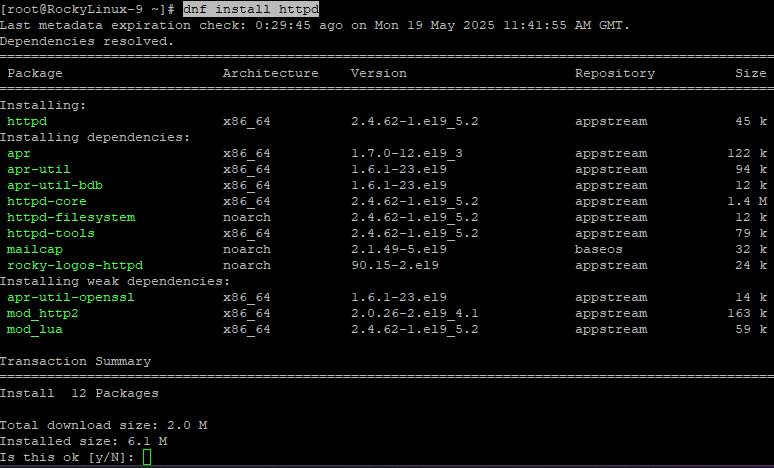
2. Install Apache Web Server
dnf install httpd
🔹 Installs Apache.
systemctl enable httpd
🔹 Configures Apache to start on boot.
systemctl start httpd
🔹 Starts the Apache service.

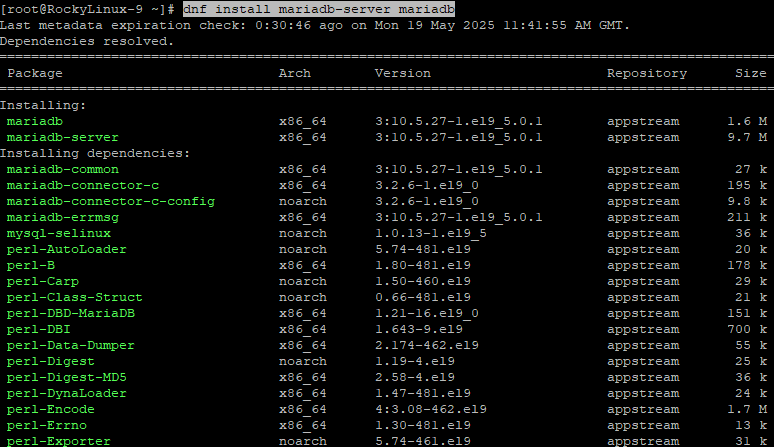
3. Install MariaDB Server
dnf install mariadb-server mariadb
🔹 Installs MariaDB server and client.
systemctl enable mariadb
🔹 Enables MariaDB at boot.
systemctl start mariadb
🔹 Starts MariaDB now.

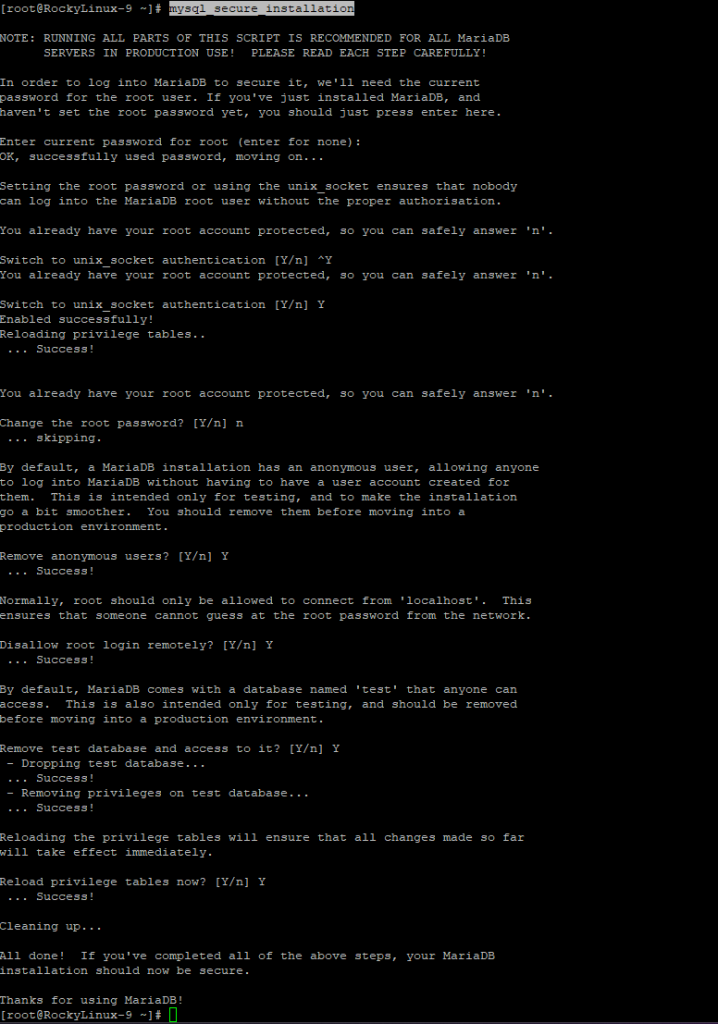
4. Secure MariaDB
mysql_secure_installation
🔹 A guided script to:
- Set the root password
- Remove anonymous users
- Disallow root remote login
- Remove test database
5. Create WordPress Database and User
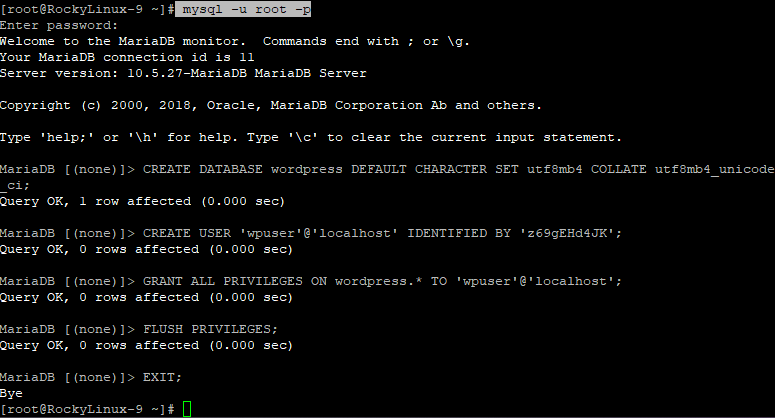
mysql -u root -p
🔹 Logs into MariaDB with password.
In the MariaDB shell, run:
CREATE DATABASE wordpress DEFAULT CHARACTER SET utf8mb4 COLLATE utf8mb4_unicode_ci;
CREATE USER 'wpuser'@'localhost' IDENTIFIED BY 'strongpassword';
GRANT ALL PRIVILEGES ON wordpress.* TO 'wpuser'@'localhost';
FLUSH PRIVILEGES;
EXIT;
6. Enable PHP 8.3 Support via Remi Repository
dnf install epel-release
🔹 Installs the EPEL repo, required for Remi.

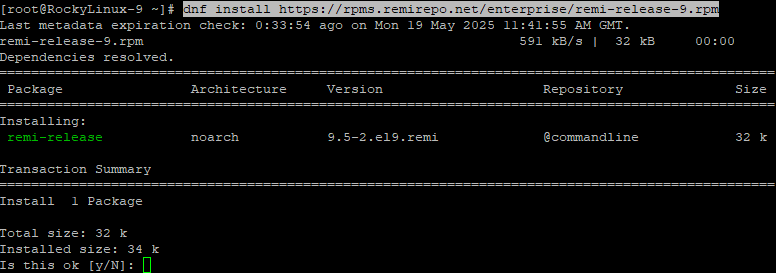
dnf install https://rpms.remirepo.net/enterprise/remi-release-9.rpm
🔹 Adds the Remi repo for PHP 8.3.
dnf module enable php:remi-8.3
🔹 Enables PHP 8.3 module from Remi.

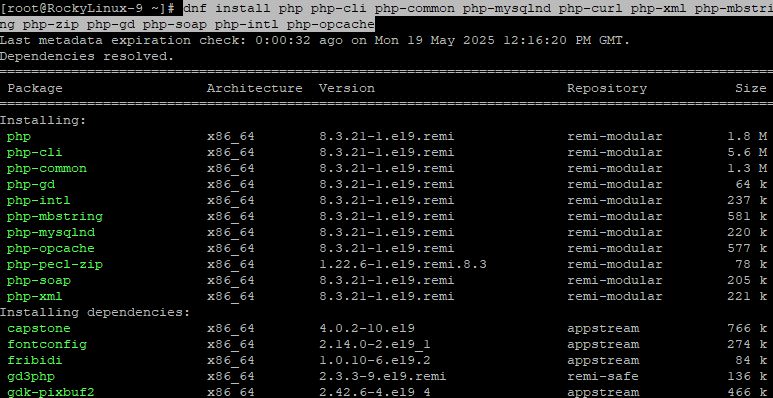
7. Install PHP 8.3 and Extensions
dnf install php php-cli php-common php-mysqlnd php-curl php-xml php-mbstring php-zip php-gd php-soap php-intl php-opcache
🔹 Installs PHP 8.3 and all required extensions for WordPress.
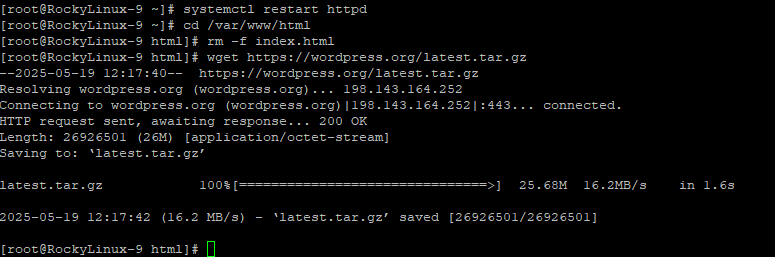
systemctl restart httpd
🔹 Restarts Apache to load PHP.
8. Download and Set Up WordPress
cd /var/www/html
🔹 Navigates to Apache’s web root.
rm -f index.html
🔹 Removes default Apache index page.
wget https://wordpress.org/latest.tar.gz
🔹 Downloads the latest WordPress archive.
tar -xvzf latest.tar.gz
🔹 Extracts it.
mv wordpress/* .
🔹 Moves all WordPress files to the web root.
rm -rf wordpress latest.tar.gz
🔹 Cleans up unnecessary files.
9. Set File Permissions
chown -R apache:apache /var/www/html
🔹 Ensures Apache owns all files.
find /var/www/html -type d -exec chmod 755 {} \;
🔹 Correct directory permissions.
find /var/www/html -type f -exec chmod 644 {} \;
🔹 Correct file permissions.

10. Configure WordPress
cp wp-config-sample.php wp-config.php
🔹 Copies sample config file.
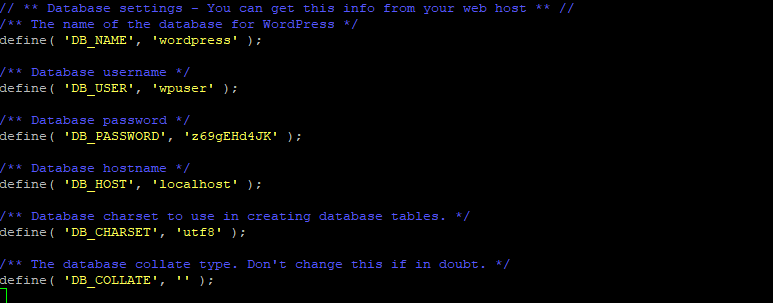
nano wp-config.php
🔹 Edit the following lines with your DB settings:
define( 'DB_NAME', 'wordpress' );
define( 'DB_USER', 'wpuser' );
define( 'DB_PASSWORD', 'strongpassword' );
define( 'DB_HOST', 'localhost' );
11. Create a Virtual Host
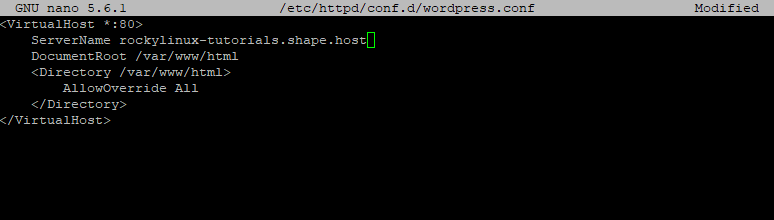
nano /etc/httpd/conf.d/wordpress.conf
🔹 Paste the following:
<VirtualHost *:80>
    ServerName your-domain.com
    DocumentRoot /var/www/html
    <Directory /var/www/html>
        AllowOverride All
    </Directory>
</VirtualHost>
12. Enable .htaccess Support
nano /etc/httpd/conf/httpd.conf
🔹 Ensure this block is present:
<Directory "/var/www/html">
    AllowOverride All
</Directory>

systemctl restart httpd
🔹 Restart Apache to apply changes.

13. Configure the Firewall
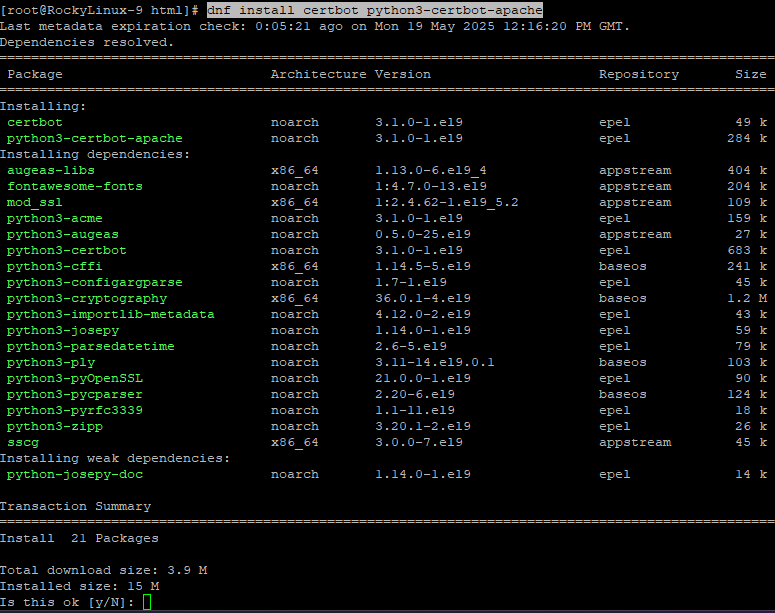
dnf install certbot python3-certbot-apache
🔹 Installs Certbot for HTTPS.
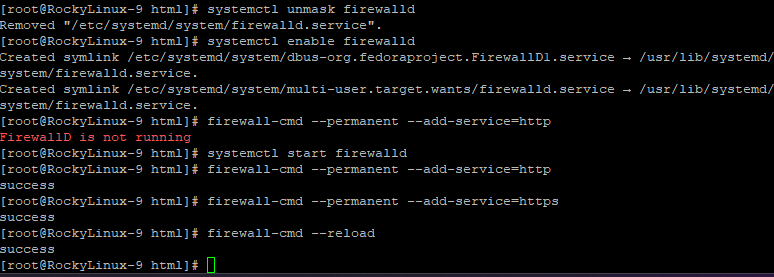
firewall-cmd --permanent --add-service=http
🔹 Allows HTTP through the firewall.
systemctl unmask firewalld
systemctl enable firewalld
systemctl start firewalld
🔹 Enables and starts the firewall.
firewall-cmd --permanent --add-service=http
firewall-cmd --permanent --add-service=https
firewall-cmd --reload
🔹 Allows HTTPS and reloads rules.
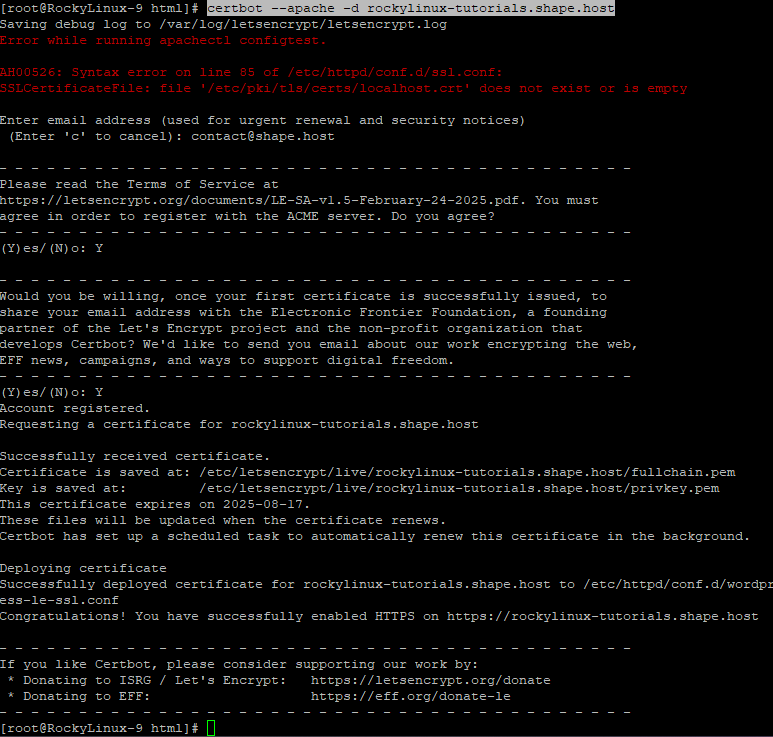
14. Install SSL with Let’s Encrypt
certbot --apache -d your-domain.com
🔹 Installs a free SSL certificate for your domain.
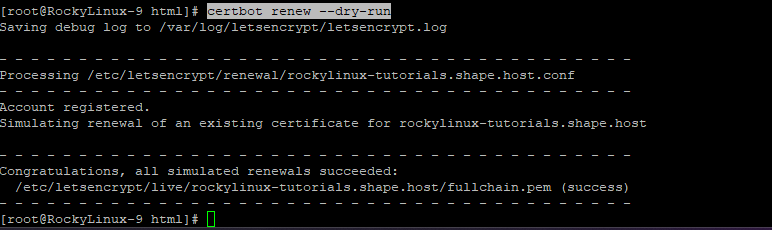
certbot renew --dry-run
🔹 Tests auto-renewal of SSL certificate.
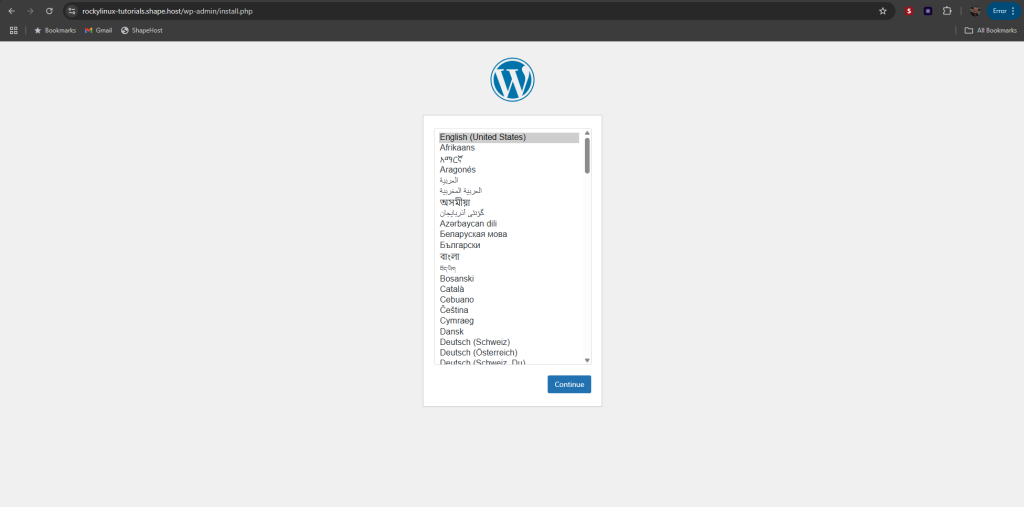
Step 4: Verify Installation
Visit your site in the browser:
https://your-domain.com
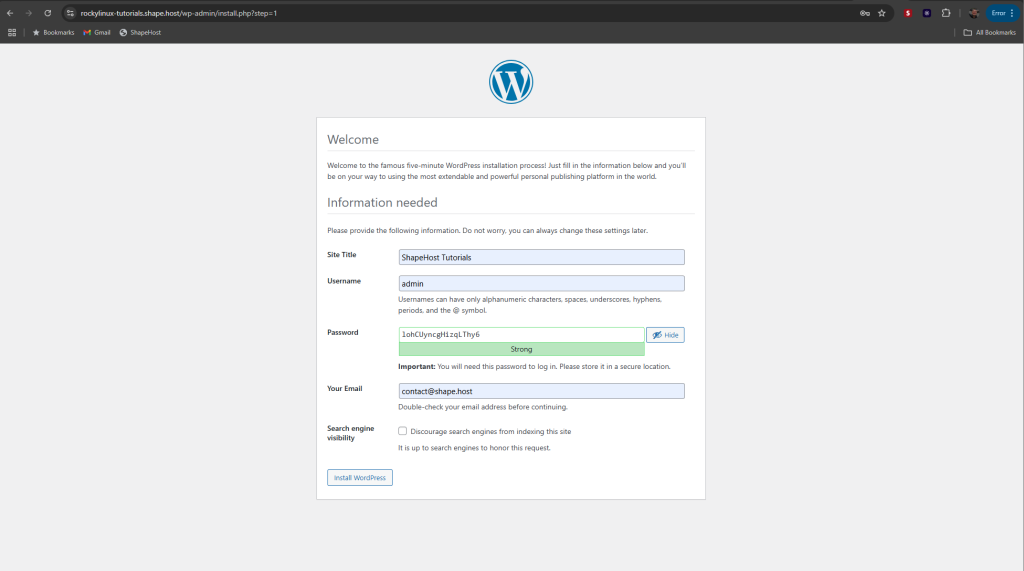
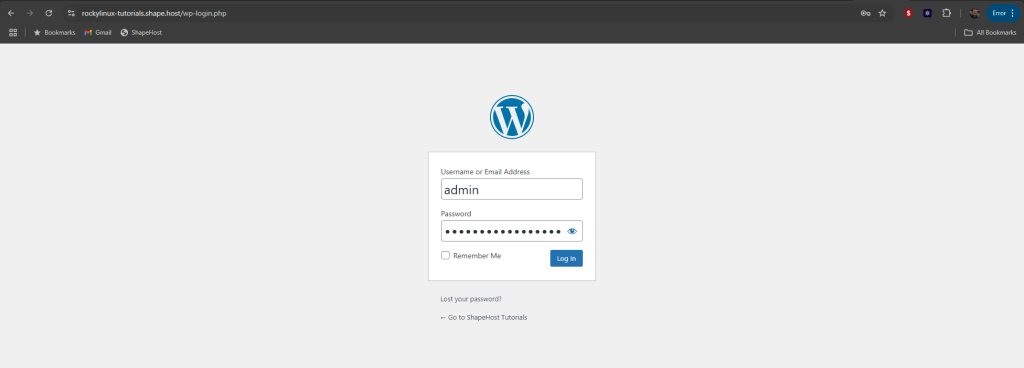
You should see the WordPress setup page. Choose language, create admin user, and configure the site.
Create an admin account and click the Install WordPress button.
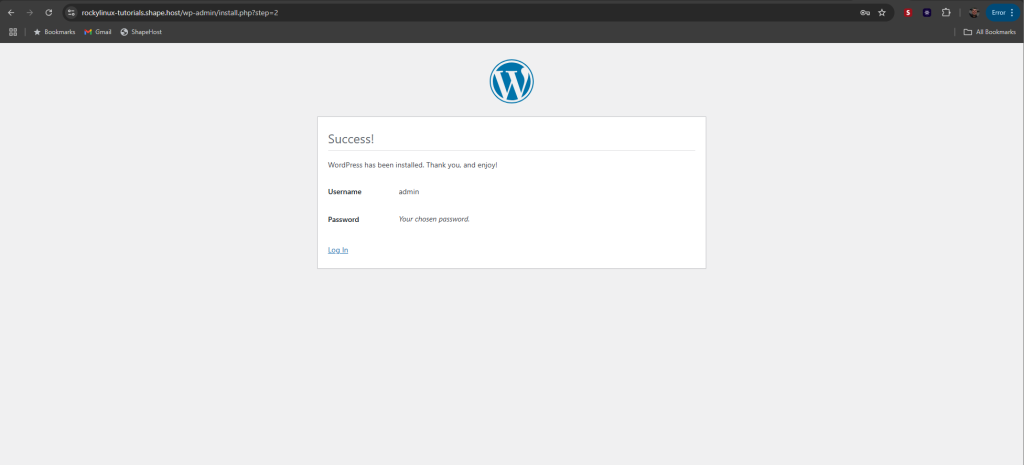
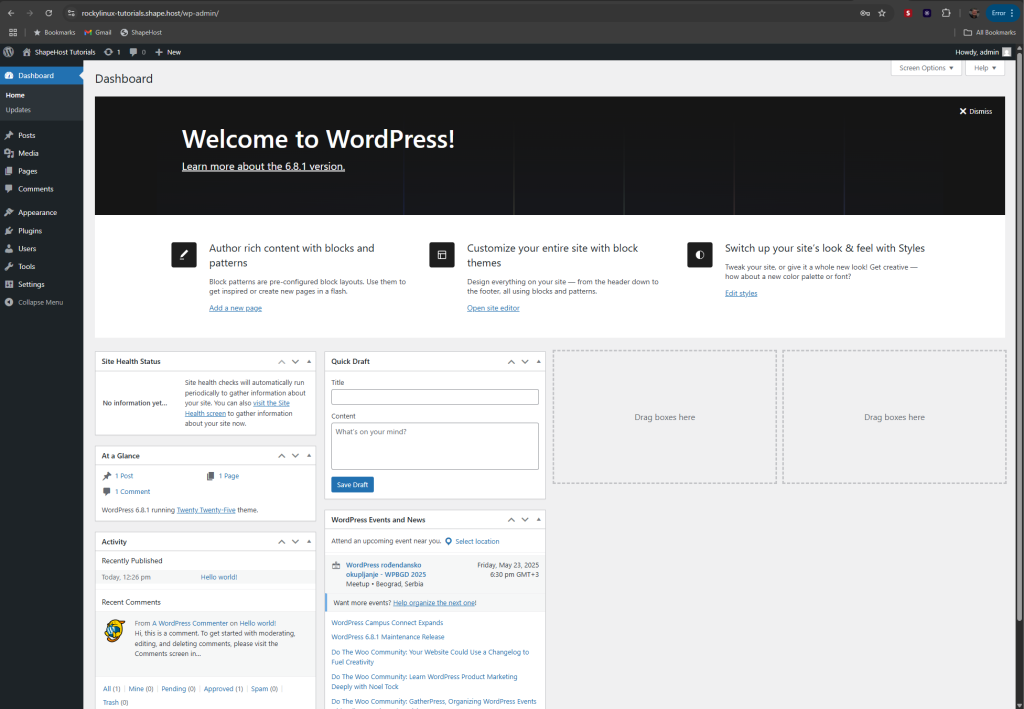
You have installed WordPress on Rocky Linux 9 with Apache, MariaDB, and PHP 8.3. Your site is live, secure with SSL, and production-ready.
For blazing-fast and scalable hosting, deploy your projects on Shape.Host Cloud VPS — ideal for WordPress, eCommerce, and business apps.