How to Install Coolify on Ubuntu 24.04
Coolify on Ubuntu 24.04 is a practical way to run your own self-hosted platform-as-a-service for Docker, static sites, databases, and Git-based application deployments without depending on a third-party control panel. It gives you a modern deployment workflow with server management, one-click services, automated builds, and HTTPS routing while keeping everything on infrastructure you control.
In this guide, we restore a fresh Ubuntu 24.04.1 LTS server on Shape.Host, verify the latest Coolify release from the official project, install it with the supported installer script, confirm the containers and local health endpoint, publish the panel on tutorials.shape.host through Coolify’s own Traefik proxy, validate the HTTP to HTTPS redirect, and confirm the final browser-accessible panel over SSL.
What Is Coolify?
Coolify is a self-hosted deployment platform that lets you run applications, databases, workers, static sites, and services on your own servers with a web interface similar to hosted PaaS products. It supports Git-driven deployments, Docker images, private registries, managed reverse proxying, SSL certificates, resource controls, and multi-server setups.
Versions Used in This Tutorial
| Component | Version Verified | Source |
|---|---|---|
| Ubuntu | 24.04.1 LTS | Fresh Shape.Host restore and /etc/os-release check |
| Coolify | 4.0.0-beta.468 | Latest GitHub release at install time |
| Docker Engine | 27.0.3 | Installed automatically by the official Coolify installer |
| Docker Compose | 5.1.0 | Installed automatically by the official Coolify installer |
| Traefik | 3.6 | Coolify proxy container used for the public panel route |
| SSL | Let’s Encrypt certificate for tutorials.shape.host |
Issued live through the Coolify proxy route |
Why Install Coolify on Ubuntu 24.04?
- Ubuntu 24.04 LTS gives you a current long-term-support base with wide package availability and predictable security updates.
- Coolify’s official installer directly supports Ubuntu and automates Docker, container, and environment setup.
- Running the panel on your own server keeps deployment control, secrets, and hosted workloads in your own environment.
- Traefik and Let’s Encrypt integration make it straightforward to publish the panel securely on a public hostname.
Prerequisites
- A fresh Ubuntu 24.04 server
- Root or sudo access
- A domain pointed to the server IP, in this example
tutorials.shape.host - At least 2 vCPU, 4 GB RAM, and 50 GB storage
- Ports
80,443,8000,6001, and6002available on the host
1. Verify the Operating System
Start by confirming that the rebuilt instance is really running Ubuntu 24.04.
cat /etc/os-release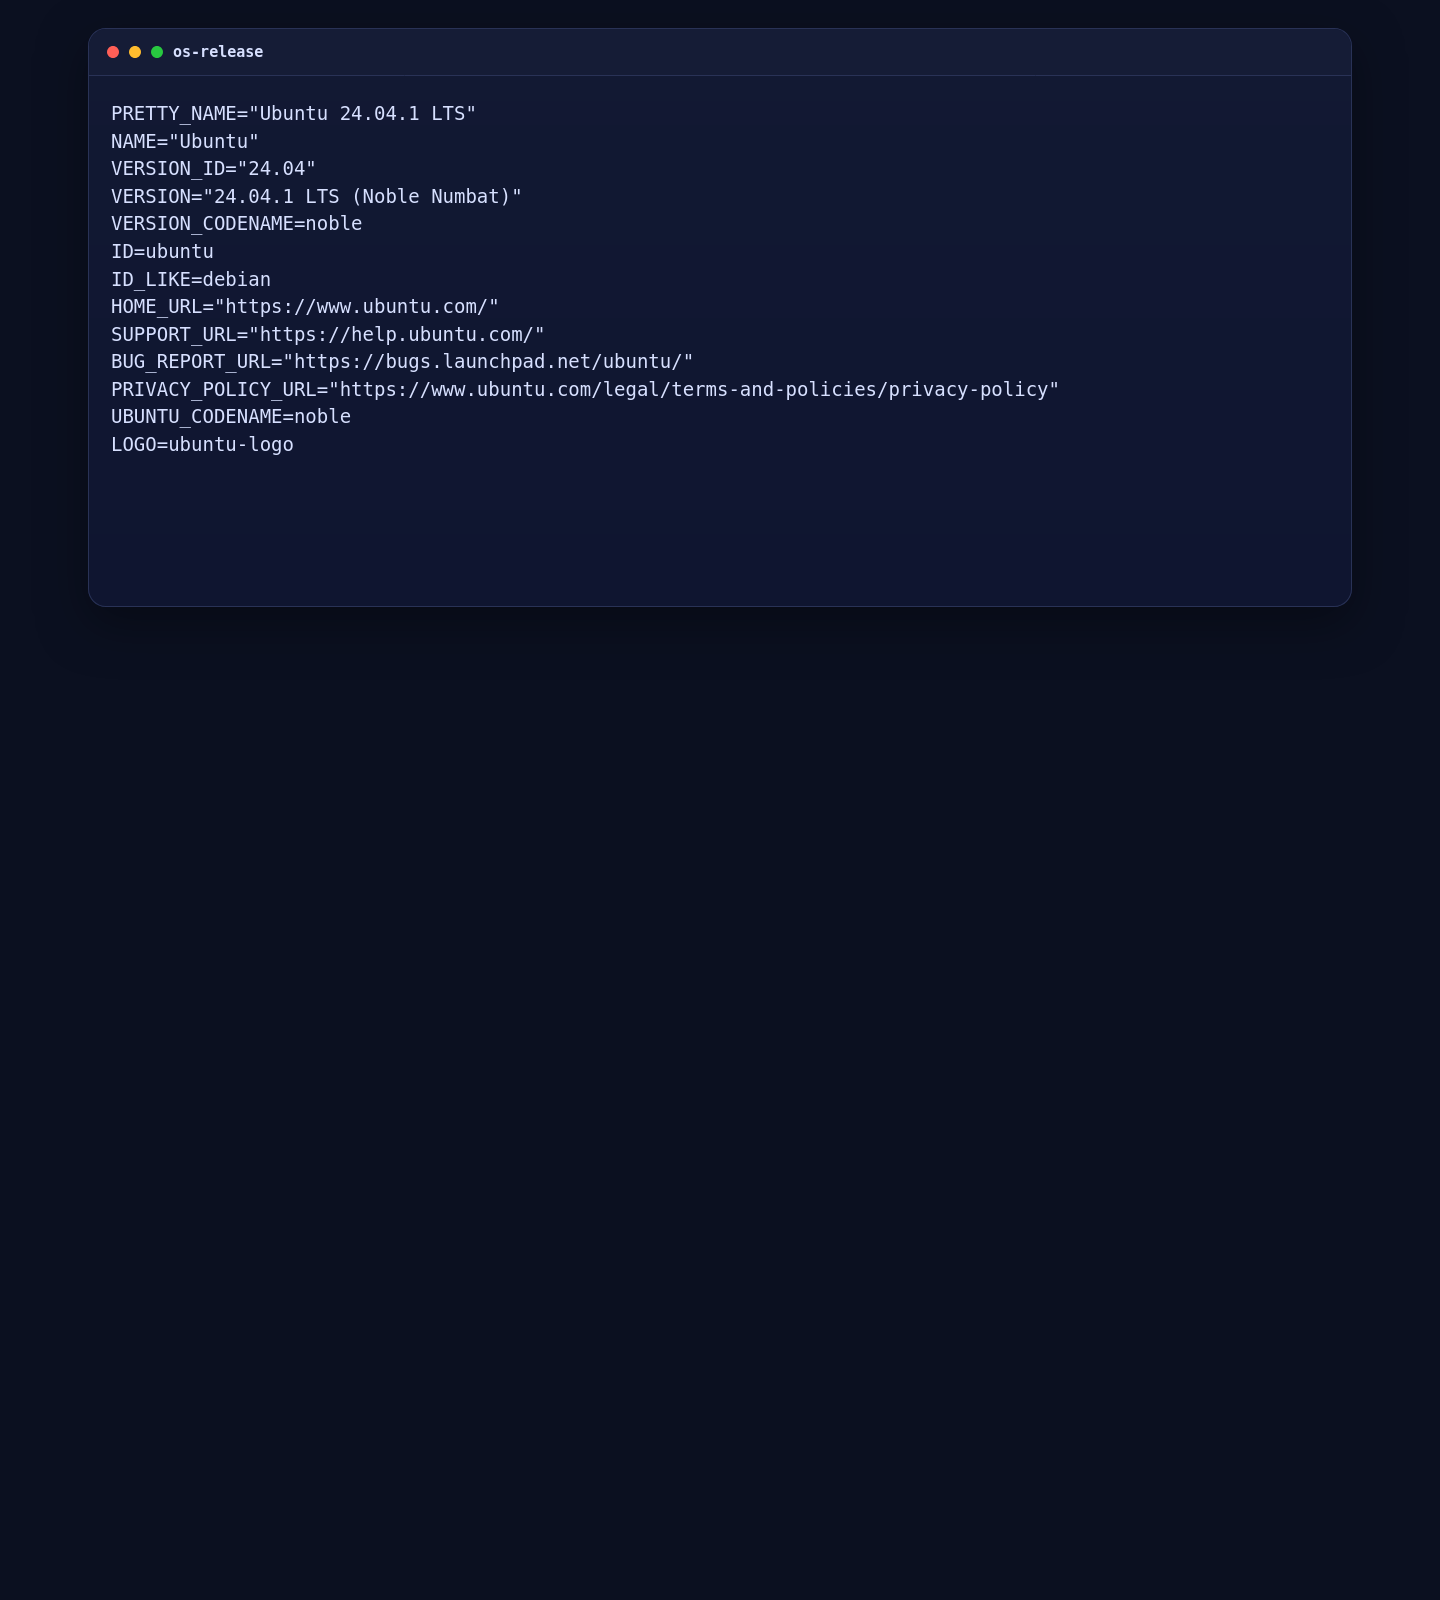
2. Export the Root User Variables and Run the Official Installer
Coolify’s official installer can take predefined root user values through environment variables. Generate a strong password first, export the variables, and then run the installer script.
ROOT_USER_PASSWORD=$(openssl rand -base64 24 | tr -d '\n')
export ROOT_USERNAME="shapehost"
export ROOT_USER_EMAIL="contact@shape.host"
export ROOT_USER_PASSWORD
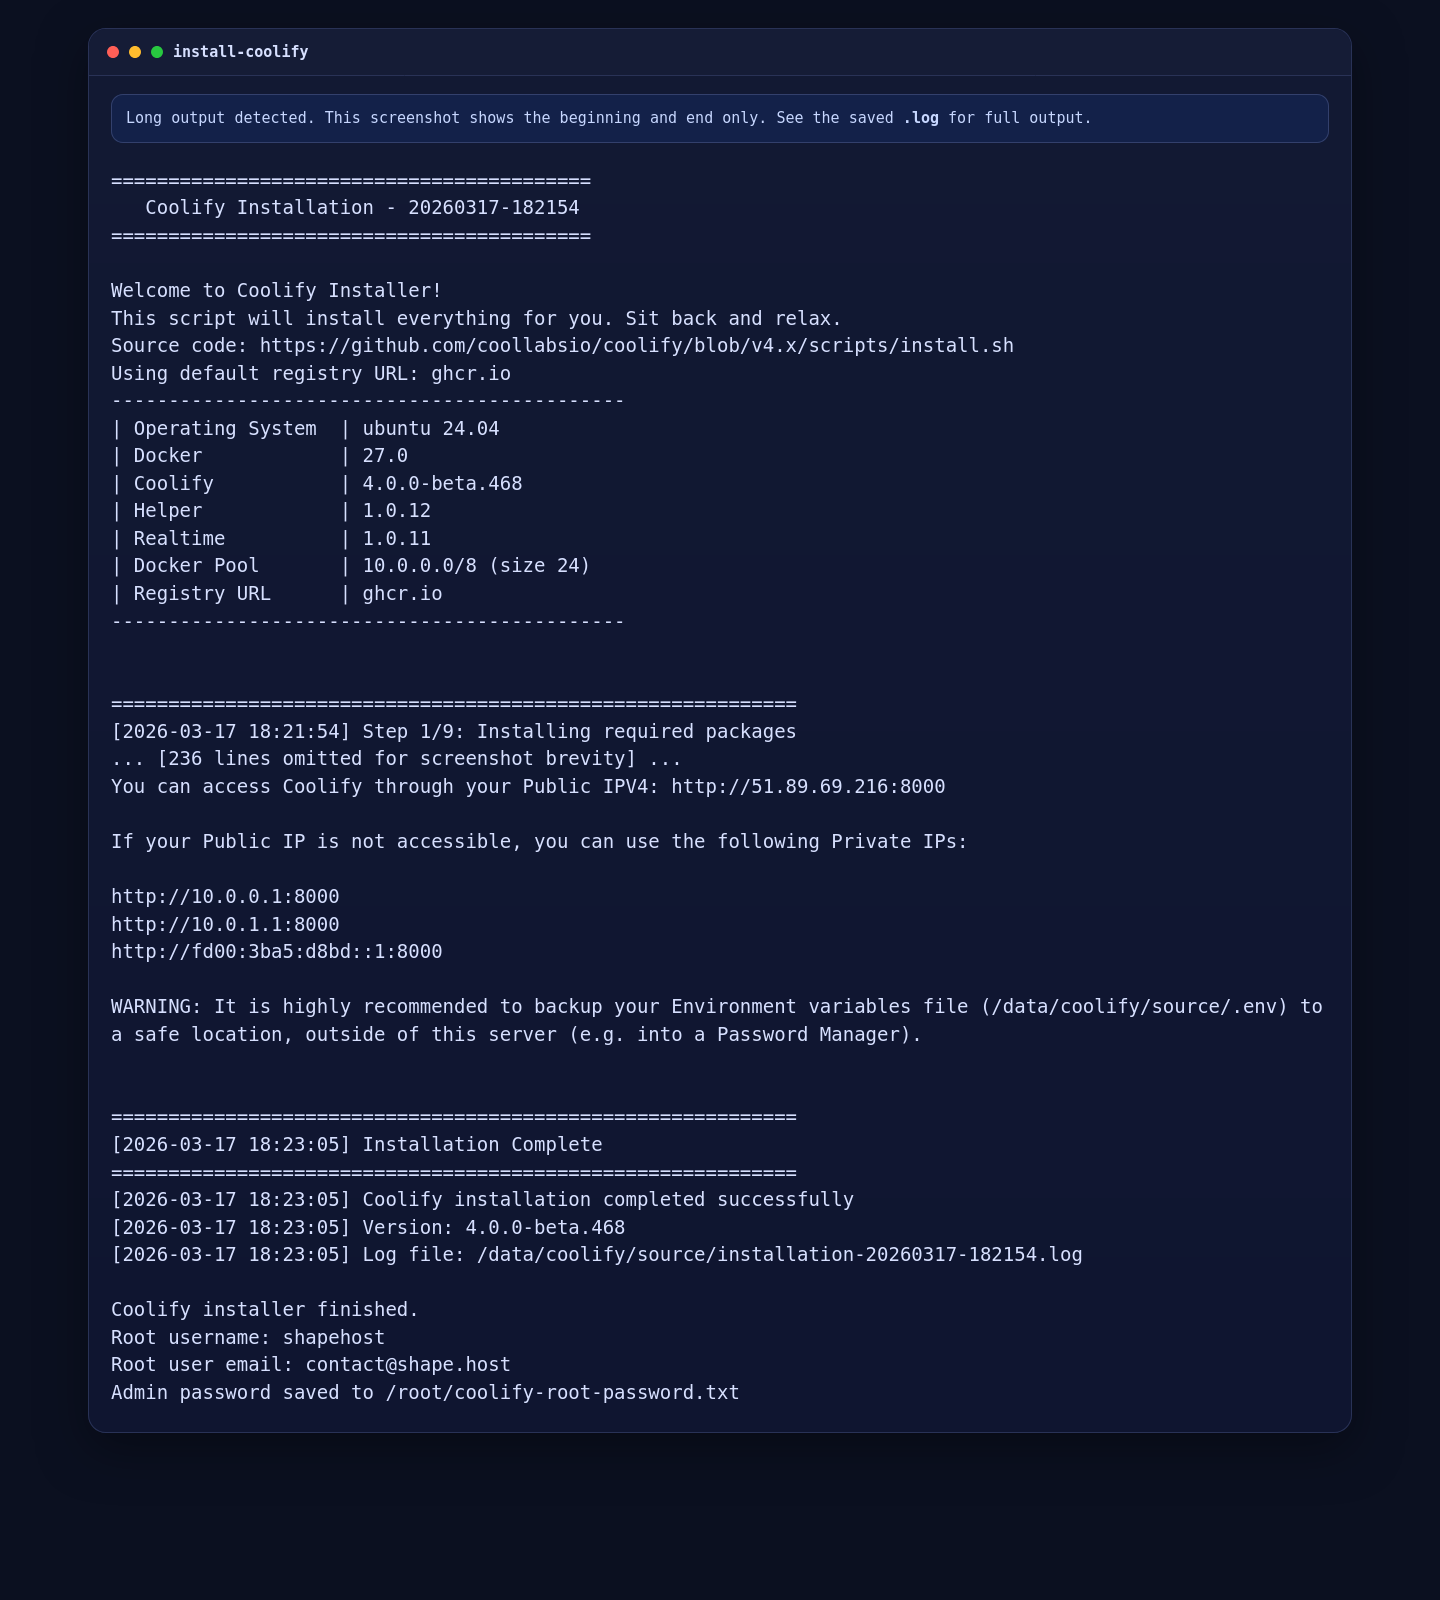
curl -fsSL https://cdn.coollabs.io/coolify/install.sh | bashIf you want to keep the generated password available for the first login, save it before leaving the shell:
printf '%s\n' "$ROOT_USER_PASSWORD" >/root/coolify-root-password.txt
chmod 600 /root/coolify-root-password.txt
On the tested Shape.Host server, the installer detected Ubuntu 24.04, installed Docker Engine 27.0.3 and Docker Compose 5.1.0 automatically, generated the Coolify environment, and deployed Coolify 4.0.0-beta.468.
3. Check the Core Coolify Services
Before publishing the panel on a public hostname, verify that the core containers are healthy and the local application health endpoint answers correctly on port 8000.
docker --version
docker compose version
curl -fsS http://127.0.0.1:8000/api/health
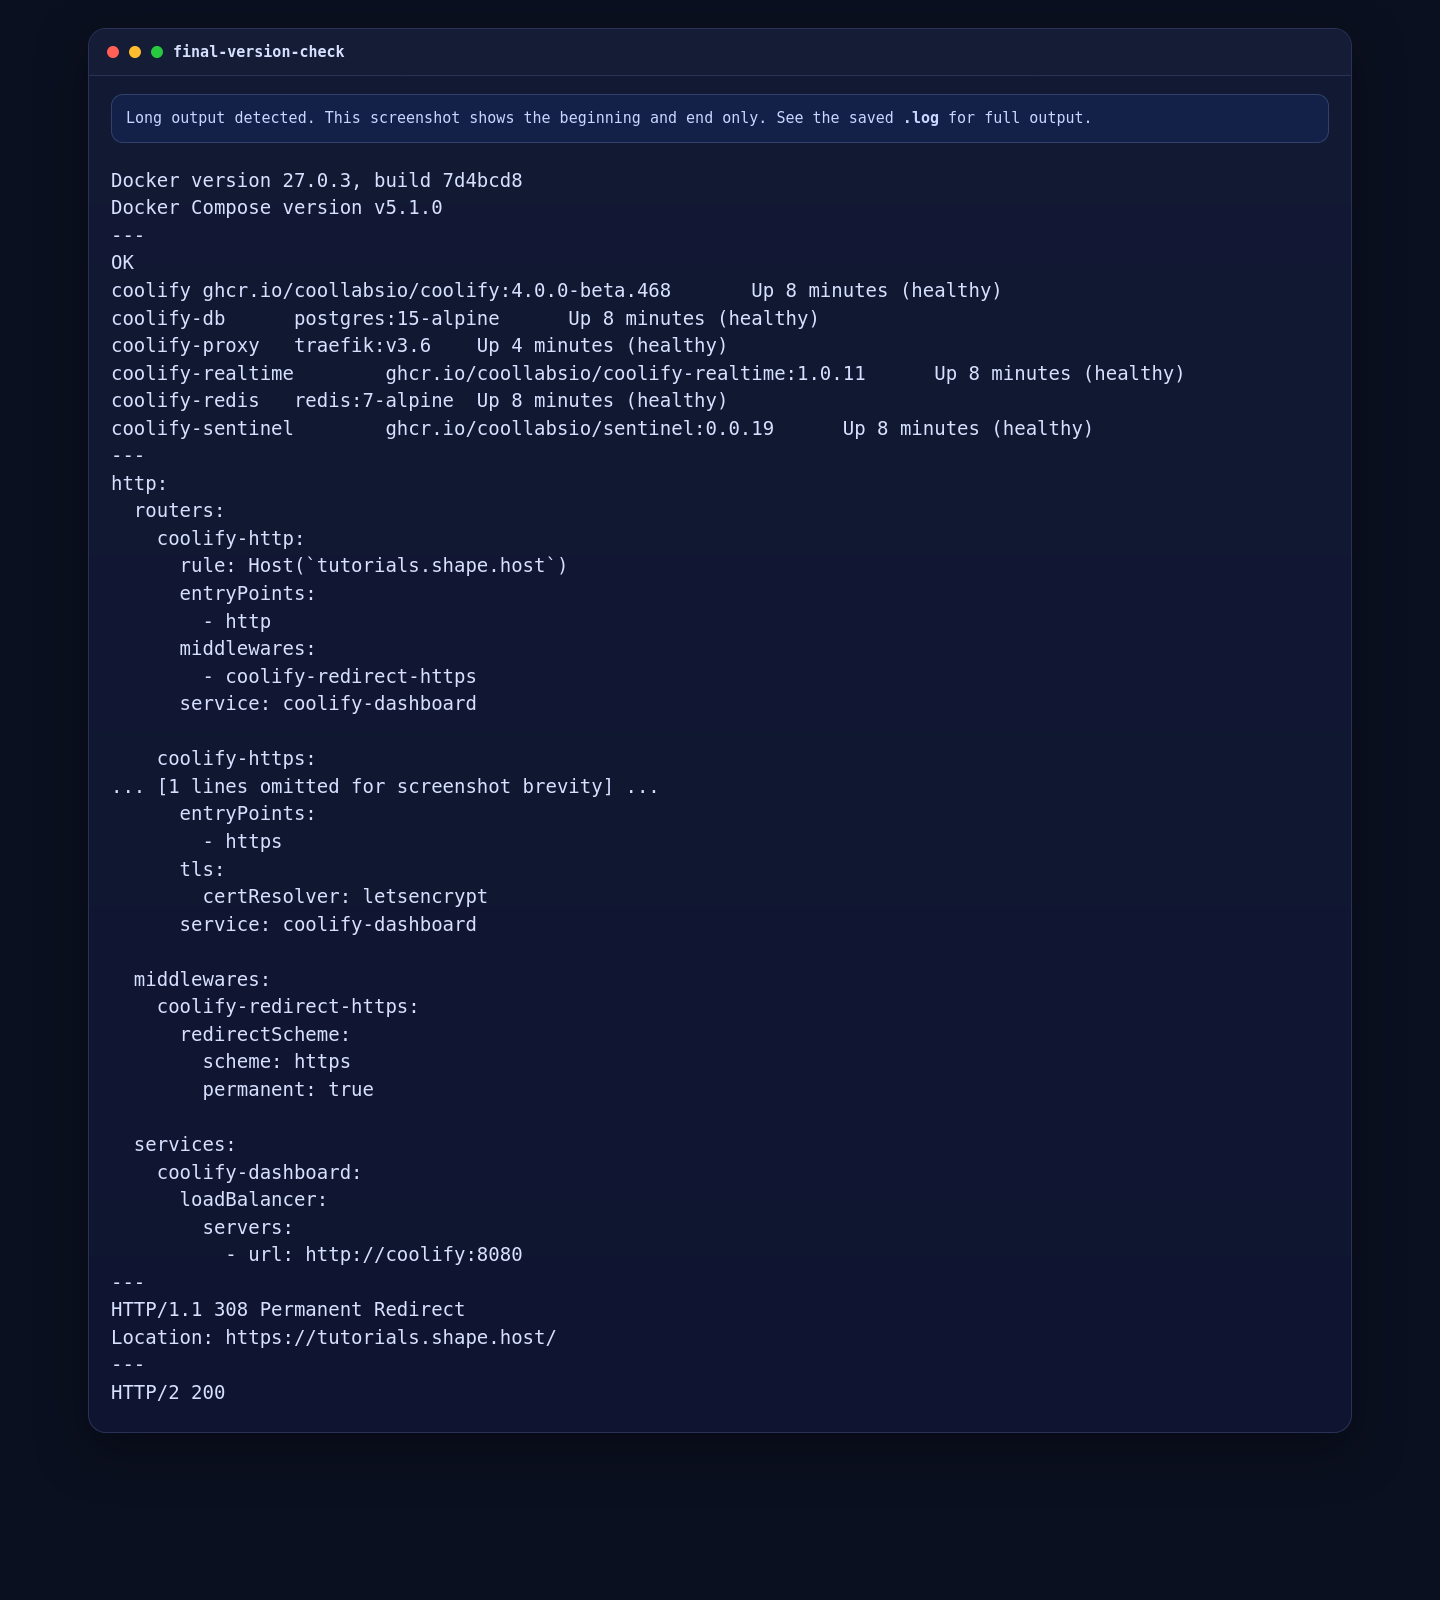
docker ps --format '{{.Names}}\t{{.Image}}\t{{.Status}}' | sortOn this deployment, the core services came up as coolify, coolify-db, coolify-redis, coolify-realtime, and coolify-sentinel, all in a healthy state.
4. Publish the Coolify Panel on tutorials.shape.host
Coolify ships with its own Traefik proxy stack. To publish the panel on tutorials.shape.host, create a file-provider route that points the hostname to the main Coolify container on port 8080 inside Docker.
cat >/data/coolify/proxy/dynamic/coolify-dashboard.yml <<'EOF'
http:
  routers:
    coolify-http:
      rule: Host(`tutorials.shape.host`)
      entryPoints:
        - http
      middlewares:
        - coolify-redirect-https
      service: coolify-dashboard

    coolify-https:
      rule: Host(`tutorials.shape.host`)
      entryPoints:
        - https
      tls:
        certResolver: letsencrypt
      service: coolify-dashboard

  middlewares:
    coolify-redirect-https:
      redirectScheme:
        scheme: https
        permanent: true

  services:
    coolify-dashboard:
      loadBalancer:
        servers:
          - url: http://coolify:8080
EOF
On the live test server, the core Coolify containers were healthy immediately after installation, but the separate proxy stack still needed to be started explicitly. Running it through the Coolify helper container kept the workflow aligned with Coolify’s own compose management path.
docker run \
  -v /data/coolify/proxy:/data/coolify/proxy \
  -v /var/run/docker.sock:/var/run/docker.sock \
  --rm ghcr.io/coollabsio/coolify-helper:1.0.12 \
  bash -lc 'docker compose -f /data/coolify/proxy/docker-compose.yml up -d --remove-orphans --wait --wait-timeout 60'
Make sure the DNS record for tutorials.shape.host already points to the server before expecting Let’s Encrypt to issue the certificate.
5. Validate the Redirect and HTTPS Panel Route
The following commands let you validate the routing directly from the server, even if the server itself cannot resolve the public hostname through its own DNS resolver. The --resolve flag forces the request to the local server while still using the public hostname for routing and certificate validation.
curl -sI --resolve tutorials.shape.host:80:127.0.0.1 \
  http://tutorials.shape.host/ | grep -E '^(HTTP/|Location:|Server:)'

curl -sI --resolve tutorials.shape.host:443:127.0.0.1 \
  https://tutorials.shape.host/register | grep -E '^(HTTP/|Location:|Server:)'
On the validated Shape.Host run, HTTP returned a 308 Permanent Redirect to HTTPS, and the HTTPS request returned HTTP/2 200 from the Coolify panel route.
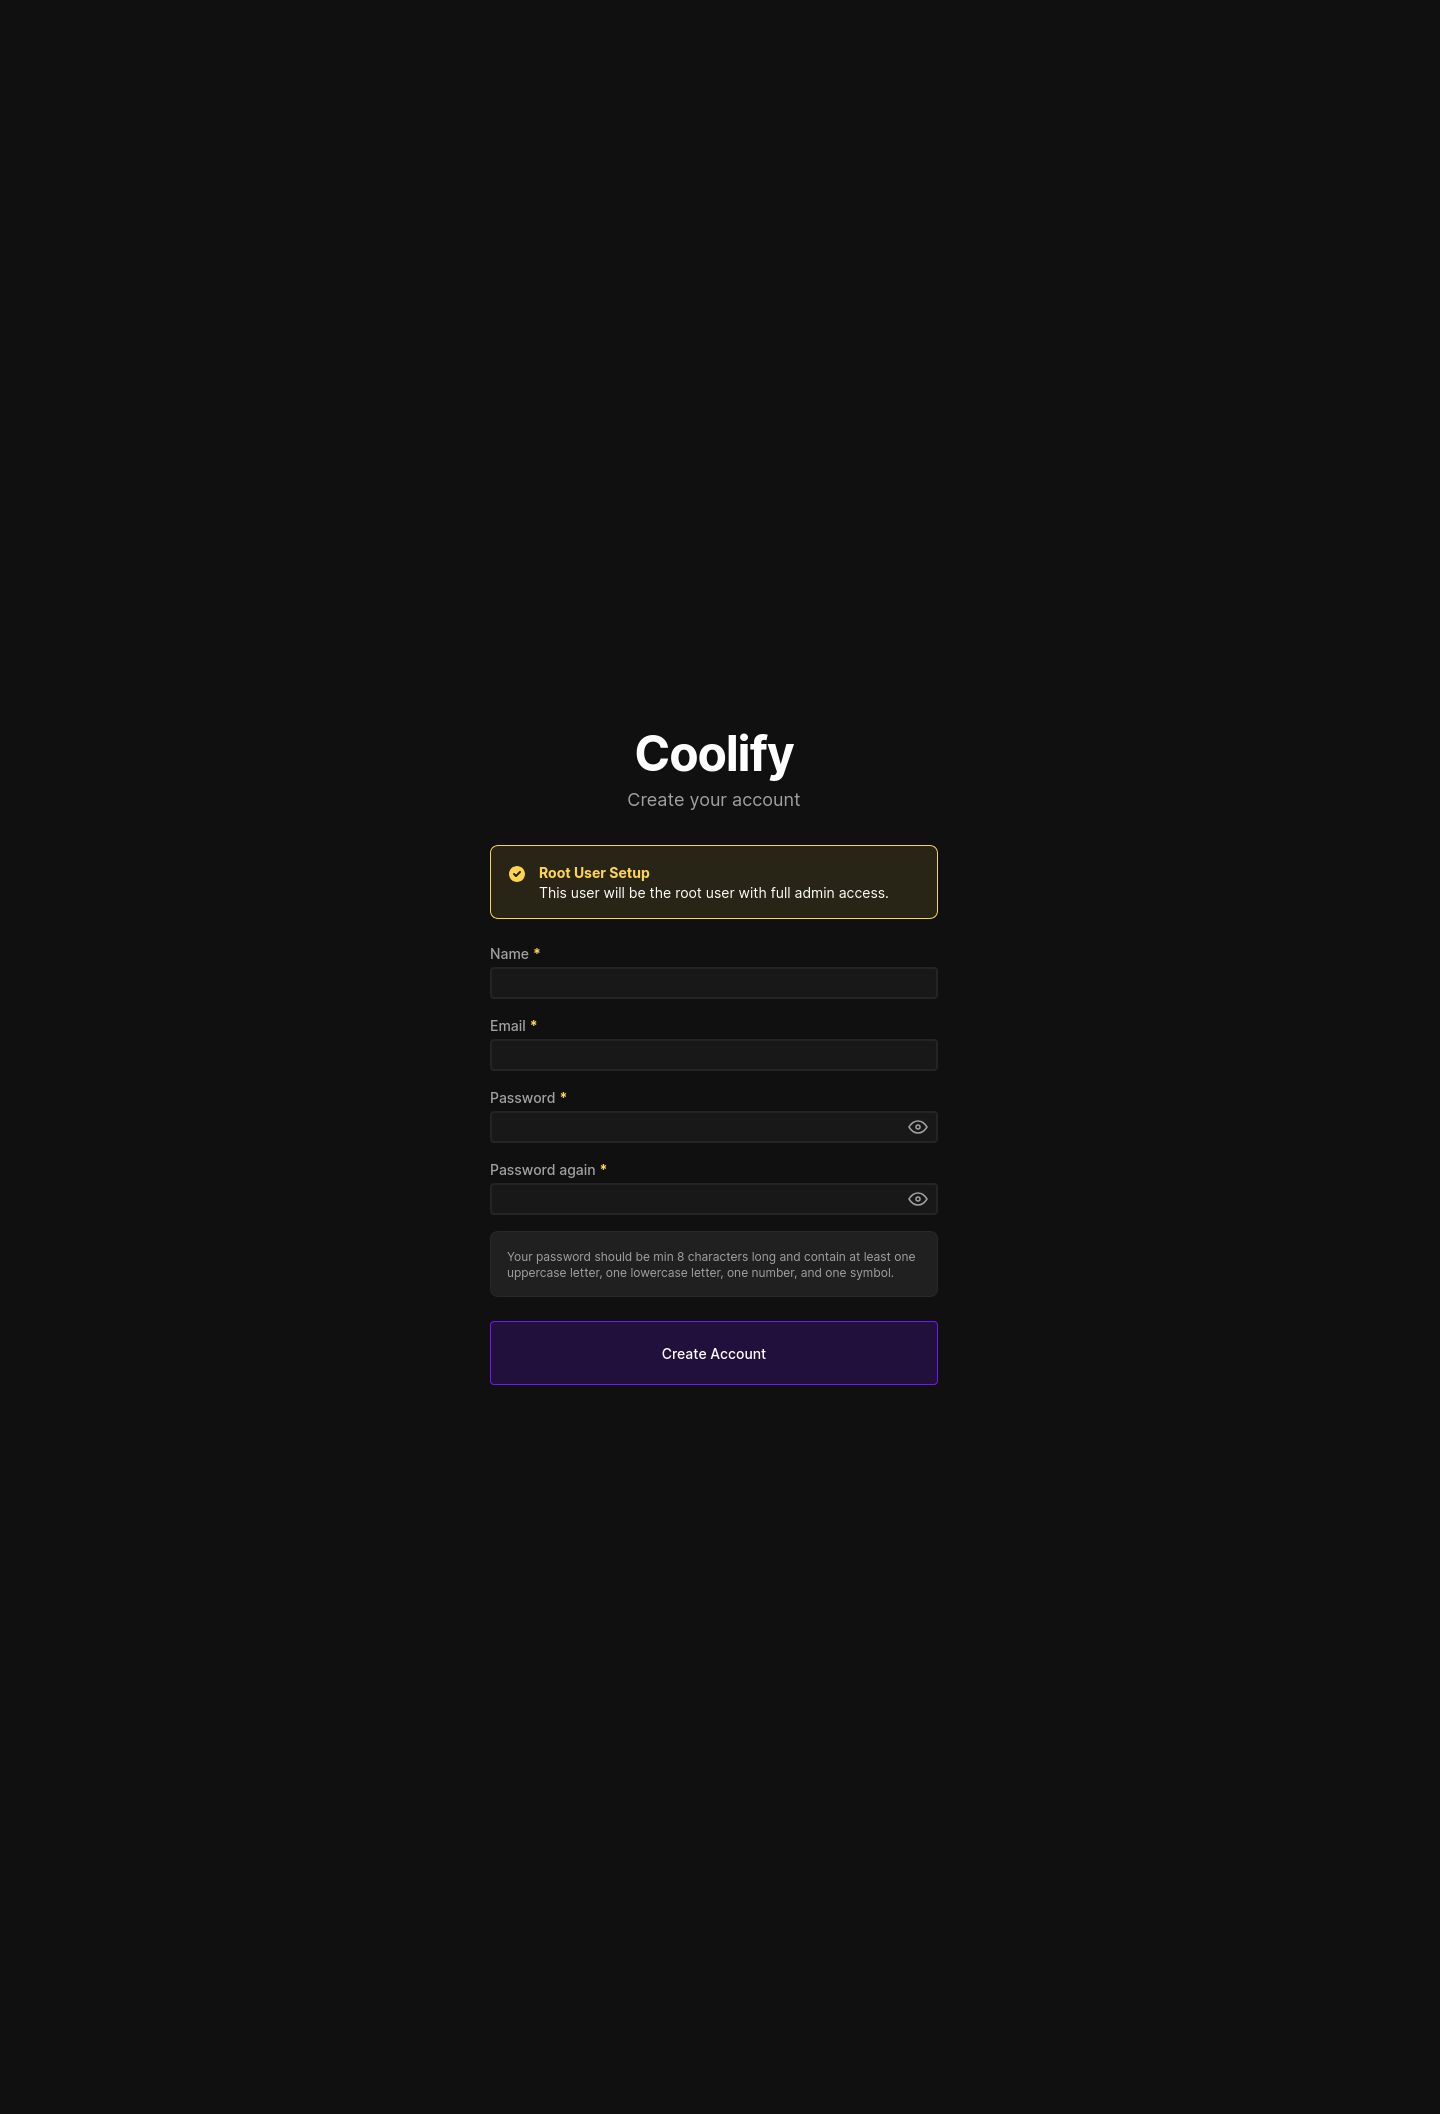
6. Open the Browser and Complete the First Admin Flow
After the route is live, open https://tutorials.shape.host/ in a browser. On the tested server, the fresh installation redirected to the Coolify registration flow, which is where you complete the initial admin setup and enter the root account details for the first use of the panel.
Troubleshooting Notes
- If the installer fails early, confirm that you are running it as
rootor withsudo. - If
curl -fsS http://127.0.0.1:8000/api/healthdoes not returnOK, inspect the container state withdocker psand review the installation logs under/data/coolify/source/. - If the panel is healthy on
:8000but the domain still does not answer on ports 80 or 443, start the proxy stack explicitly with the helper-container command shown above. - If HTTPS does not issue, confirm that
tutorials.shape.hostresolves publicly to the server IP and that no firewall or upstream filtering is blocking ports 80 and 443. - If you want to verify the route locally from the server without depending on its resolver, use the
curl --resolvecommands from the validation step.
Conclusion
You now have a working Coolify installation on Ubuntu 24.04 with the official installer, healthy core containers, a published panel route on tutorials.shape.host, and verified HTTPS access. On this tested Shape.Host deployment, the installed Coolify release was 4.0.0-beta.468.
From here, the next sensible steps are completing the initial admin registration, adding your first project, connecting a Git provider, and testing a simple application deployment through the panel.