How to Install Immich on Ubuntu 24.04
Immich on Ubuntu 24.04 is a strong way to build a self-hosted photo and video management server with modern mobile backup, facial recognition, search, albums, sharing, and a polished web interface. It is especially useful if you want a Google Photos-style experience while keeping your media library on infrastructure you control.
In this guide, we restore a fresh Ubuntu 24.04.1 LTS server on Shape.Host, verify the current stable Immich release, install Docker Engine and Docker Compose from Docker’s official Ubuntu repository, deploy Immich 2.5.6 with the official Compose bundle, place Nginx in front of it on tutorials.shape.host, secure the site with a live Let’s Encrypt certificate, and validate the finished installation from both the terminal and a browser.
What Is Immich?
Immich is a self-hosted photo and video management platform designed for personal or family media libraries. It supports mobile uploads, AI-powered search features, albums, timeline browsing, map views, and external storage options, making it a practical replacement for hosted photo services when privacy and ownership matter.
Versions Used in This Tutorial
| Component | Version Verified | Source |
|---|---|---|
| Ubuntu | 24.04.1 LTS | Fresh Shape.Host restore and /etc/os-release check |
| Immich | 2.5.6 | Current GitHub release at install time |
| Docker Engine | 29.3.0 | Installed from Docker’s official Ubuntu repository |
| Docker Compose | 5.1.0 | Installed from Docker’s official Ubuntu repository |
| Nginx | 1.24.0 | Ubuntu 24.04 package used in the live deployment |
| SSL | Let’s Encrypt certificate for tutorials.shape.host |
Issued live during the deployment |
Why Install Immich on Ubuntu 24.04?
- Ubuntu 24.04.1 LTS provides a stable long-term support base for containerized self-hosted apps.
- Immich officially recommends the Docker Compose deployment path, which keeps upgrades and rollbacks straightforward.
- Nginx with a dedicated subdomain works cleanly for SSL and public access. Immich is better suited to a root domain or subdomain than a sub-path deployment.
- A dedicated VM gives you direct control over storage location, backup strategy, and future expansion.
Prerequisites
- A fresh Ubuntu 24.04 server
- Root or sudo access
- A domain pointing to your server, in this case
tutorials.shape.host - At least 2 vCPU, 4 GB RAM, and 50 GB storage for a comfortable baseline deployment
1. Verify the Operating System
Start by confirming that the restored server is actually running Ubuntu 24.04.1 LTS.
cat /etc/os-release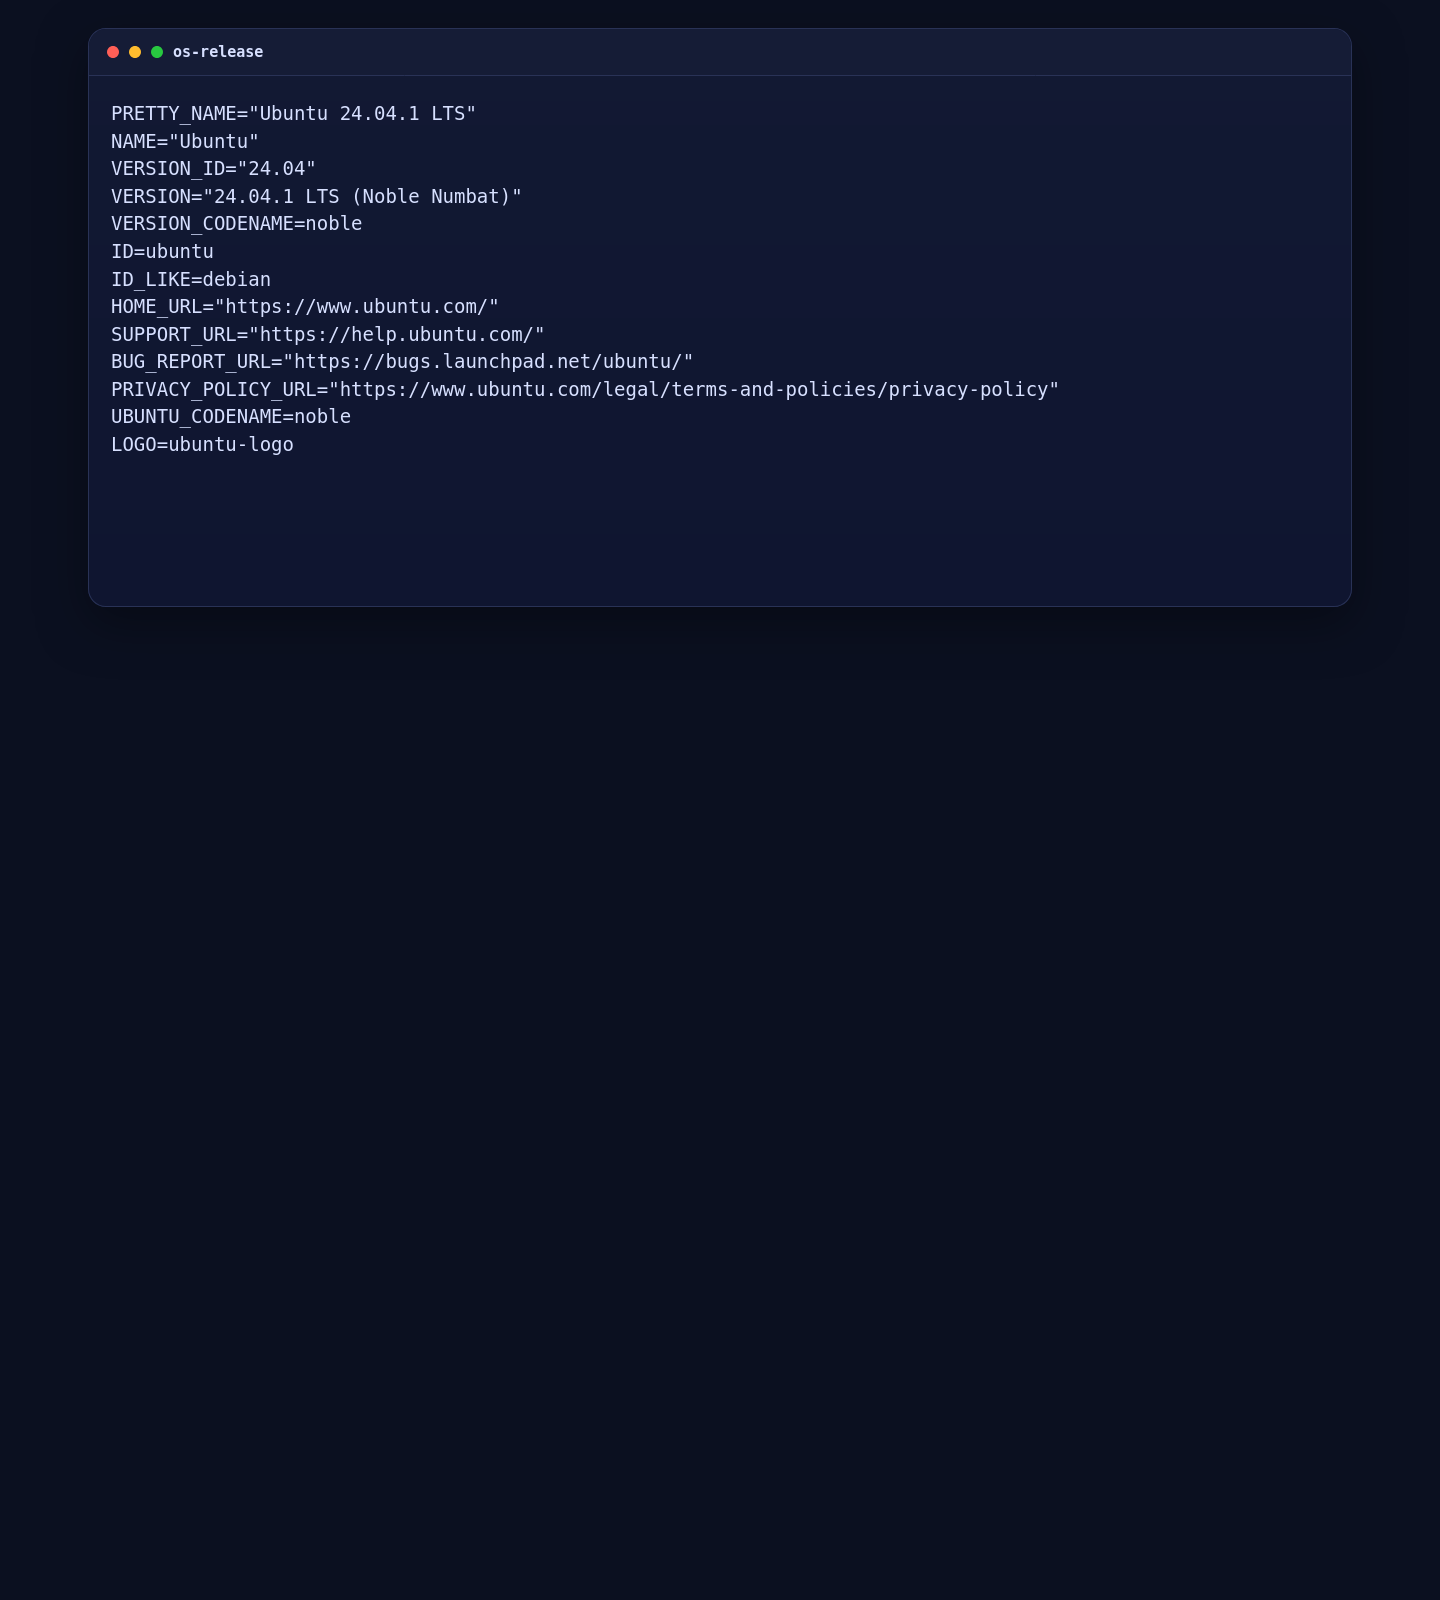
2. Install Docker Engine and Docker Compose
Immich’s official installation path is Docker Compose. On Ubuntu 24.04, the clean approach is to remove older distro Docker packages, add Docker’s official apt repository, and install the current engine and Compose plugin from there.
apt-get update
apt-get -y install ca-certificates curl gnupg lsb-release nginx certbot python3-certbot-nginx
apt-get remove -y docker.io docker-compose docker-compose-v2 docker-doc podman-docker containerd runc || true
install -m 0755 -d /etc/apt/keyrings
curl -fsSL https://download.docker.com/linux/ubuntu/gpg -o /etc/apt/keyrings/docker.asc
chmod a+r /etc/apt/keyrings/docker.asc

cat >/etc/apt/sources.list.d/docker.sources <<'EOF'
Types: deb
URIs: https://download.docker.com/linux/ubuntu
Suites: noble
Components: stable
Signed-By: /etc/apt/keyrings/docker.asc
EOF

apt-get update
apt-get -y install docker-ce docker-ce-cli containerd.io docker-buildx-plugin docker-compose-plugin
systemctl enable --now docker
docker run --rm hello-world
docker --version
docker compose version
On this server, that resulted in Docker Engine 29.3.0 and Docker Compose 5.1.0.
3. Download the Immich Compose Bundle and Prepare the Environment
Next, create the Immich working directory, download the official Compose files, generate a database password, and replace the default paths and version tag with the values we want for this deployment.
DB_PASSWORD=$(python3 -c "import secrets, string; alphabet = string.ascii_letters + string.digits; print(''.join(secrets.choice(alphabet) for _ in range(24)))")

mkdir -p /opt/immich
cd /opt/immich
wget -O docker-compose.yml https://github.com/immich-app/immich/releases/latest/download/docker-compose.yml
wget -O .env https://github.com/immich-app/immich/releases/latest/download/example.env
mkdir -p /opt/immich/library /opt/immich/postgres

sed -i 's|^UPLOAD_LOCATION=.*|UPLOAD_LOCATION=/opt/immich/library|' .env
sed -i 's|^DB_DATA_LOCATION=.*|DB_DATA_LOCATION=/opt/immich/postgres|' .env
sed -i 's|^# TZ=.*|TZ=Etc/UTC|' .env
sed -i 's|^IMMICH_VERSION=.*|IMMICH_VERSION=v2.5.6|' .env
sed -i "s|^DB_PASSWORD=.*|DB_PASSWORD=${DB_PASSWORD}|" .env
Pinning IMMICH_VERSION=v2.5.6 makes the tutorial reproducible instead of depending on a moving tag.
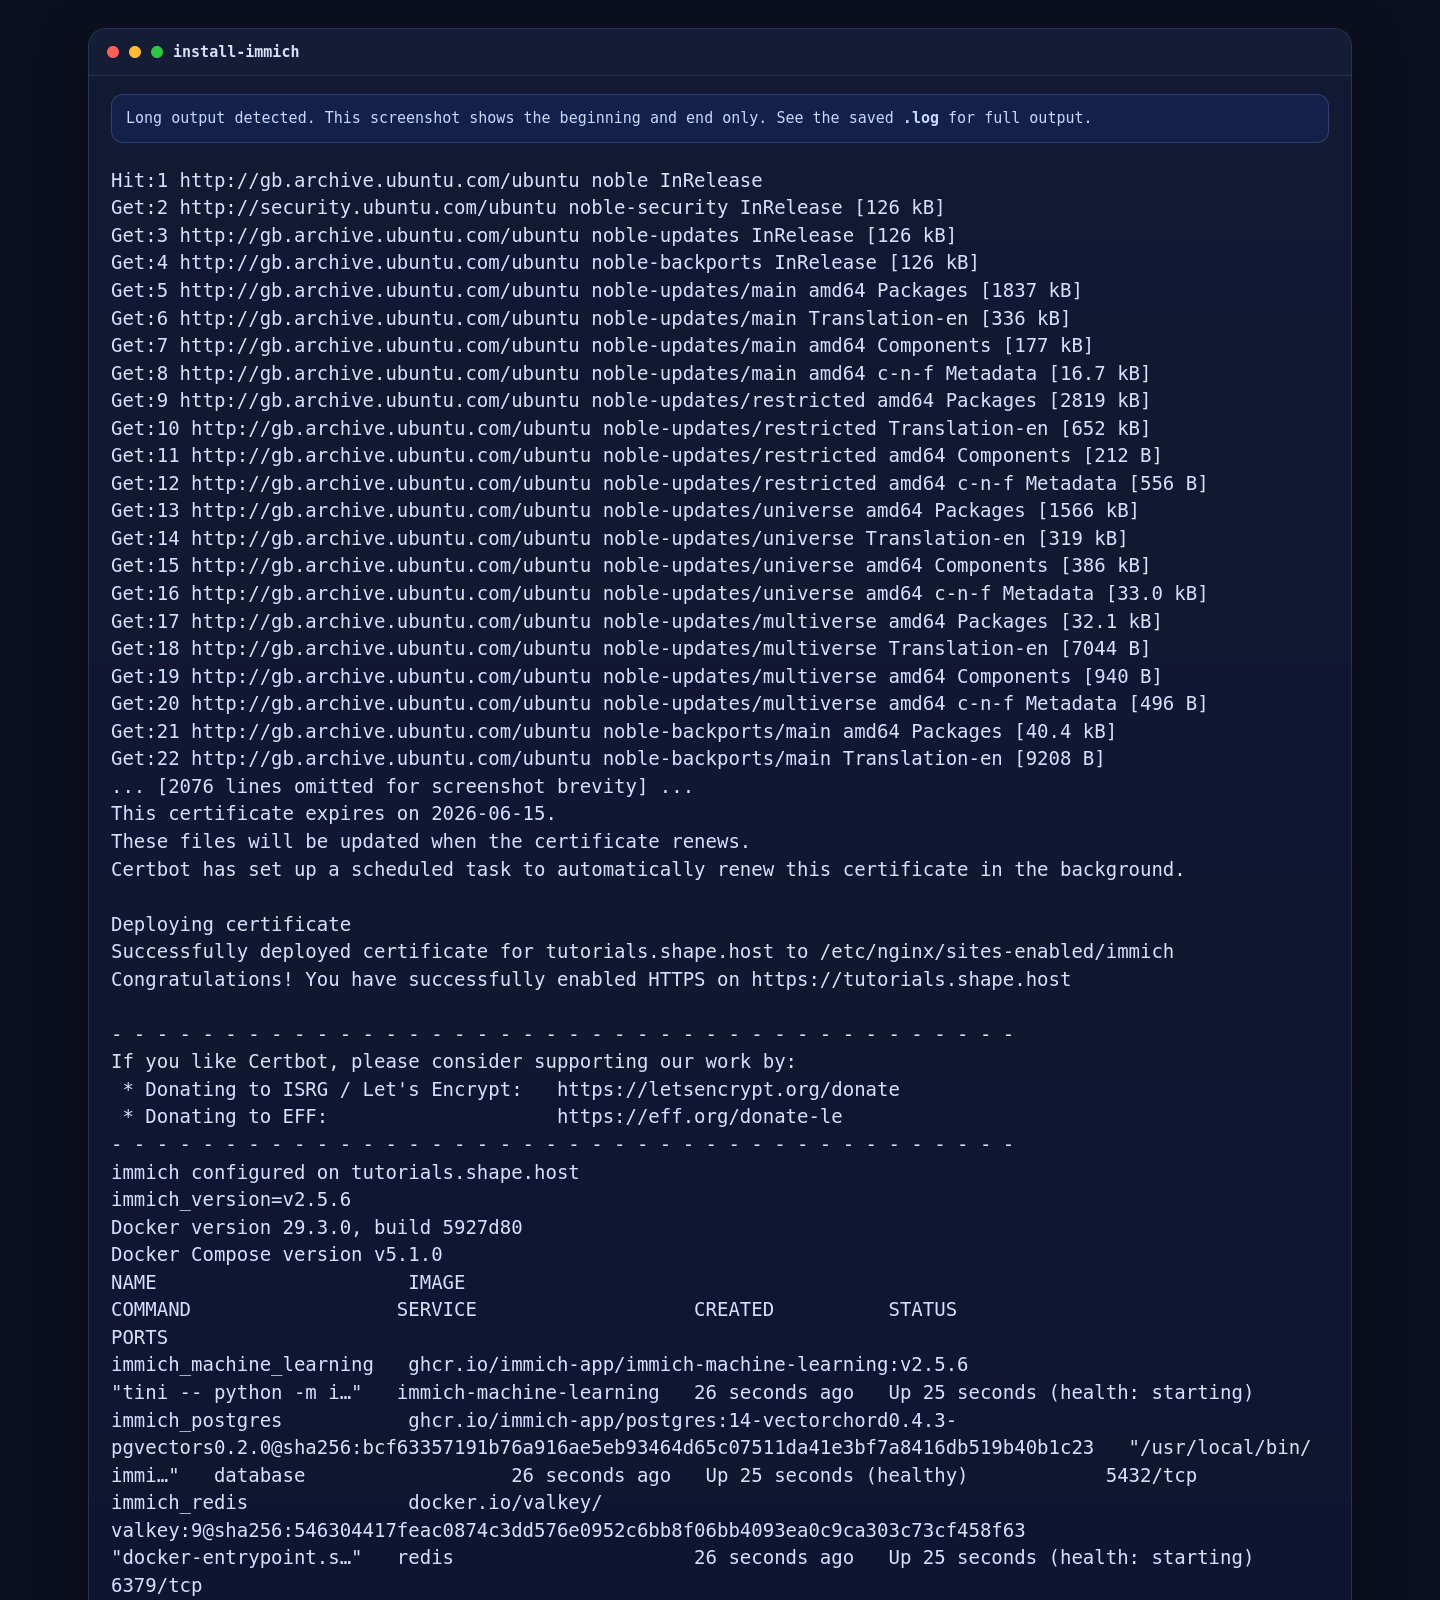
4. Start the Immich Stack
With the environment file ready, pull the images and bring the stack up in detached mode.
cd /opt/immich
docker compose pull
docker compose up -d
docker compose ps
On the live Shape.Host server, Docker brought up the immich_server, immich_machine_learning, database, and redis services successfully.
5. Configure Nginx as a Reverse Proxy
Immich works best behind a reverse proxy on a subdomain. Create an Nginx site for tutorials.shape.host and proxy requests to the Immich server on 127.0.0.1:2283.
cat >/etc/nginx/sites-available/immich <<'EOF'
server {
    listen 80;
    listen [::]:80;
    server_name tutorials.shape.host;

    client_max_body_size 50000M;
    proxy_request_buffering off;
    client_body_buffer_size 1024k;

    proxy_set_header Host              $host;
    proxy_set_header X-Real-IP         $remote_addr;
    proxy_set_header X-Forwarded-For   $proxy_add_x_forwarded_for;
    proxy_set_header X-Forwarded-Proto $scheme;
    proxy_http_version 1.1;
    proxy_redirect off;
    proxy_read_timeout 600s;
    proxy_send_timeout 600s;
    send_timeout 600s;

    location / {
        proxy_pass http://127.0.0.1:2283;
        proxy_set_header Upgrade $http_upgrade;
        proxy_set_header Connection "upgrade";
    }

    location = /.well-known/immich {
        proxy_pass http://127.0.0.1:2283;
    }
}
EOF

ln -sf /etc/nginx/sites-available/immich /etc/nginx/sites-enabled/immich
rm -f /etc/nginx/sites-enabled/default
nginx -t
systemctl enable --now nginx
systemctl reload nginx
If UFW is enabled on your server, open HTTP and HTTPS before requesting the certificate:
ufw allow 80/tcp
ufw allow 443/tcp
6. Secure Immich with Let’s Encrypt
Once the domain resolves publicly and Nginx is serving the site, request the certificate with Certbot:
certbot --nginx --non-interactive --agree-tos -m contact@shape.host -d tutorials.shape.host --redirectOn this deployment, Certbot issued a valid certificate for tutorials.shape.host with an expiry date of 2026-06-15.
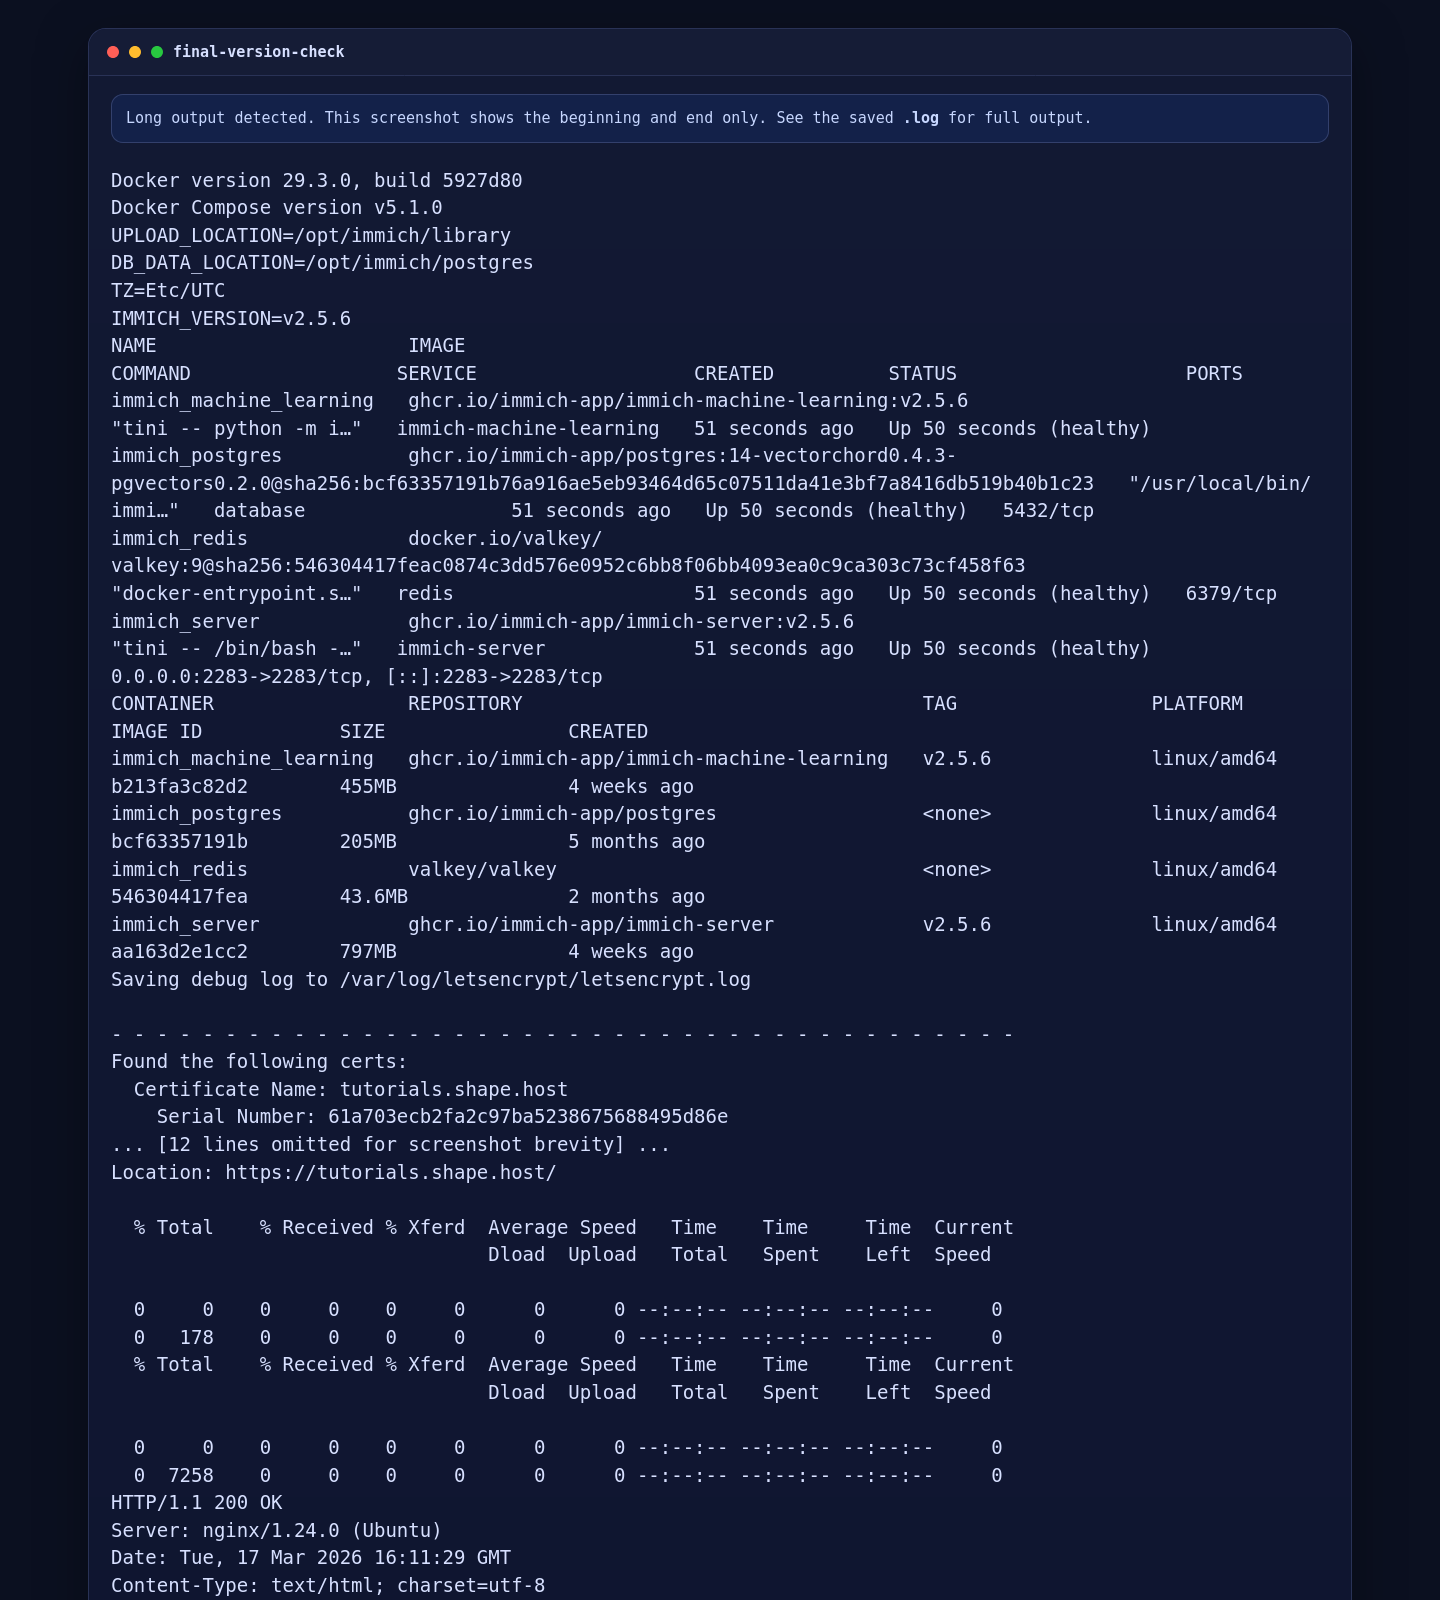
7. Validate the Installed Versions and Services
Use the following commands to verify the final state of the deployment:
docker --version
docker compose version
cd /opt/immich
grep -E '^(IMMICH_VERSION|UPLOAD_LOCATION|DB_DATA_LOCATION|TZ)=' .env
docker compose ps
docker compose images
certbot certificates
curl -I -H "Host: tutorials.shape.host" http://127.0.0.1/
curl -I https://tutorials.shape.host/
On this Shape.Host deployment, the final validation showed:
- Docker Engine 29.3.0
- Docker Compose 5.1.0
- Immich pinned to 2.5.6 in
.env - All Immich containers healthy
- An HTTP redirect to HTTPS on
tutorials.shape.host - A final external
200 OKresponse over HTTPS
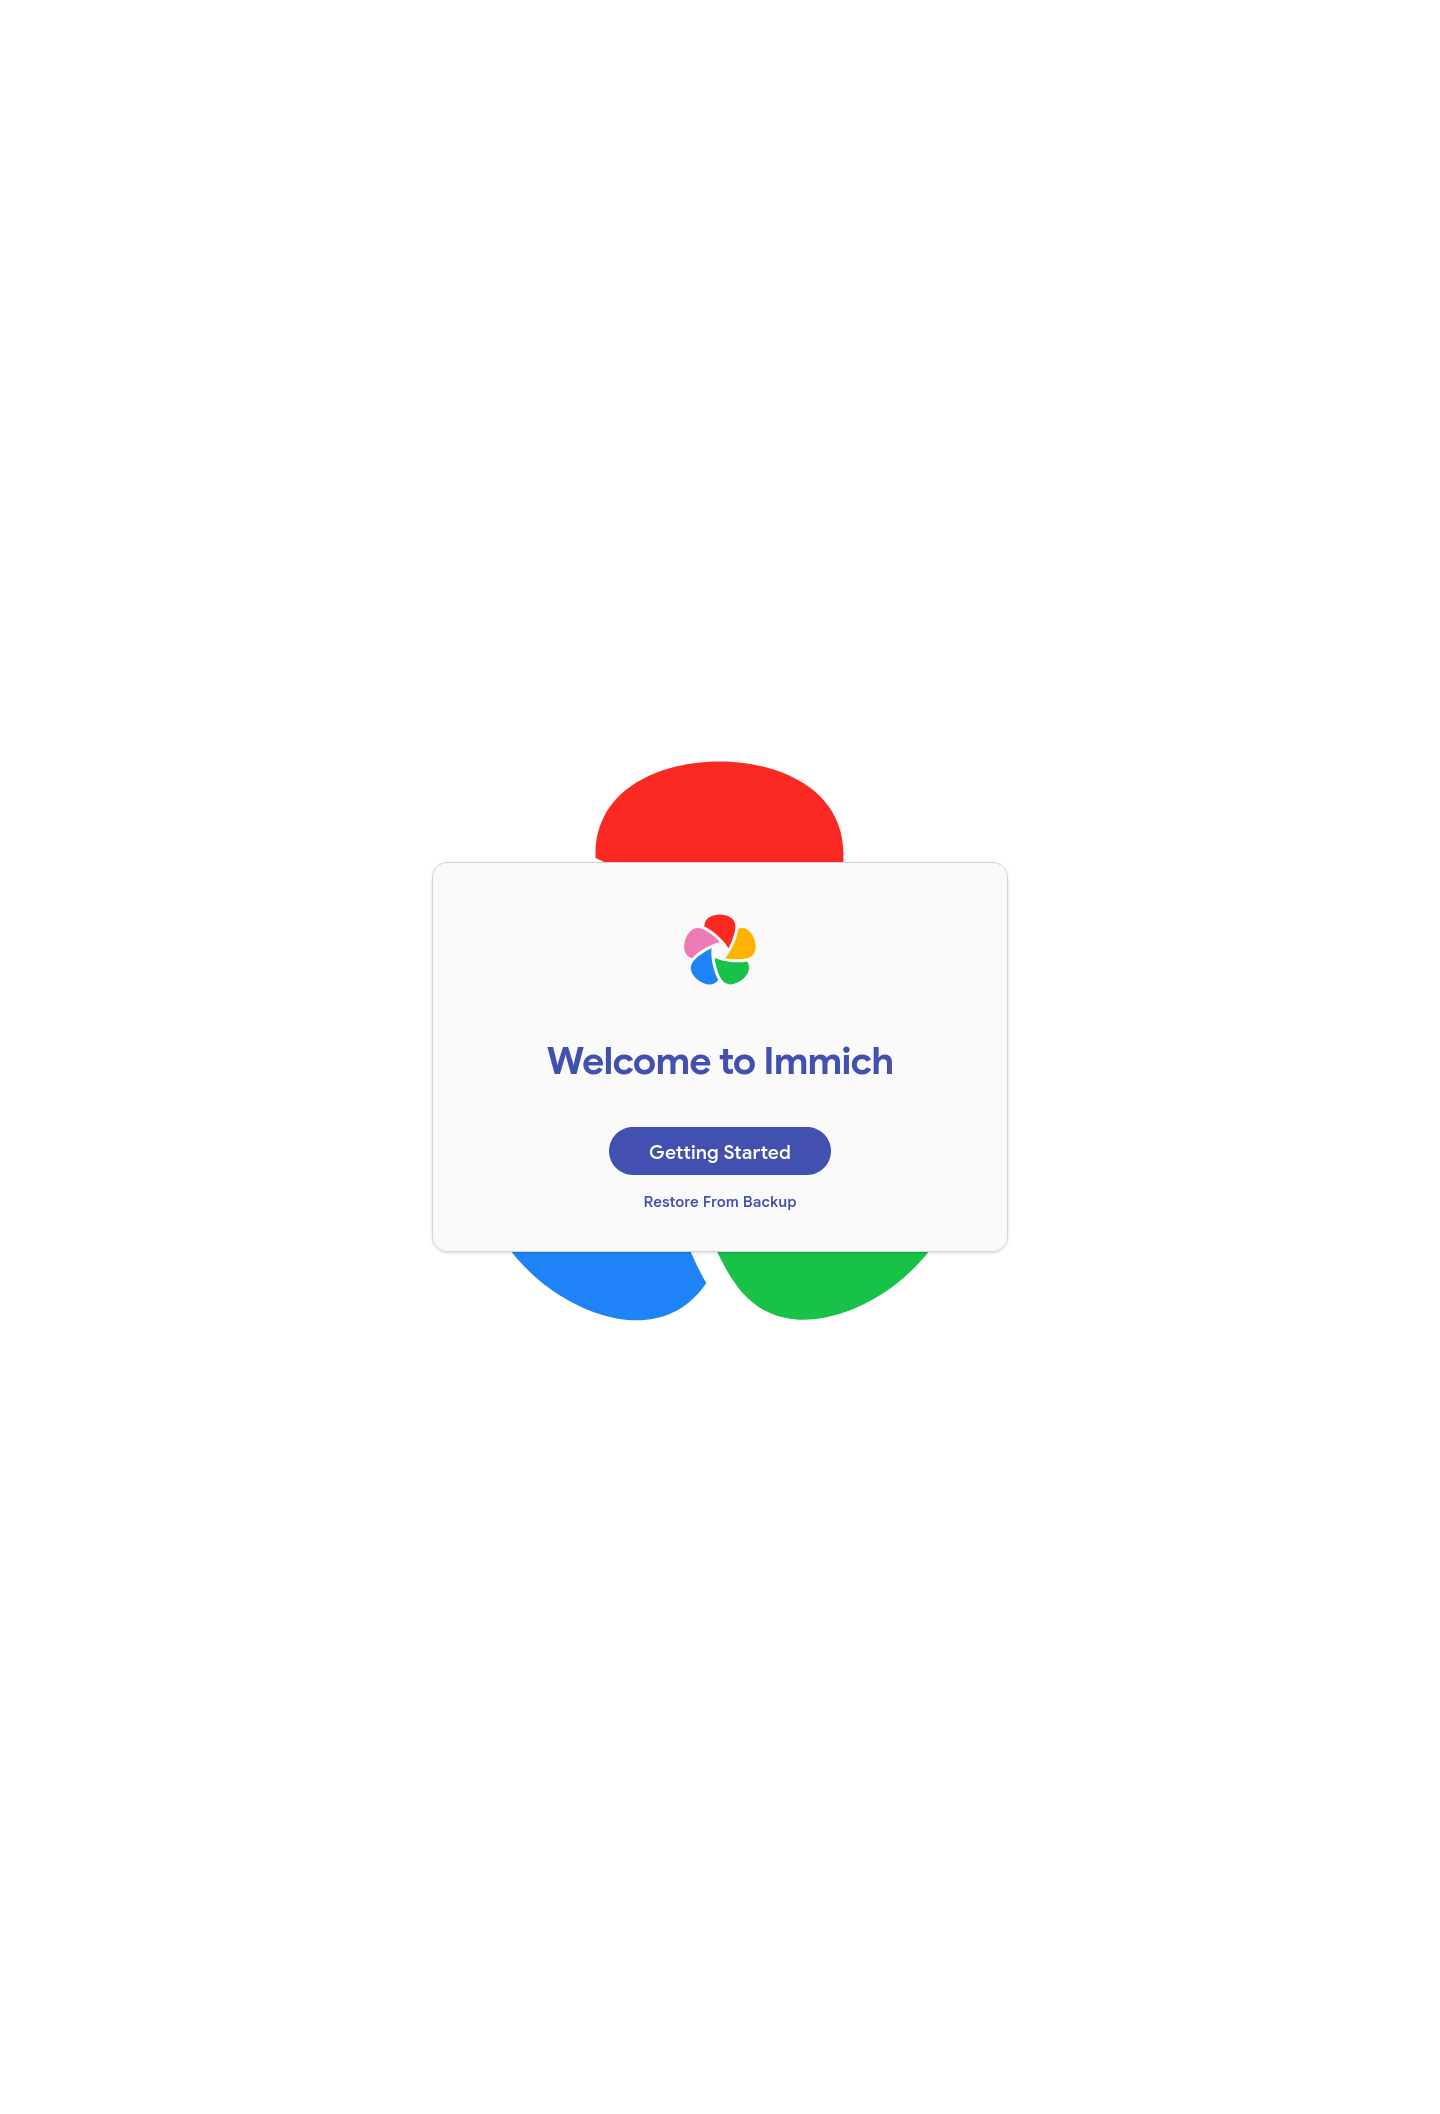
8. Open Immich in a Browser and Create the First Admin User
Finally, open https://tutorials.shape.host/ in a browser. On a fresh installation, Immich presents the first-user setup screen so you can create the administrator account.
Troubleshooting Notes
- If Docker packages conflict during installation, remove older distro packages before adding Docker’s official repository.
- If Immich fails to start, check
cd /opt/immich && docker compose logs --tail 100 immich-serverand confirm the storage paths in.envare writable. - If uploads fail through the browser, make sure the Nginx
client_max_body_sizevalue is large enough for your media library. - If the site does not load over HTTPS, confirm that
tutorials.shape.hoststill resolves to the server IP and rerunnginx -tbefore retrying Certbot.
Conclusion
You now have a working Immich installation on Ubuntu 24.04 with Docker Compose, Nginx reverse proxying, and a live Let’s Encrypt certificate on tutorials.shape.host. On this verified Shape.Host deployment, the Immich release used was 2.5.6.
From here, the next sensible steps are creating the first administrator account, configuring mobile backup, reviewing external storage and backup strategy, and sizing the underlying disk layout for long-term photo library growth.