Deploy Uptime Kuma on Ubuntu 24.04 with Docker and ZeroSSL
Uptime Kuma on Ubuntu 24.04 gives you a clean self-hosted monitoring dashboard for websites, APIs, TCP services, SSL certificates, and more. It is a strong option when you want uptime checks and public status pages on your own server without depending on a third-party monitoring platform.
In this guide, we rebuild a fresh Ubuntu 24.04.1 LTS server on Shape.Host, verify the current Uptime Kuma release, install Docker from Docker’s official Ubuntu repository, deploy Uptime Kuma 2.2.1 with Docker Compose, place Nginx in front of it, issue a trusted ZeroSSL certificate for tutorials.shape.host, and validate the final HTTPS setup from both the terminal and a browser.
What Is Uptime Kuma?
Uptime Kuma is a self-hosted monitoring application that lets you check HTTP, TCP, DNS, ping, Docker, and push endpoints from a simple web interface. It also supports notifications, status pages, and SSL certificate tracking, which makes it useful for both personal projects and production systems.
Versions Used in This Tutorial
| Component | Version Verified | Source |
|---|---|---|
| Ubuntu | 24.04.1 LTS | Fresh Shape.Host restore and /etc/os-release validation |
| Uptime Kuma | 2.2.1 | Latest GitHub release on March 18, 2026 |
| Docker Engine | 29.3.0 | Installed from Docker’s official Ubuntu repository |
| Docker Compose | 5.1.0 | Installed from Docker’s official Ubuntu repository |
| Nginx | 1.24.0 | Ubuntu 24.04 package used in the live deployment |
| Certificate issuer | ZeroSSL ECC Domain Secure Site CA | Validated from the live certificate chain |
Why Use Uptime Kuma on Ubuntu 24.04?
- Ubuntu 24.04.1 LTS gives you a modern and well-supported Linux base for long-running monitoring services.
- Uptime Kuma is lightweight and easy to manage compared with larger monitoring stacks.
- Docker Compose keeps the application deployment simple and reproducible.
- Nginx plus ZeroSSL gives you a clean public HTTPS route for the web interface.
Prerequisites
- A fresh Ubuntu 24.04 server
- Root or sudo access
- A hostname pointed to the server IP, in this example
tutorials.shape.host - ZeroSSL EAB credentials for ACME issuance
- At least 2 vCPU, 4 GB RAM, and 50 GB storage
- Ports
80and443open to the internet
1. Verify the Operating System
Start by confirming that the rebuilt server is actually running Ubuntu 24.04.1 LTS.
cat /etc/os-release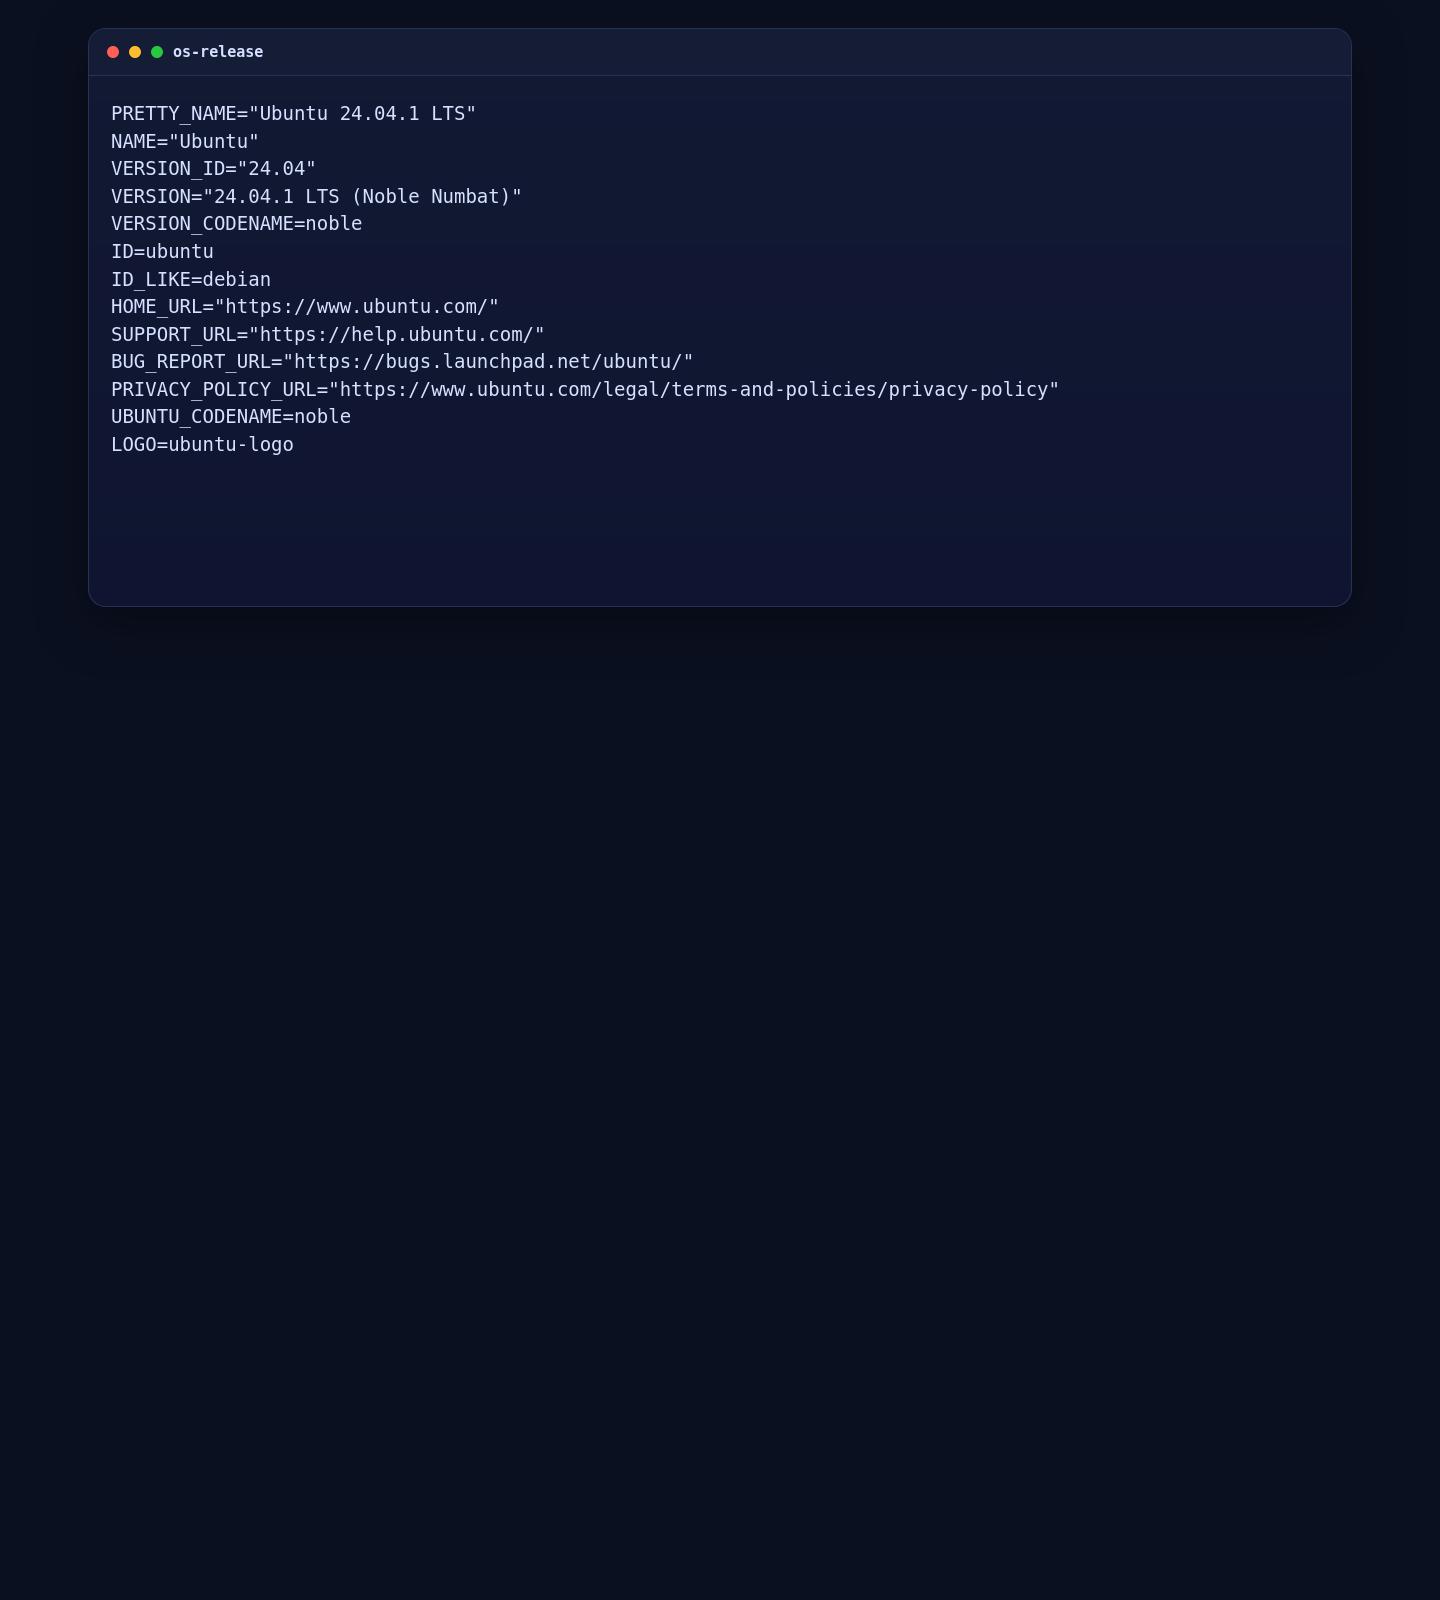
2. Install Docker from the Official Ubuntu Repository
Uptime Kuma’s official documentation recommends Docker Compose for a fresh deployment. The most reliable way to get a current Docker Engine and Compose plugin on Ubuntu 24.04 is Docker’s own repository.
apt-get update
apt-get install -y ca-certificates curl
install -m 0755 -d /etc/apt/keyrings
curl -fsSL https://download.docker.com/linux/ubuntu/gpg -o /etc/apt/keyrings/docker.asc
chmod a+r /etc/apt/keyrings/docker.asc
echo \
"deb [arch=$(dpkg --print-architecture) signed-by=/etc/apt/keyrings/docker.asc] https://download.docker.com/linux/ubuntu \
$(. /etc/os-release && echo "${UBUNTU_CODENAME}") stable" \
>/etc/apt/sources.list.d/docker.list
apt-get update
apt-get install -y docker-ce docker-ce-cli containerd.io docker-buildx-plugin docker-compose-plugin
systemctl enable --now docker
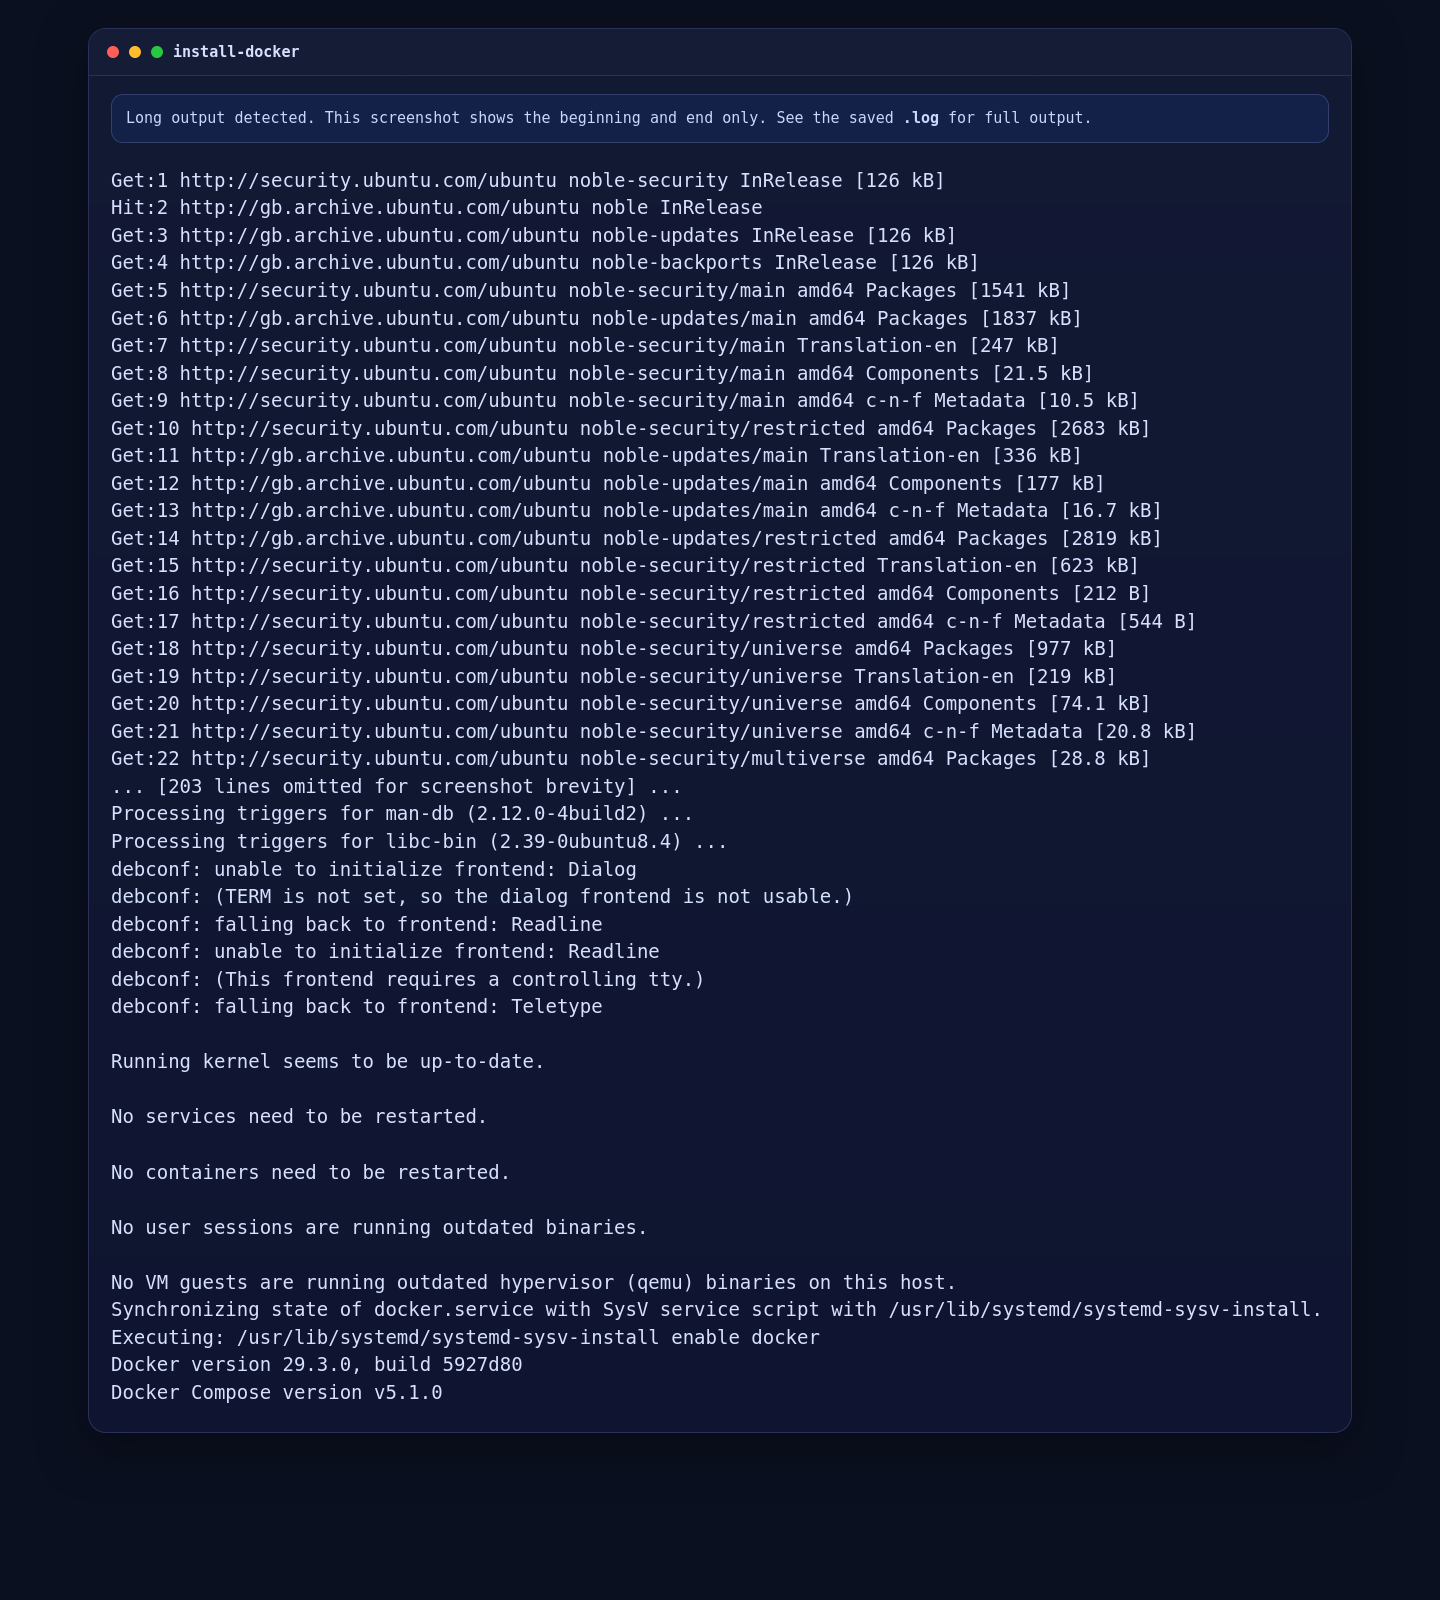
docker --version
docker compose versionOn the live server, this installed Docker Engine 29.3.0 and Docker Compose 5.1.0.
3. Deploy Uptime Kuma with Docker Compose
Create a working directory, write the Compose file, pull the image, and start the container. In this setup, Uptime Kuma is bound to 127.0.0.1:3001 so it stays behind the reverse proxy.
install -d -m 755 /opt/uptime-kuma
install -d -m 755 /opt/uptime-kuma/uptime-kuma
cat >/opt/uptime-kuma/compose.yaml <<'EOF'
services:
uptime-kuma:
image: louislam/uptime-kuma:2.2.1
container_name: uptime-kuma
restart: unless-stopped
ports:
- 127.0.0.1:3001:3001
volumes:
- ./uptime-kuma:/app/data
EOF
cd /opt/uptime-kuma
docker compose pull
docker compose up -d --remove-orphans
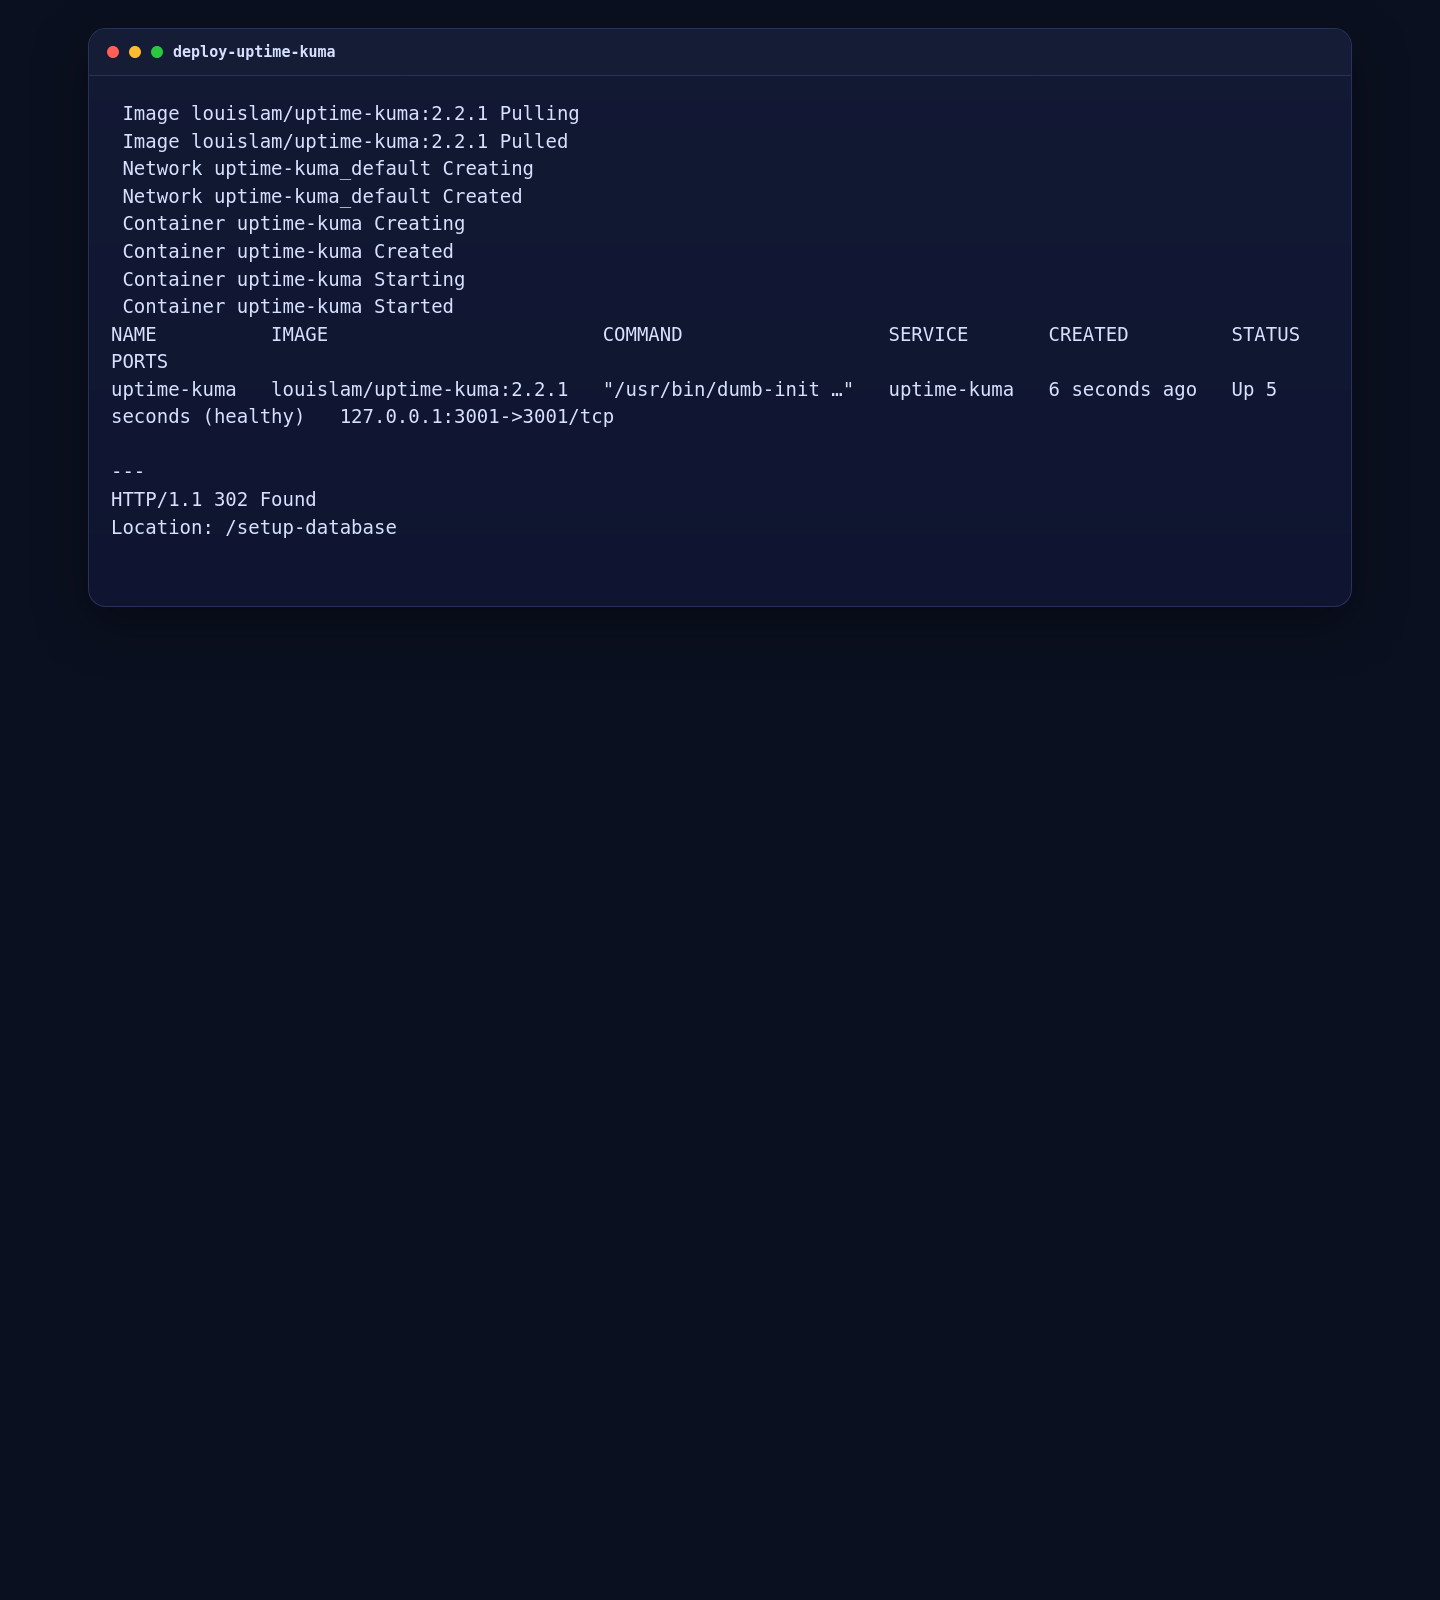
docker compose ps
curl -I http://127.0.0.1:3001/On the tested Shape.Host deployment, the container came up healthy and the local endpoint returned a redirect to /setup-database, which is the correct first-run setup page.
4. Install Nginx and Create the HTTP Site Definition
Next, install Nginx and create a temporary HTTP-only site definition. This lets ZeroSSL validate the domain through the webroot challenge before the final HTTPS server block is added.
apt-get update
apt-get install -y nginx socat

install -d -m 755 /var/www/_letsencrypt
install -d -m 755 /etc/ssl/uptime-kuma

cat >/etc/nginx/sites-available/uptime-kuma.conf <<'EOF'
server {
    listen 80;
    listen [::]:80;
    server_name tutorials.shape.host;

    location /.well-known/acme-challenge/ {
        root /var/www/_letsencrypt;
    }

    location / {
        proxy_pass http://127.0.0.1:3001;
        proxy_http_version 1.1;
        proxy_set_header Host $host;
        proxy_set_header X-Real-IP $remote_addr;
        proxy_set_header X-Forwarded-For $proxy_add_x_forwarded_for;
        proxy_set_header X-Forwarded-Proto $scheme;
        proxy_set_header Upgrade $http_upgrade;
        proxy_set_header Connection "upgrade";
    }
}
EOF

rm -f /etc/nginx/sites-enabled/default
ln -sf /etc/nginx/sites-available/uptime-kuma.conf /etc/nginx/sites-enabled/uptime-kuma.conf
nginx -t
systemctl enable --now nginx
systemctl reload nginx
5. Issue a ZeroSSL Certificate with acme.sh
For the live deployment, ZeroSSL EAB credentials were loaded securely from the local secrets environment. In a public tutorial, use placeholders and replace them with your own ZeroSSL values.
curl -fsSL https://get.acme.sh | sh -s email=contact@shape.host

/root/.acme.sh/acme.sh --register-account \
  -m contact@shape.host \
  --server zerossl \
  --eab-kid "your_zerossl_eab_kid" \
  --eab-hmac-key "your_zerossl_eab_hmac_key"

/root/.acme.sh/acme.sh --issue \
  --server zerossl \
  --webroot /var/www/_letsencrypt \
  -d tutorials.shape.host \
  --keylength ec-256

/root/.acme.sh/acme.sh --install-cert \
  -d tutorials.shape.host \
  --ecc \
  --fullchain-file /etc/ssl/uptime-kuma/fullchain.cer \
  --key-file /etc/ssl/uptime-kuma/tutorials.shape.host.key \
  --reloadcmd "systemctl reload nginx"
On the validated run, ZeroSSL issued an ECC certificate successfully and Nginx reloaded with the installed key and full chain.
6. Replace the HTTP Site with the Final HTTPS Reverse Proxy
After the certificate is in place, switch the Nginx site definition to HTTPS and redirect HTTP to HTTPS.
cat >/etc/nginx/sites-available/uptime-kuma.conf <<'EOF'
server {
    listen 80;
    listen [::]:80;
    server_name tutorials.shape.host;

    location /.well-known/acme-challenge/ {
        root /var/www/_letsencrypt;
    }

    location / {
        return 301 https://$host$request_uri;
    }
}

server {
    listen 443 ssl http2;
    listen [::]:443 ssl http2;
    server_name tutorials.shape.host;

    ssl_certificate /etc/ssl/uptime-kuma/fullchain.cer;
    ssl_certificate_key /etc/ssl/uptime-kuma/tutorials.shape.host.key;

    location / {
        proxy_pass http://127.0.0.1:3001;
        proxy_http_version 1.1;
        proxy_set_header Host $host;
        proxy_set_header X-Real-IP $remote_addr;
        proxy_set_header X-Forwarded-For $proxy_add_x_forwarded_for;
        proxy_set_header X-Forwarded-Proto $scheme;
        proxy_set_header Upgrade $http_upgrade;
        proxy_set_header Connection "upgrade";
    }
}
EOF

nginx -t
systemctl reload nginx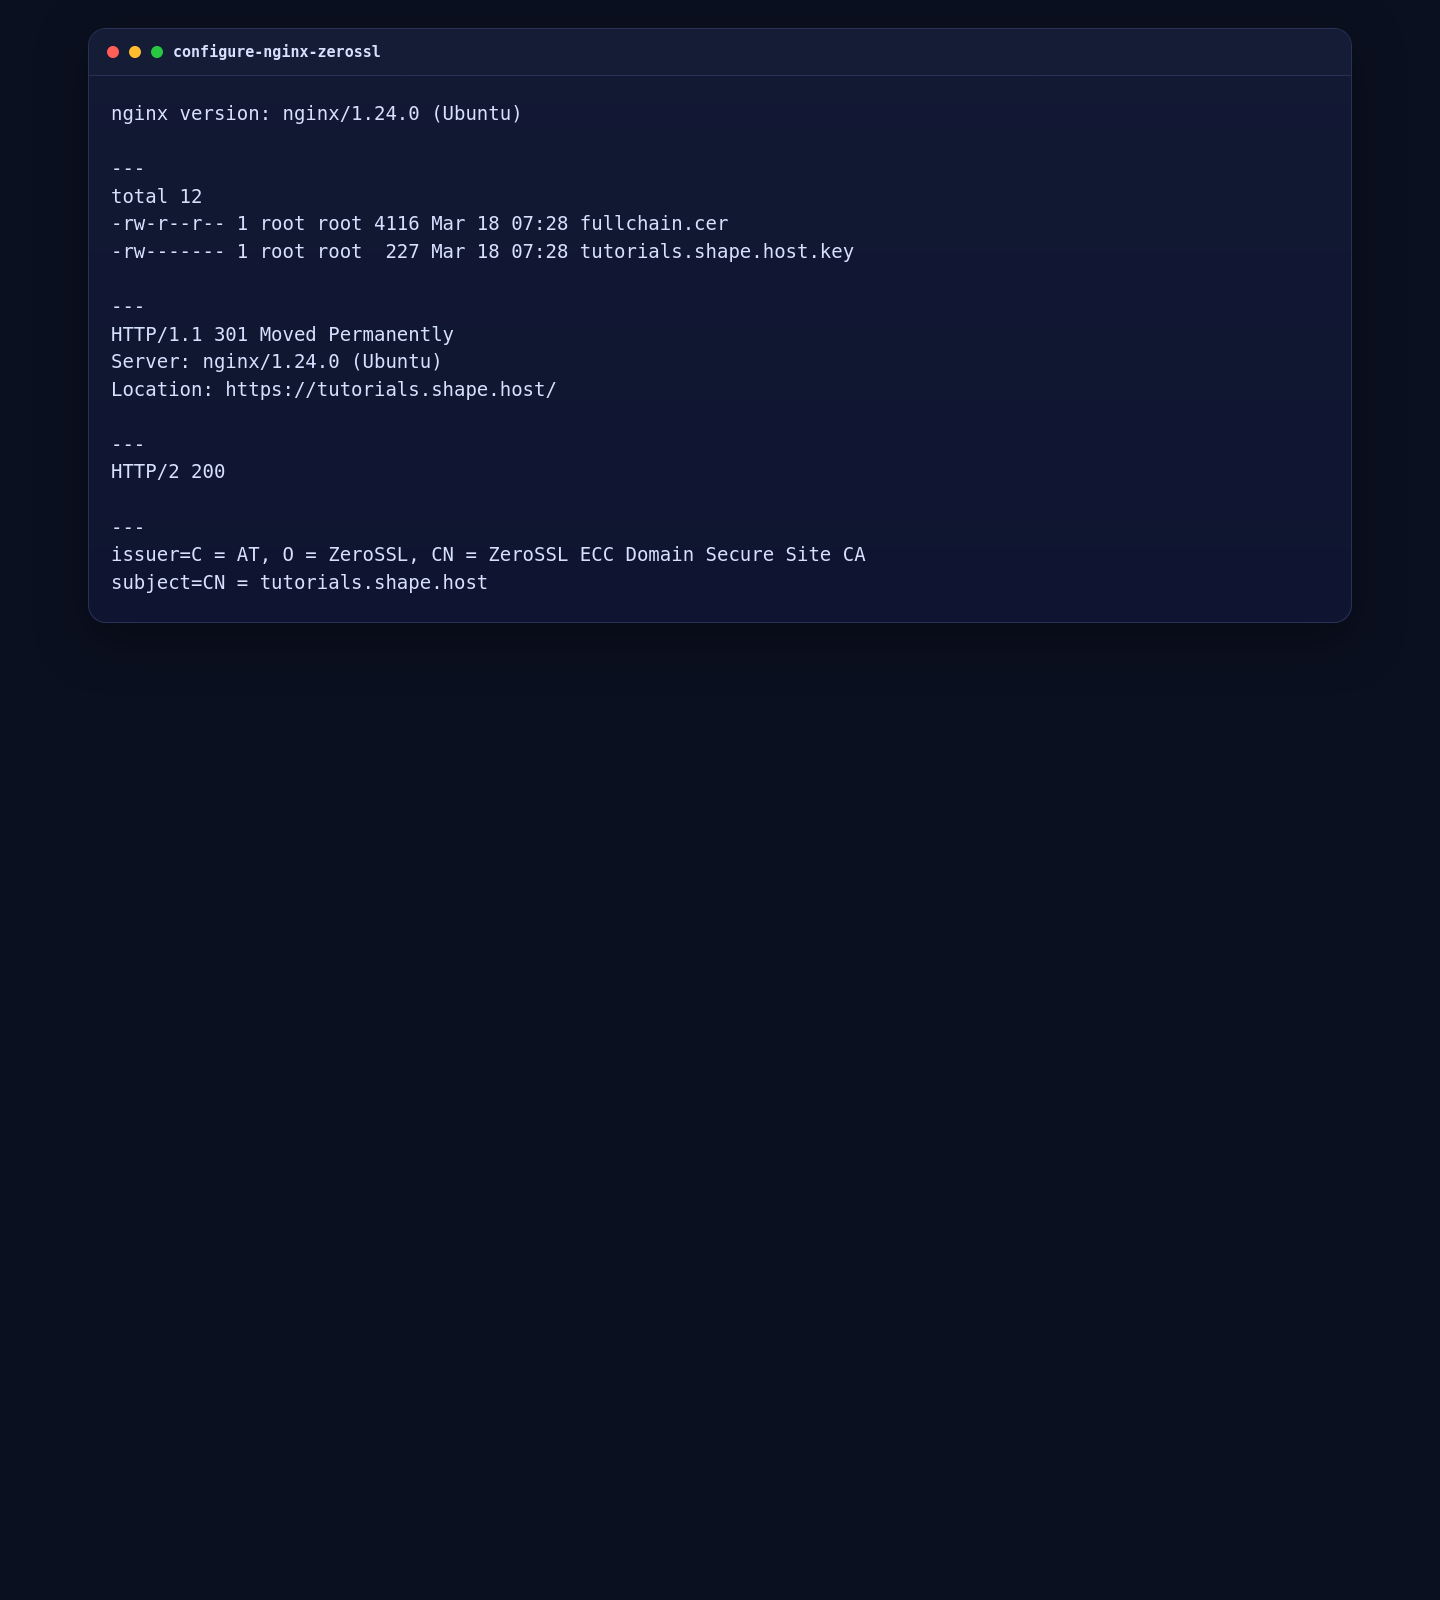
7. Validate the Local App, Public Route, and Certificate Issuer
Use these checks to confirm that Uptime Kuma is healthy locally, that HTTP redirects to HTTPS, and that the live certificate is issued by ZeroSSL.
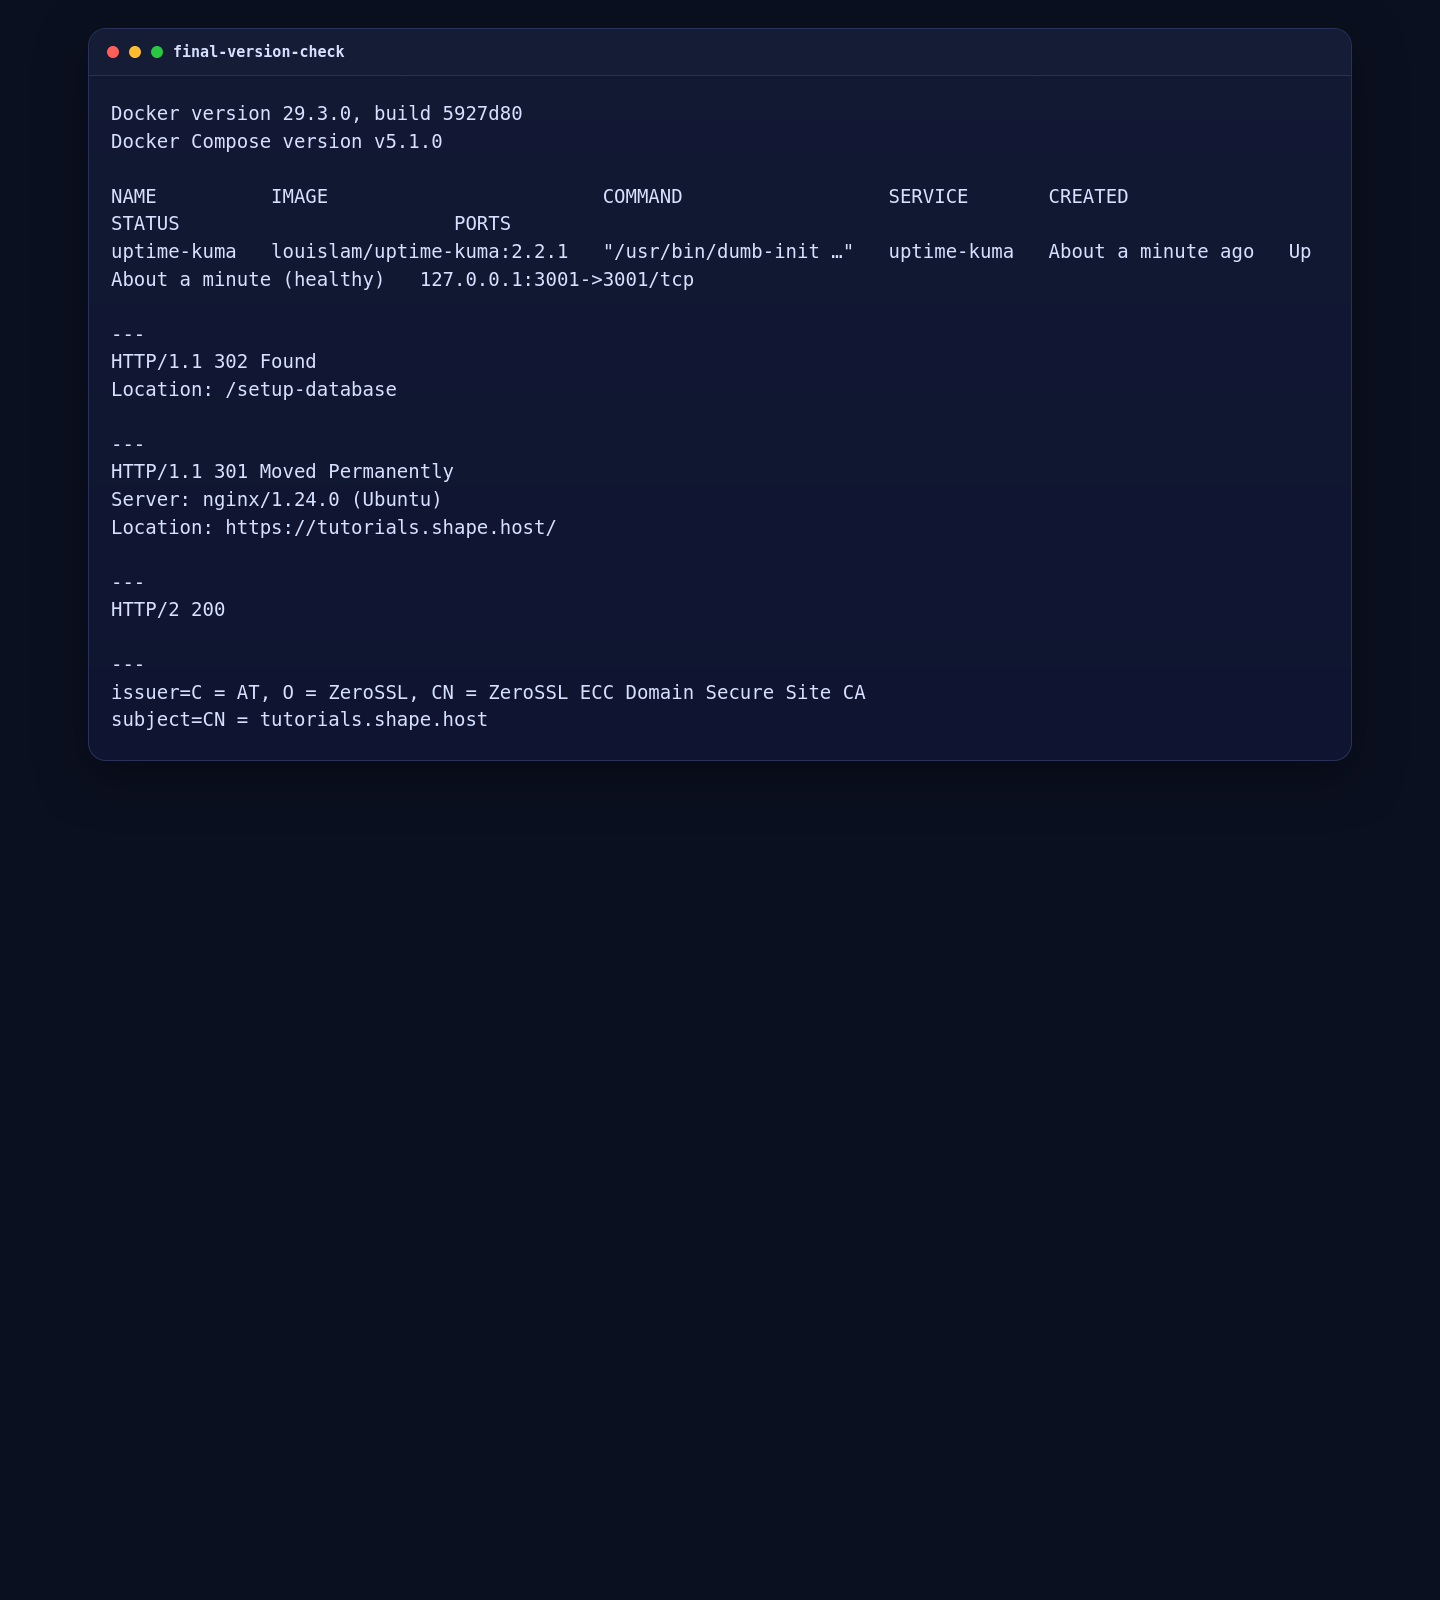
docker --version
docker compose version

cd /opt/uptime-kuma
docker compose ps

curl -sI http://127.0.0.1:3001/ | grep -E '^(HTTP/|Location:|Server:)'
curl -sI --resolve tutorials.shape.host:80:127.0.0.1 http://tutorials.shape.host/ | grep -E '^(HTTP/|Location:|Server:)'
curl -sI --resolve tutorials.shape.host:443:127.0.0.1 https://tutorials.shape.host/setup-database | grep -E '^(HTTP/|Location:|Server:)'
echo | openssl s_client -connect 127.0.0.1:443 -servername tutorials.shape.host 2>/dev/null | openssl x509 -noout -issuer -subject
On the tested server, the local Uptime Kuma endpoint returned HTTP/1.1 302 Found to /setup-database, the public hostname returned HTTP/1.1 301 Moved Permanently to HTTPS, the HTTPS setup page returned HTTP/2 200, and the certificate issuer was ZeroSSL ECC Domain Secure Site CA.
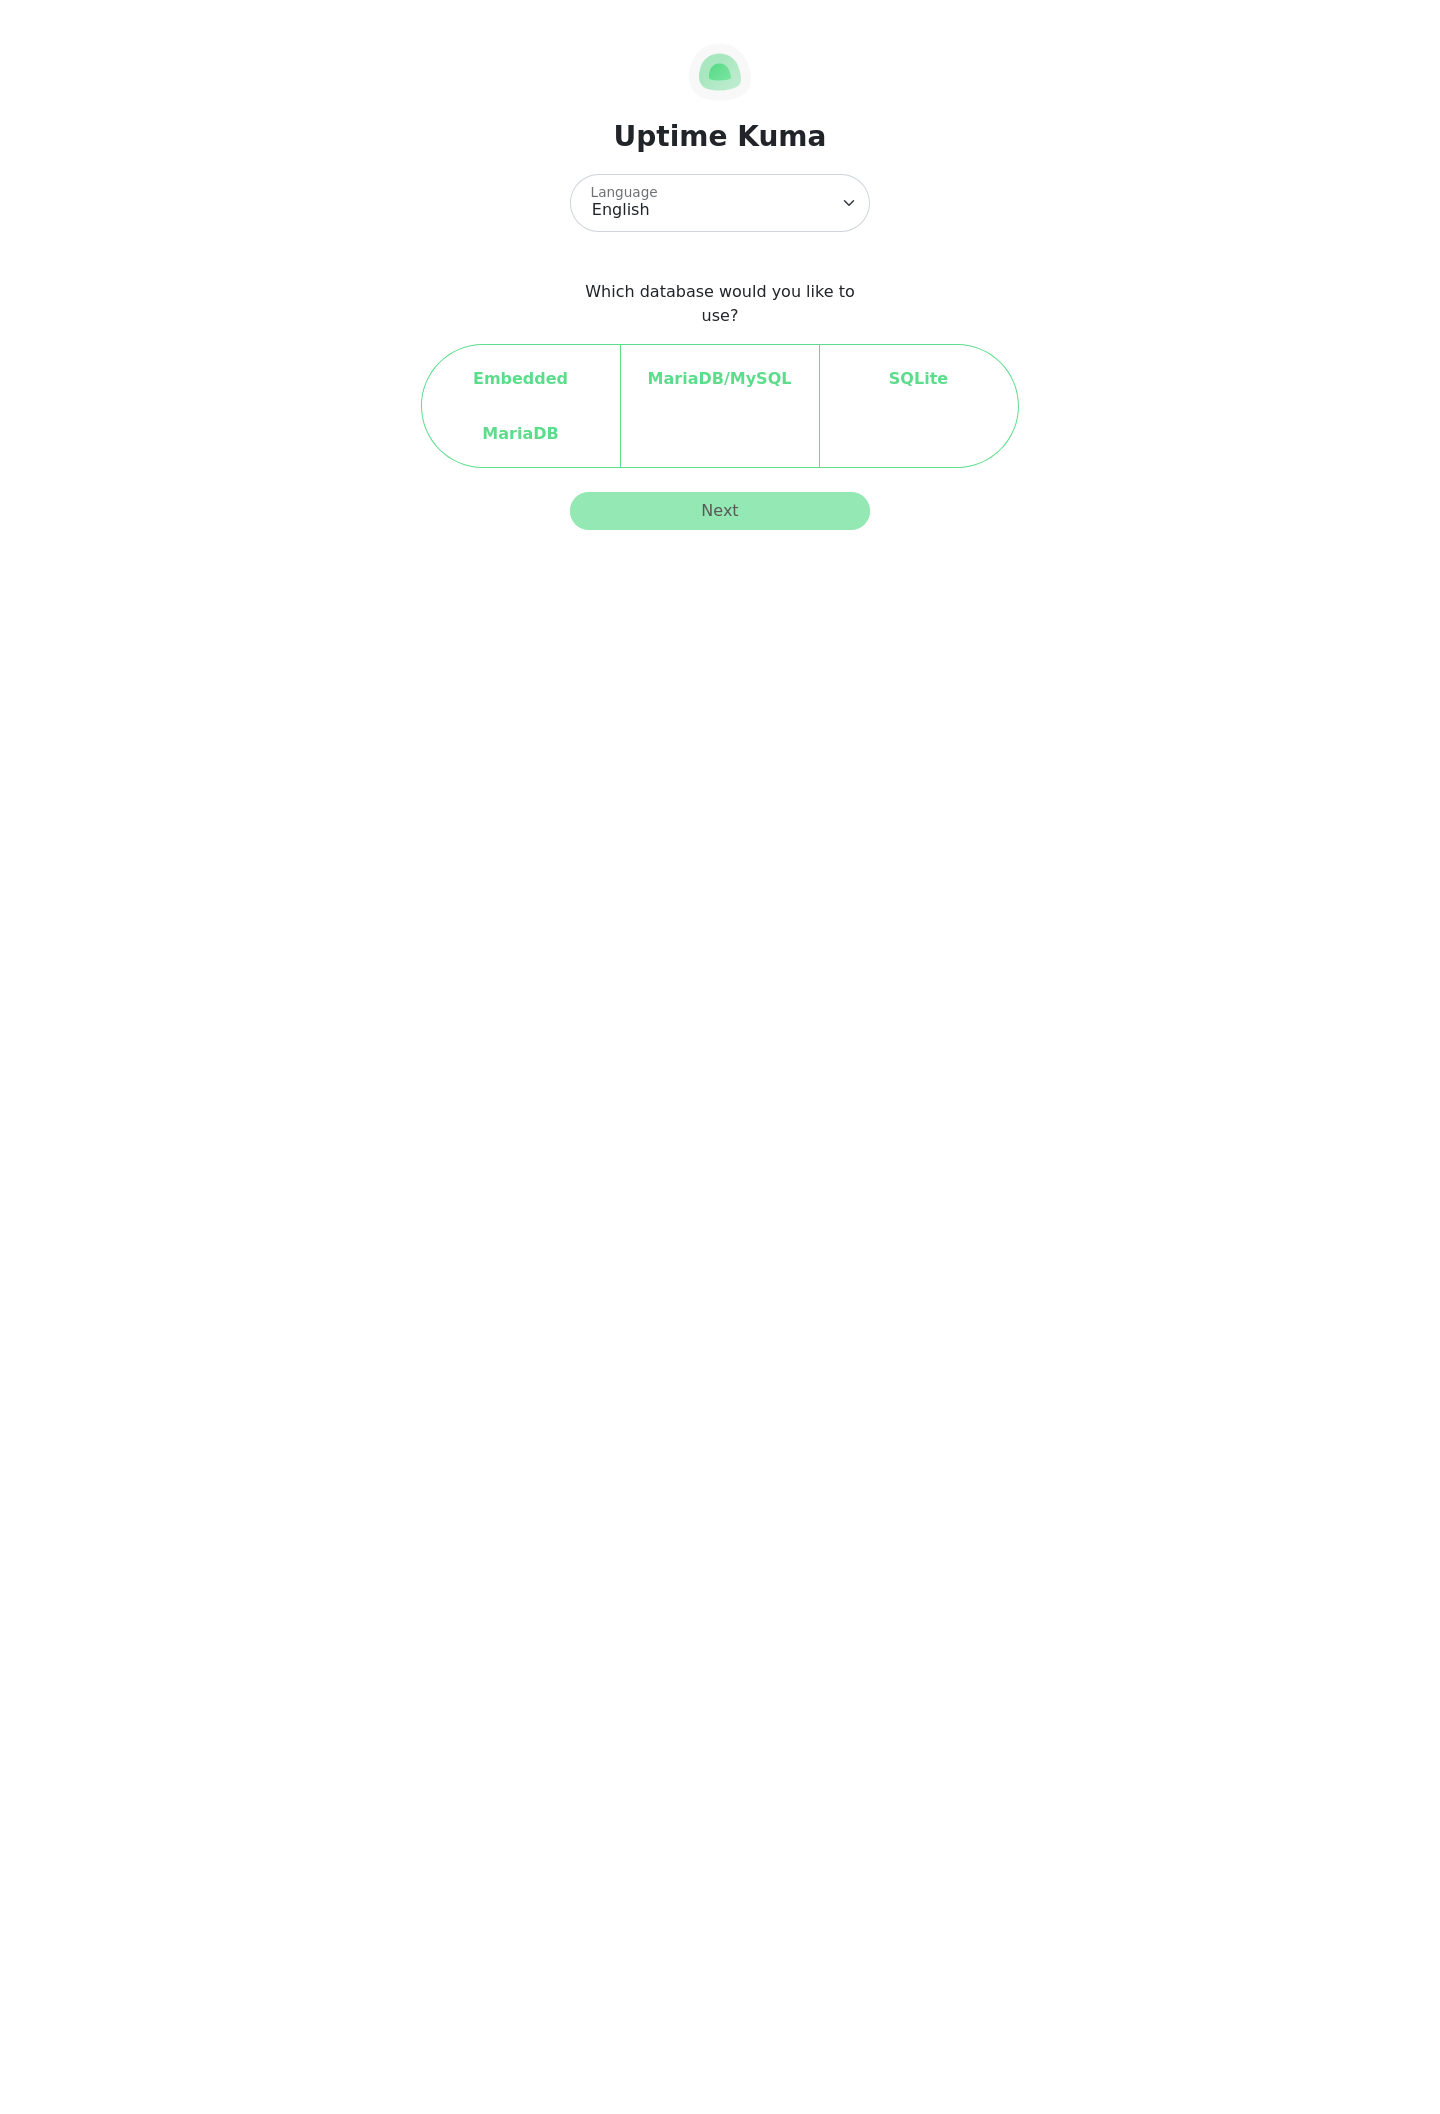
8. Open the Setup Page in a Browser
Once the reverse proxy and certificate are in place, open https://tutorials.shape.host/setup-database to finish the first-run configuration in the Uptime Kuma web interface.
Troubleshooting Notes
- If Docker is missing or too old, reinstall it from Docker’s official Ubuntu repository before pulling the Uptime Kuma image.
- If Uptime Kuma does not answer on
127.0.0.1:3001, checkdocker compose psanddocker compose logs uptime-kuma. - If ZeroSSL issuance fails, verify that
tutorials.shape.hostpoints to the correct public IP and that port80is reachable from the internet. - If the certificate installs successfully but the browser still warns, reload Nginx and inspect the live chain with the
openssl s_clientcheck from the validation section. - If you prefer a different reverse proxy later, keep Uptime Kuma bound to localhost and place the public TLS termination in the proxy layer.
Conclusion
You now have a working Uptime Kuma deployment on Ubuntu 24.04 with Docker, Nginx, and a trusted ZeroSSL certificate on tutorials.shape.host. On this validated Shape.Host run, the deployed Uptime Kuma version was 2.2.1.
The next sensible steps are completing the setup wizard, adding your first HTTP and ping monitors, and configuring one or two notification channels for alerting.