CherryPy on Rocky Linux 9 (Python + WSGI + Nginx + SSL)
CherryPy is a lightweight yet production-ready Python web framework that includes its own embedded HTTP server. Unlike larger frameworks such as Django or Flask, CherryPy focuses on simplicity, performance, and flexibility, allowing developers to design applications without being tied to predefined patterns. With features like built-in session management, caching, and static file serving, CherryPy is ideal for lightweight web apps, APIs, and embedded Python services.
Running CherryPy on Rocky Linux 9, a community-driven, RHEL-compatible enterprise distribution, provides a secure, stable, and long-term supported foundation. With SELinux enforced by default, systemd 252, OpenSSL 3, and Python 3.9 (with newer versions available via AppStream or EPEL), Rocky Linux is well-suited for deploying CherryPy in production, typically behind Nginx with SSL termination.
Architecture Overview
| Layer | Component | Role |
|---|---|---|
| OS | Rocky Linux 9 | RHEL-compatible enterprise base with SELinux enforcement |
| Runtime | Python 3.9+ + venv | Runs CherryPy apps in isolated environments |
| Framework | CherryPy (WSGI server) | Minimalist Python HTTP server and framework |
| Process Manager | systemd | Manages CherryPy as a persistent background service |
| Reverse Proxy | Nginx | TLS termination, routing, caching, and compression |
| TLS | Let’s Encrypt / PKI | Provides HTTPS security for public access |
Why Use CherryPy?
- Fast and lightweight – small footprint with a built-in HTTP server.
- Stable and mature – in production since 2002, actively maintained.
- Flexible – works with any Python library, ORM, or template engine.
- Object-oriented – intuitive app structure for clean, maintainable code.
- Enterprise-grade – integrates smoothly with SELinux, systemd, and Nginx.
CherryPy vs Other Python Frameworks
| Feature/Capability | CherryPy | Flask | Django | FastAPI |
|---|---|---|---|---|
| Approach | Minimal + WSGI | Microframework | Full-stack | Async API-first |
| HTTP server | Built-in | Needs WSGI server | Needs WSGI server | ASGI (uvicorn) |
| Complexity | Low | Low | High | Medium |
| Best use case | APIs, services | Lightweight APIs | Large-scale apps | Async microservices |
CherryPy is best suited when you want a simple, fast Python framework without the complexity of full-stack solutions.
Security & Best Practices
- Always deploy behind Nginx with SSL (HTTPS).
- Run CherryPy under a dedicated non-root system user.
- Use Python virtual environments to isolate dependencies.
- Manage the app with systemd services for uptime and logging.
- Keep Rocky Linux, Python, and CherryPy patched with security updates.
- Enforce SELinux policies and secure Nginx with headers (HSTS, CSP, etc.).
Typical Use Cases
- Hosting REST APIs and microservices.
- Running internal dashboards or monitoring tools.
- Embedding a lightweight web server inside Python-based applications.
- Prototyping apps quickly without heavy frameworks.
- Deploying secure, production-ready services with SSL.
Step 1: Create a Server Instance on Shape.Host
Start with a clean Rocky Linux 9 server. To create one on Shape.Host:
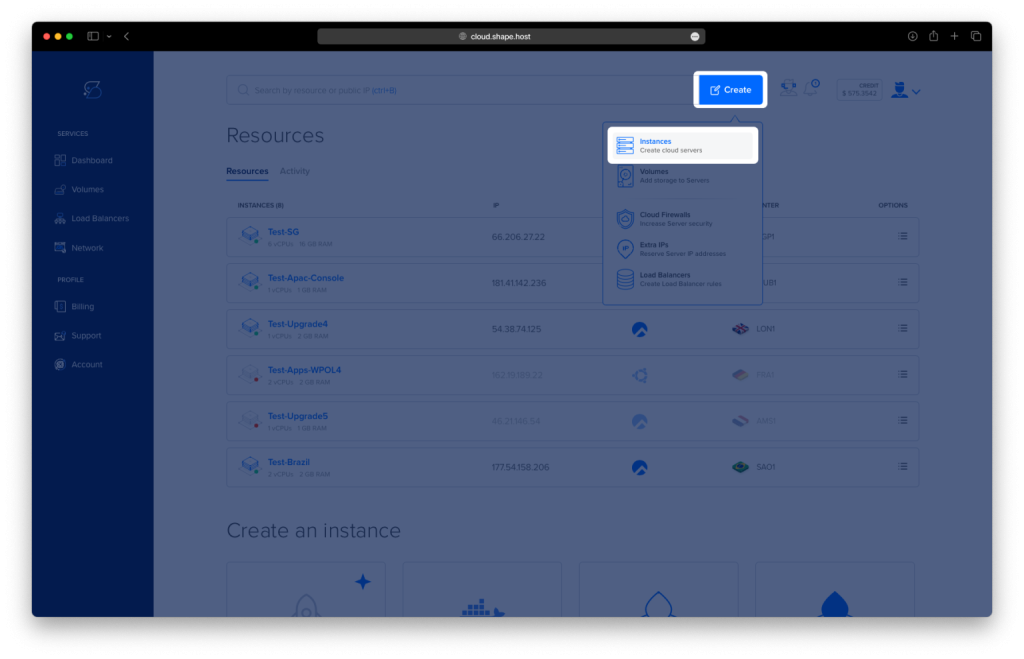
Log into your Shape.Host dashboard.
Click Create → Instance.
Choose your preferred data center location.
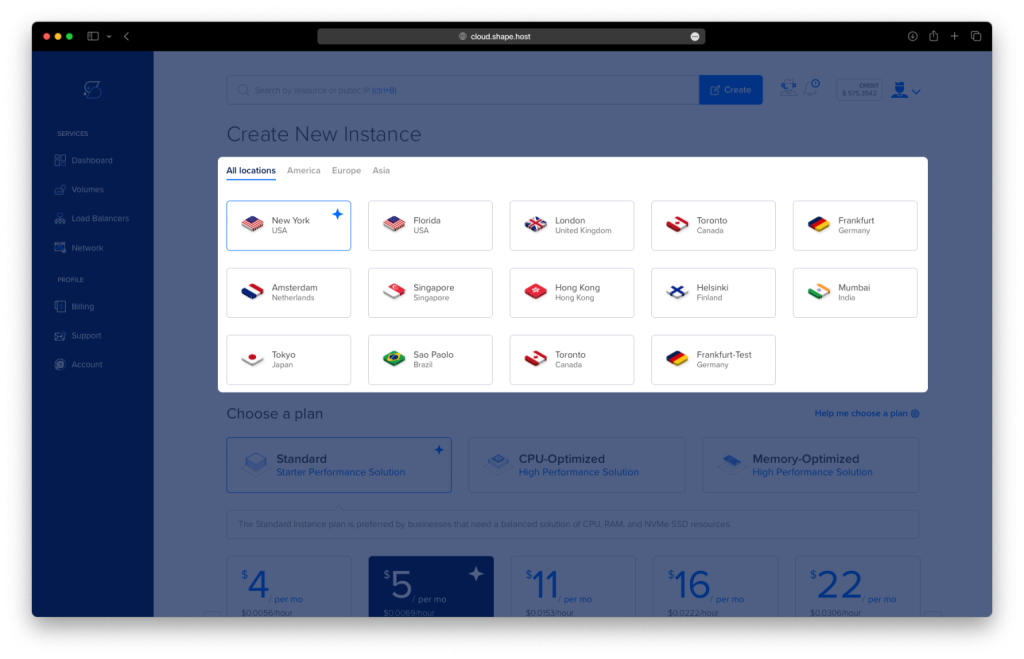
Pick a plan with at least 2 CPUs, 2 GB RAM, and 20 GB SSD.
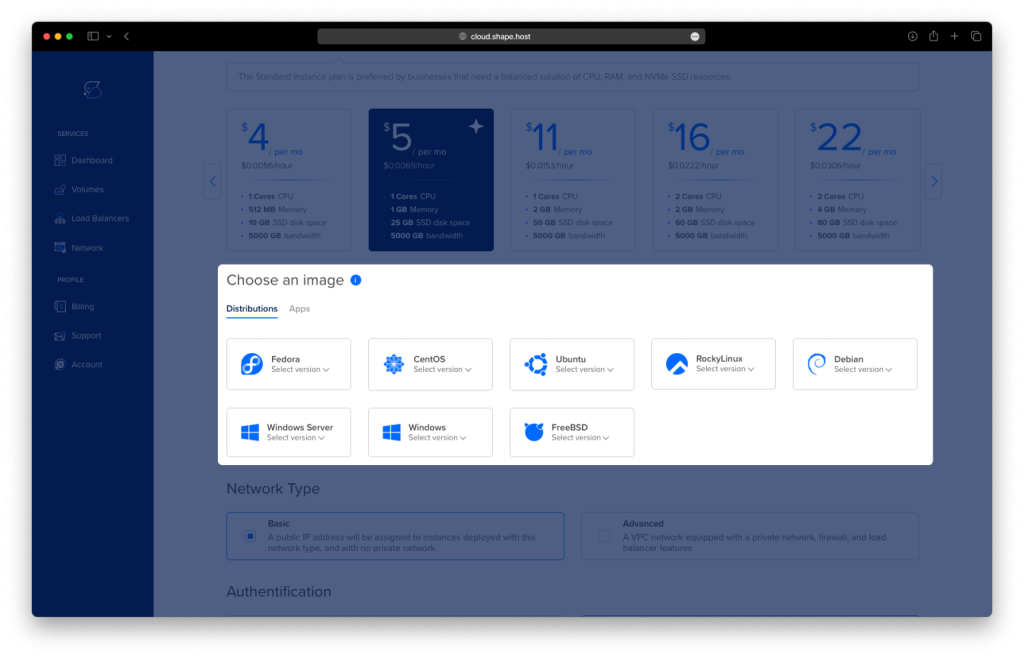
Select Rocky Linux 9 (64-bit) as the operating system.
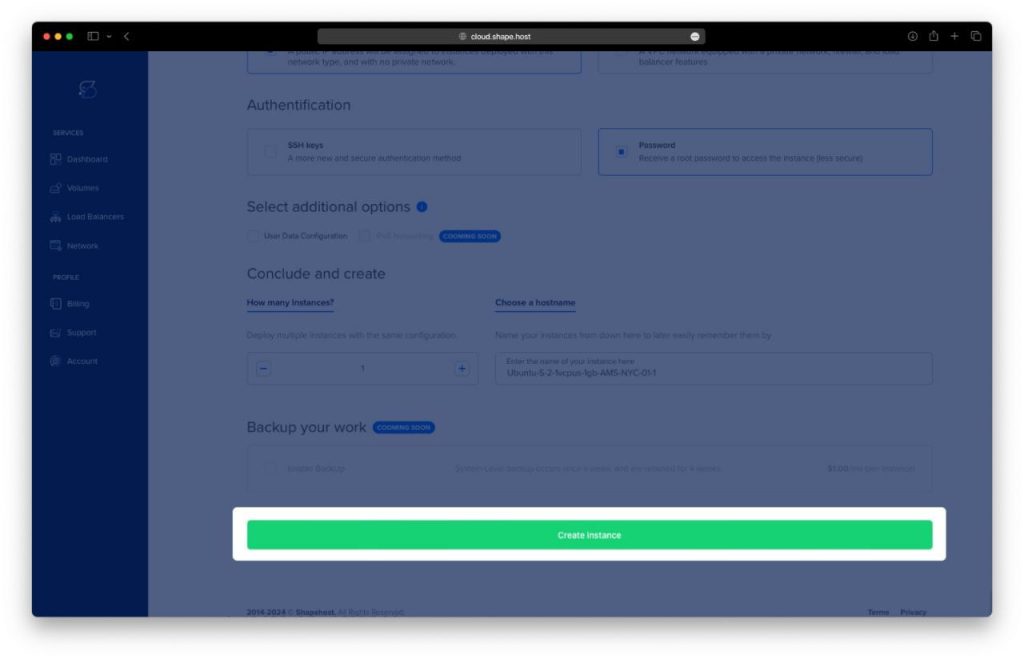
Click Create Instance.
Copy the public IP address from the Resources section once the VM is ready.

Step 2: Connect to Your Server
- Linux/macOS:
ssh root@your_server_ip - Windows (PuTTY):
- Download PuTTY.
- Enter your server IP and select SSH.
- Click Open and log in with your Shape.Host credentials.
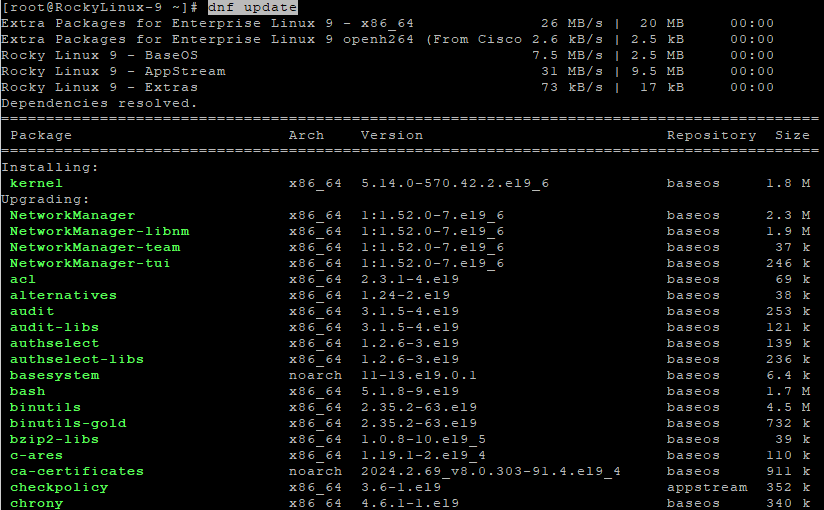
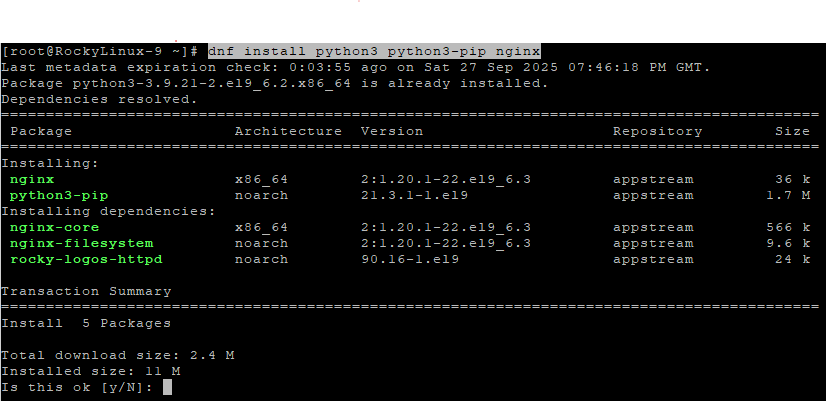
Step 3: Update System and Install Dependencies
dnf update
dnf install python3 python3-pip nginx
Updates system packages and installs Python 3, pip, and Nginx.
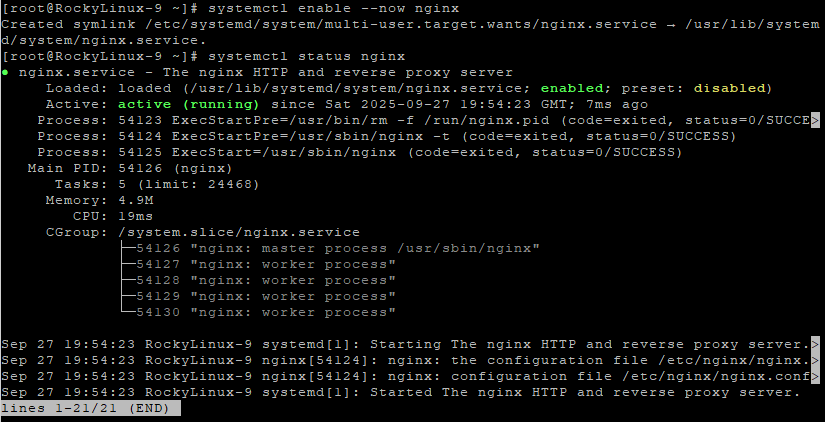
Enable and check Nginx:
systemctl enable --now nginx
systemctl status nginx
Starts Nginx immediately and enables it on boot.
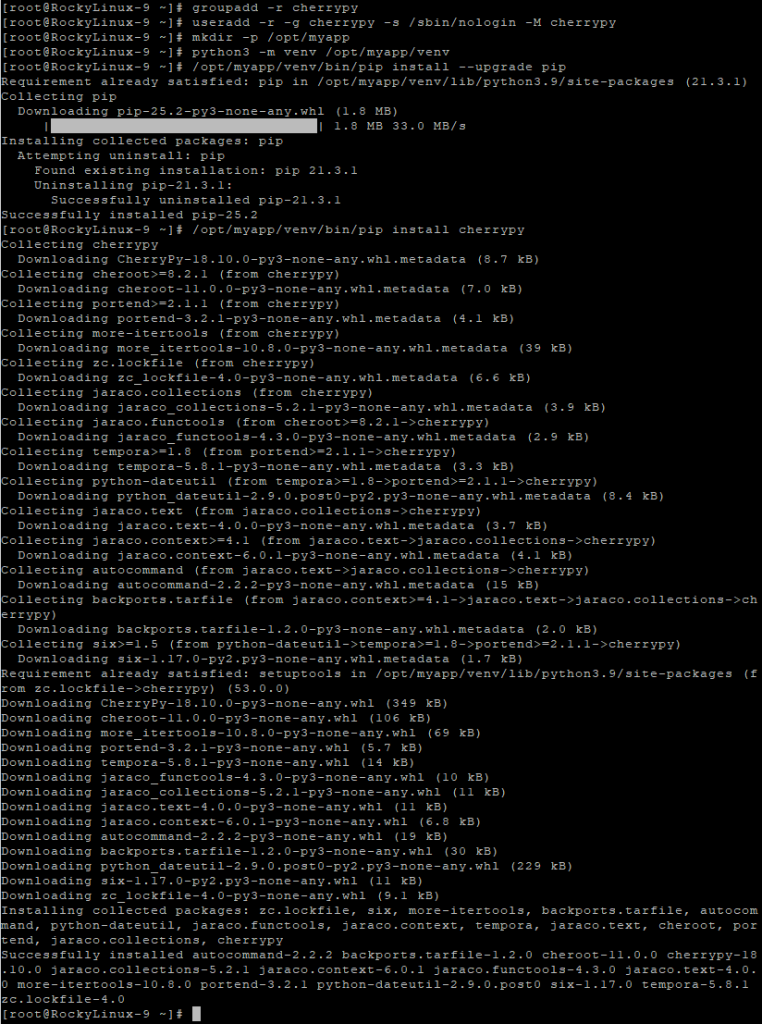
Step 4: Create a Dedicated User and Application Directory
groupadd -r cherrypy
useradd -r -g cherrypy -s /sbin/nologin -M cherrypy
mkdir -p /opt/myapp
Creates a restricted system user cherrypy and an application directory.
Step 5: Set Up Virtual Environment and Install CherryPy
python3 -m venv /opt/myapp/venv
/opt/myapp/venv/bin/pip install --upgrade pip
/opt/myapp/venv/bin/pip install cherrypy
Creates a Python virtual environment, upgrades pip, and installs CherryPy.
Step 6: Create the CherryPy Application
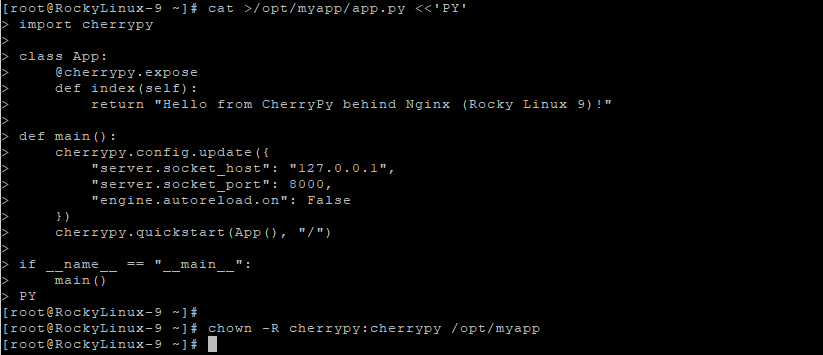
cat >/opt/myapp/app.py <<'PY'
import cherrypy

class App:
    @cherrypy.expose
    def index(self):
        return "Hello from CherryPy behind Nginx (Rocky Linux 9)!"

def main():
    cherrypy.config.update({
        "server.socket_host": "127.0.0.1",
        "server.socket_port": 8000,
        "engine.autoreload.on": False
    })
    cherrypy.quickstart(App(), "/")

if __name__ == "__main__":
    main()
PY
This app responds with a simple message when visited.
Set correct permissions:
chown -R cherrypy:cherrypy /opt/myapp
Step 7: Test the Application Manually
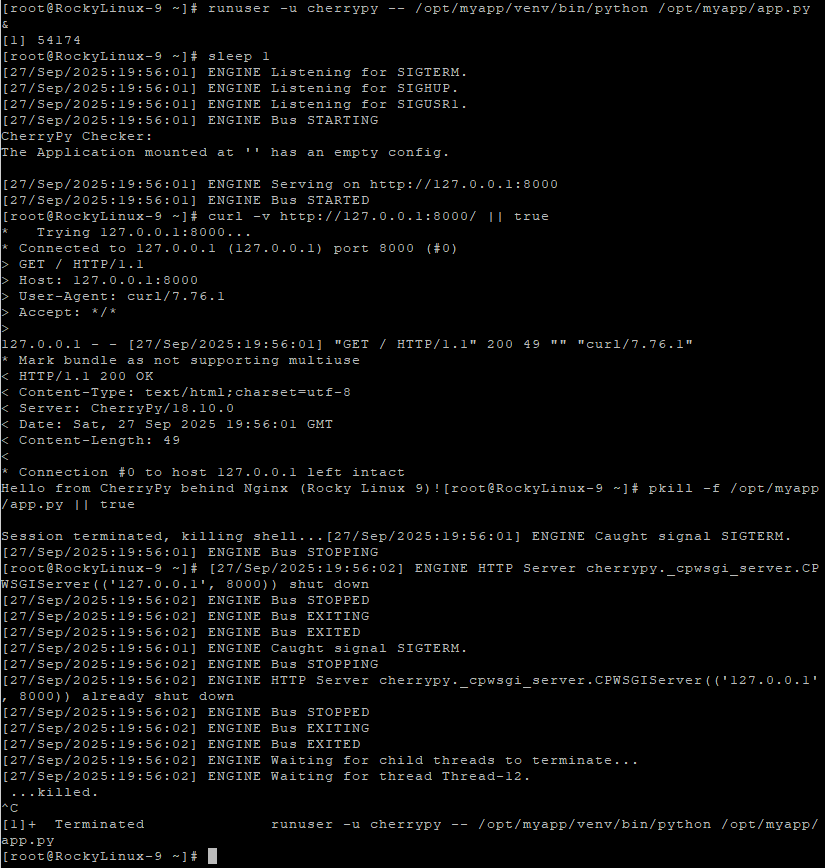
runuser -u cherrypy -- /opt/myapp/venv/bin/python /opt/myapp/app.py &
sleep 1
curl -v http://127.0.0.1:8000/ || true
pkill -f /opt/myapp/app.py || true
Starts the app temporarily, checks if it responds, then stops it.
Step 8: Create a systemd Service
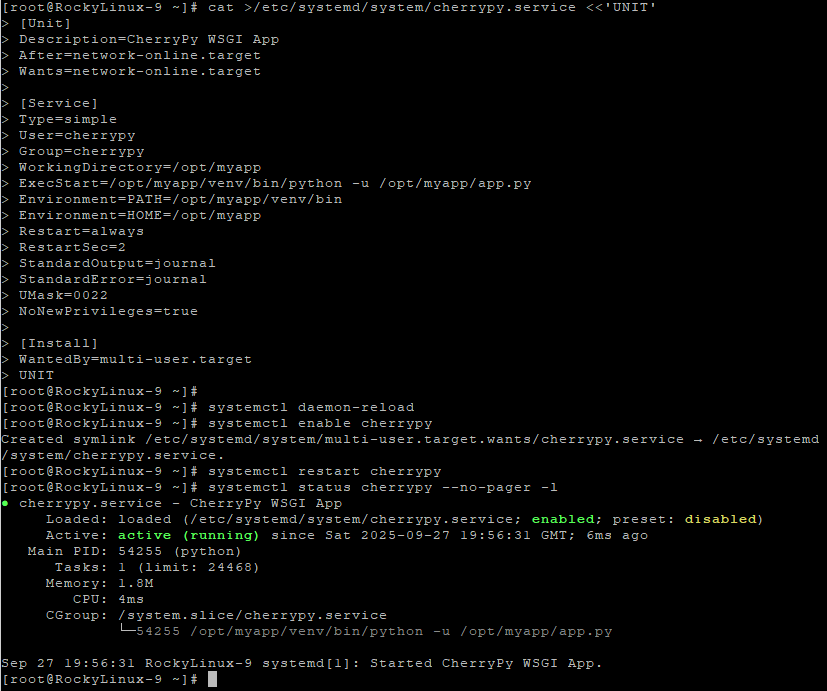
cat >/etc/systemd/system/cherrypy.service <<'UNIT'
[Unit]
Description=CherryPy WSGI App
After=network-online.target
Wants=network-online.target

[Service]
Type=simple
User=cherrypy
Group=cherrypy
WorkingDirectory=/opt/myapp
ExecStart=/opt/myapp/venv/bin/python -u /opt/myapp/app.py
Environment=PATH=/opt/myapp/venv/bin
Environment=HOME=/opt/myapp
Restart=always
RestartSec=2
StandardOutput=journal
StandardError=journal
UMask=0022
NoNewPrivileges=true

[Install]
WantedBy=multi-user.target
UNIT
Reload and start the service:
systemctl daemon-reload
systemctl enable cherrypy
systemctl restart cherrypy
systemctl status cherrypy --no-pager -l
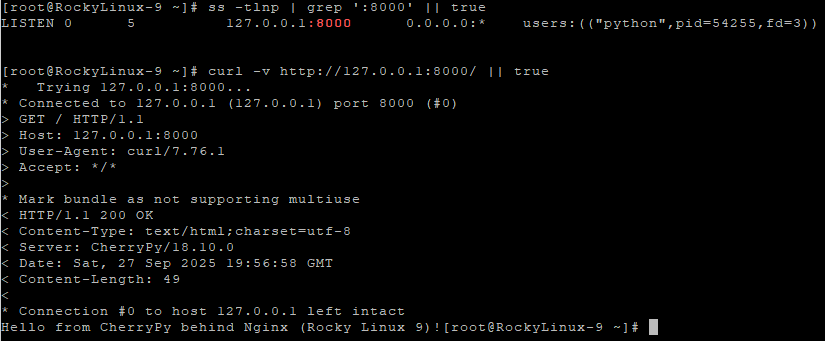
Verify it’s listening:
ss -tlnp | grep ':8000' || true
curl -v http://127.0.0.1:8000/ || true
Step 9: Configure Nginx Reverse Proxy
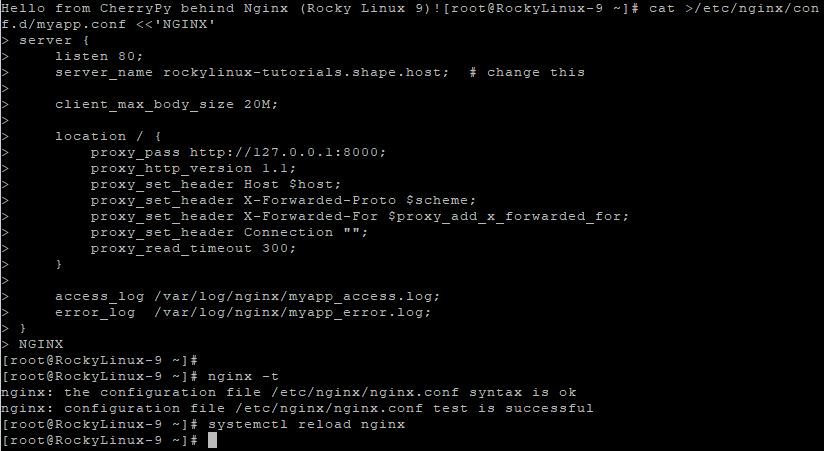
cat >/etc/nginx/conf.d/myapp.conf <<'NGINX'
server {
    listen 80;
    server_name rockylinux-tutorials.shape.host;  # change this

    client_max_body_size 20M;

    location / {
        proxy_pass http://127.0.0.1:8000;
        proxy_http_version 1.1;
        proxy_set_header Host $host;
        proxy_set_header X-Forwarded-Proto $scheme;
        proxy_set_header X-Forwarded-For $proxy_add_x_forwarded_for;
        proxy_set_header Connection "";
        proxy_read_timeout 300;
    }

    access_log /var/log/nginx/myapp_access.log;
    error_log  /var/log/nginx/myapp_error.log;
}
NGINX
Check and reload Nginx:
nginx -t
systemctl reload nginx
Step 10: Enable SSL with Let’s Encrypt
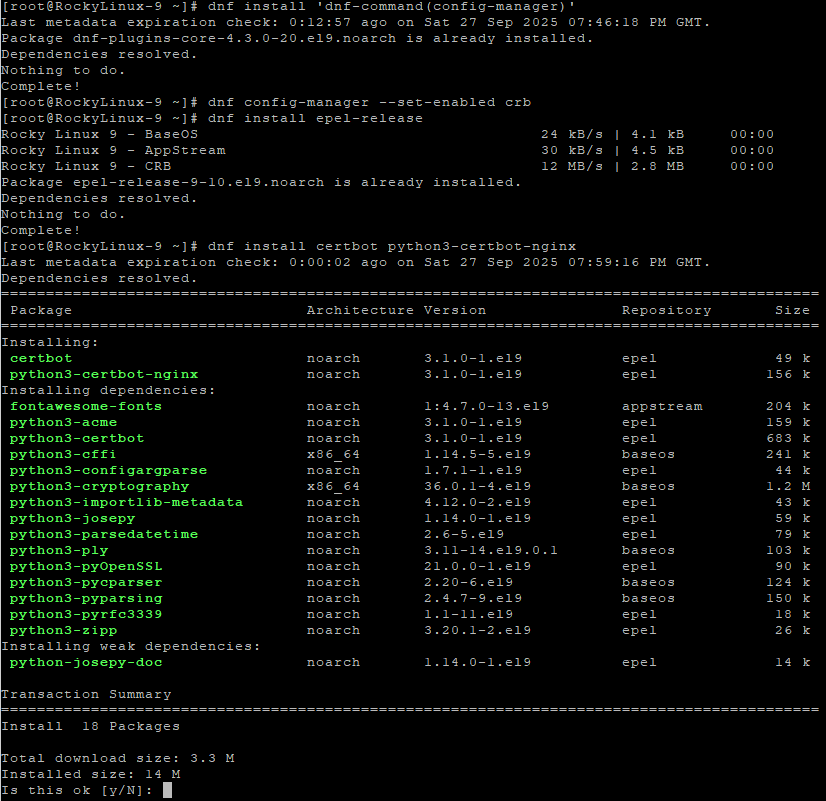
Enable required repos and install Certbot:
dnf install 'dnf-command(config-manager)'
dnf config-manager --set-enabled crb
dnf install epel-release
dnf install certbot python3-certbot-nginx
Request SSL certificate:
certbot --nginx -d rockylinux-tutorials.shape.host

Now open:
https://rockylinux-tutorials.shape.host
You should see:
Hello from CherryPy behind Nginx (Rocky Linux 9)!

You’ve successfully deployed CherryPy on Rocky Linux 9 with systemd and Nginx as a reverse proxy, secured by Let’s Encrypt SSL. This setup is lightweight, secure, and production-ready.
For scalable and reliable hosting, consider running your apps on Shape.Host Linux SSD VPS — optimized for performance and easy management.