Zabbix Server on Rocky Linux 9 – Stable Enterprise Monitoring on a RHEL-Compatible Platform
Zabbix Server is a powerful open-source monitoring platform that enables real-time performance tracking, alerting, and reporting across IT infrastructure. Deploying Zabbix on Rocky Linux 9—a 1:1 binary-compatible RHEL alternative—provides a secure, predictable, and enterprise-ready foundation for large-scale observability solutions.
Why Use Rocky Linux 9 for Zabbix?
Rocky Linux 9 is a robust choice for enterprise monitoring for the following reasons:
- Binary compatibility with RHEL 9, ideal for regulated and mission-critical environments
- 10-year lifecycle support, ensuring long-term system stability
- Linux Kernel 5.14, optimized for performance, namespaces, and control groups (cgroups v2)
- SELinux (enforcing), default security framework fully compatible with Zabbix components
- Systemd v250+, integrated with logging, service dependencies, and secure execution
- dnf & EPEL support, for installing Zabbix from official repositories with minimal friction
These attributes make Rocky Linux 9 a suitable base OS for both centralized Zabbix servers and distributed monitoring nodes.
Zabbix Server Architecture on Rocky Linux
Zabbix on Rocky Linux 9 follows a modular, scalable architecture:
- Zabbix Server – Central daemon that aggregates data, evaluates triggers, and generates alerts.
- Zabbix Frontend – Web-based interface (PHP-based) hosted via Apache or NGINX.
- Zabbix Agents – Installed on monitored hosts to gather CPU, memory, disk, and application metrics.
- Zabbix Proxy (optional) – Offloads data collection in large or geographically distributed networks.
- Database Backend – Uses PostgreSQL, MariaDB, MySQL, or Oracle for storing configuration and historical data.
Each component integrates with Rocky Linux’s system-level tools like systemd, firewalld, SELinux, and logrotate.
Core Features Supported on Rocky Linux 9
| Feature | Description |
|---|---|
| Agent & Agent2 support | Collect system metrics with advanced plugins (Agent2) |
| SNMP, JMX, IPMI, HTTP | Monitor hardware, Java services, and web endpoints natively |
| Custom scripting | Execute remote or local scripts for flexible checks |
| Auto-discovery | Detect new hosts, interfaces, and services dynamically |
| Web scenarios | Simulate HTTP transactions to monitor uptime and response times |
| Built-in notifications | Supports email, SMS, Telegram, Slack, Webhooks, and escalation logic |
| Templates | Reusable monitoring configurations for OS, network devices, apps, and DBs |
Zabbix’s flexible design supports both horizontal and vertical scaling across Rocky Linux environments.
Use Cases in Production
Zabbix Server on Rocky Linux 9 is well-suited for:
- Enterprise IT monitoring – Full visibility over Linux, Windows, virtual machines, and network equipment
- Telecom and ISP infrastructure – Scalable with proxies and optimized polling
- Cloud hybrid environments – Native support for AWS, Azure, and GCP with auto-discovery templates
- Security-conscious deployments – Uses SELinux, TLS/PSK, and system hardening for compliance
- Distributed monitoring – Monitor remote networks or locations via Zabbix Proxies
The OS’s low churn and RHEL alignment help ensure minimal maintenance cycles and predictable performance over time.
Performance Considerations
Rocky Linux 9 provides kernel and system-layer features that enhance Zabbix Server performance:
| Area | Optimization Notes |
|---|---|
| Database I/O | Use PostgreSQL 15 or tuned MariaDB for heavy metrics ingestion |
| Polling tuning | Adjust StartPollers, StartTrappers, CacheSize, and HistoryStorageDateIndex |
| PHP 8.1+ | Enhances performance of the web frontend with OPcache and FPM support |
| Service orchestration | Use systemd dependencies for startup and restart reliability |
Rocky Linux’s conservative updates mean that once tuned, performance remains stable across minor releases.
Security Features and Hardening
Rocky Linux 9 is security-focused by design. Key features include:
| Feature | Integration with Zabbix |
|---|---|
| SELinux | Enforced by default, restricts access to binaries, ports, and files |
| Firewalld | Manages access to TCP ports 10050 (agent) and 10051 (server) |
| TLS & PSK | Secures communication between server, agents, and proxies |
| Auditd | Logs configuration and runtime access events for traceability |
| OpenSCAP | Assesses compliance with industry benchmarks (CIS, DISA STIG) |
These features ensure that Zabbix on Rocky Linux meets security and compliance standards in enterprise, financial, and government sectors.
Comparison with Other Operating Systems
| Feature | Rocky Linux 9 | Ubuntu 24.04 | Debian 12 |
|---|---|---|---|
| Kernel | 5.14 (RHEL-based) | 6.8 (mainline LTS) | 6.1 (LTS) |
| Security Framework | SELinux (Enforcing) | AppArmor | AppArmor |
| Release Model | Conservative | Semi-rolling LTS | Conservative |
| Ideal Use Case | Enterprise & RHEL parity | Cloud-native & DevOps | Minimalist & stable |
| Package Freshness | Moderate (via EPEL) | High | Moderate |
Rocky Linux 9 is ideal for environments that prioritize system integrity, long-term compatibility, and predictable performance.
Zabbix Server on Rocky Linux 9 offers a mature and reliable monitoring platform built on top of a hardened, RHEL-compatible OS. It’s particularly effective for infrastructure monitoring in regulated or enterprise-grade IT environments where stability, supportability, and security are critical.
With its scalable architecture and support for distributed proxies, database tuning, and strong access controls, this stack provides everything needed to build a long-term, maintainable observability solution.
Step 1: Set Up a Server Instance on Shape.Host
Begin by launching a clean Rocky Linux 9 VPS. Shape.Host provides fast and reliable VPS hosting with full root access, ideal for deploying Zabbix monitoring solutions.
Create Your VPS:
Go to https://shape.host and log in.
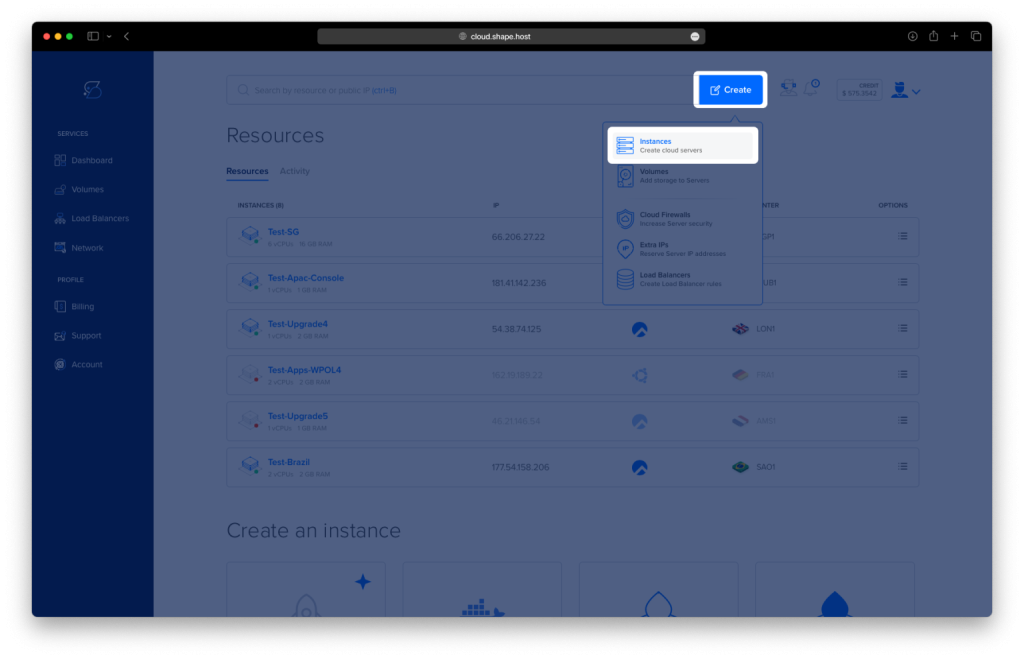
Click “Create” from the dashboard.
Choose “Instance” as the resource type.
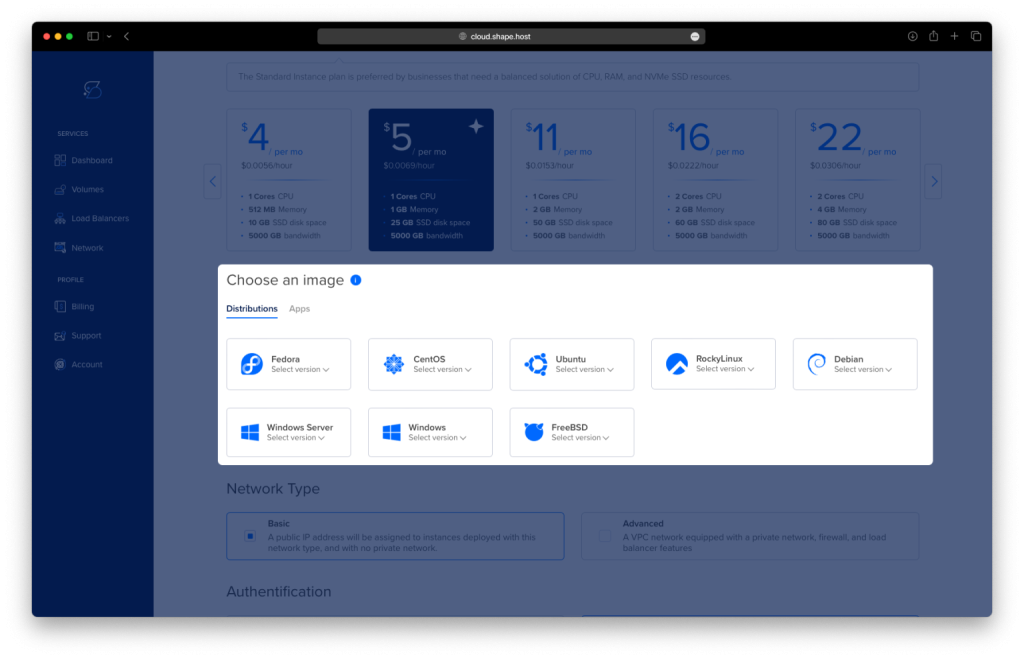
Choose a preferred data center location.

Select Rocky Linux 9 (64-bit) as the operating system.
Pick a plan with at least 2 CPUs, 2 GB RAM, and 20 GB SSD.
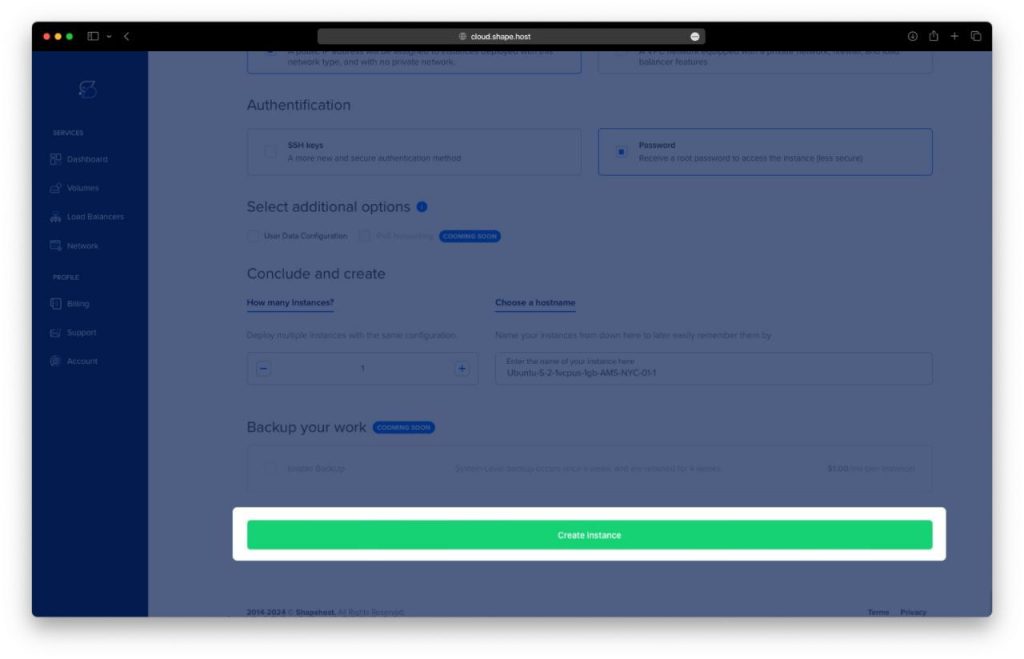
Click “Create Instance”.
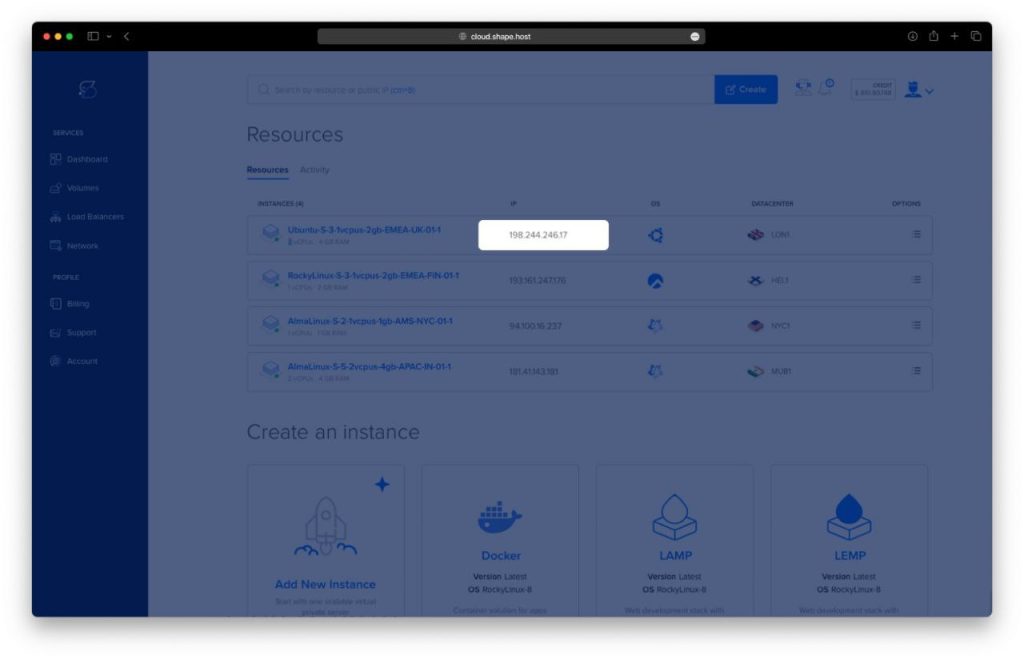
After deployment, copy the IP address listed in the Resources section.
Connect to Your Instance
On Linux/macOS:
ssh root@your_server_ip
On Windows (using PuTTY):
- Download PuTTY.
- Paste your instance IP into the Host Name field.
- Use port
22and set connection type to SSH. - Click Open and log in as
root.
Step 2: Install Zabbix and Dependencies
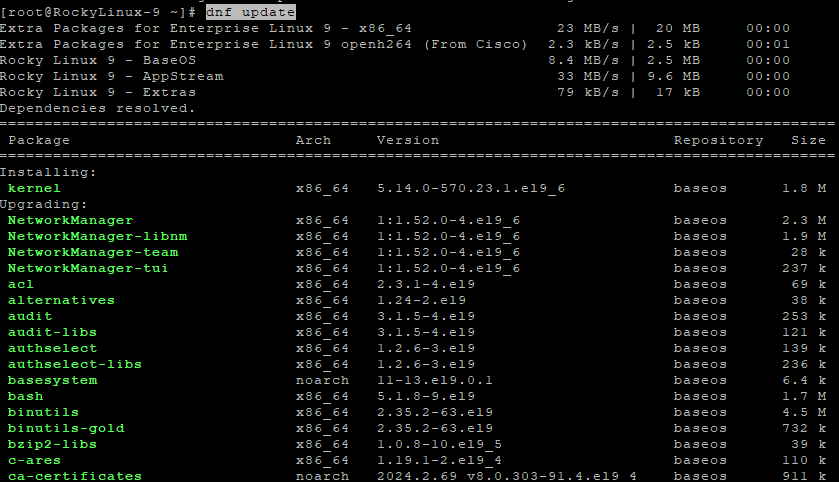
1. Update the system:
dnf update
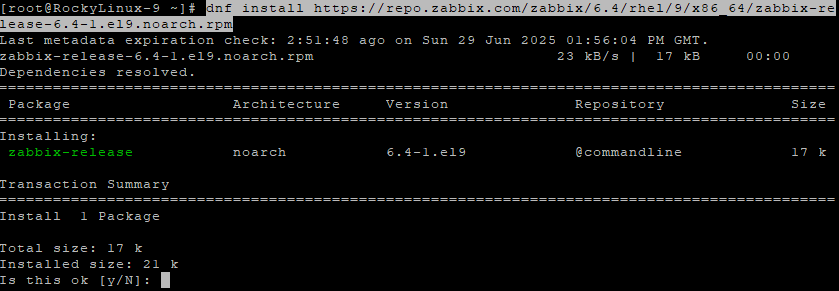
2. Add the official Zabbix 6.4 repository:
dnf install https://repo.zabbix.com/zabbix/6.4/rhel/9/x86_64/zabbix-release-6.4-1.el9.noarch.rpm
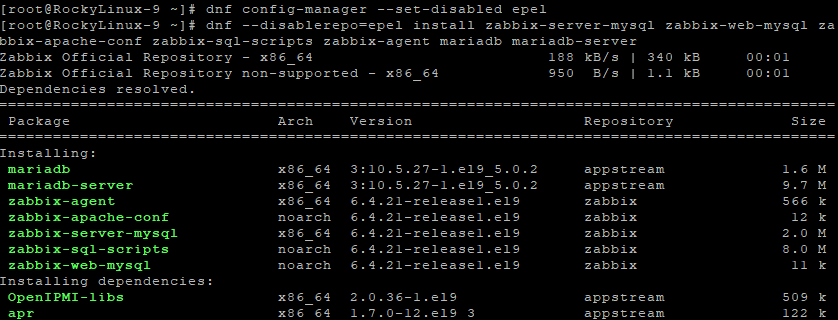
3. Disable EPEL to avoid potential conflicts:
dnf config-manager --set-disabled epel
4. Install Zabbix server, frontend, agent, and MariaDB:
dnf --disablerepo=epel install zabbix-server-mysql zabbix-web-mysql zabbix-apache-conf zabbix-sql-scripts zabbix-agent mariadb mariadb-server
Step 3: Configure the Database
1. Start and enable MariaDB:
systemctl enable --now mariadb

2. Secure MariaDB installation:
mysql_secure_installation

3. Create the Zabbix database and user:
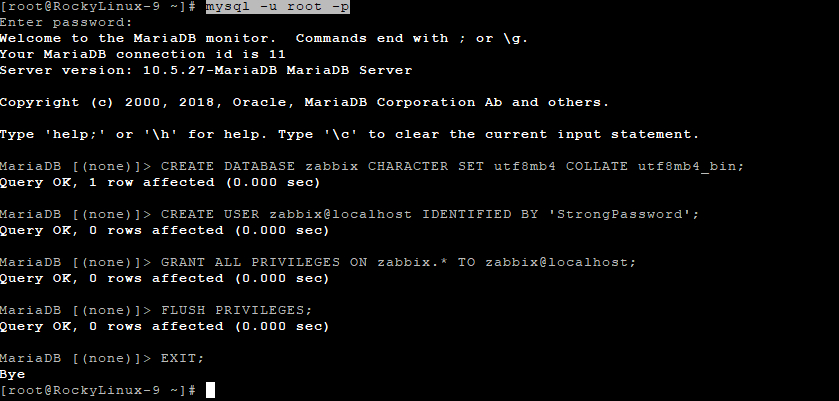
mysql -u root -p
Inside the MariaDB shell:
CREATE DATABASE zabbix CHARACTER SET utf8mb4 COLLATE utf8mb4_bin;
CREATE USER zabbix@localhost IDENTIFIED BY 'StrongPassword';
GRANT ALL PRIVILEGES ON zabbix.* TO zabbix@localhost;
FLUSH PRIVILEGES;
EXIT;
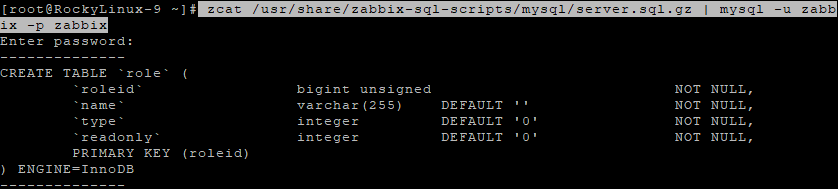
Step 4: Import Zabbix Schema
Import the initial schema to the Zabbix database:
zcat /usr/share/zabbix-sql-scripts/mysql/server.sql.gz | mysql -u zabbix -p zabbix
Enter the password StrongPassword when prompted.
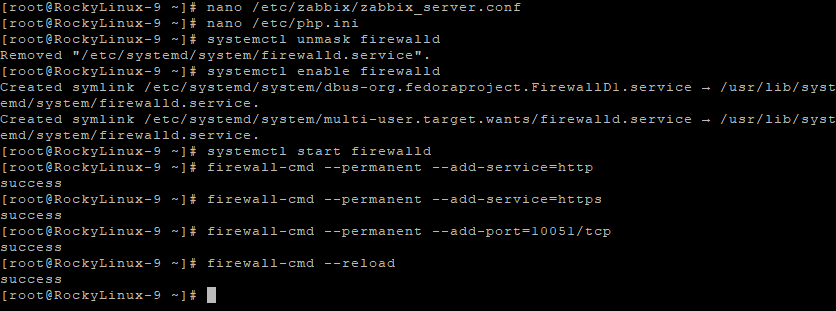
Step 5: Configure Zabbix Server and PHP
1. Configure Zabbix server to use the database password:
nano /etc/zabbix/zabbix_server.conf
Find and set:
DBPassword=StrongPassword

2. Set timezone in PHP configuration:
nano /etc/php.ini
Find and set:
date.timezone = Europe/Bucharest

Step 6: Configure the Firewall
1. Enable and start firewalld:
systemctl unmask firewalld
systemctl enable firewalld
systemctl start firewalld
2. Allow necessary ports:
firewall-cmd --permanent --add-service=http
firewall-cmd --permanent --add-service=https
firewall-cmd --permanent --add-port=10051/tcp
firewall-cmd --reload
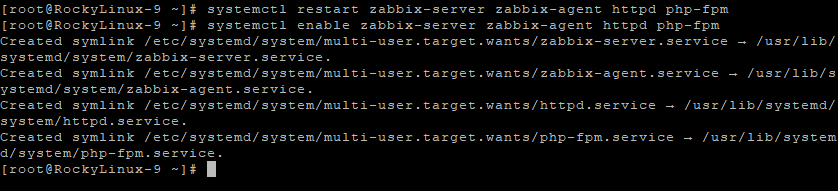
Step 7: Start and Enable Zabbix Services
1. Restart all required services:
systemctl restart zabbix-server zabbix-agent httpd php-fpm
2. Enable them to start on boot:
systemctl enable zabbix-server zabbix-agent httpd php-fpm
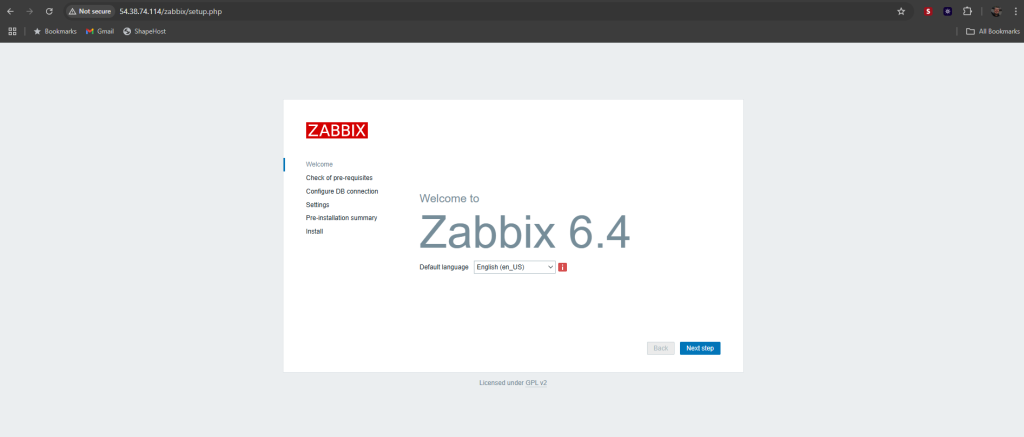
Step 8: Access Zabbix Web Installer
Visit the following address in your web browser:
http://your-server-ip/zabbix
Follow the installation wizard to:
- Verify prerequisites
- Enter DB details (
zabbix/StrongPassword) - Set server name and timezone
- Finish the setup
Sure! Here’s the shortened Zabbix web installer guide for Rocky Linux 9:
Zabbix Web Installer
1. Welcome
- Open in browser:
http://<your-ip>/zabbix/setup.php - Choose your preferred language
- Click Next step
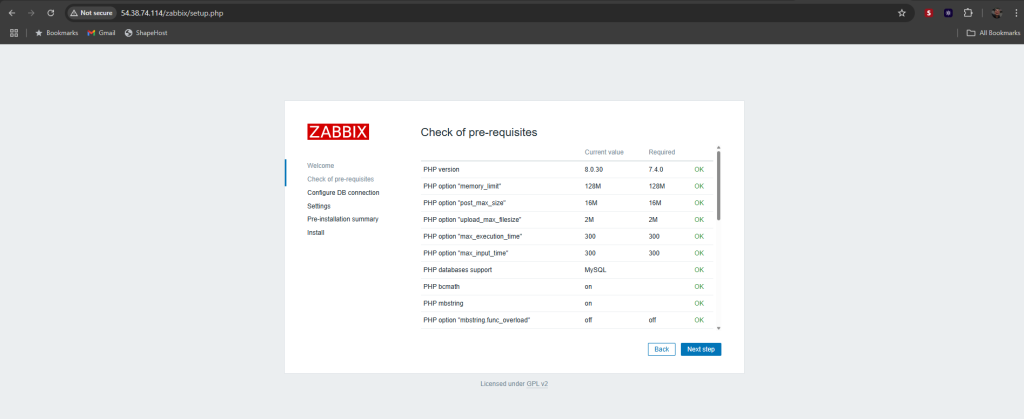
2. Check of pre-requisites
- Zabbix checks PHP version, extensions, limits
- All values should show OK
- Click Next step
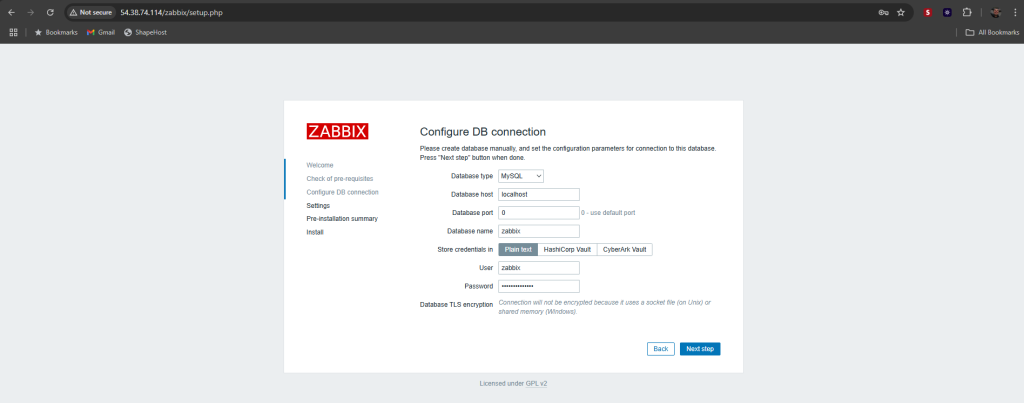
3. Configure DB Connection
- Enter:
- Database type: MySQL/MariaDB
- Host:
localhost - Port:
0(default) - Database name:
zabbix - User:
zabbix - Password: your DB password
- Click Next step
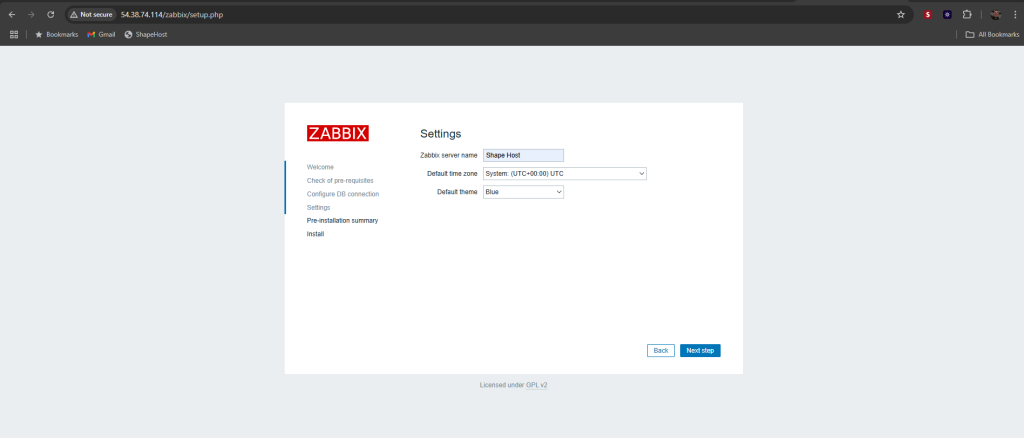
4. Settings
- Fill in:
- Server name: e.g.
Zabbix Rocky - Time zone: e.g.
Europe/Bucharest - Theme: Blue (default) or your choice
- Server name: e.g.
- Click Next step
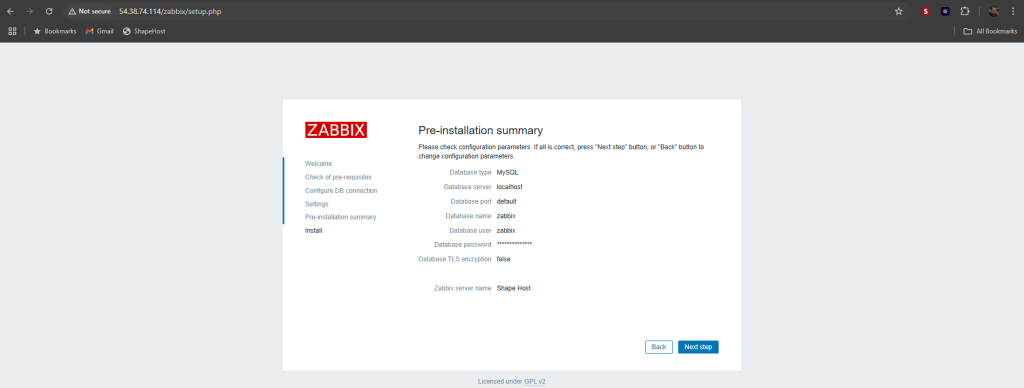
5. Pre-installation Summary
- Review all settings carefully
- Click Next step if correct
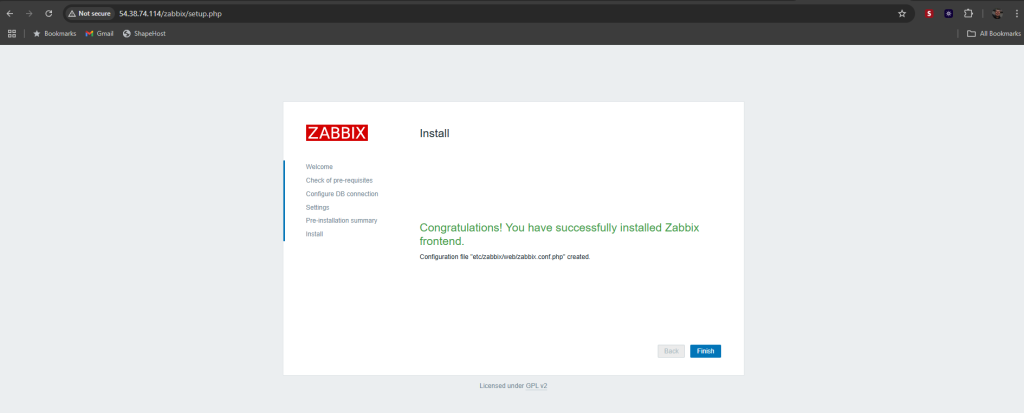
6. Install
- Installer creates the
zabbix.conf.phpfile - Click Finish
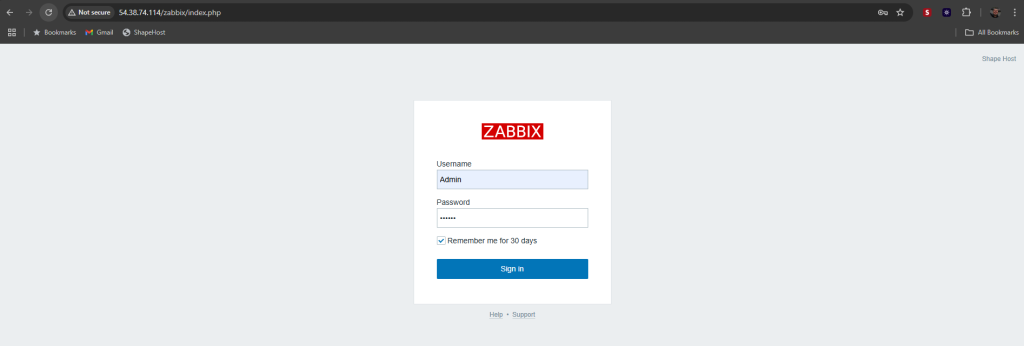
7. Login
- Username:
Admin - Password:
zabbix(default) - Change the password after login for security
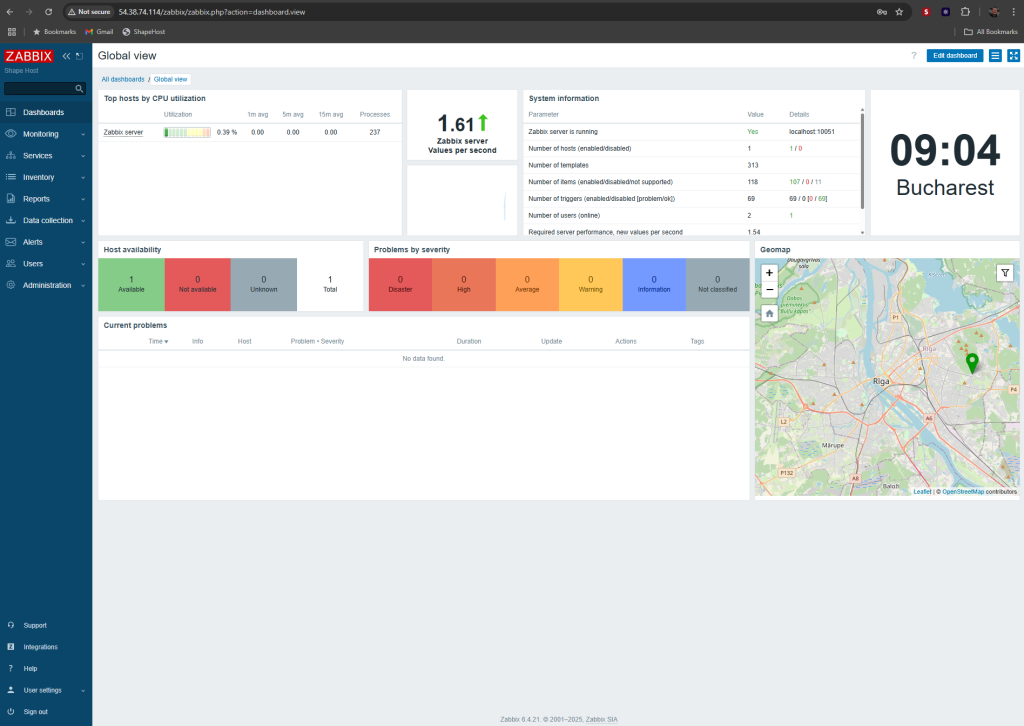
8. Global Dashboard
- See metrics, host status, alerts, and geomap
- Start configuring hosts and templates
You have successfully installed and configured Zabbix Server 6.4 on Rocky Linux 9. With this setup, you can start monitoring servers, services, network hardware, and more.
For best performance and scalability, consider deploying Zabbix on Shape.Host Linux SSD VPS—secure, fast, and developer-friendly infrastructure.
Start now at https://shape.host.