Emby is a powerful media server software that allows users to organize, stream, and manage digital media across multiple devices. With support for movies, TV shows, music, photos, and live TV, Emby provides a centralized platform for personal and home entertainment systems. Running Emby on Debian 12 ensures a stable, secure, and optimized media server experience, making it an excellent alternative to Plex and Jellyfin.
Key Features of Emby on Debian 12
1. Centralized Media Management
- Organize movies, TV shows, music, and photos into a unified library.
2. Multi-Device Streaming
- Stream media to smart TVs, mobile devices, web browsers, gaming consoles, and media players.
3. Live TV and DVR Support
- Watch and record live TV with compatible tuners and Electronic Program Guide (EPG) integration.
4. User Profiles and Parental Controls
- Create separate user accounts with access restrictions and parental controls.
5. Automatic Metadata Fetching
- Retrieves cover art, descriptions, ratings, and subtitles from online databases.
6. Remote Access and Secure Streaming
- Access media from anywhere with secure HTTPS connections.
7. Hardware-Accelerated Transcoding
- Supports GPU-based hardware transcoding for optimized performance.
8. Cloud Sync and Offline Viewing
- Sync media to cloud storage or download content for offline access.
9. Plugins and Customization
- Expand functionality with plugins for IPTV, trailers, themes, and more.
10. Multi-User and Family Sharing
- Share libraries across multiple users and devices, with customizable permissions.
Advantages of Using Emby on Debian 12
- Stable and Secure: Debian 12 provides long-term support (LTS) for a reliable media server experience.
- Cross-Platform Streaming: Supports Windows, macOS, Linux, Android, iOS, Roku, Fire TV, Chromecast, and Apple TV.
- Highly Customizable: Features themes, plugins, and user interface tweaks for a personalized experience.
- Privacy and Self-Hosting: Keep media files private and accessible without third-party services.
- Better Performance with Hardware Acceleration: Leverages Intel Quick Sync, NVIDIA NVENC, and AMD AMF for smooth playback.
Use Cases for Emby on Debian 12
1. Home Media Server
- Store and stream movies, TV shows, and music to family members.
2. Personal Cloud Media Library
- Access your media collection from anywhere without relying on third-party services.
3. Live TV Streaming and DVR
- Watch and record live TV programs with a tuner and EPG integration.
4. Family and Multi-User Media Sharing
- Set up profiles for family members with individual preferences and restrictions.
5. Mobile and Remote Streaming
- Enjoy media on the go with remote access and offline downloads.
6. Enterprise and Educational Content Sharing
- Stream training videos, educational material, and multimedia presentations for businesses or schools.
Emby vs. Plex vs. Jellyfin
| Feature | Emby | Plex | Jellyfin |
|---|---|---|---|
| Self-Hosting | ✅ Yes | ⚠️ Limited (Plex Pass) | ✅ Yes |
| Free and Open-Source | ⚠️ Partially (Freemium) | ❌ No | ✅ Yes |
| Live TV & DVR | ✅ Yes | ✅ Yes | ✅ Yes |
| Hardware Acceleration | ✅ Yes (Paid Feature) | ✅ Yes (Plex Pass) | ✅ Yes |
| Multi-User Support | ✅ Yes | ✅ Yes | ✅ Yes |
| Remote Access | ✅ Yes | ✅ Yes | ✅ Yes (Manual Setup) |
| Best For | ✅ Home Media & Customization | ✅ Cloud & Streaming Services | ✅ Open-Source Users & Privacy |
Why Use Emby on Debian 12?
- Self-Hosted and Private: No reliance on cloud services or external providers.
- Customizable Media Experience: Extensive themes, plugins, and metadata management.
- High-Quality Streaming: Supports 4K HDR, Dolby Atmos, and surround sound formats.
- Secure and Remote Access: Stream media securely from anywhere in the world.
- Efficient Performance on Linux Servers: Optimized for low-resource usage on Debian 12.
Emby on Debian 12 is a powerful, secure, and customizable media server that provides a seamless home entertainment experience. Whether you’re managing a personal media library, sharing content with family, or setting up a live TV system, Emby offers flexibility, control, and high-performance streaming.
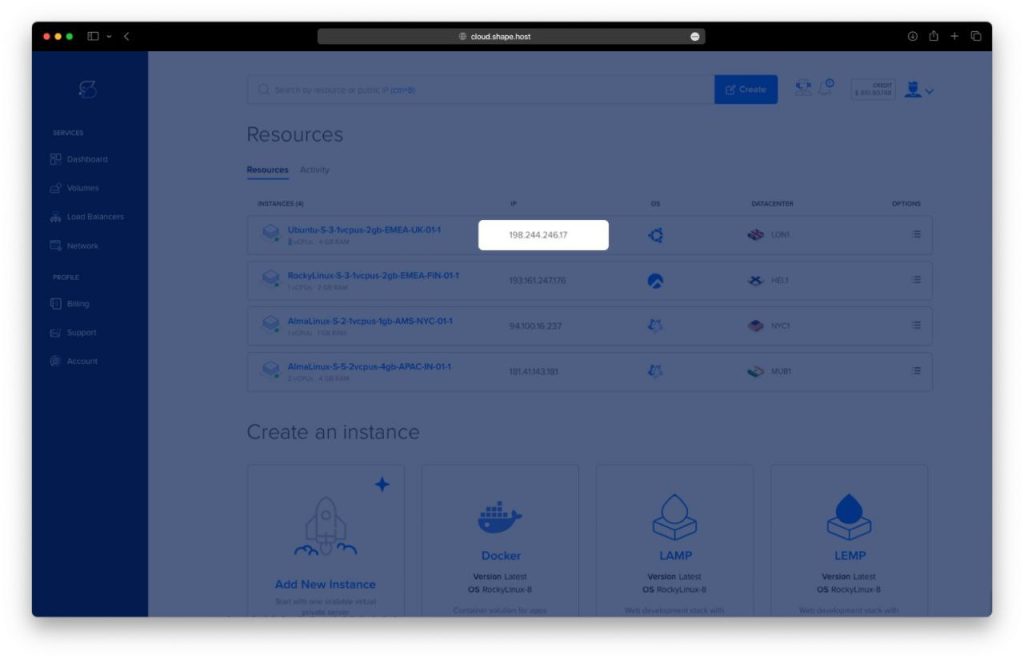
Step 1: Deploy a Debian 12 Server
Before we begin, you need a Debian 12 server. If you don’t have one yet, follow these simple steps to set up a server on Shape.Host:
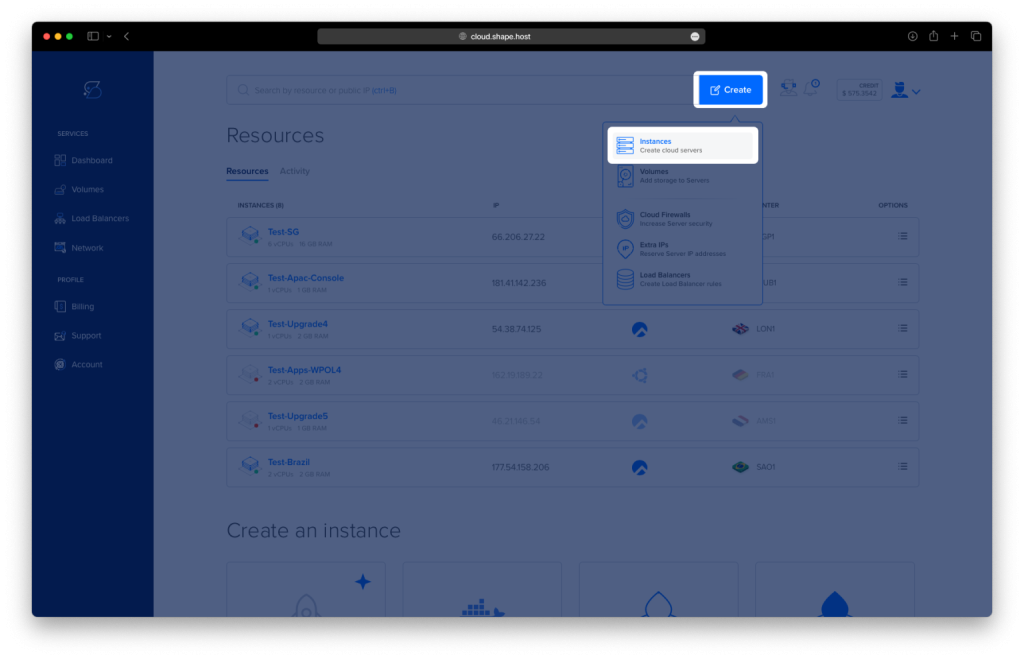
Log into Shape.Host and access your Dashboard.
Click “Create” to initiate the process of setting up a new server.
Select “Instances” to start configuring your virtual machine.
Pick a Data Center Location that offers the best performance for your audience.
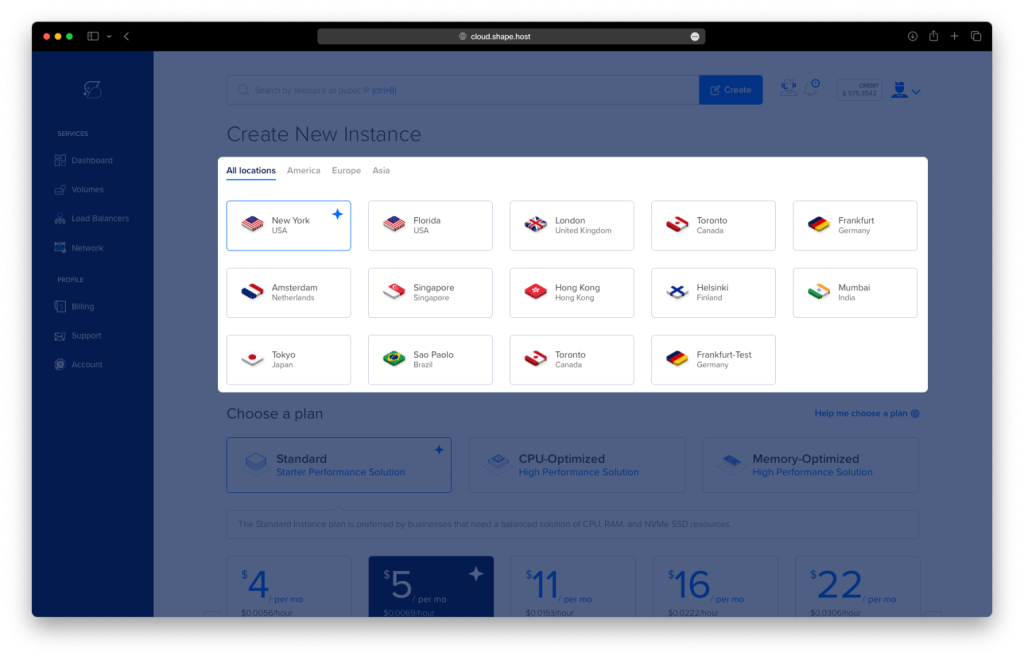
Choose a Hosting Plan that suits your needs, whether it’s for personal streaming or large-scale use.
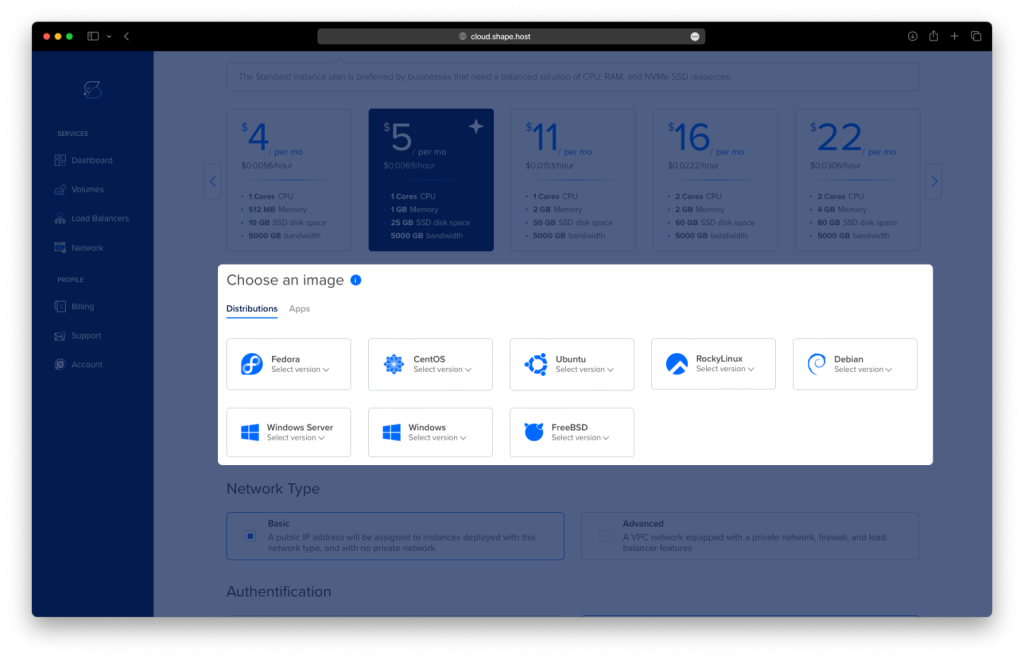
Set Debian 12 as the Operating System and finalize the instance setup.
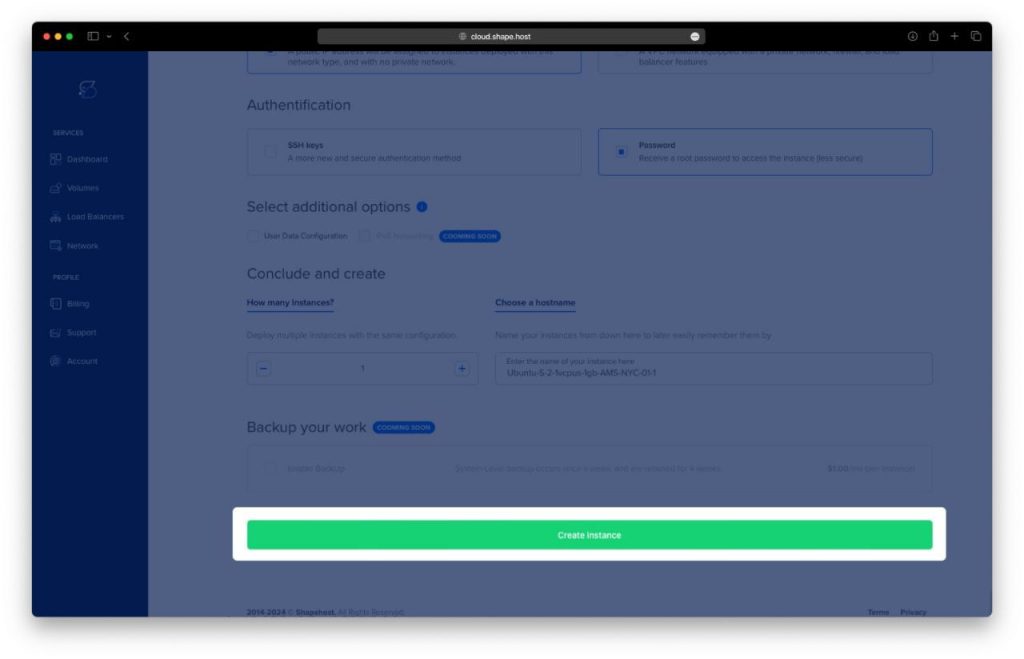
Deploy the Server by selecting your authentication method (SSH keys or password authentication) and clicking Create Instance.
Locate Your Instance’s IP Address
Step 2: Connect to Your Server
Once your server is up and running, access it via SSH.
- For Linux/macOS Users:
ssh root@<your_server_ip> - For Windows Users: Use PuTTY, enter your server’s IP address, and establish the connection.
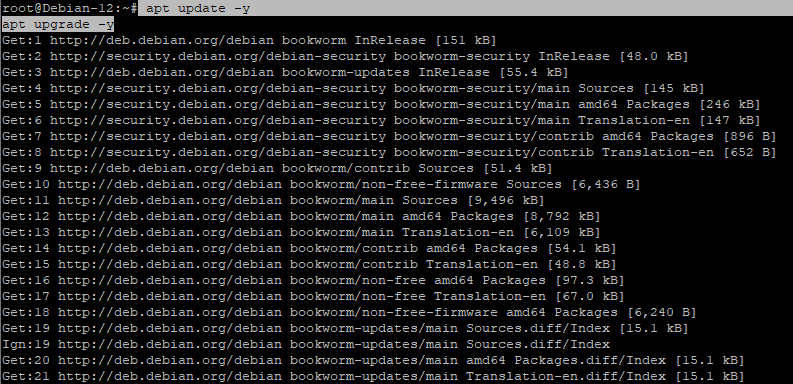
Step 3: Update Your System
Before installing Emby, make sure your system is up to date:
apt update -y && apt upgrade -y
Keeping your system updated ensures better security and compatibility with the latest software.
Step 4: Install Emby Media Server
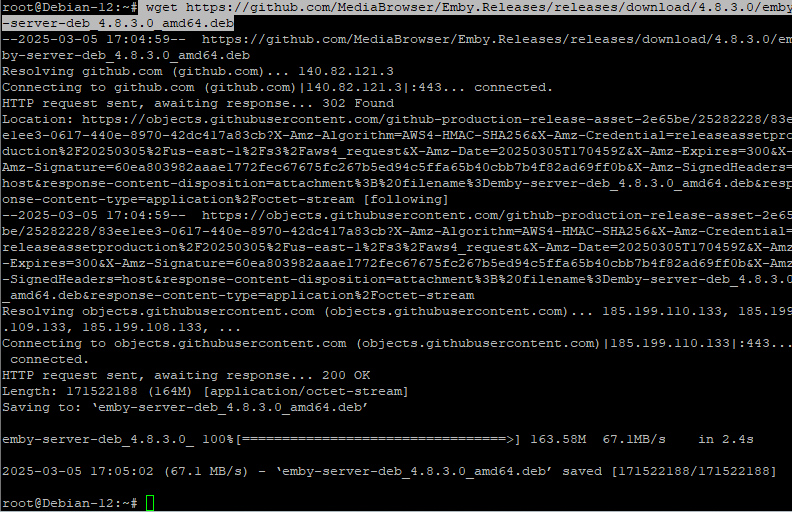
Emby is not available in the default Debian repositories, so you’ll need to manually download and install it.
Step 4.1: Download the Latest Emby Package
wget https://github.com/MediaBrowser/Emby.Releases/releases/download/4.8.3.0/emby-server-deb_4.8.3.0_amd64.deb
Step 4.2: Install Emby
dpkg -i emby-server-deb_4.8.3.0_amd64.deb
If you see any missing dependencies, fix them with:
apt install -f

Step 4.3: Start and Verify Emby Service
systemctl start emby-server
systemctl status emby-server
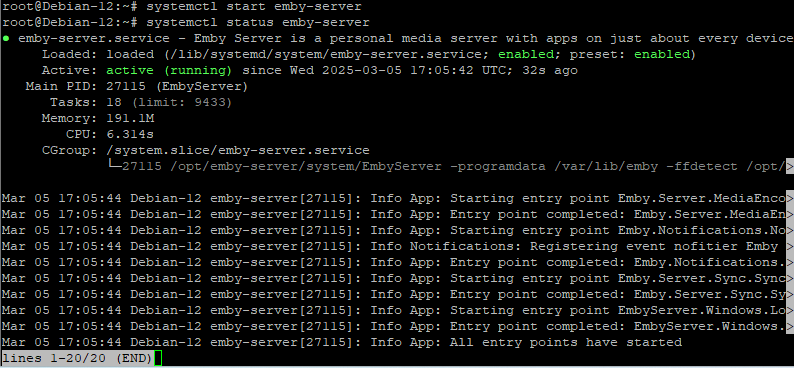
To check if Emby is running correctly, use:
ss -tulpn
At this stage, Emby should be accessible via http://<your_server_ip>:8096 in your web browser.

Step 5: Set Up Nginx as a Reverse Proxy
To improve security and enable access via a custom domain name, we will set up Nginx as a reverse proxy for Emby.
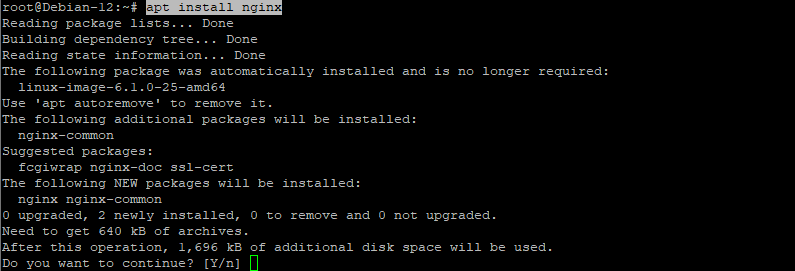
Step 5.1: Install Nginx
apt install nginx -y
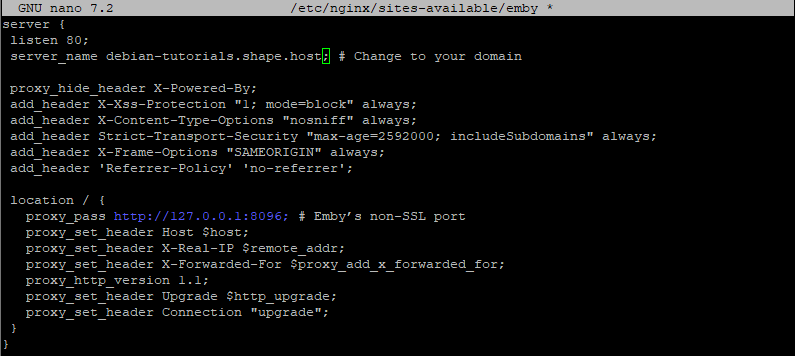
Step 5.2: Configure Nginx for Emby
nano /etc/nginx/sites-available/emby
Paste the following configuration (replace example.com with your actual domain):
server {
    listen 80;
    server_name example.com;

    proxy_hide_header X-Powered-By;
    add_header X-Xss-Protection "1; mode=block" always;
    add_header X-Content-Type-Options "nosniff" always;
    add_header Strict-Transport-Security "max-age=2592000; includeSubdomains" always;
    add_header X-Frame-Options "SAMEORIGIN" always;
    add_header 'Referrer-Policy' 'no-referrer';

    location / {
        proxy_pass http://127.0.0.1:8096;
        proxy_set_header Host $host;
        proxy_set_header X-Real-IP $remote_addr;
        proxy_set_header X-Forwarded-For $proxy_add_x_forwarded_for;
        proxy_http_version 1.1;
        proxy_set_header Upgrade $http_upgrade;
        proxy_set_header Connection "upgrade";
    }
}
Save the file (Ctrl + X, then Y, then Enter).
Step 5.3: Activate the Configuration and Restart Nginx
ln -s /etc/nginx/sites-available/emby /etc/nginx/sites-enabled/
nginx -t
systemctl restart nginx

Step 6: Configure the Firewall
To allow traffic to Emby and keep your server secure, set up UFW (Uncomplicated Firewall).
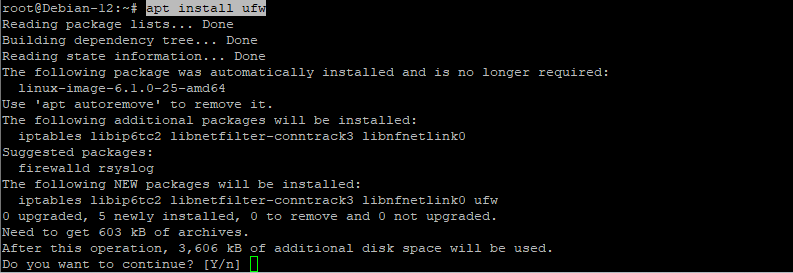
Step 6.1: Install UFW
apt install ufw -y
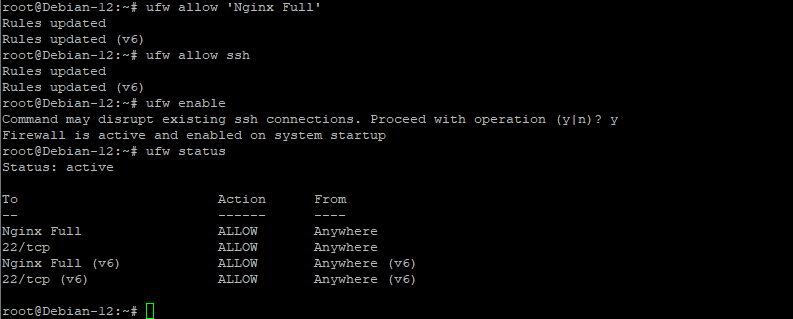
Step 6.2: Allow Necessary Ports
ufw allow 'Nginx Full'
ufw allow ssh
ufw enable
Step 6.3: Check Firewall Status
ufw status
Step 7: Secure Emby with an SSL Certificate
To secure your media server with HTTPS, use Let’s Encrypt and Certbot.
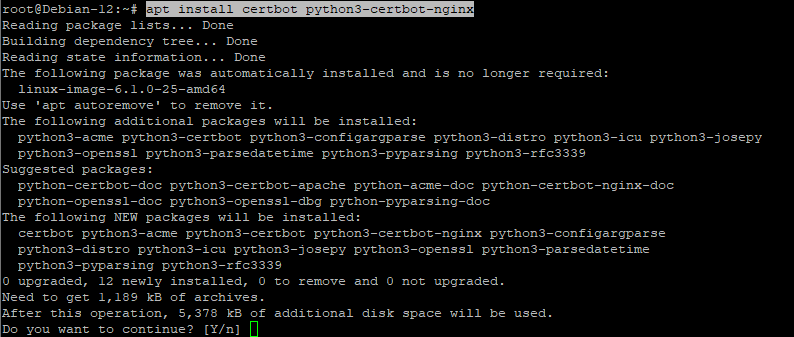
Step 7.1: Install Certbot
apt install certbot python3-certbot-nginx -y
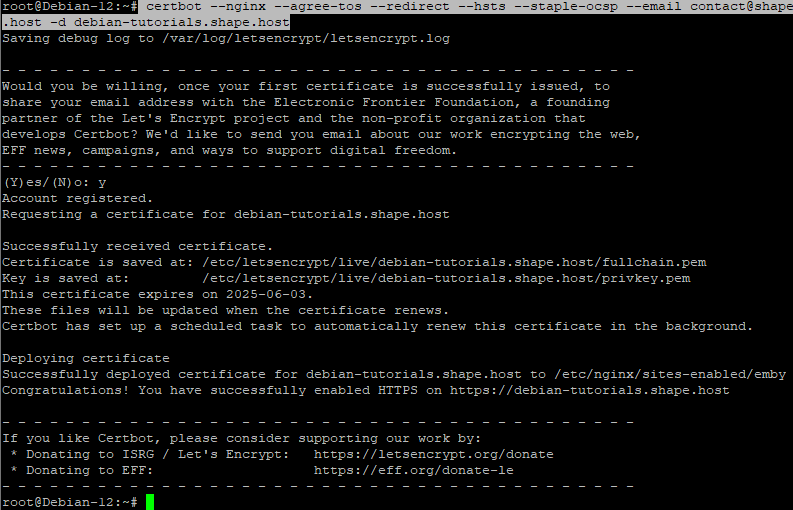
Step 7.2: Generate an SSL Certificate
certbot --nginx --agree-tos --redirect --hsts --staple-ocsp --email contact@shape.host -d debian-tutorials.shape.host
Certbot will automatically configure SSL/TLS for your Nginx reverse proxy, ensuring a secure connection.
Step 8: Access the Emby Web Interface
Now that Emby is installed and secured, access it in your browser using one of the following:
Without SSL (Local Access):
http://<your_server_ip>:8096With SSL (Recommended for Public Access):
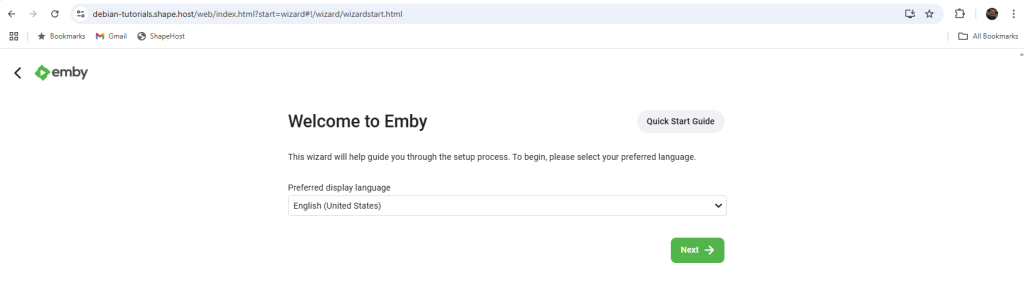
https://debian-tutorials.shape.hostStep 8.1: Complete the Initial Setup
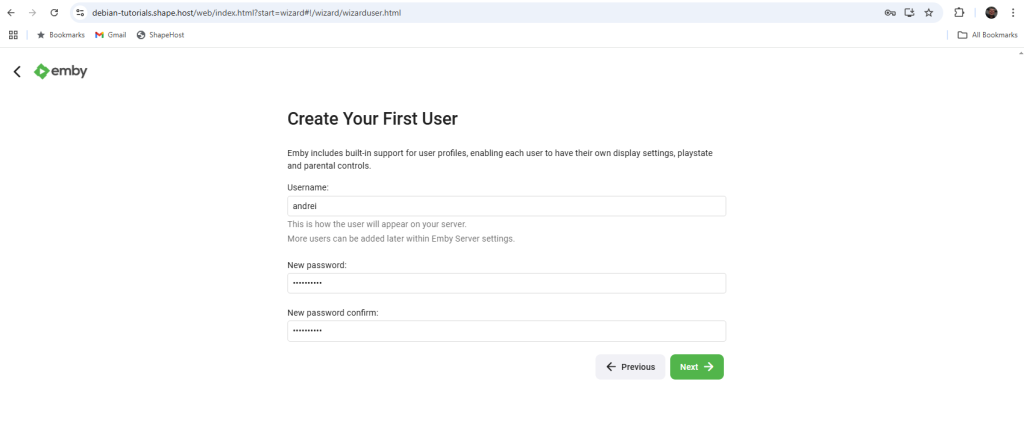
- Open the Emby Web Interface in your browser.
- Follow the on-screen instructions to create an admin account.
- Add your media libraries (Movies, TV Shows, Music, etc.).
- Configure user access and streaming settings as needed.
Once completed, your Emby Media Server is ready for use!
Welcome to Emby
Create Your First User
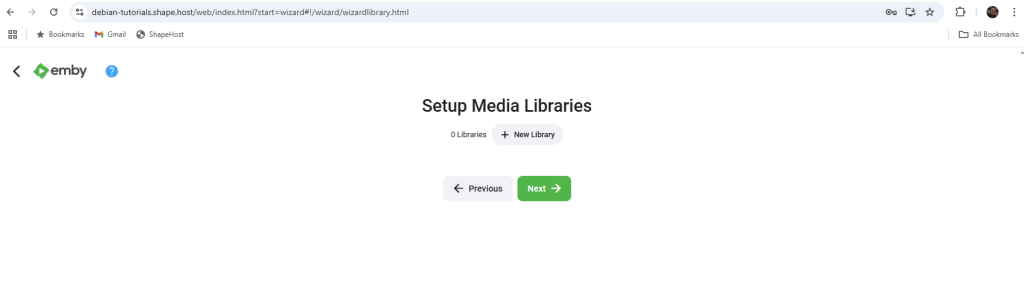
Setup Media Libraries
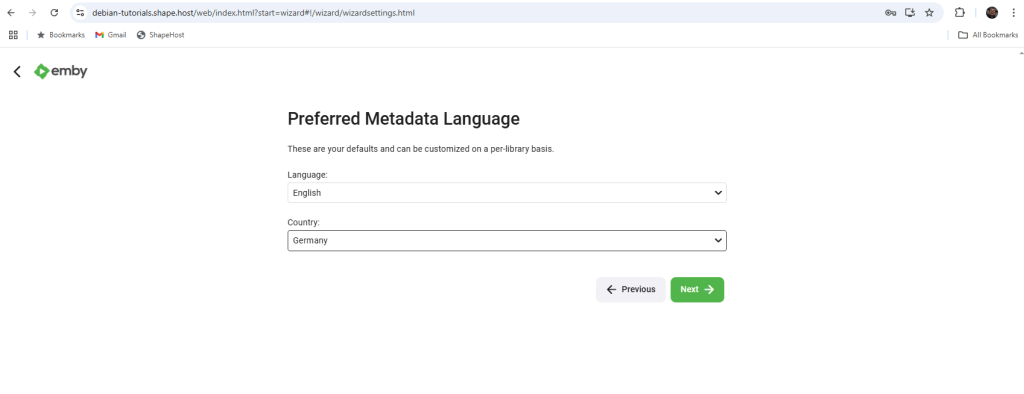
Preferred Metadata Language
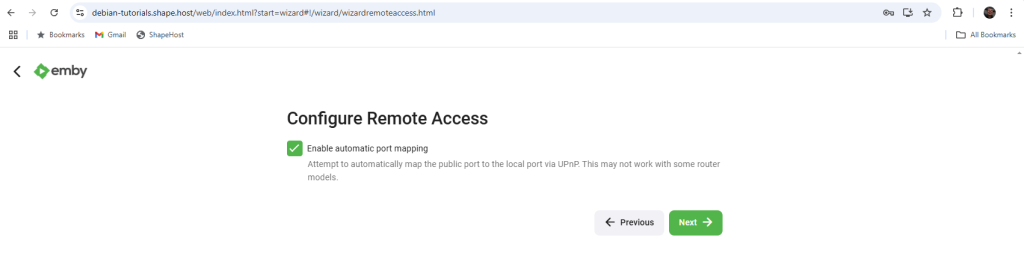
Configure Remote Access
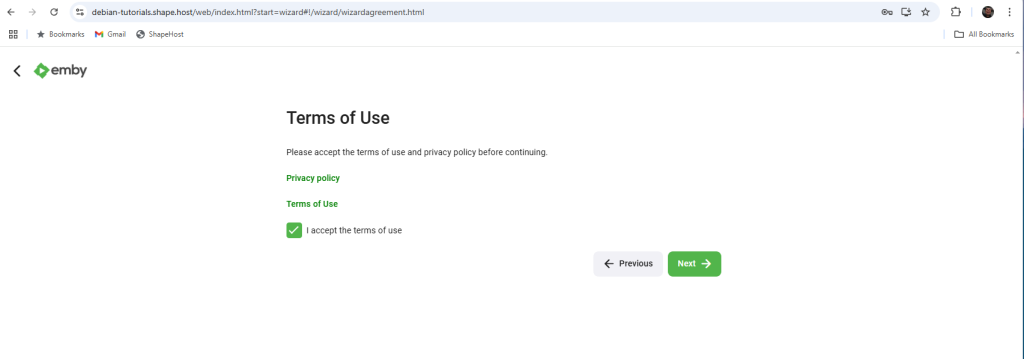
Terms of Use
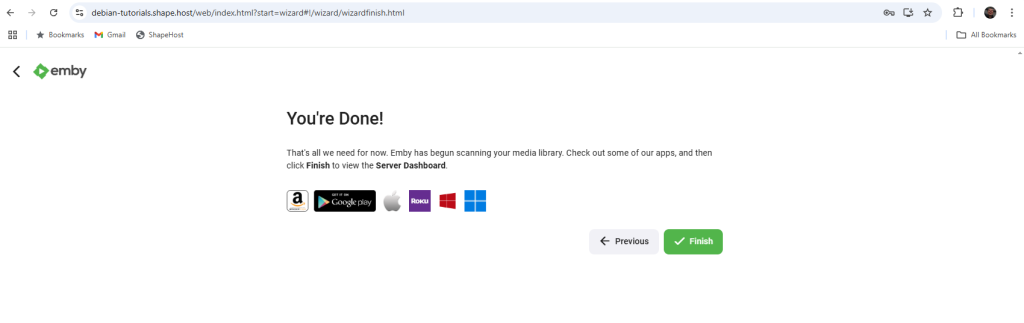
Setup Completion
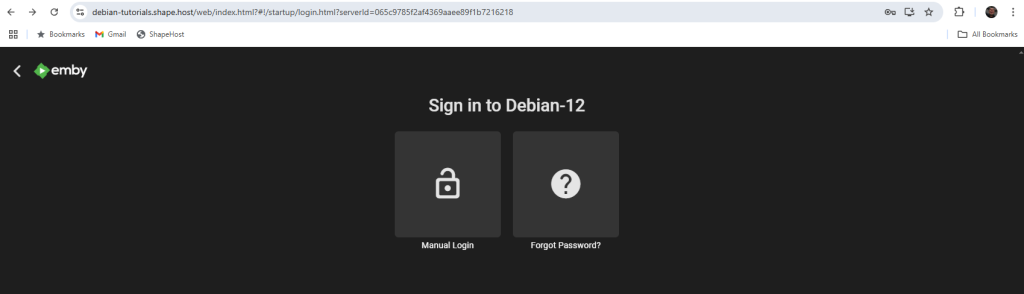
Server Login Screen
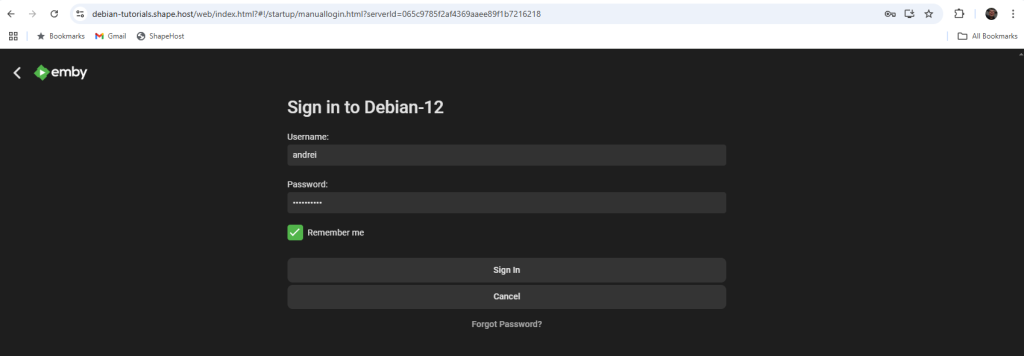
Enter Login Credentials
Emby Server Dashboard

You have successfully installed and configured Emby Media Server on Debian 12. With Nginx as a reverse proxy and SSL security in place, your media streaming experience is faster, safer, and more accessible.
For high-performance hosting solutions, check out Shape.Host Cloud VPS, designed for media streaming and cloud applications.