Umami is a privacy-focused, open-source web analytics tool designed to provide insightful website tracking without compromising user privacy. It is an excellent alternative to Google Analytics, offering a lightweight, self-hosted solution with no tracking cookies and GDPR compliance. Running Umami on Debian 12 ensures a secure, fast, and private analytics platform for monitoring website traffic and user engagement.
Key Features of Umami on Debian 12
1. Privacy-Focused Analytics
- Does not use cookies, ensuring GDPR, CCPA, and PECR compliance.
2. Self-Hosted and Open-Source
- Full control over data storage, security, and analytics settings.
3. Lightweight and Fast Performance
- Minimal resource usage, ideal for high-traffic websites.
4. Real-Time Data Tracking
- View live visitors, session duration, bounce rate, and referral sources.
5. Simple and Clean Dashboard
- User-friendly UI with easy data visualization and reports.
6. Multi-Website Support
- Track multiple domains from one centralized dashboard.
7. Event and Goal Tracking
- Monitor clicks, form submissions, downloads, and conversions.
8. UTM Campaign Tracking
- Analyze marketing campaigns using UTM parameters.
9. No Third-Party Dependencies
- Works without third-party scripts, ensuring better website performance.
10. API and Integration Support
- Integrates with Next.js, React, Vue.js, WordPress, and other platforms.
Advantages of Using Umami on Debian 12
- Privacy-First Approach: No personal data collection, cookie-free tracking.
- Self-Hosted Security: Full control over analytics data with no external tracking.
- Fast and Lightweight: Less impact on website performance and loading speed.
- User-Friendly Interface: Simple and intuitive analytics dashboard.
- Multi-Website and Multi-User Support: Track multiple sites with role-based access.
- Cost-Effective Alternative to Google Analytics: Free and open-source with no licensing fees.
Use Cases for Umami on Debian 12
1. Website Traffic Monitoring
- Track unique visitors, page views, bounce rate, and user behavior.
2. GDPR-Compliant Analytics for Businesses
- Get insights without violating data protection laws.
3. Marketing Campaign Tracking
- Analyze UTM-based traffic sources and conversion rates.
4. Performance Analytics for Web Developers
- Monitor website speed, user interactions, and engagement trends.
5. E-Commerce and Conversion Tracking
- Optimize checkout processes, product pages, and sales funnels.
6. Blog and Content Strategy Analysis
- Understand which articles attract the most visitors.
7. Multi-Site Analytics for Agencies and Enterprises
- Manage multiple website analytics from a single dashboard.
Umami vs. Google Analytics vs. Matomo
| Feature | Umami | Google Analytics | Matomo |
|---|---|---|---|
| Privacy-Friendly | ✅ Yes (No cookies) | ❌ No (Uses tracking cookies) | ✅ Yes (Self-hosted) |
| Self-Hosted Option | ✅ Yes | ❌ No | ✅ Yes |
| Lightweight & Fast | ✅ Yes | ❌ No (Heavy tracking scripts) | ❌ Moderate |
| Multi-Site Tracking | ✅ Yes | ✅ Yes | ✅ Yes |
| Real-Time Analytics | ✅ Yes | ✅ Yes | ✅ Yes |
| Ease of Use | ✅ Simple | ❌ Complex UI | ⚠️ Moderate Complexity |
| GDPR & CCPA Compliance | ✅ Yes | ❌ No | ✅ Yes |
| Best Use Case | ✅ Privacy-Focused Sites | ✅ Large Business Analytics | ✅ Advanced Self-Hosting |
Why Use Umami on Debian 12?
- Privacy and Security: No tracking cookies, 100% GDPR and CCPA compliant.
- Lightweight and Performance-Optimized: Does not slow down websites like Google Analytics scripts.
- Full Data Control: No third-party data collection, all analytics stored on your server.
- Simple and Effective Dashboard: No overcomplicated reports—just the data you need.
- Ideal for Businesses, Bloggers, and Developers: Works for personal sites, e-commerce, and enterprises.
Umami on Debian 12 is an efficient, privacy-focused, and lightweight analytics tool that offers a fast, self-hosted alternative to Google Analytics. Whether you’re monitoring website traffic, tracking marketing campaigns, or ensuring GDPR compliance, Umami provides clean, accurate, and real-time analytics without compromising user privacy.
Step 1: Deploy a Debian 12 Server
Before you start, ensure you have a Debian 12 server ready. If you don’t have one yet, follow these steps to create an instance on Shape.Host:
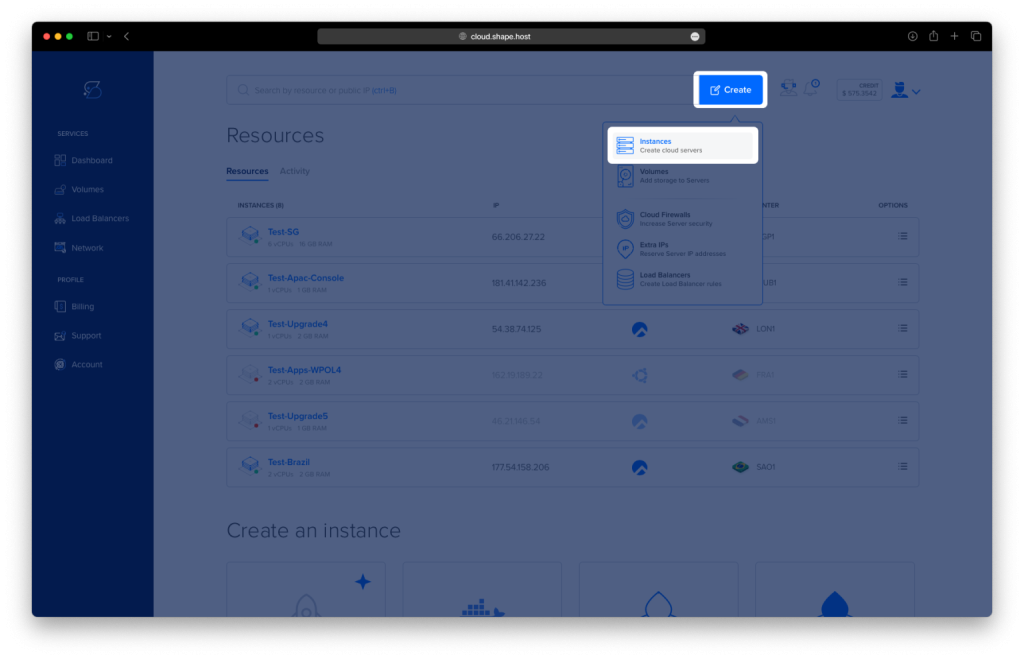
Log into Shape.Host and navigate to your Dashboard.
Click “Create” to initiate the server setup.
Select “Instances” to configure your Umami hosting environment.
Choose a Data Center Location based on your target audience for optimal performance.
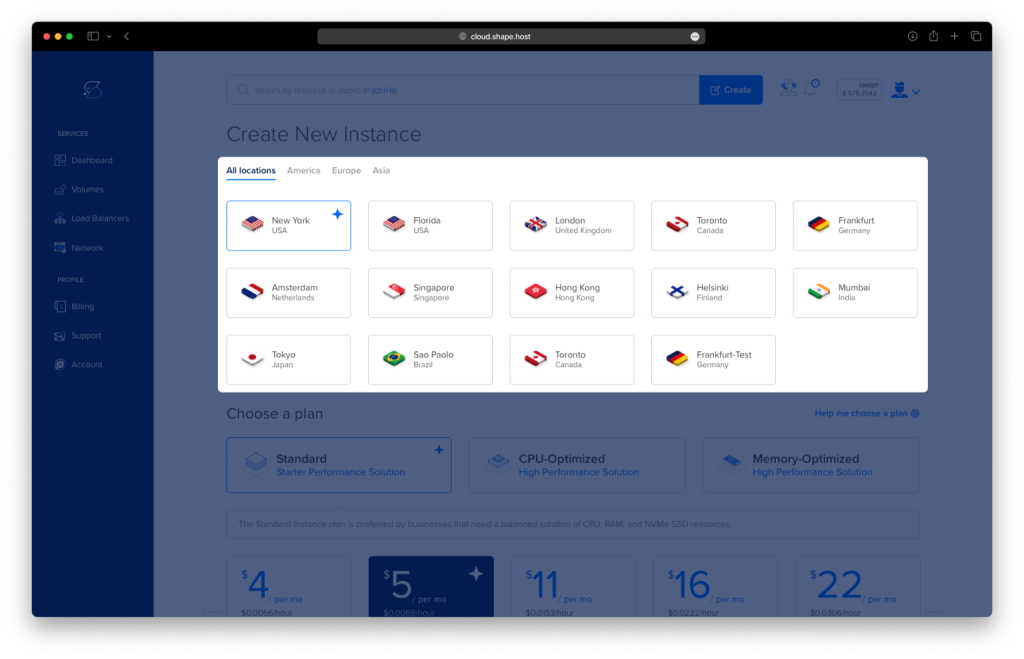
Select a Hosting Plan that meets your project’s needs, such as Standard or Performance-Optimized.
Set Debian 12 as the Operating System and finalize the instance setup.
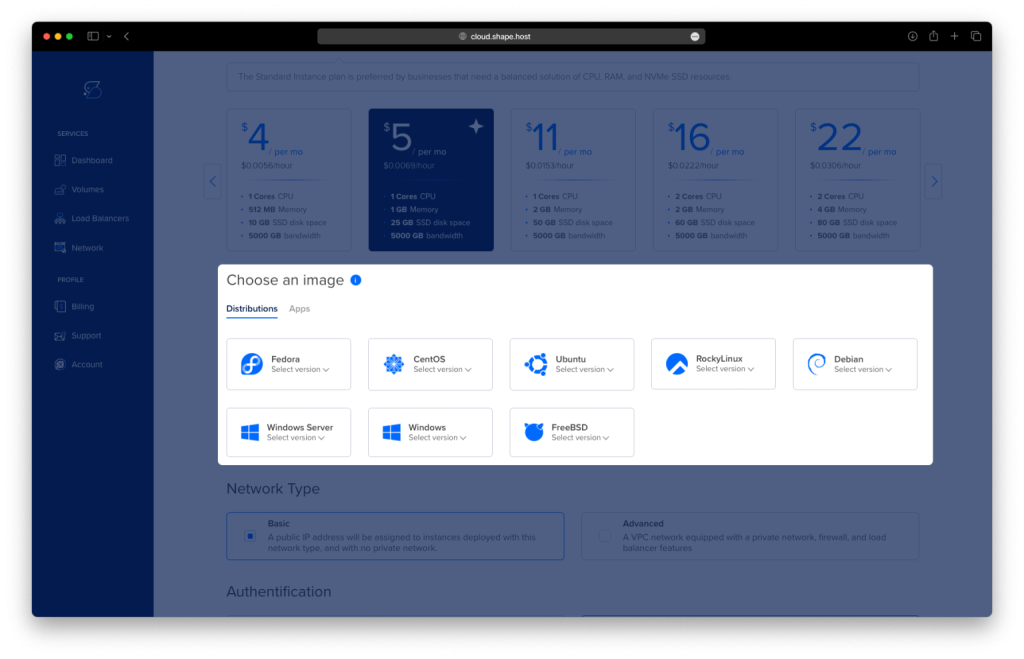
Deploy the Server by choosing your authentication method (SSH keys or password authentication) and clicking Create Instance.

Locate Your Instance’s IP Address in Dashboard under Resources.
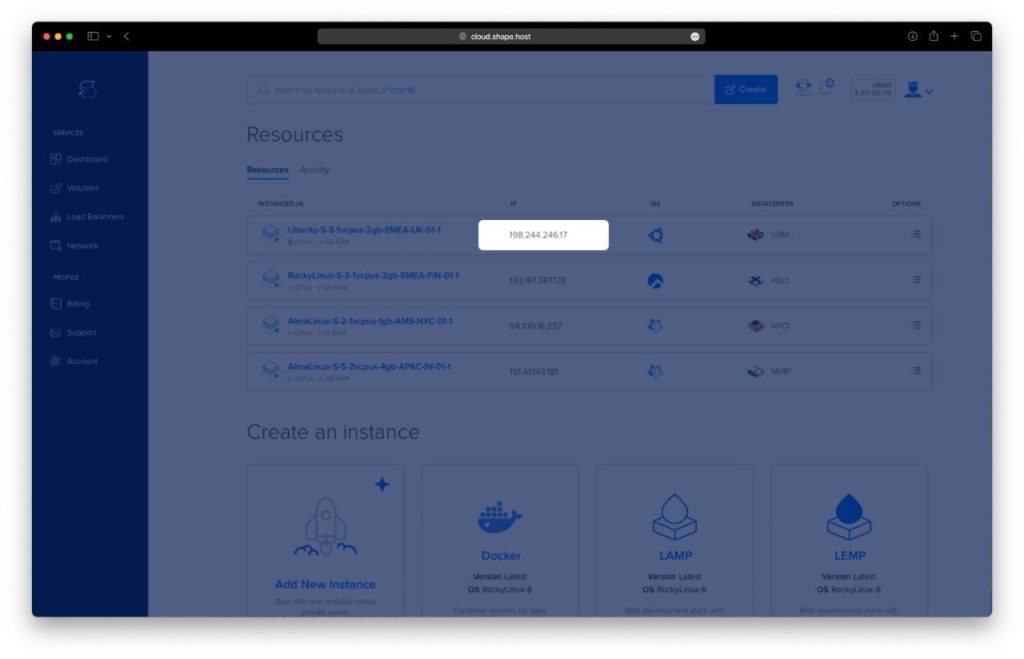
Step 2: Connect to Your Server
Once your server is up and running, access it using SSH.
- For Linux/macOS Users:
ssh root@<your_server_ip> - For Windows Users: Use PuTTY, enter your server’s IP address, and establish the connection.
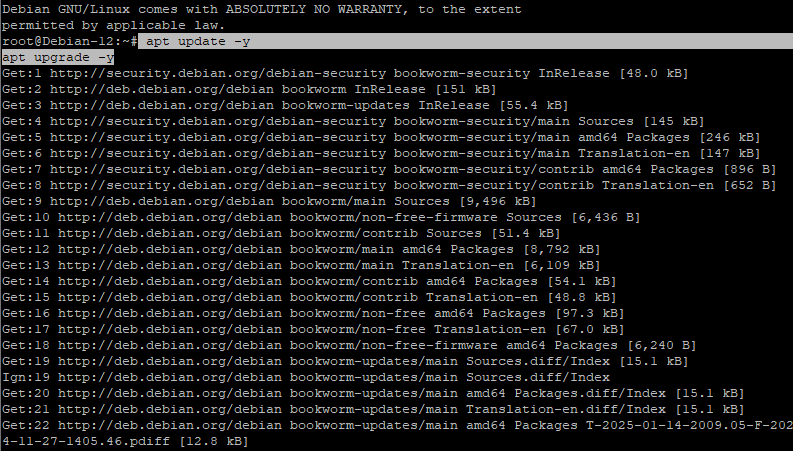
Step 3: Update Your System
Before installing Umami, update your system packages to ensure compatibility:
apt update -y && apt upgrade -y
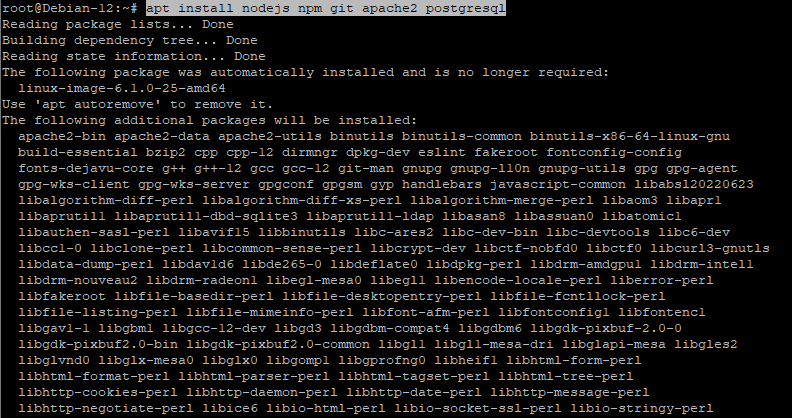
Step 4: Install Required Dependencies
Umami requires Node.js, npm, Git, Apache2 (web server), and PostgreSQL (database server). Install them using the following command:
apt install nodejs npm git apache2 postgresql -y
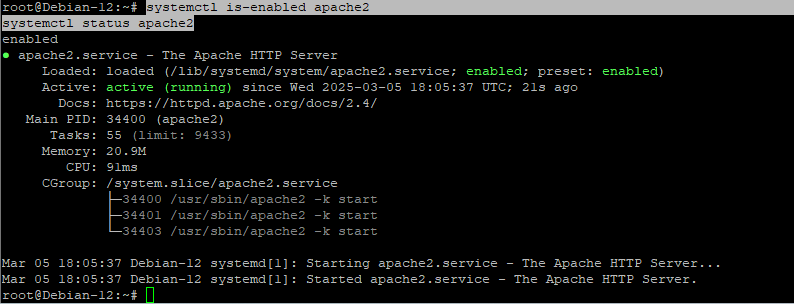
Step 4.1: Verify Installed Services
Check if Apache2 and PostgreSQL are enabled and running:
systemctl is-enabled apache2
systemctl status apache2
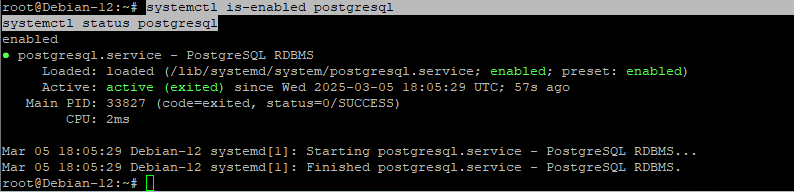
systemctl is-enabled postgresql
systemctl status postgresql
Step 4.2: Verify Installed Versions
Ensure Node.js and npm are installed correctly:
nodejs --version
npm --version

Step 5: Configure PostgreSQL Database
Umami requires a PostgreSQL database. Follow these steps to create the required database and user.
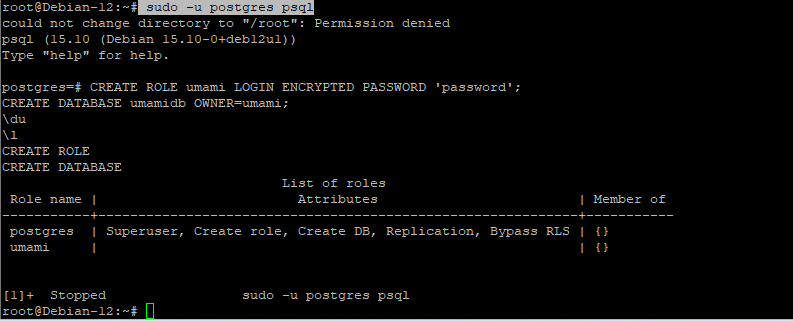
Step 5.1: Log into PostgreSQL
sudo -u postgres psql
Step 5.2: Create the Database and User
CREATE ROLE umami LOGIN ENCRYPTED PASSWORD 'password';
CREATE DATABASE umamidb OWNER=umami;
Step 5.3: Verify the Database and User
\du
\l
\q
Step 6: Install and Configure Umami
Step 6.1: Install Yarn
npm install -g yarn

Step 6.2: Create a System User for Umami
adduser --system --group --no-create-home --shell /sbin/nologin umami
Step 6.3: Clone the Umami Repository
git clone https://github.com/umami-software/umami.git /var/www/umami
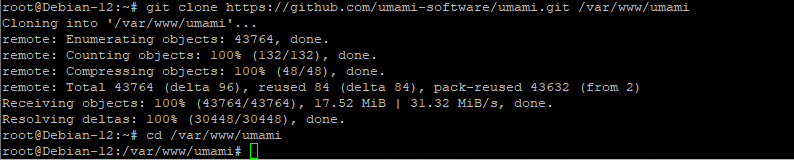
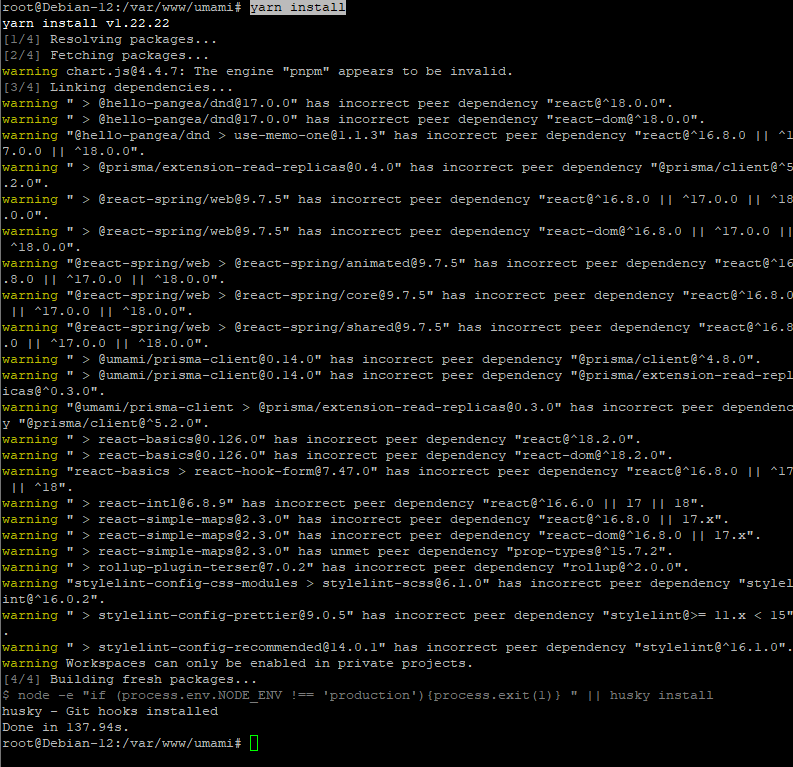
Step 6.4: Install Dependencies
cd /var/www/umami
yarn install
Step 7: Configure Umami
Step 7.1: Create and Edit the Environment Configuration
nano .env
Add the following database connection string (replace password with your actual database password):
DATABASE_URL=postgresql://umami:password@localhost:5432/umamidb

Save the file (Ctrl + X, then Y, then Enter).
Step 8: Build and Start Umami
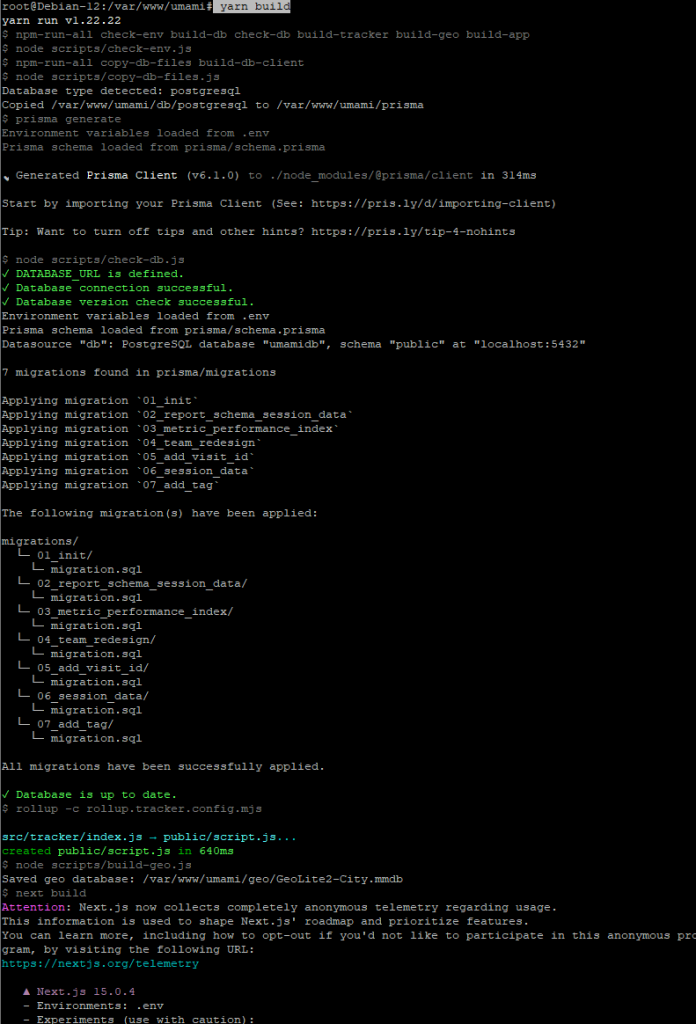
Step 8.1: Build the Application
yarn build
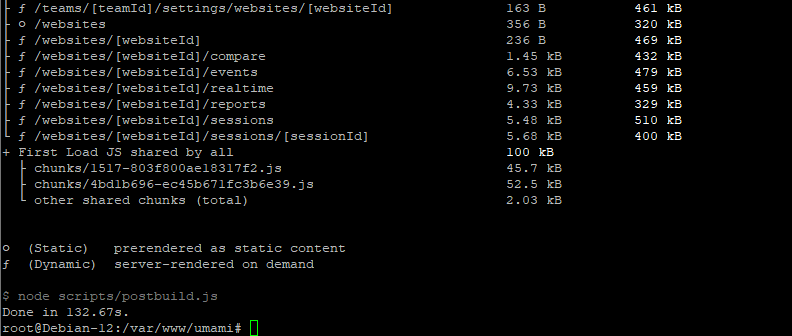
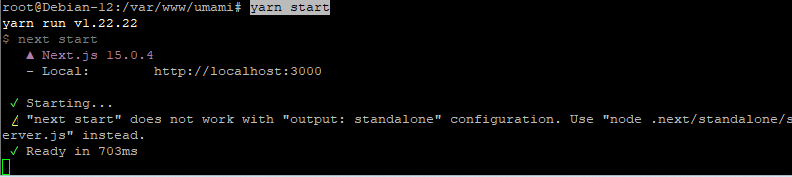
Step 8.2: Start Umami
yarn start
At this point, Umami should be running and accessible.
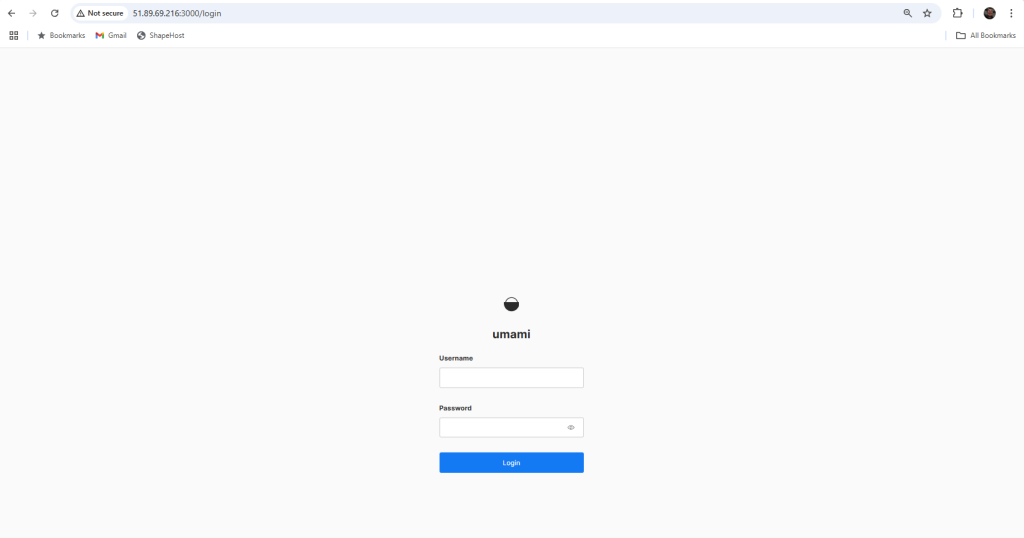
Step 9: Access Umami Web Interface
Once Umami is successfully installed and running, open your browser and navigate to:
http://<your_server_ip>:3000
You’ll be prompted to log in. The default admin credentials are:
- Username: admin
- Password: umami
For security reasons, it’s recommended to change the default password immediately after logging in.
For a secure and optimized hosting environment, check out Shape.Host Cloud VPS, perfect for running Umami Analytics and other web applications.