JupyterLab on Ubuntu 24.04 – A Modern IDE for Data Science, AI, and Interactive Computing
JupyterLab is the next-generation web-based interface for Project Jupyter, offering an extensible, modular IDE-like experience tailored for interactive data science and scientific computing. When deployed on Ubuntu 24.04, it benefits from a stable, modern Linux platform that is widely adopted across academia, enterprise, and cloud environments.
What Is JupyterLab?
JupyterLab is an open-source web application that provides:
- Code notebooks with support for over 100 programming languages
- Interactive terminals, code consoles, and rich text editors
- Visual data tools (e.g., plots, dashboards, widgets)
- Real-time collaboration (optional extensions or JupyterHub integration)
- File browser and drag-and-drop support for building workflows
Unlike the classic Jupyter Notebook interface, JupyterLab offers tabbed documents, split views, workspace persistence, and powerful plugin support.
Why Ubuntu 24.04 for JupyterLab?
Ubuntu 24.04 LTS (“Noble Numbat”) is well-suited for JupyterLab deployments due to:
- Long-Term Support (until 2029)
- Linux Kernel 6.8+ with hardware and containerization improvements
- Latest Python 3.12 available via system packages or
pyenv - Strong ecosystem support for scientific libraries (NumPy, SciPy, TensorFlow, PyTorch)
- Compatibility with Docker, Singularity, and systemd-based environments
Ubuntu is also the default base image for many cloud services and containerized environments, making it ideal for deploying JupyterLab in production, development, or hybrid cloud scenarios.
JupyterLab Architecture
| Component | Functionality |
|---|---|
| Notebook Server | Python-based web server managing kernels and user sessions |
| Kernels | Language-specific execution engines (e.g., IPython, R, Julia, Scala) |
| Frontend (UI) | Web-based React/PhosphorJS application served via Tornado HTTP server |
| Extensions | Plugins for themes, file viewers, Git integration, LSP, dashboards |
The notebook server communicates with kernels via ZeroMQ and exposes a RESTful API for external tooling and collaboration.
Key Features on Ubuntu 24.04
- Multi-language support: Python, R, Julia, C++, Bash, JavaScript, and more
- Rich text/Markdown editing: Including LaTeX, equations, and HTML rendering
- Interactive visualization: Integrations with Matplotlib, Plotly, Bokeh, Vega
- Parallel computing: Use with Dask, Spark, Ray, or joblib for distributed tasks
- Version control: Git integration via extensions (e.g.,
jupyterlab-git) - Environment management: Seamless use with
venv,conda, or Docker - Notebook conversion: Export to PDF, HTML, Markdown, or LaTeX via
nbconvert
Ubuntu 24.04 provides access to the latest compilers, GPU drivers (NVIDIA), and system packages, which are essential for data workflows that require acceleration or heavy computation.
Use Cases
JupyterLab on Ubuntu 24.04 is ideal for:
- Data science and analytics pipelines
- Machine learning prototyping and model training
- Bioinformatics and scientific research
- Education and training environments
- Real-time data visualization in dashboards or reports
- Collaborative computing in research labs or industry teams
It also integrates well with JupyterHub for multi-user deployments, making it suitable for shared computing resources like research clusters or university servers.
Advanced Integration Possibilities
| Tool / Platform | Integration Mode |
|---|---|
| Docker & Kubernetes | Run isolated JupyterLab containers with GPU or CPU profiles |
| VS Code / GitHub Codespaces | Use .ipynb inside remote or cloud-based IDEs |
| JupyterHub | Multi-user deployment with authentication and resource quotas |
| Apache Spark / Hadoop | Run distributed data processing inside notebooks |
| TensorBoard | Visualize deep learning models directly in notebooks |
| DVC / MLflow | Track experiments and model metrics from within JupyterLab |
With extensions and system packages, JupyterLab can become a full-featured development environment for data workflows on Ubuntu 24.04.
Performance and Security
Ubuntu 24.04 offers several features that enhance JupyterLab performance and security:
| Area | Benefit on Ubuntu 24.04 |
|---|---|
| Systemd integration | Manage JupyterLab as a background service |
| TLS support | Easily set up HTTPS with Let’s Encrypt and NGINX |
| Kernel isolation | Combine with conda or virtualenv for project-based kernels |
| AppArmor profiles | Limit resource access from kernel subprocesses |
| UFW / Fail2Ban | Protect remote-access servers against brute-force attacks |
| Jupyter tokens / OAuth | Secure access to the UI and REST API |
JupyterLab can also be deployed inside hardened containers with custom access rules, especially in production or public-facing deployments.
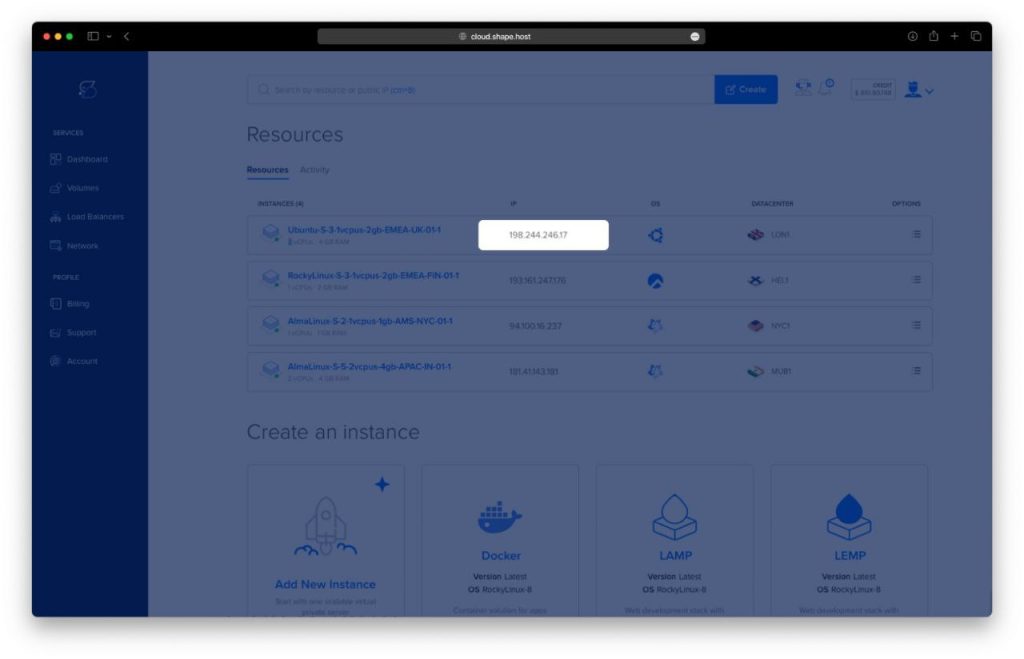
Step 1: Create a VPS Instance on Shape.Host
To begin, you’ll need a cloud server running Ubuntu 24.04. Shape.Host makes this process fast and user-friendly.
Instructions to create your server:
Go to https://shape.host and log into your account.
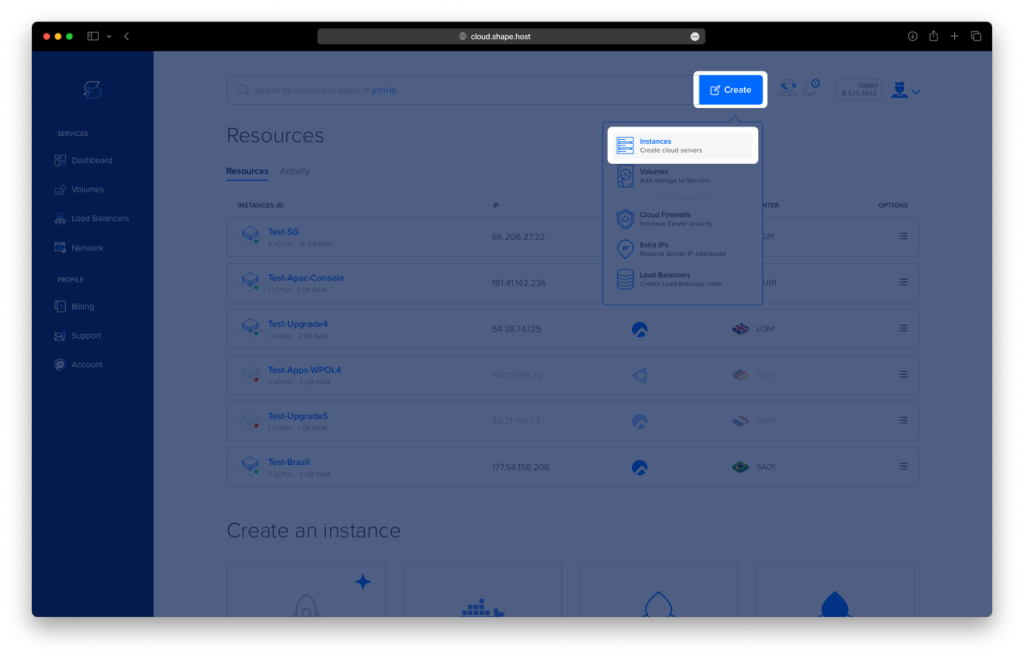
Click on “Create” from the left-hand menu.
Choose “Instance”.
Select a server location closest to your users (e.g., Germany, Netherlands, USA).
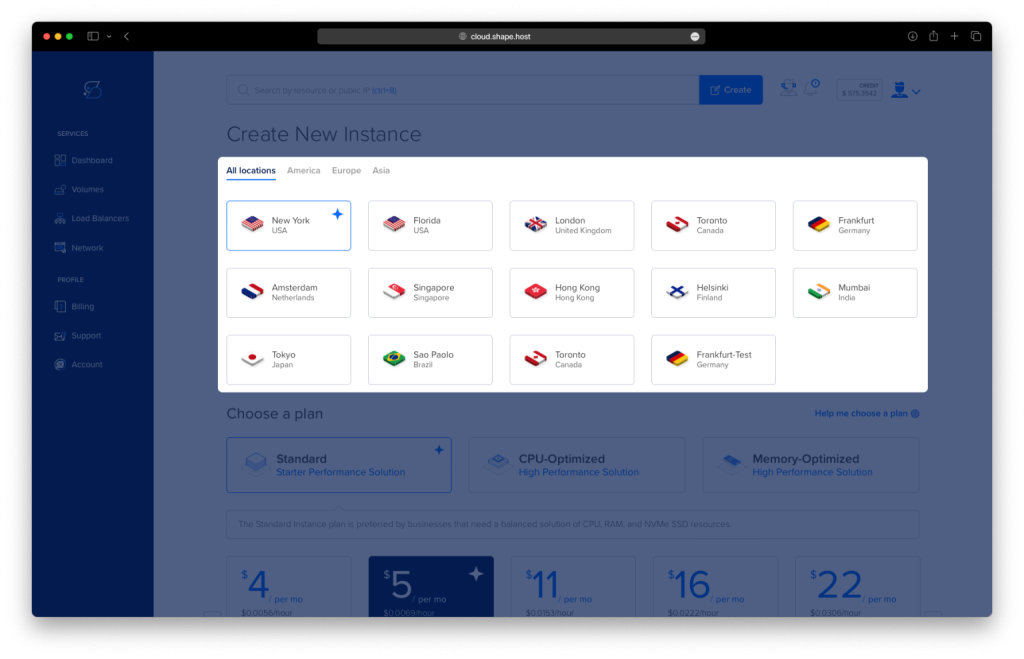
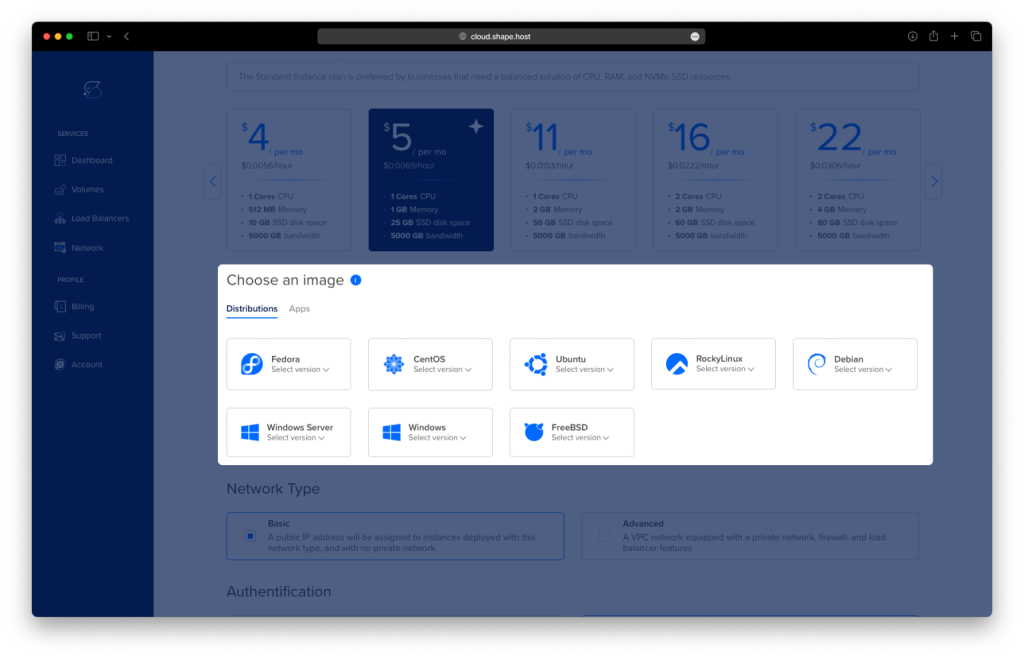
Pick Ubuntu 24.04 (64-bit) as the operating system.
Select a hosting plan with at least 2 CPUs, 4 GB RAM, and 20 GB SSD.
Click “Create Instance” and wait a few seconds for deployment.
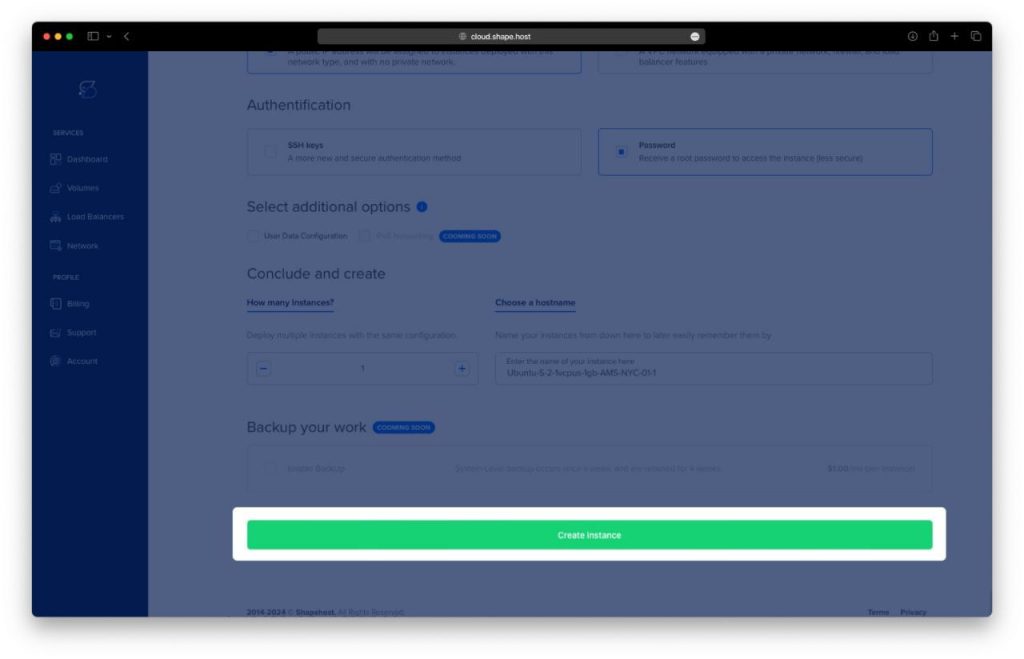
Note down the public IP address of your instance from the “Resources” tab.
Step 2: Connect to Your Instance via SSH
From Linux/macOS:
ssh root@your_server_ip
This command initiates a secure SSH session into your cloud server using the root account.
From Windows (via PuTTY):
- Download and install PuTTY from putty.org.
- Open PuTTY and enter your instance’s IP address.
- Click “Open” and accept the SSH key if prompted.
Step 3: Install Required Packages
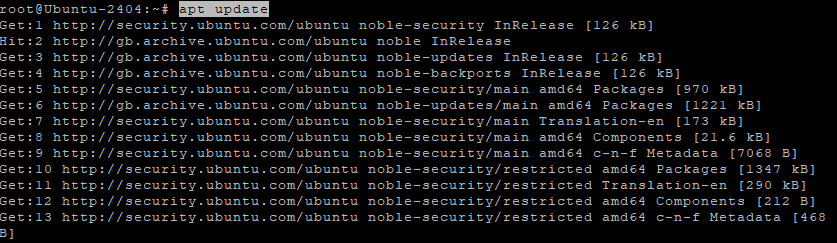
Update the package list:
apt update
Refreshes the list of available packages and their versions.
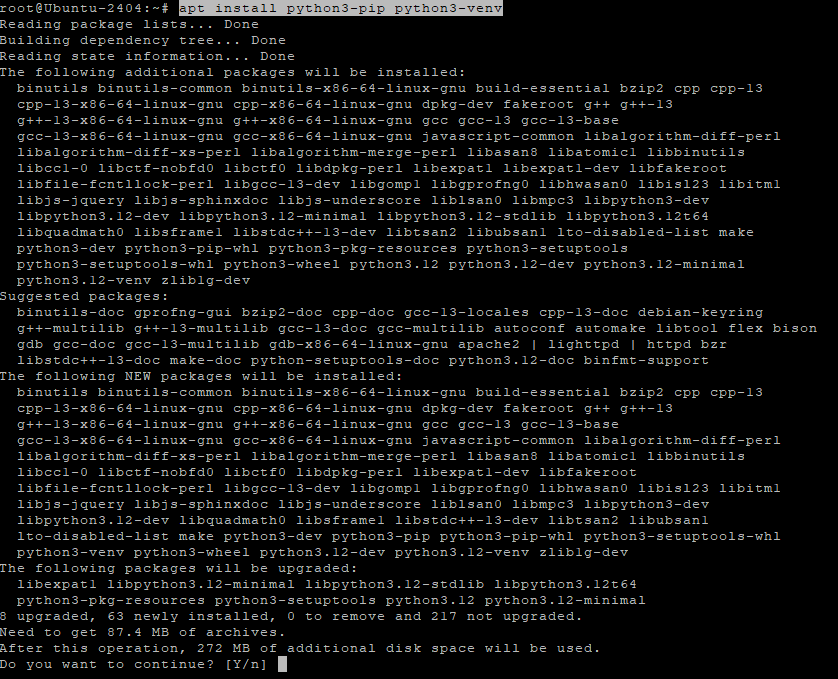
Install Python, pip, and virtual environment tools:
apt install python3-pip python3-venv
This installs Python’s package manager pip and venv which is used to create isolated Python environments.
Step 4: Create and Activate JupyterLab Environment
Create a project directory:
mkdir /opt/jupyterlab
Creates a folder to store JupyterLab and its virtual environment.
Navigate to the project directory:
cd /opt/jupyterlab
Create a Python virtual environment:
python3 -m venv venv
Initializes a virtual environment named venv inside the folder.
Activate the virtual environment:
source venv/bin/activate
Activates the virtual environment so that all Python packages install inside it.

Step 5: Install JupyterLab
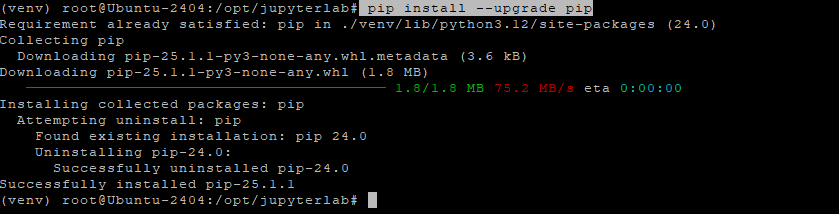
Upgrade pip inside the virtual environment:
pip install --upgrade pip
Ensures you’re using the latest version of pip.
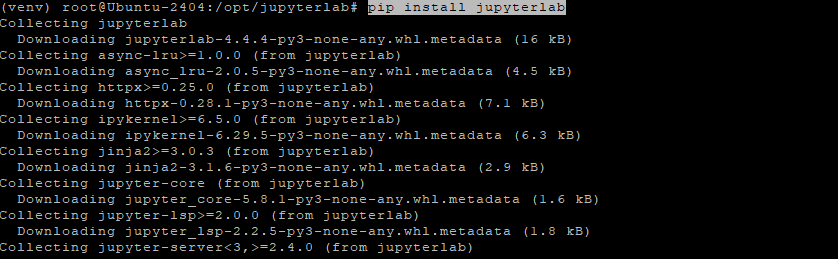
Install JupyterLab:
pip install jupyterlab
Downloads and installs the latest version of JupyterLab.
Step 6: Generate Configuration and Set Password
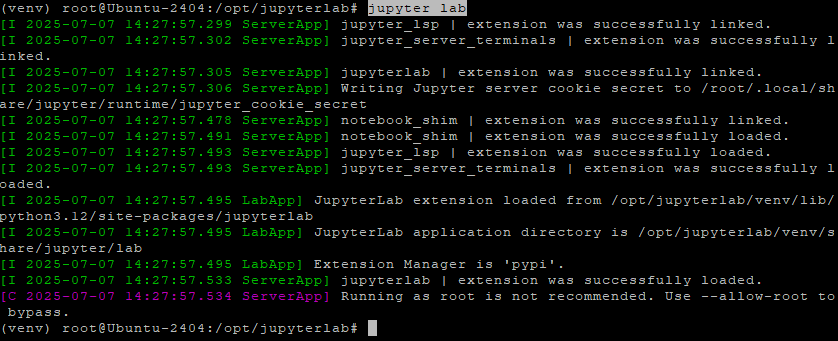
Run JupyterLab once to confirm:
jupyter lab
You should see output indicating that Jupyter is running (press Ctrl+C to stop it).
Generate the configuration file:
jupyter lab --generate-config
Creates ~/.jupyter/jupyter_lab_config.py.

Edit the configuration:
nano ~/.jupyter/jupyter_lab_config.py
Add these lines (or uncomment and modify if already present):
c.ServerApp.ip = '0.0.0.0'
c.ServerApp.open_browser = False
c.ServerApp.port = 8888
These settings allow access from any IP address, disable the browser auto-launch, and set port 8888.
Set a password:
jupyter server password
This secures your JupyterLab instance with a password. You’ll be prompted to enter it twice.

Step 7: Create a Systemd Service
Create a systemd service file:
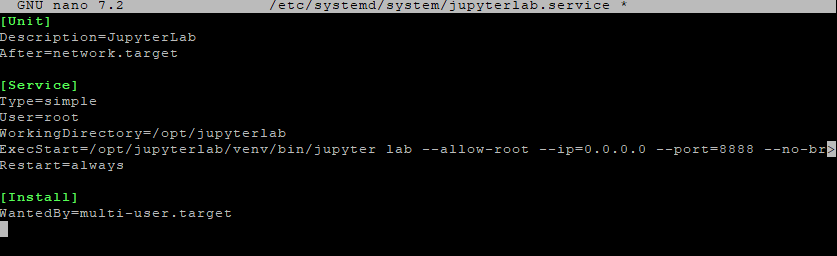
nano /etc/systemd/system/jupyterlab.service
Paste the following configuration:
[Unit]
Description=JupyterLab
After=network.target

[Service]
Type=simple
User=root
WorkingDirectory=/opt/jupyterlab
ExecStart=/opt/jupyterlab/venv/bin/jupyter lab --allow-root --ip=0.0.0.0 --port=8888 --no-browser
Restart=always

[Install]
WantedBy=multi-user.target
Reload systemd to apply changes:
systemctl daemon-reexec
systemctl daemon-reload
Enable JupyterLab to start on boot:
systemctl enable jupyterlab
Start the JupyterLab service:
systemctl restart jupyterlab

Step 8: Open Firewall Ports
Allow SSH (for remote access):
ufw allow ssh
Allow JupyterLab’s default port:
ufw allow 8888
Enable the firewall:
ufw enable

Step 9: Access JupyterLab
Open your browser and go to:
http://your_server_ip:8888
Log in using the password you set earlier.

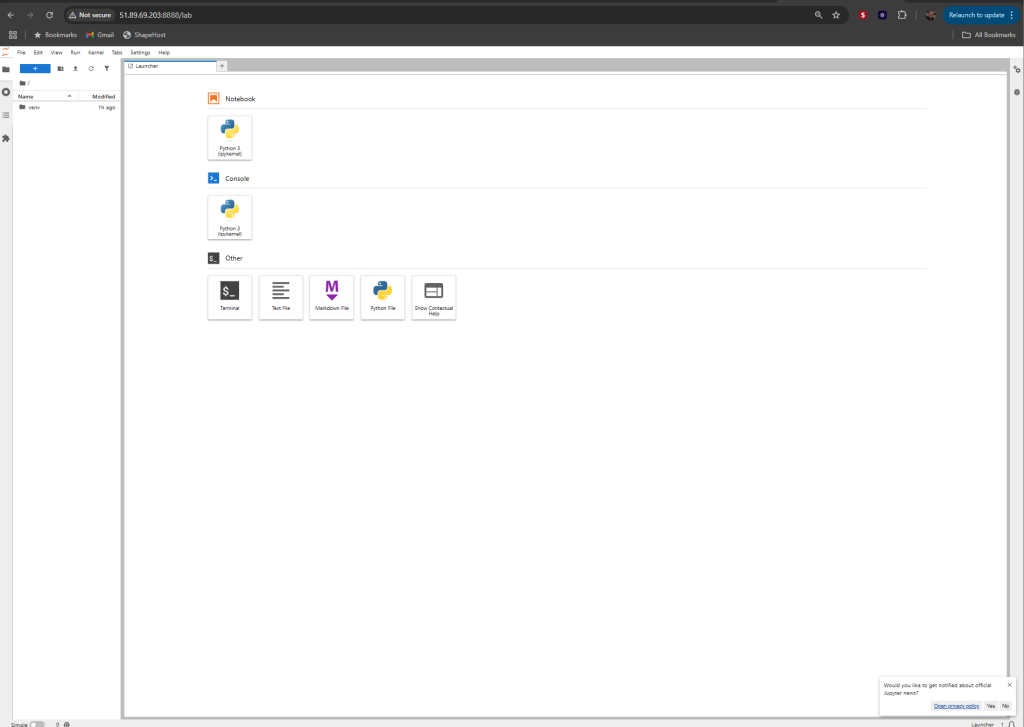
Congratulations! You’ve successfully set up JupyterLab on Ubuntu 24.04, running under a virtual environment and managed by systemd. With firewall rules in place and password authentication configured, your setup is secure and production-ready.
Looking for reliable cloud hosting? Try Shape.Host for scalable and performant Cloud VPS to power your development, data science, or production projects.