htop on Rocky Linux 9 – Real-Time Monitoring for RHEL-Based Servers
htop is an interactive, real-time system monitoring tool designed to offer a more intuitive and feature-rich experience than the traditional top command. On Rocky Linux 9, a stable and enterprise-grade Linux distribution based on Red Hat Enterprise Linux (RHEL) 9, htop provides administrators and DevOps engineers with vital insights into process behavior, CPU usage, memory load, and system performance.
Why Use Rocky Linux 9?
Rocky Linux 9 is a binary-compatible rebuild of RHEL 9, aimed at enterprises, data centers, cloud providers, and anyone who previously relied on CentOS. It offers:
- Long-term support (until 2032)
- SELinux-based security
- Predictable package management with
dnf - Compatibility with enterprise software ecosystems
It’s ideal for mission-critical workloads, and htop complements this stability with dynamic system visibility.
What Is htop?
htop is a full-screen, ncurses-based tool that visualizes system metrics such as:
- CPU load per core
- Memory and swap usage
- Active processes (with tree view)
- Uptime, task count, load average
- Per-process resource usage
It allows interactive filtering, sorting, and management of processes with just a few keystrokes, something top cannot match in ease or clarity.
Key Features of htop
| Feature | Description |
|---|---|
| Colorful, interactive UI | Easy-to-read status bars for CPU, memory, and swap |
| Tree view of processes | Visualize process hierarchy using F5 |
| Mouse and keyboard support | Use arrows or click to interact with processes |
| Interactive process control | Kill, renice, trace, and inspect tasks (F9, F7, etc.) |
| Customizable views | Change display columns, meters, and refresh rate |
htop on Rocky Linux 9: System Compatibility
| System Component | Compatibility with htop |
|---|---|
| Kernel | 5.14+ LTS (ideal for servers) |
| Init system | systemd 250+ (htop integrates well) |
| Security | SELinux supported and enforced |
| Packaging | EPEL repository required |
| Java/Python/Node | Lightweight usage tracking |
Rocky Linux’s minimal default server install makes it easy to use htop without UI clutter, preserving CPU and RAM for critical processes.
For full visibility into system-owned processes and kernel threads, run it as root:
Typical Use Cases
- Monitoring high-load systems in real time
- Debugging stuck or zombie processes
- Inspecting the impact of SELinux or firewalld on system behavior
- Observing resource use in containerized or virtualized services
- Live performance tuning of Java, Nginx, MySQL, and other services
htop vs top on Rocky Linux
| Feature | top | htop |
|---|---|---|
| Color UI | No | Yes |
| Interactive controls | Basic | Full (kill, renice) |
| Tree view | No | Yes |
| Mouse support | No | Yes |
| Search & filter | No | Yes (F3, F4) |
| Customizable UI | No | Yes (F2) |
htop is especially useful in server environments where clarity and responsiveness are critical for identifying performance bottlenecks.
Integrating htop with Server Workflows
- Monitor remote systems via
ssh+htop - Use
htopinsidetmux,screen, orbyobusessions - Include htop in provisioning scripts or Ansible roles
- Combine with
journalctl,iotop, andssfor holistic monitoring
On Rocky Linux, htop is particularly valuable when managing:
- Web hosting stacks (Apache, Nginx, PHP, MariaDB)
- CI/CD pipelines and build agents
- Game or media servers
- KVM virtual machines or containers
- Secure firewall-hardened deployments
htop on Rocky Linux 9 is a high-efficiency, low-overhead monitoring solution for administrators seeking detailed, real-time insights into their system’s health. It perfectly complements Rocky Linux’s stability and security by offering instant visibility into CPU usage, process behavior, and memory allocation—crucial for keeping enterprise services running smoothly.
Whether you’re deploying Rocky Linux in the cloud, on bare-metal, or in virtual environments, htop belongs in your essential server toolbox.
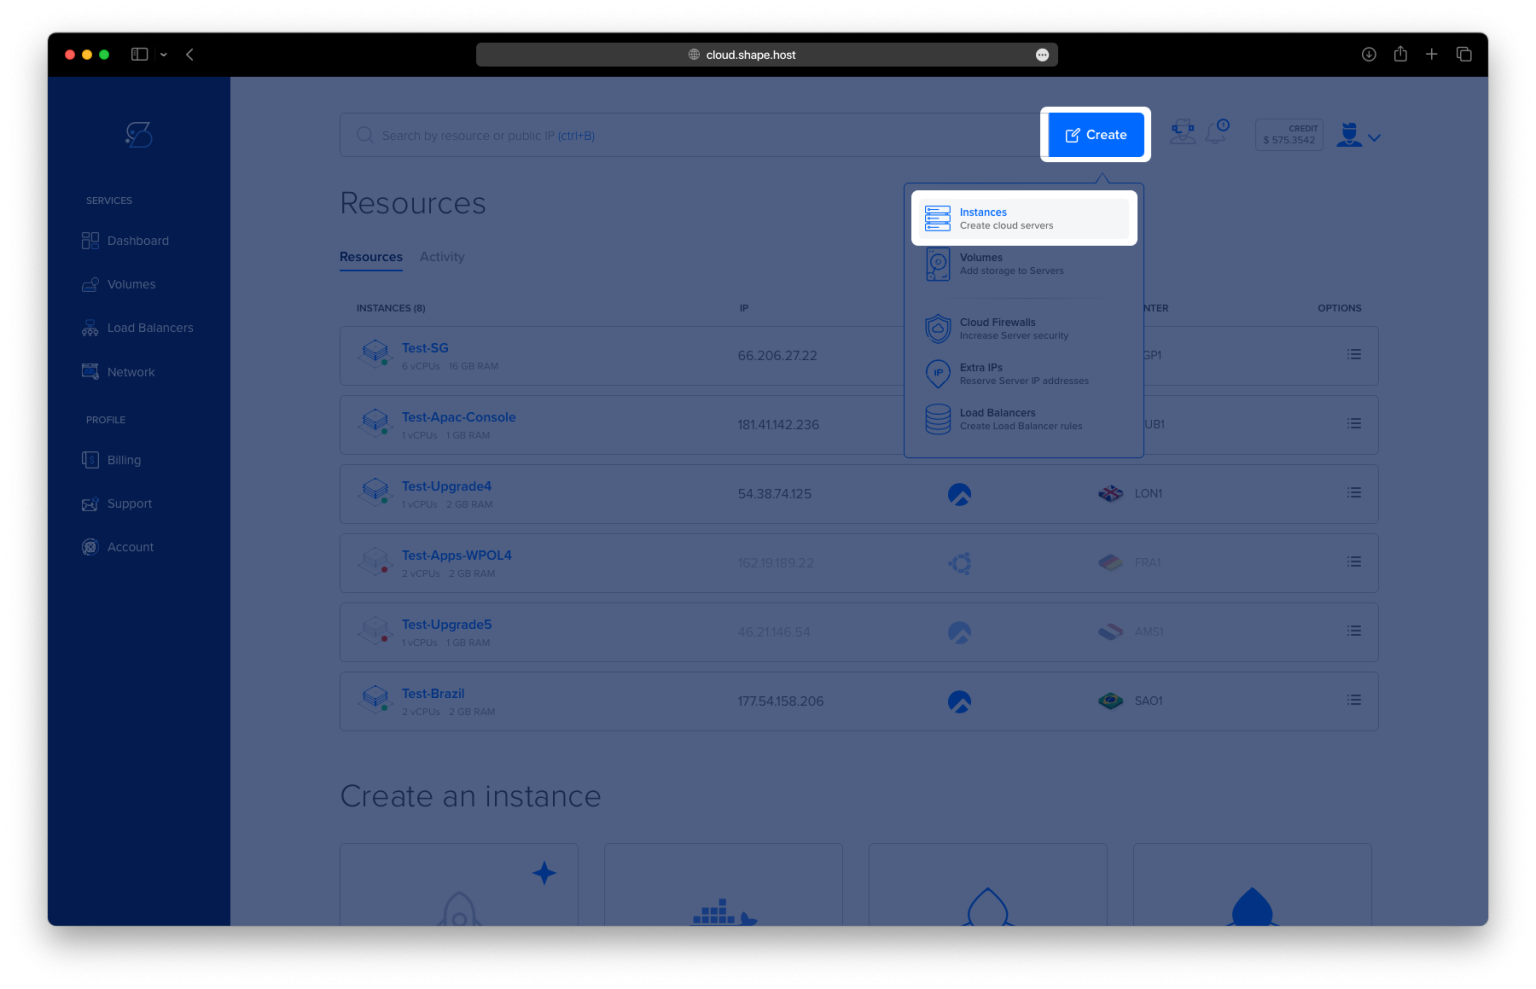
Step 1: Create a Rocky Linux 9 Server on Shape.Host
Visit https://shape.host and log into your account.
Click “Create” → “Instance”.

Choose a server location.

Select Rocky Linux 9 (64-bit) as your OS.
Choose a plan depending on your needs.

Click Create Instance.

Note your server’s IP address from the Resources tab.

Step 2: Connect to the Server
Use SSH to log in:
ssh root@your_server_ip
Replace your_server_ip with the actual IP of your server.
Step 3: Install htop on Rocky Linux 9
Step 3.1 – Update the system
dnf update

Step 3.2 – Install htop
dnf install htop

Step 3.3 – Verify the installation
htop --version

Step 4: Use htop
Start htop by running:
htop
This will open the real-time process monitor interface.

Step 5: htop Keyboard Shortcuts
Here are some useful key bindings to control the interface:
| Key | Function |
|---|---|
F1 | Help menu |
F2 | Setup (customize view) |
F3 | Search for processes |
F4 | Filter processes |
F5 | Tree view |
F6 | Change sorting column |
F9 | Kill selected process |
F10 | Quit htop |
Arrow Keys | Navigate process list |
Space | Select a process |
Step 6: Uninstall htop (Optional)
To remove htop if you no longer need it:
dnf remove htop

You’ve installed and used htop on Rocky Linux 9. It’s a lightweight and powerful tool for monitoring your system’s performance with ease.
Need fast Linux SSD VPS hosting with Rocky Linux 9 preinstalled? Try Shape.Host for scalable and lightning-fast cloud servers.