Strapi CMS is an open-source, headless CMS built on Node.js. It provides an admin interface to manage content and automatically generates a REST or GraphQL API for delivery to any frontend. When deployed on Rocky Linux 9 with PostgreSQL, PM2, Nginx, and SSL, it becomes a secure, high-performance backend suited for production-grade applications.
Why This Stack?
| Component | Purpose |
|---|---|
| Rocky Linux 9 | Enterprise-grade, RHEL-compatible OS with long-term support and security updates. |
| PostgreSQL | Reliable, feature-rich relational database for structured data. |
| PM2 | Node.js process manager ensuring uptime, auto-restarts, and logging. |
| Nginx | Reverse proxy for load balancing, caching, and SSL termination. |
| Let’s Encrypt | Free, automated SSL certificates for encrypted communication. |
Advantages of Strapi on Rocky Linux 9
- Enterprise Stability – Rocky Linux is designed for mission-critical environments.
- Scalable Architecture – Strapi + PostgreSQL + Nginx can handle high concurrent requests.
- Secure by Design – SELinux, firewall rules, and HTTPS protect your content API.
- Headless Flexibility – Serve the same content to websites, mobile apps, and connected devices.
- Modern Development Workflow – JavaScript/TypeScript support, customizable API, plugin ecosystem.
How Strapi Compares to Other CMS Platforms
| Feature / CMS | Strapi (Headless) | WordPress (Traditional) | Ghost (Headless/Blog) | Directus (Headless) |
|---|---|---|---|---|
| Architecture | API-first, Headless | Monolithic, Theme-based | API-driven (focused on blogs) | API-first, Headless |
| Database | PostgreSQL, MySQL, etc. | MySQL/MariaDB only | SQLite, MySQL, PostgreSQL | Multiple DBs |
| Frontend | Any framework (React, Vue, Angular, static sites) | Built-in PHP templates | Any framework | Any framework |
| Custom APIs | Fully customizable | Limited via plugins | Limited API options | Fully customizable |
| Programming Language | JavaScript/TypeScript | PHP | JavaScript | JavaScript/TypeScript |
| Admin UI | Modern, React-based | PHP-based, older UX | Minimal, blog-focused | Modern, Vue-based |
| Use Cases | Multi-platform apps, e-commerce, content hubs | Blogs, small to medium websites | Blogging, newsletters | Data-driven apps, dashboards |
Best Use Cases for This Stack
- Multi-channel publishing – Manage content once and publish to web, mobile, and digital signage.
- E-commerce backend – Serve product catalogs to custom frontends (e.g., React storefronts).
- Corporate portals – Secure internal content delivery with role-based access.
- Custom applications – Build tailored APIs without starting from scratch.
Performance & Security Benefits
- Nginx Reverse Proxy improves speed with caching and compression.
- PM2 Process Management ensures zero downtime during deployments.
- PostgreSQL handles complex queries and large datasets efficiently.
- Let’s Encrypt SSL secures APIs without recurring certificate costs.
- Rocky Linux 9 provides predictable updates and SELinux protection.
Step 1: Create a Rocky Linux 9 VPS on Shape.Host
Go to https://shape.host and log in.
Click “Create”, then select “Instance”.
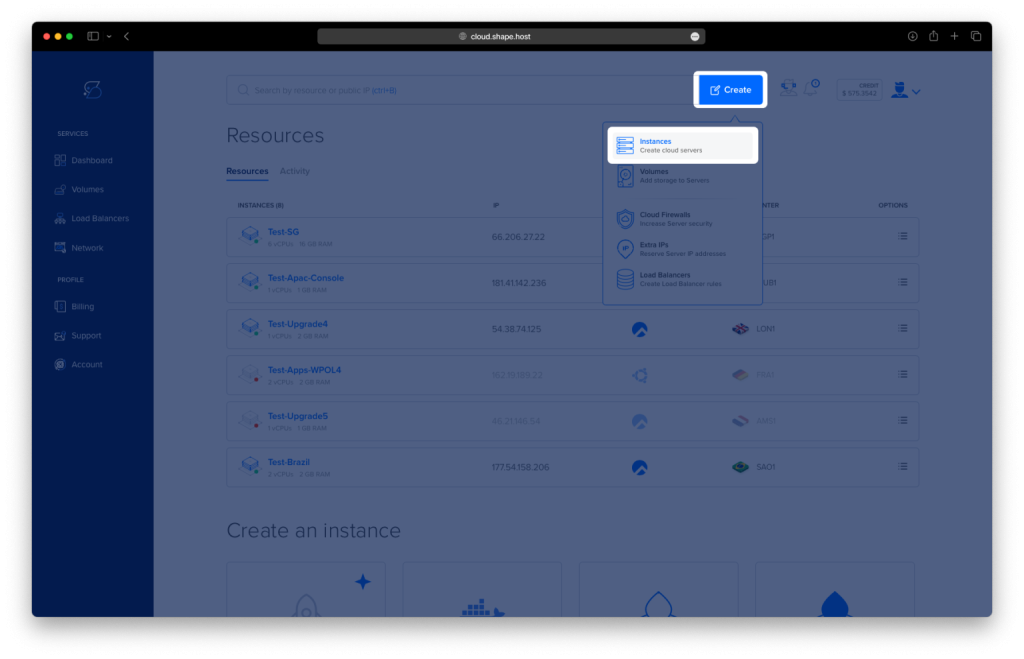
Choose the server location closest to your target audience.
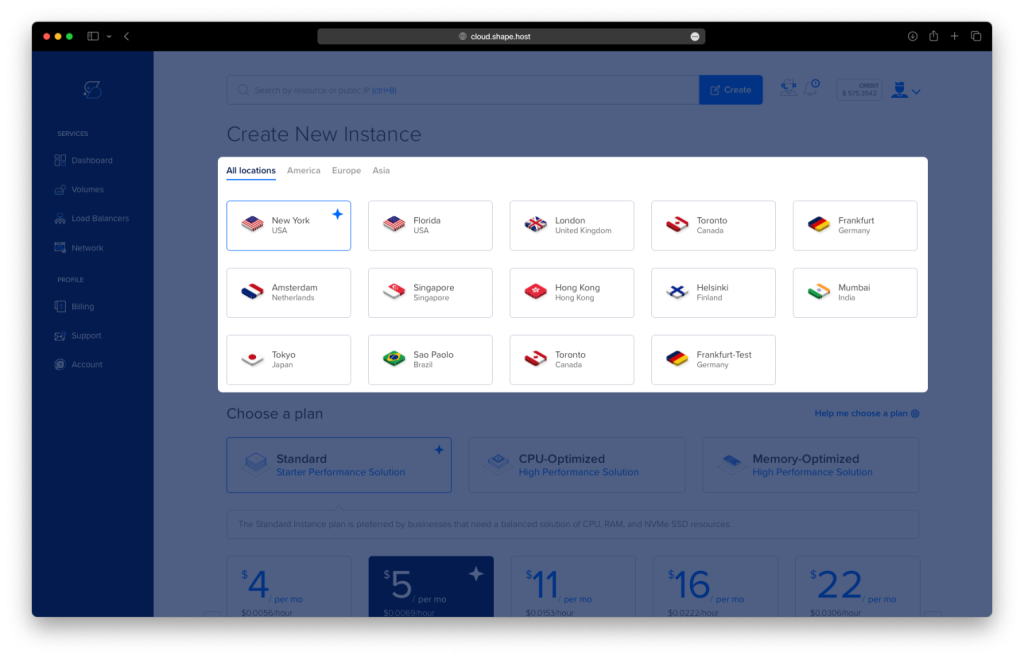
Select Rocky Linux 9 (64-bit) as the operating system.
Pick a plan with at least 2 CPUs, 4 GB RAM, and 20 GB SSD.

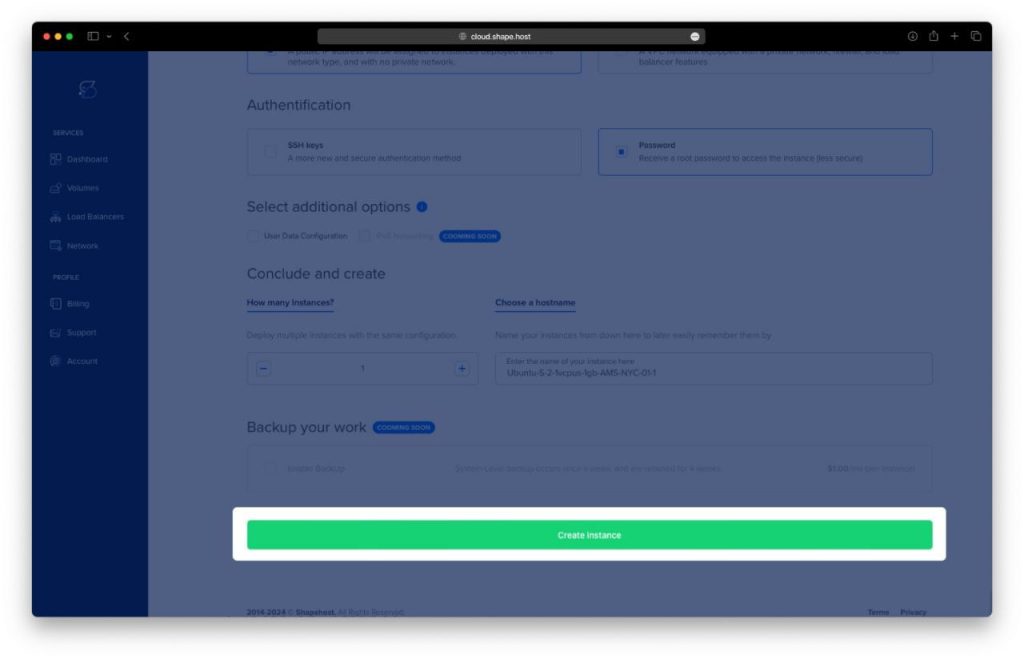
Click “Create Instance”.
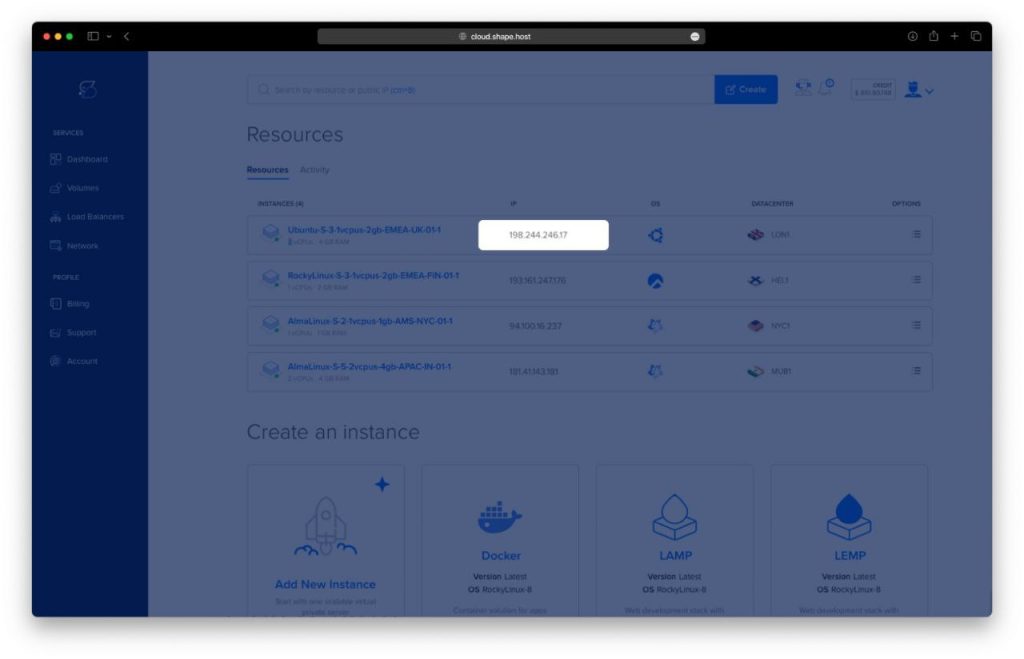
Copy the IP address from the “Resources” section.
Step 2: Connect to the Server
ssh root@your-server-ip
Step 3: Update System and Install Base Packages
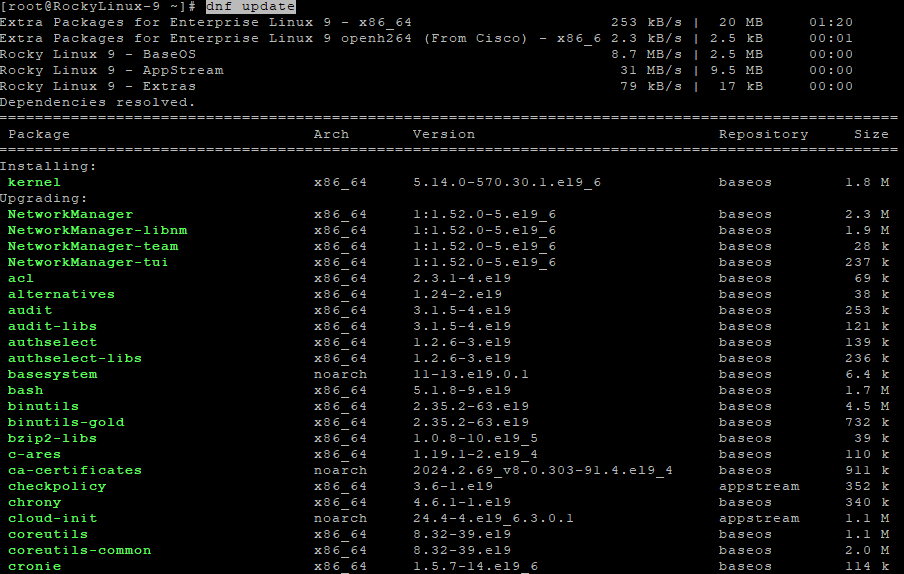
dnf update -y
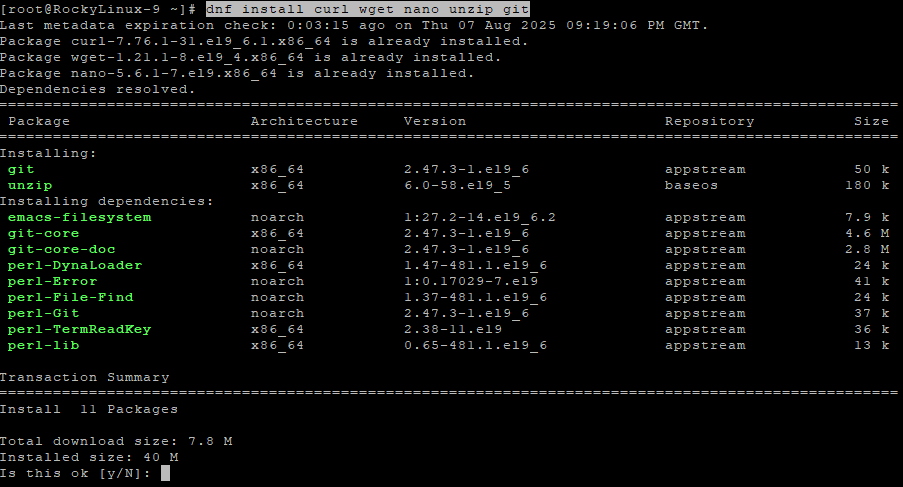
dnf install curl wget nano unzip git -y
Step 4: Install and Configure PostgreSQL 16
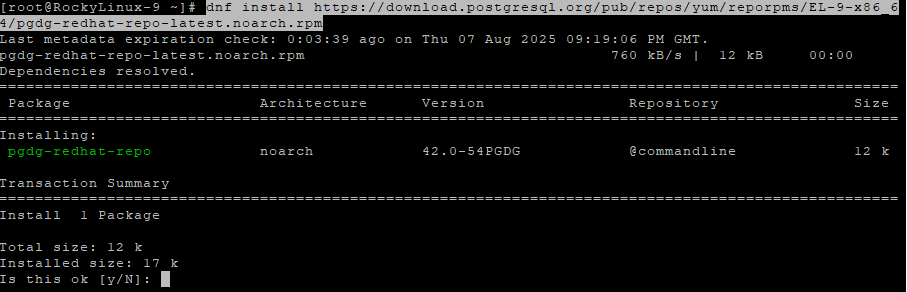
Enable the PostgreSQL repository:
dnf install https://download.postgresql.org/pub/repos/yum/reporpms/EL-9-x86_64/pgdg-redhat-repo-latest.noarch.rpm -y
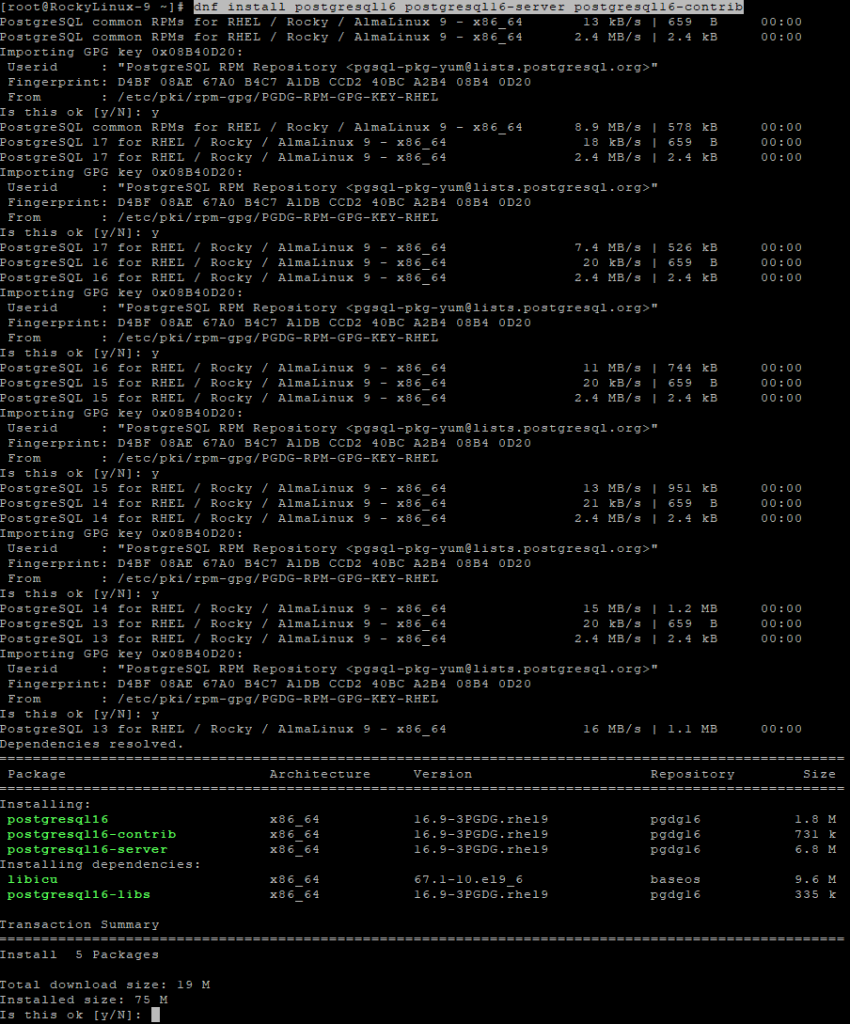
Install PostgreSQL 16:
dnf install postgresql16 postgresql16-server postgresql16-contrib -y
Initialize the database:
/usr/pgsql-16/bin/postgresql-16-setup initdb

Enable and start PostgreSQL:
systemctl enable postgresql-16
systemctl start postgresql-16

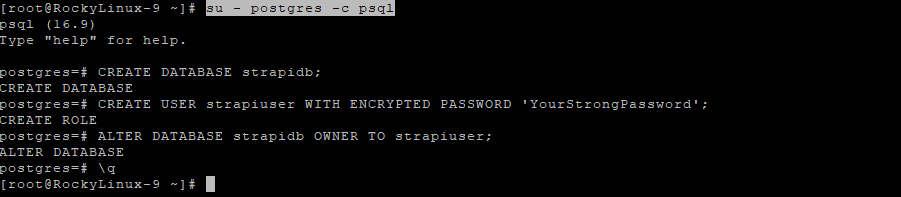
Log into PostgreSQL and create the database and user:
su - postgres -c psql
Inside the prompt:
CREATE DATABASE strapidb;
CREATE USER strapiuser WITH ENCRYPTED PASSWORD 'YourStrongPassword';
ALTER DATABASE strapidb OWNER TO strapiuser;
\q
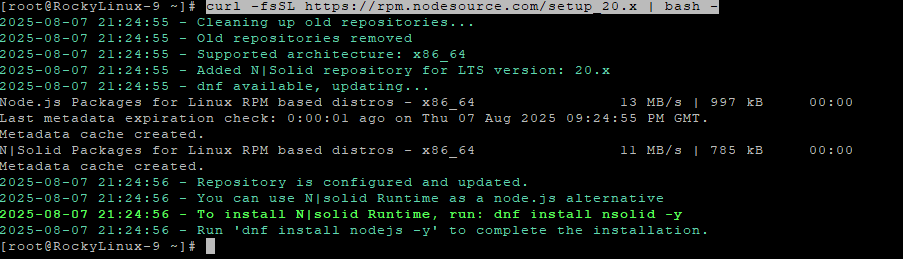
Step 5: Install Node.js 20 and NPM
curl -fsSL https://rpm.nodesource.com/setup_20.x | bash -
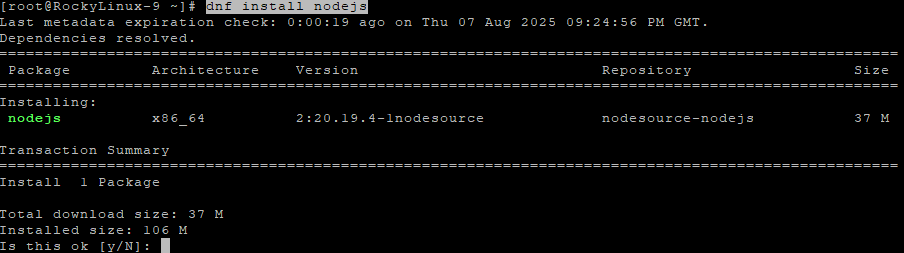
dnf install nodejs -y
node -v
npm -v

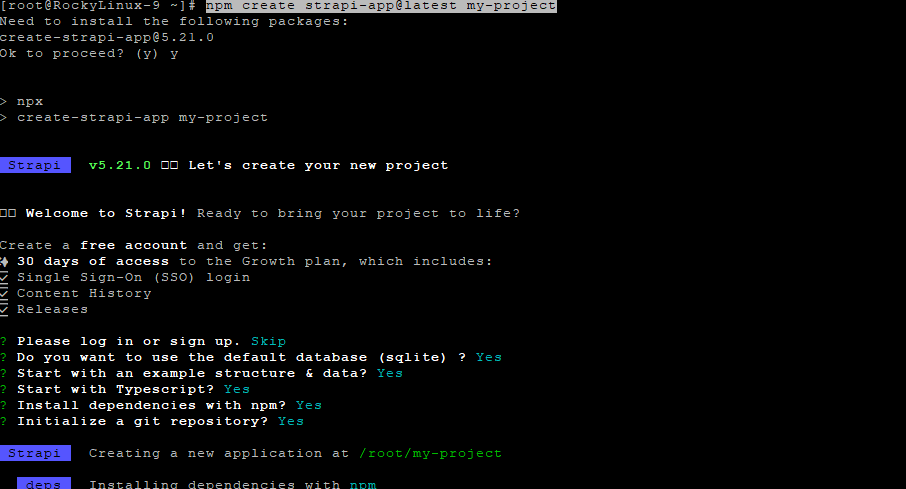
Step 6: Create and Build Strapi Project
Create the Strapi app:
npm create strapi-app@latest my-project
(Optional) Update npm:
npm install -g npm@11.5.2

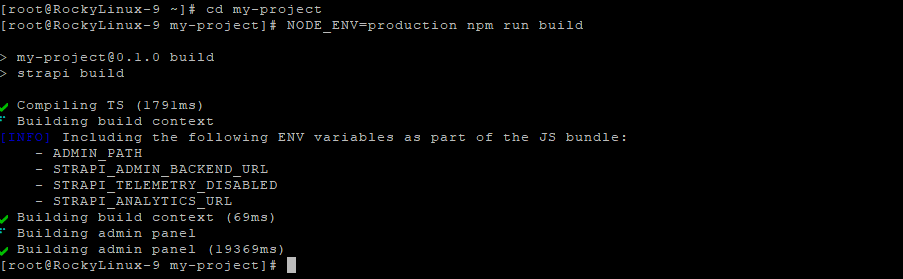
Go to the project folder and build:
cd my-project
NODE_ENV=production npm run build
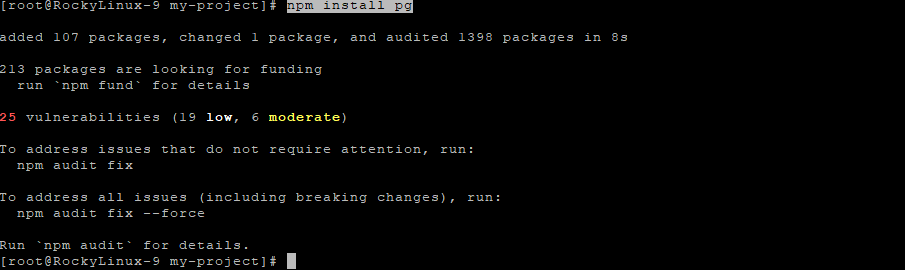
Install PostgreSQL support:
npm install pg
Step 7: Install and Configure PM2
Install PM2 globally:
npm install -g pm2
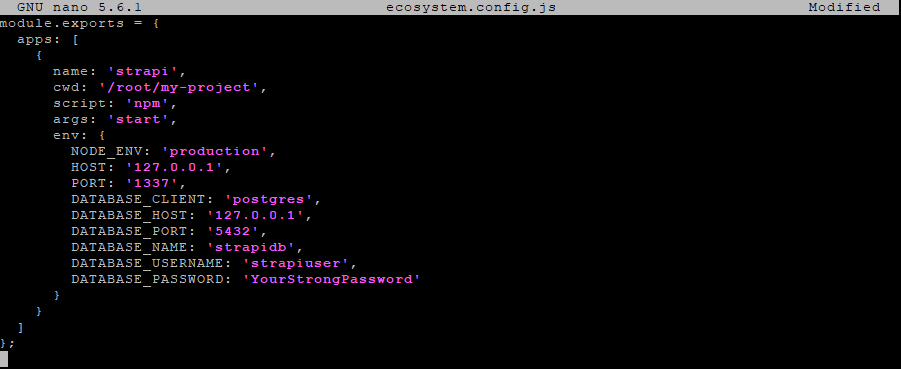
Create PM2 configuration:
nano ecosystem.config.js
Paste:
module.exports = {
  apps: [
    {
      name: 'strapi',
      cwd: '/root/my-project',
      script: 'npm',
      args: 'start',
      env: {
        NODE_ENV: 'production',
        HOST: '127.0.0.1',
        PORT: '1337',
        DATABASE_CLIENT: 'postgres',
        DATABASE_HOST: '127.0.0.1',
        DATABASE_PORT: '5432',
        DATABASE_NAME: 'strapidb',
        DATABASE_USERNAME: 'strapiuser',
        DATABASE_PASSWORD: 'YourStrongPassword'
      }
    }
  ]
};
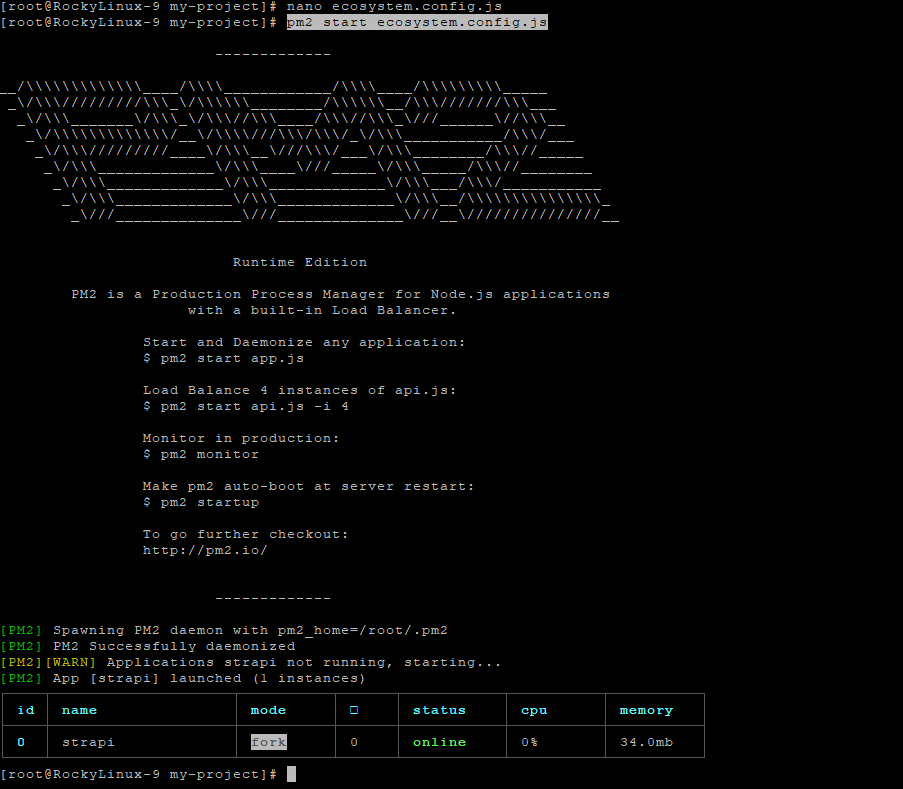
Start and enable PM2:
pm2 start ecosystem.config.js
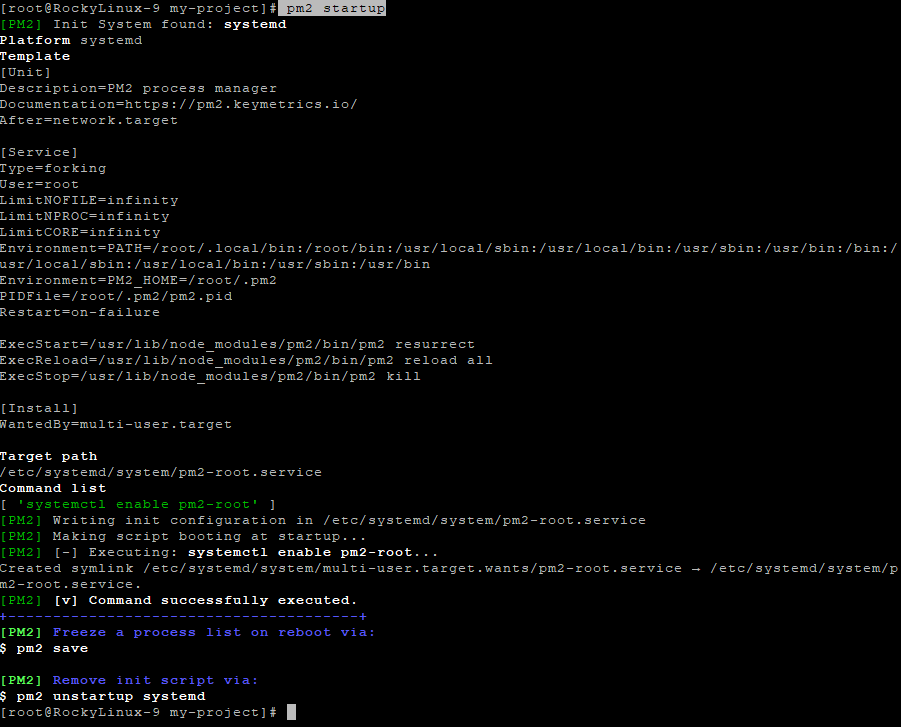
pm2 startup
pm2 save

Step 8: Install and Configure Nginx
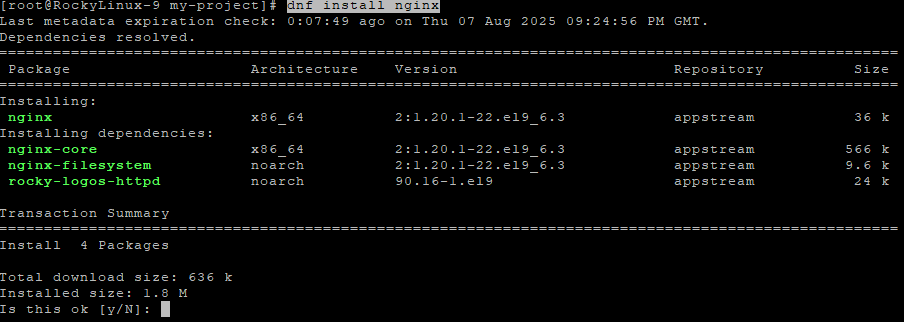
dnf install nginx -y
Create the reverse proxy configuration:
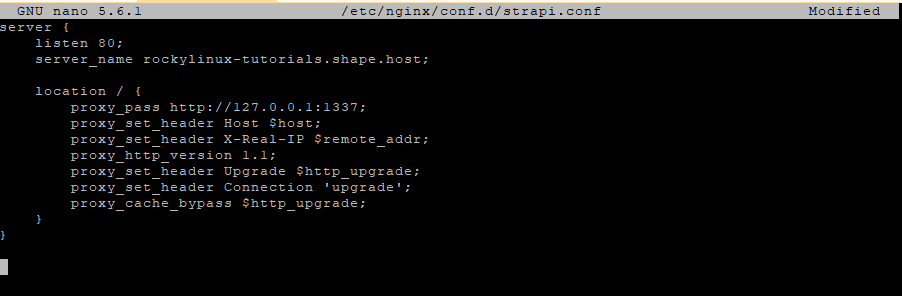
nano /etc/nginx/conf.d/strapi.conf
Paste:
server {
    listen 80;
    server_name your_domain.com;

    location / {
        proxy_pass http://127.0.0.1:1337;
        proxy_set_header Host $host;
        proxy_set_header X-Real-IP $remote_addr;
        proxy_http_version 1.1;
        proxy_set_header Upgrade $http_upgrade;
        proxy_set_header Connection 'upgrade';
        proxy_cache_bypass $http_upgrade;
    }
}
Enable and restart Nginx:
systemctl enable nginx
systemctl restart nginx

Step 9: Install and Configure SSL with Let’s Encrypt
dnf install certbot python3-certbot-nginx -y
certbot --nginx -d rockylinux-tutorials.shape.host -m contact@shape.host --agree-tos --no-eff-email

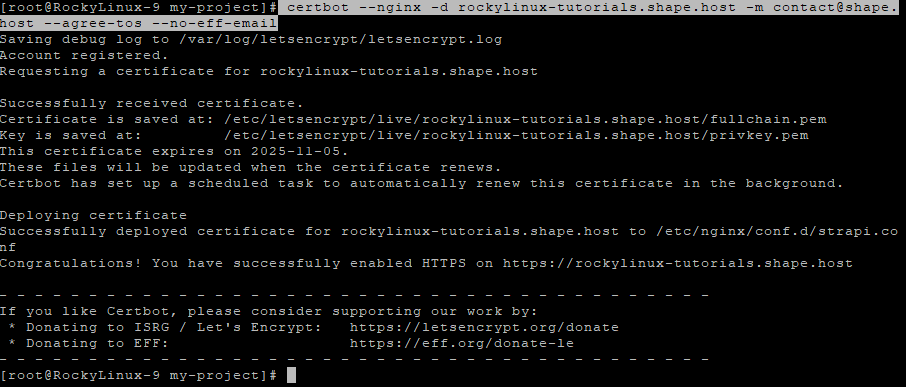
✅ Strapi CMS is now installed and running on Rocky Linux 9 with PostgreSQL, PM2, Nginx, and SSL.
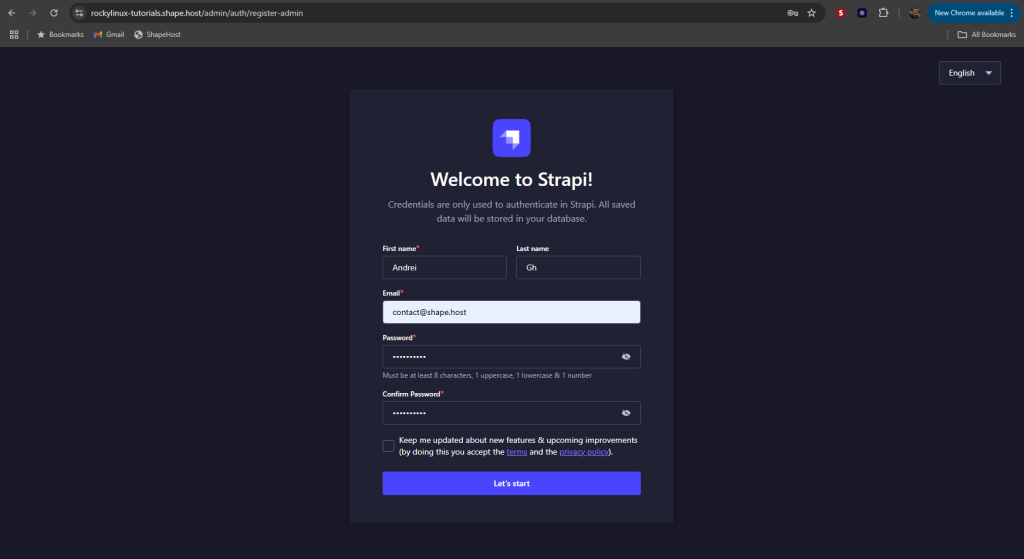
You can access it at:
https://rockylinux-tutorials.shape.host

Use Shape.Host for fast and secure Linux SSD VPS hosting.